Samsung Galaxy Tab 7.0 Rear Camera Replacement
Duration: 45 minutes
Steps: 13 Steps
Get ready to give your device a brand new rear camera. Follow this step-by-step guide to replace it with ease. If you need help, you can always schedule a repair.
Step 1

– Grab that metal spudger and gently pop off the two plastic tabs near the dock connector from the rear case. If you need help, you can always schedule a repair
Step 2

– Unscrew the two 4.1 mm Tri-Wing screws hanging out by the dock connector’s edges.
Step 3

Alright, here we go! Up next, we’ll be unhooking a bunch of clips (marked in red) all around the edge of the rear case. These little guys can be a bit delicate and brittle, so take it easy. And remember, if you need help, you can always schedule a repair.
Step 4

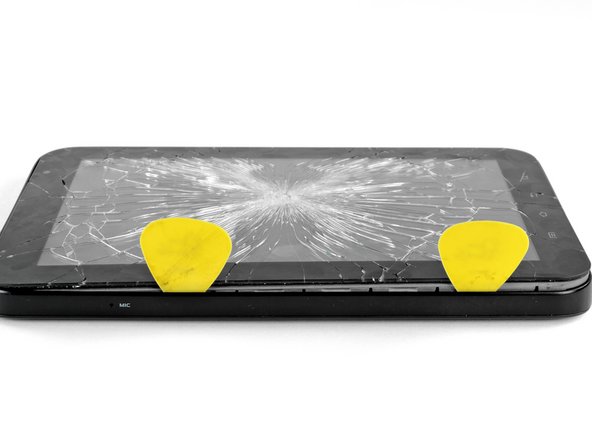
– Just a heads up: The Galaxy Tab we got our hands on already had a cracked front glass panel. But don’t worry, the steps in this guide work like a charm for both intact and shattered panels!
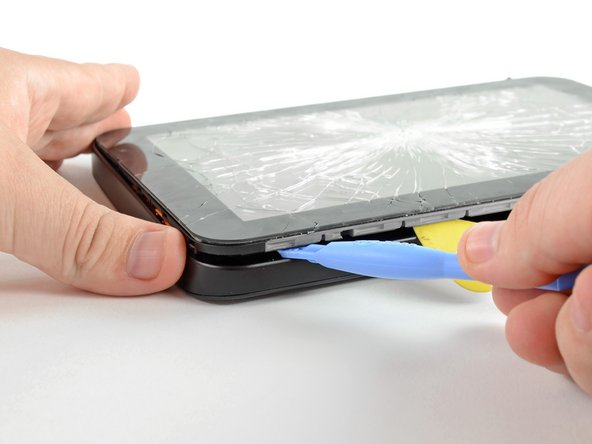
– Grab your trusty plastic opening tool and slide it in near the bottom left edge of the rear case.
– Gently wiggle that plastic opening tool to create a tiny gap between the front and rear panels at the bottom left corner.
– Now, run that tool along the left side to widen the gap a bit more between the front and rear panels.
– Time to bring in the guitar picks! Slip two of them into the small gap you just made with the plastic opening tool.
Step 5


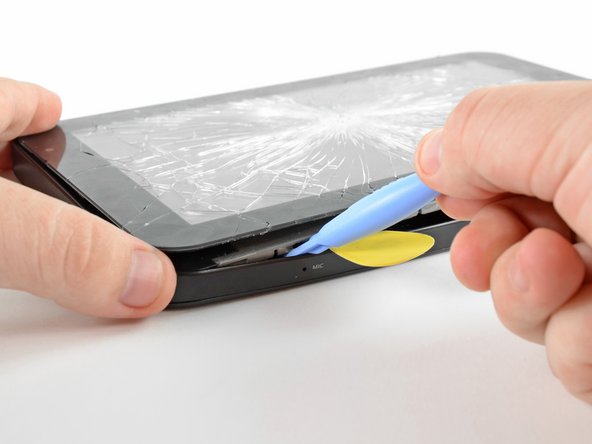
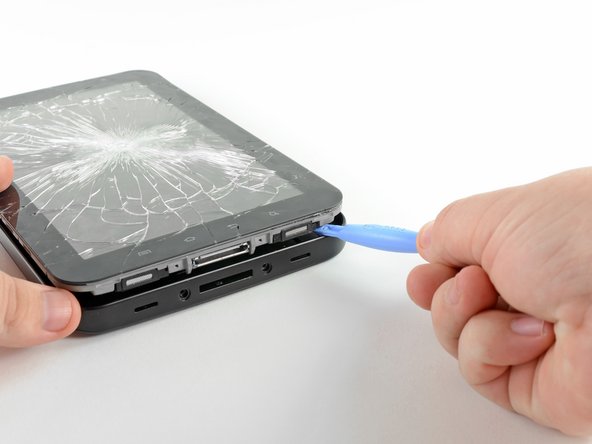
– Gently slide the plastic opening tool into the dock connector and wiggle it under the front panel/motherboard assembly.
– Press down with the plastic opening tool to create a little space near the lower left corner of the front panel assembly.
– Slip a guitar pick into that fresh gap you’ve just created near the lower left edge of the Galaxy Tab.
Step 6

When you’re separating the front panel from the top left corner of the Galaxy Tab, be gentle with that super-thin microphone ribbon cable (check it out in the first picture). It’s easy to damage, so take your time and be careful. If you need help, you can always schedule a repair
Be sure to slide it under the inner framework to get the best grip when popping those clips free.
– Alrighty, when you’re heading to the top left corner of the Galaxy Tab, keep it steady and follow the upcoming step like a trusty sidekick.
– Grab a trusty plastic opening tool and slide it into the groove right beside the left side of the guitar pick.
– Now, lift it up gently while also gliding that plastic opening tool along the top left corner of the Galaxy Tab. This will pop the Front Panel Assembly free from those clingy retaining clips with style!
Step 7

Be careful not to completely lift the front panel assembly – it’s still attached to the rear panel by clips at the top, bottom, and right sides. If you do, you might end up causing some serious damage. If you need help, you can always schedule a repair
– Gently raise the left side of the front panel assembly to free it from its snug spot in the rear panel housing.
Step 8

– Let’s get this party started! Slide that flat edge of your opening tool between the front and rear panels near the dock connector. We’re gonna make this panel pop!
– Now for the fun part! Use that trusty plastic opening tool to gently pry the bottom right corner of the rear panel out. We’re almost there!
Step 9

– Gently lift and detach the front panel assembly from the rear panel. You’re doing great!
Step 10

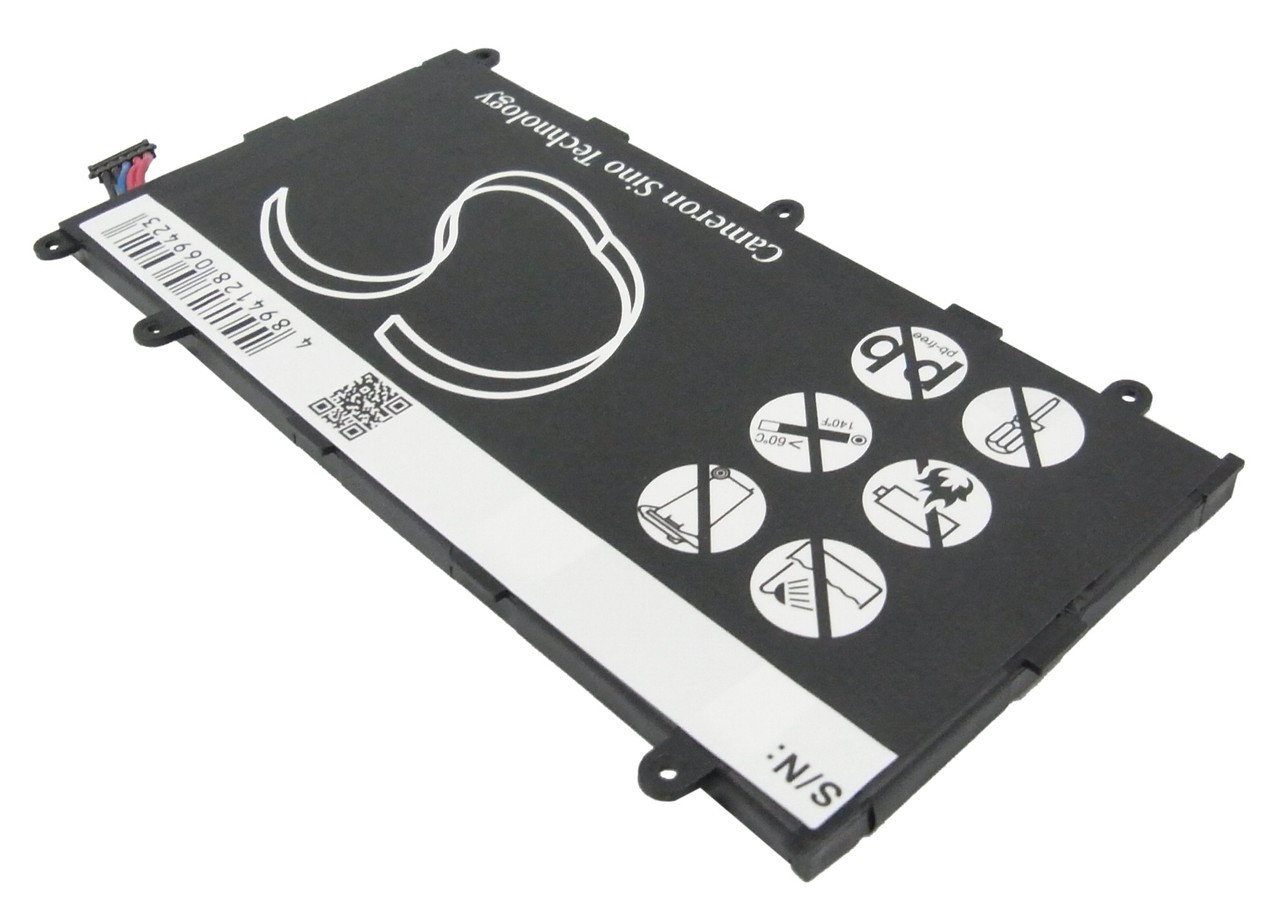
– Hey there, tech wizard! Time to unleash that inner screwdriver ninja. Go ahead and take out the single Phillips screw that’s keeping the battery snug against the motherboard. Take it easy, you’re doing great! Need some backup? You can always schedule a repair.
Step 11

– Time to get that battery connector out – use the edge of a plastic opening tool to carefully pry it straight up off its socket on the motherboard. If you need help, you can always schedule a repair
Step 12

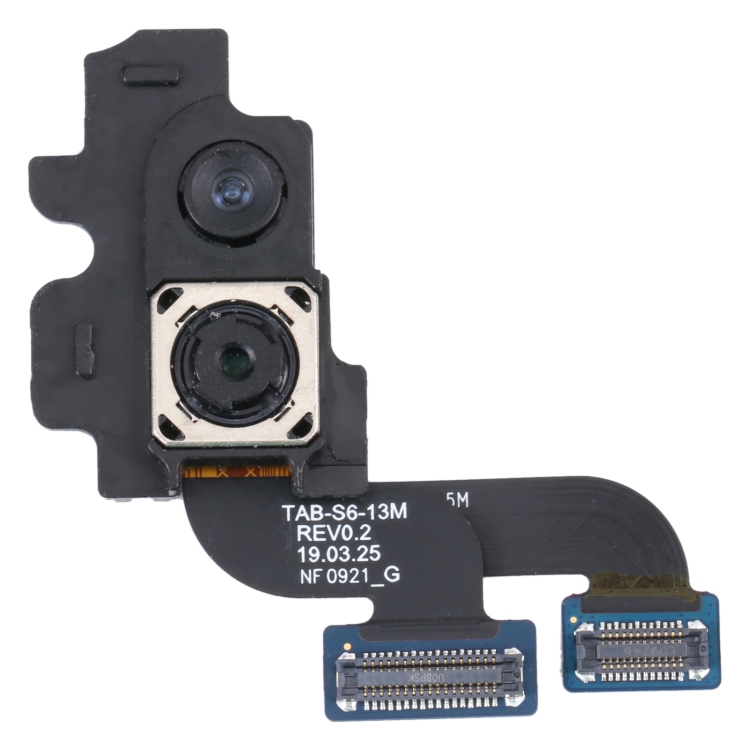
– Gently nudge the rear camera connector loose from its motherboard home using the plastic opening tool’s edge. It’s like a tiny dance!
Step 13

– Let’s get that Galaxy Tab camera out! Gently lift and remove it. You’ve got this! 💪