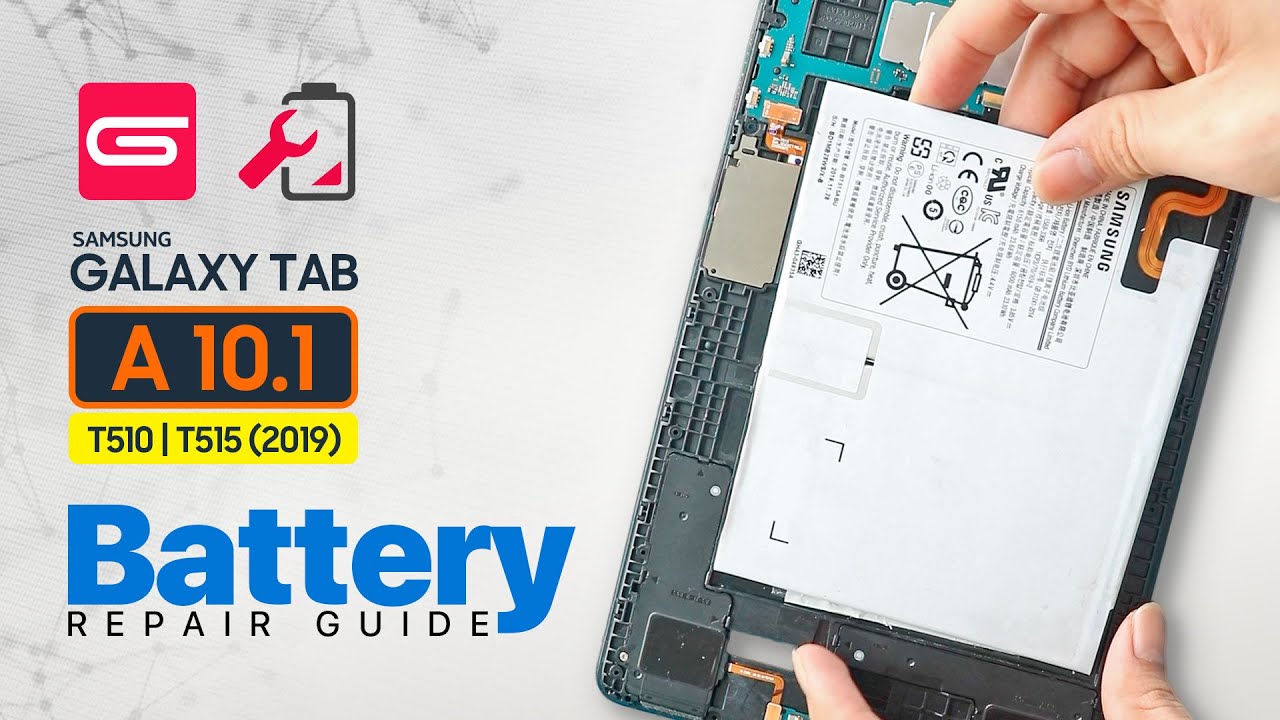
Samsung Galaxy Tab A 10.1 Battery Replacement Guide
Duration: 45 minutes
Steps: 6 Steps
Step 1
If your trusty plastic opening tool is feeling a bit shy, a metal spudger might just do the trick! Just a heads up, though—it could leave a little mark on your device’s plastic. No biggie, right?
Don’t forget to pop out that micro SD card (if you’ve got one) before diving in. It’s like giving your device a little breather!
– Make sure the front of your device is looking right at you, ready for action!
– Start your adventure near one of those lovely curved edges (check out photo two for a handy visual guide).
– Gently slide a plastic opening tool between the front and back panels, like a pro!
Step 2
As you lift off the back panel, you might hear a cheerful little click – it’s just your device letting you know it’s ready for some TLC!
– Now that your trusty plastic opening tool is fully inserted, gently pry it around the device’s edges to carefully separate the panels – you’re making great progress!
– Time to take a look inside! Lift the back panel off the device, and let’s get started on the fun part of this repair.
Step 3
– Peel off that adhesive film and give a little lift to the retaining flap on the ZIF battery connector. You’ve got this!
– Gently slide the orange battery ribbon cable out of the ZIF connector. Easy does it!
Step 4
– Peel off the sticky film, flip up the retaining tab, and slide out that white speaker ribbon like a pro!
Step 5
– Pop open the retaining tab and slide out the black LCD ribbon.
Step 6
The large white and black rectangular piece is the battery. Handle it with care and make sure not to puncture it.
– To put your device back together, just retrace your steps in reverse. You’ve got this!
– If things didn’t go as planned, don’t sweat it. Just backtrack a bit.
– And remember, if you run into any tricky spots, you can always schedule a repair.
Tools Used
Success!


