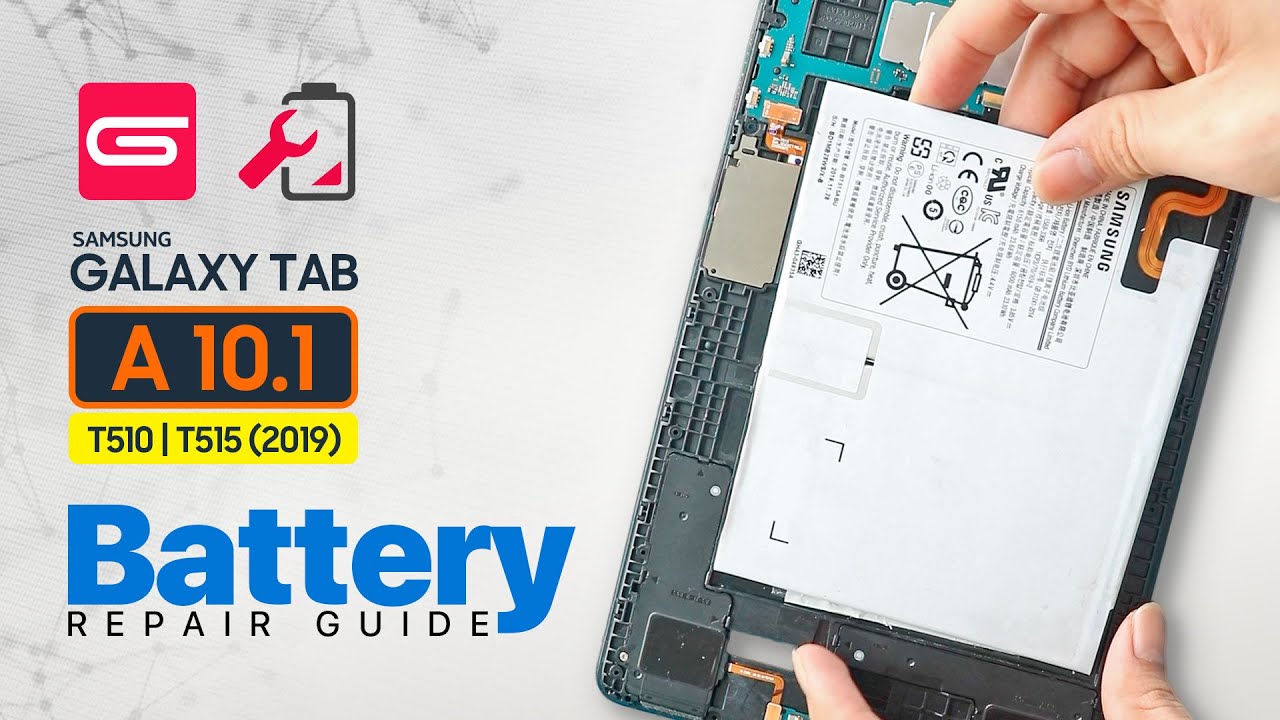
Samsung Galaxy Tab A 10.1 Screen Replacement Guide
Duration: 45 minutes
Steps: 11 Steps
If your screen is playing hard to get, this guide will help you swap it out like a pro! If the digitiser is still in good shape and you want to keep it, just remember to take your time and handle it with care. Patience is key, and you’ve got this!
Step 1
If the trusty plastic opening tool isn’t cutting it, you can try a metal spudger—it might do the trick, but keep in mind it could leave some war wounds on the plastic parts of your device.
Oh, and don’t forget to pop out that micro SD card (if it’s there) before diving in!
– Keep the front of your device looking right at you—eye contact is key!
– Start near one of those smooth, curved edges of the device (check out photo two for a handy visual).
– Slide a plastic opening tool between the front and back panels—easy does it!
Step 2
As you lift the back panel off the device, you’ll hear a satisfying click – it’s like a little confirmation that you’re on the right track!
– Once you’ve slid that trusty plastic opening tool all the way in, give it a little wiggle around the edges to pop those panels apart.
– Carefully lift off the back panel to unveil the inner workings of your device.
Step 3
– Peel off the sticky film and pop open the retaining flap on the ZIF battery connector—easy does it!
– Gently slide the orange battery ribbon cable right out of the ZIF connector like a pro.
Step 4
– Peel off the adhesive film, pop up the retaining tab, and gently pull out the white speaker ribbon.
Step 5
– Flip up the retaining tab and gently slide out the black LCD ribbon like a pro.
Step 6
Watch out for that big, rectangular white and black beauty—that’s your battery! Give it some love, but whatever you do, don’t poke it!
– Grab your trusty Phillips #000 screwdriver and let’s tackle those ten 4 mm screws surrounding the battery. You’ve got this!
– Now, take a plastic opening tool and gently slide it under the bottom of the battery, right near the speakers, and give it a little lift. Easy peasy!
Tools Used
Step 7
– Use your trusty plastic opening tool to gently lift up the two ZIF connectors on the motherboard.
– Carefully slide those orange ribbon cables out of the ZIF connectors, taking your time to avoid any mishaps.
– Remove the front-facing camera—easy does it!
Step 8
– Unplug the headphone jack from the motherboard like a pro.
– Grab your Phillips #000 and unscrew the six 4mm screws—steady hands, you got this!
Step 9
Watch out for those connectors – you don’t want to accidentally snag one!
– Gently wedge that trusty plastic opening tool under the motherboard and lift it out of the tablet like a pro.
– Carefully take out the metal bracket that was chilling under the charging port and set it aside in a safe spot.
Step 10
– Starting on the side of the tablet near the bottom, heat the area and slide a metal jimmy or opening pick between the digitizer and the frame.
– Separate the adhesive at the bottom first, then work your way up the sides. Be careful around the top where the digitizer ribbon cable passes through a slot in the mid-frame. It’s fragile and easy to damage when removing the glass.
– If the glass is intact and you’re planning to reuse it, be sure not to insert the jimmy any further than the width of the black screen border. Otherwise, you risk damaging the digitizer, which is a thin plastic film stuck to the back of the glass.
– The adhesive tends to stick to the plastic mid-frame rather than the glass. It will separate more easily and cleanly from the mid-frame if you can start lifting it at one point. This will also reduce the risk of damaging the digitizer film.
Tools Used
Step 11
– Now that you’ve got everything back together, just follow these steps in reverse to close it up. Piece by piece, it’s like a puzzle coming together.
– If you didn’t finish or need a hand, no worries—feel free to schedule a repair.
– Great job! You’ve got this. But if you ever run into any trouble, don’t hesitate to schedule a repair.
Success!


