Samsung Galaxy Tab A 9.7 Front Camera Replacement
Duration: 45 minutes
Steps: 6 Steps
Ready to swap out the front camera on your Samsung Galaxy Tab A 9.7? This guide walks you through each step with just the right mix of detail and simplicity. It’s a moderately tricky job, so keep your focus sharp and your tools handy!
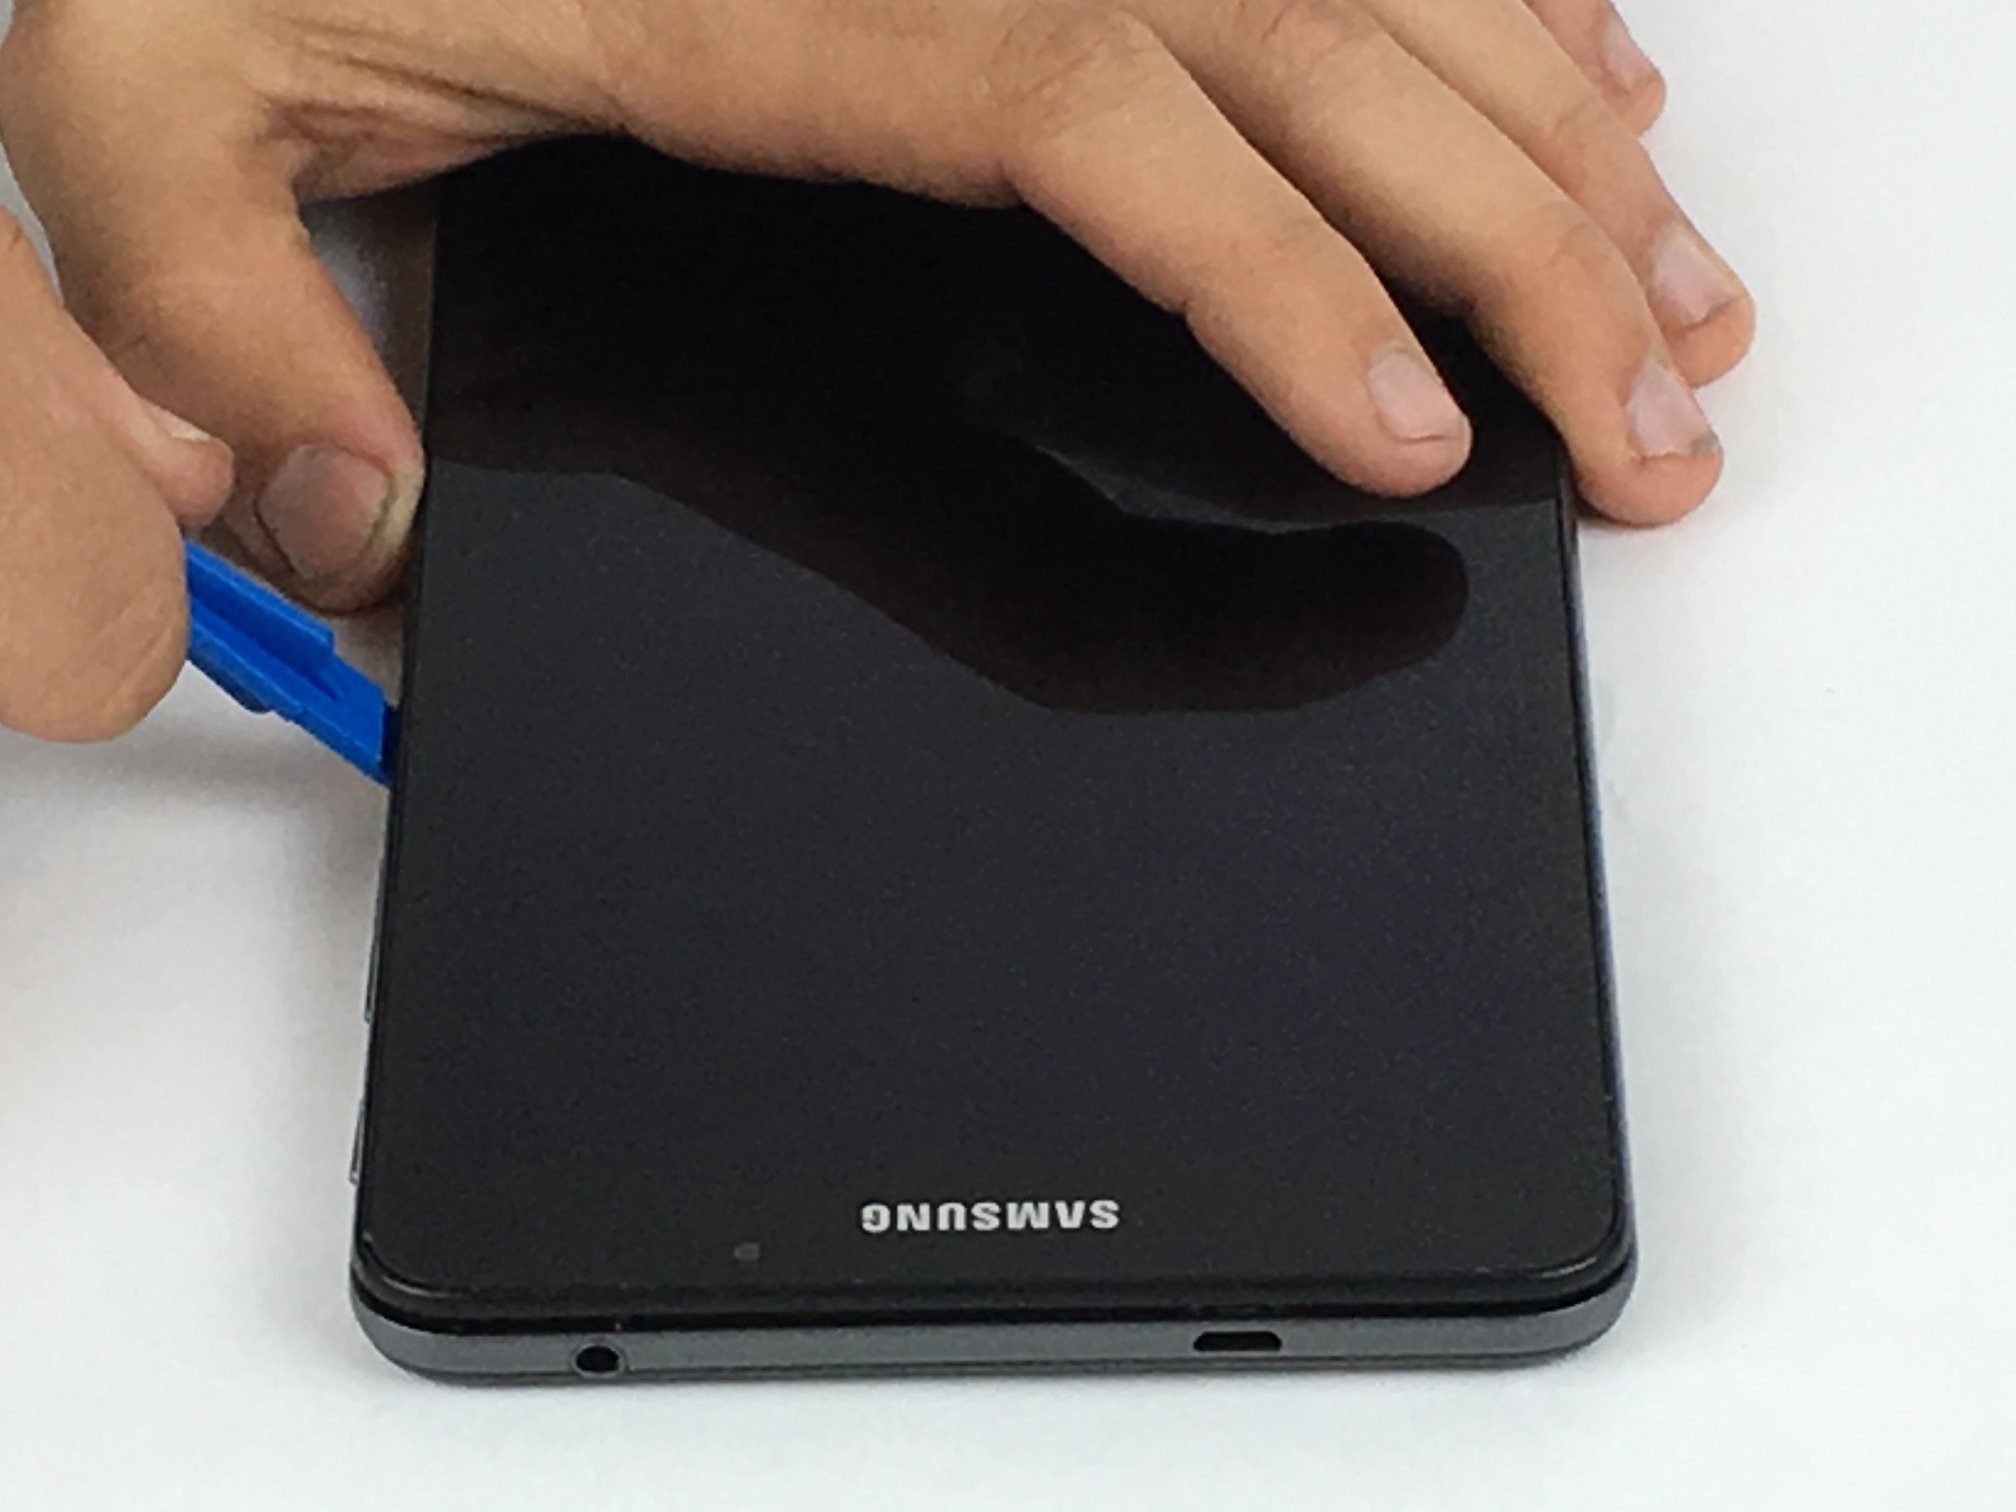
Step 1

– Gently work the iFixit opening tool along the edge of your Samsung Galaxy Tab A 9.7 to get things started. Take it slow and steady, and soon enough, you’ll be in!
Tools Used

Step 2

– Slide a second opening tool along the edge and gently wiggle it to gradually lift the back cover a bit at a time.
Tools Used
Step 3

– Let’s get this repair started. Take one of the opening tools out of the action, and use the other to carefully work your way around the device. Keep going until you hear that sweet sound of the back cover popping off.
Step 4

– Let’s get started by finding the camera located at the top of your device.
Step 5

The lever that holds the strip in place will pop up, freeing the camera. Nice and easy!
– Gently grab the orange strip with your trusty tweezers and pull it up with care.
Tools Used

Step 6

– Time to give your device a facelift – remove the front camera and swap it out with the shiny new part.
Success!
