Samsung Galaxy Tab A Replace Earphone Jack
Duration: 45 minutes
Steps: 5 Steps
After some time, your earphone jack might start acting a bit stubborn and not connect properly to your wired headset. In this guide, we’ll show you how to remove the tablet’s back cover so you can access the earphone jack and replace it. Easy peasy, right? If you need help along the way, feel free to schedule a repair.
Step 1
Before you dive in, be sure to power down your device completely—nobody wants a surprise jolt while getting hands-on!
The trusty little metal spudger is just here to help crack open a tiny gap between the back cover and the device—it’s not the hero for prying the whole thing off. Take it easy and let it do its job!
– Grab your trusty small metal spudger and gently slide it into the top part of the memory card slot. Give it a little wiggle to help separate the back cover from the rest of your device. You’re doing great!
Tools Used
Step 2
– Grab that intermediate metal spudger and say goodbye to the small metal spudger! To remove the back cover, just slide the intermediate spudger around the device’s edges, starting at the top near the memory card slot. Easy peasy!
– Once you’ve got the back cover off, take a peek at the second picture for a glimpse of the internal goodies waiting for you!
Tools Used
Step 3
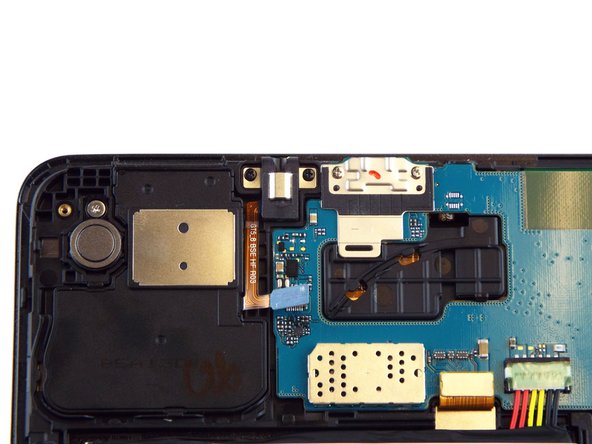
To keep things safe and sound for both the earphone jack and motherboard, gently wiggle the jack out by holding onto its blue rubbery part. Trust us, it’s the smooth move!
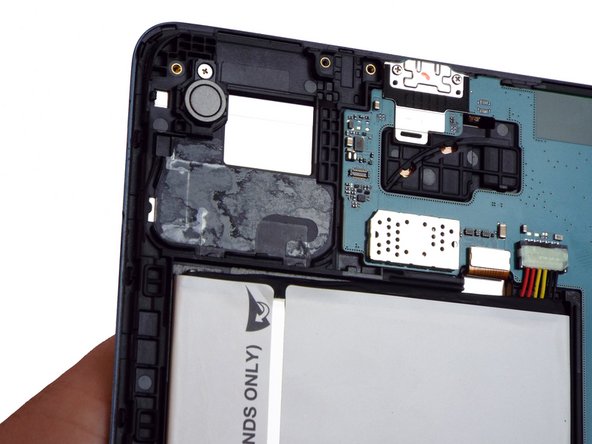
– Grab that spudger and pop off the earphone jack from the motherboard.
– Check out the first pic for the connected jack and the second for the disconnected one.
Tools Used
Step 4
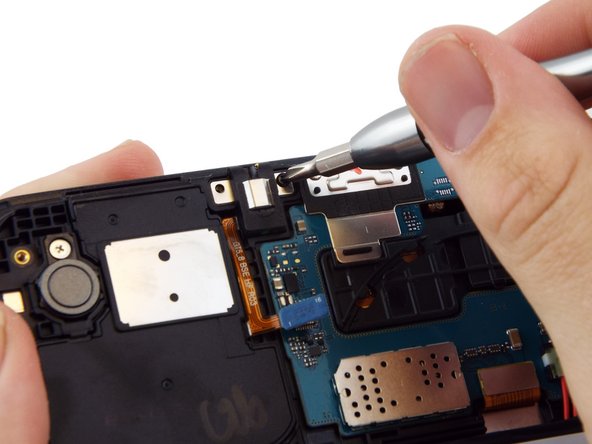
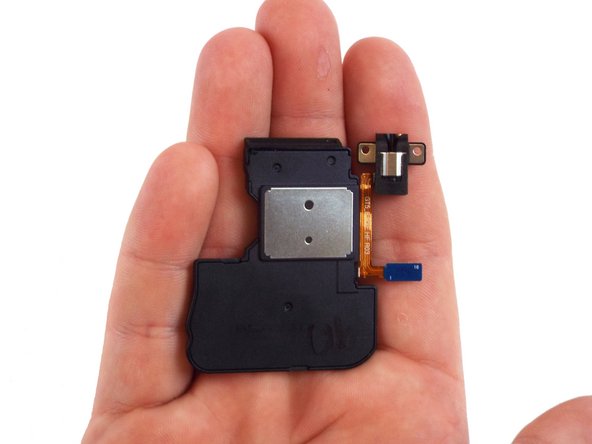
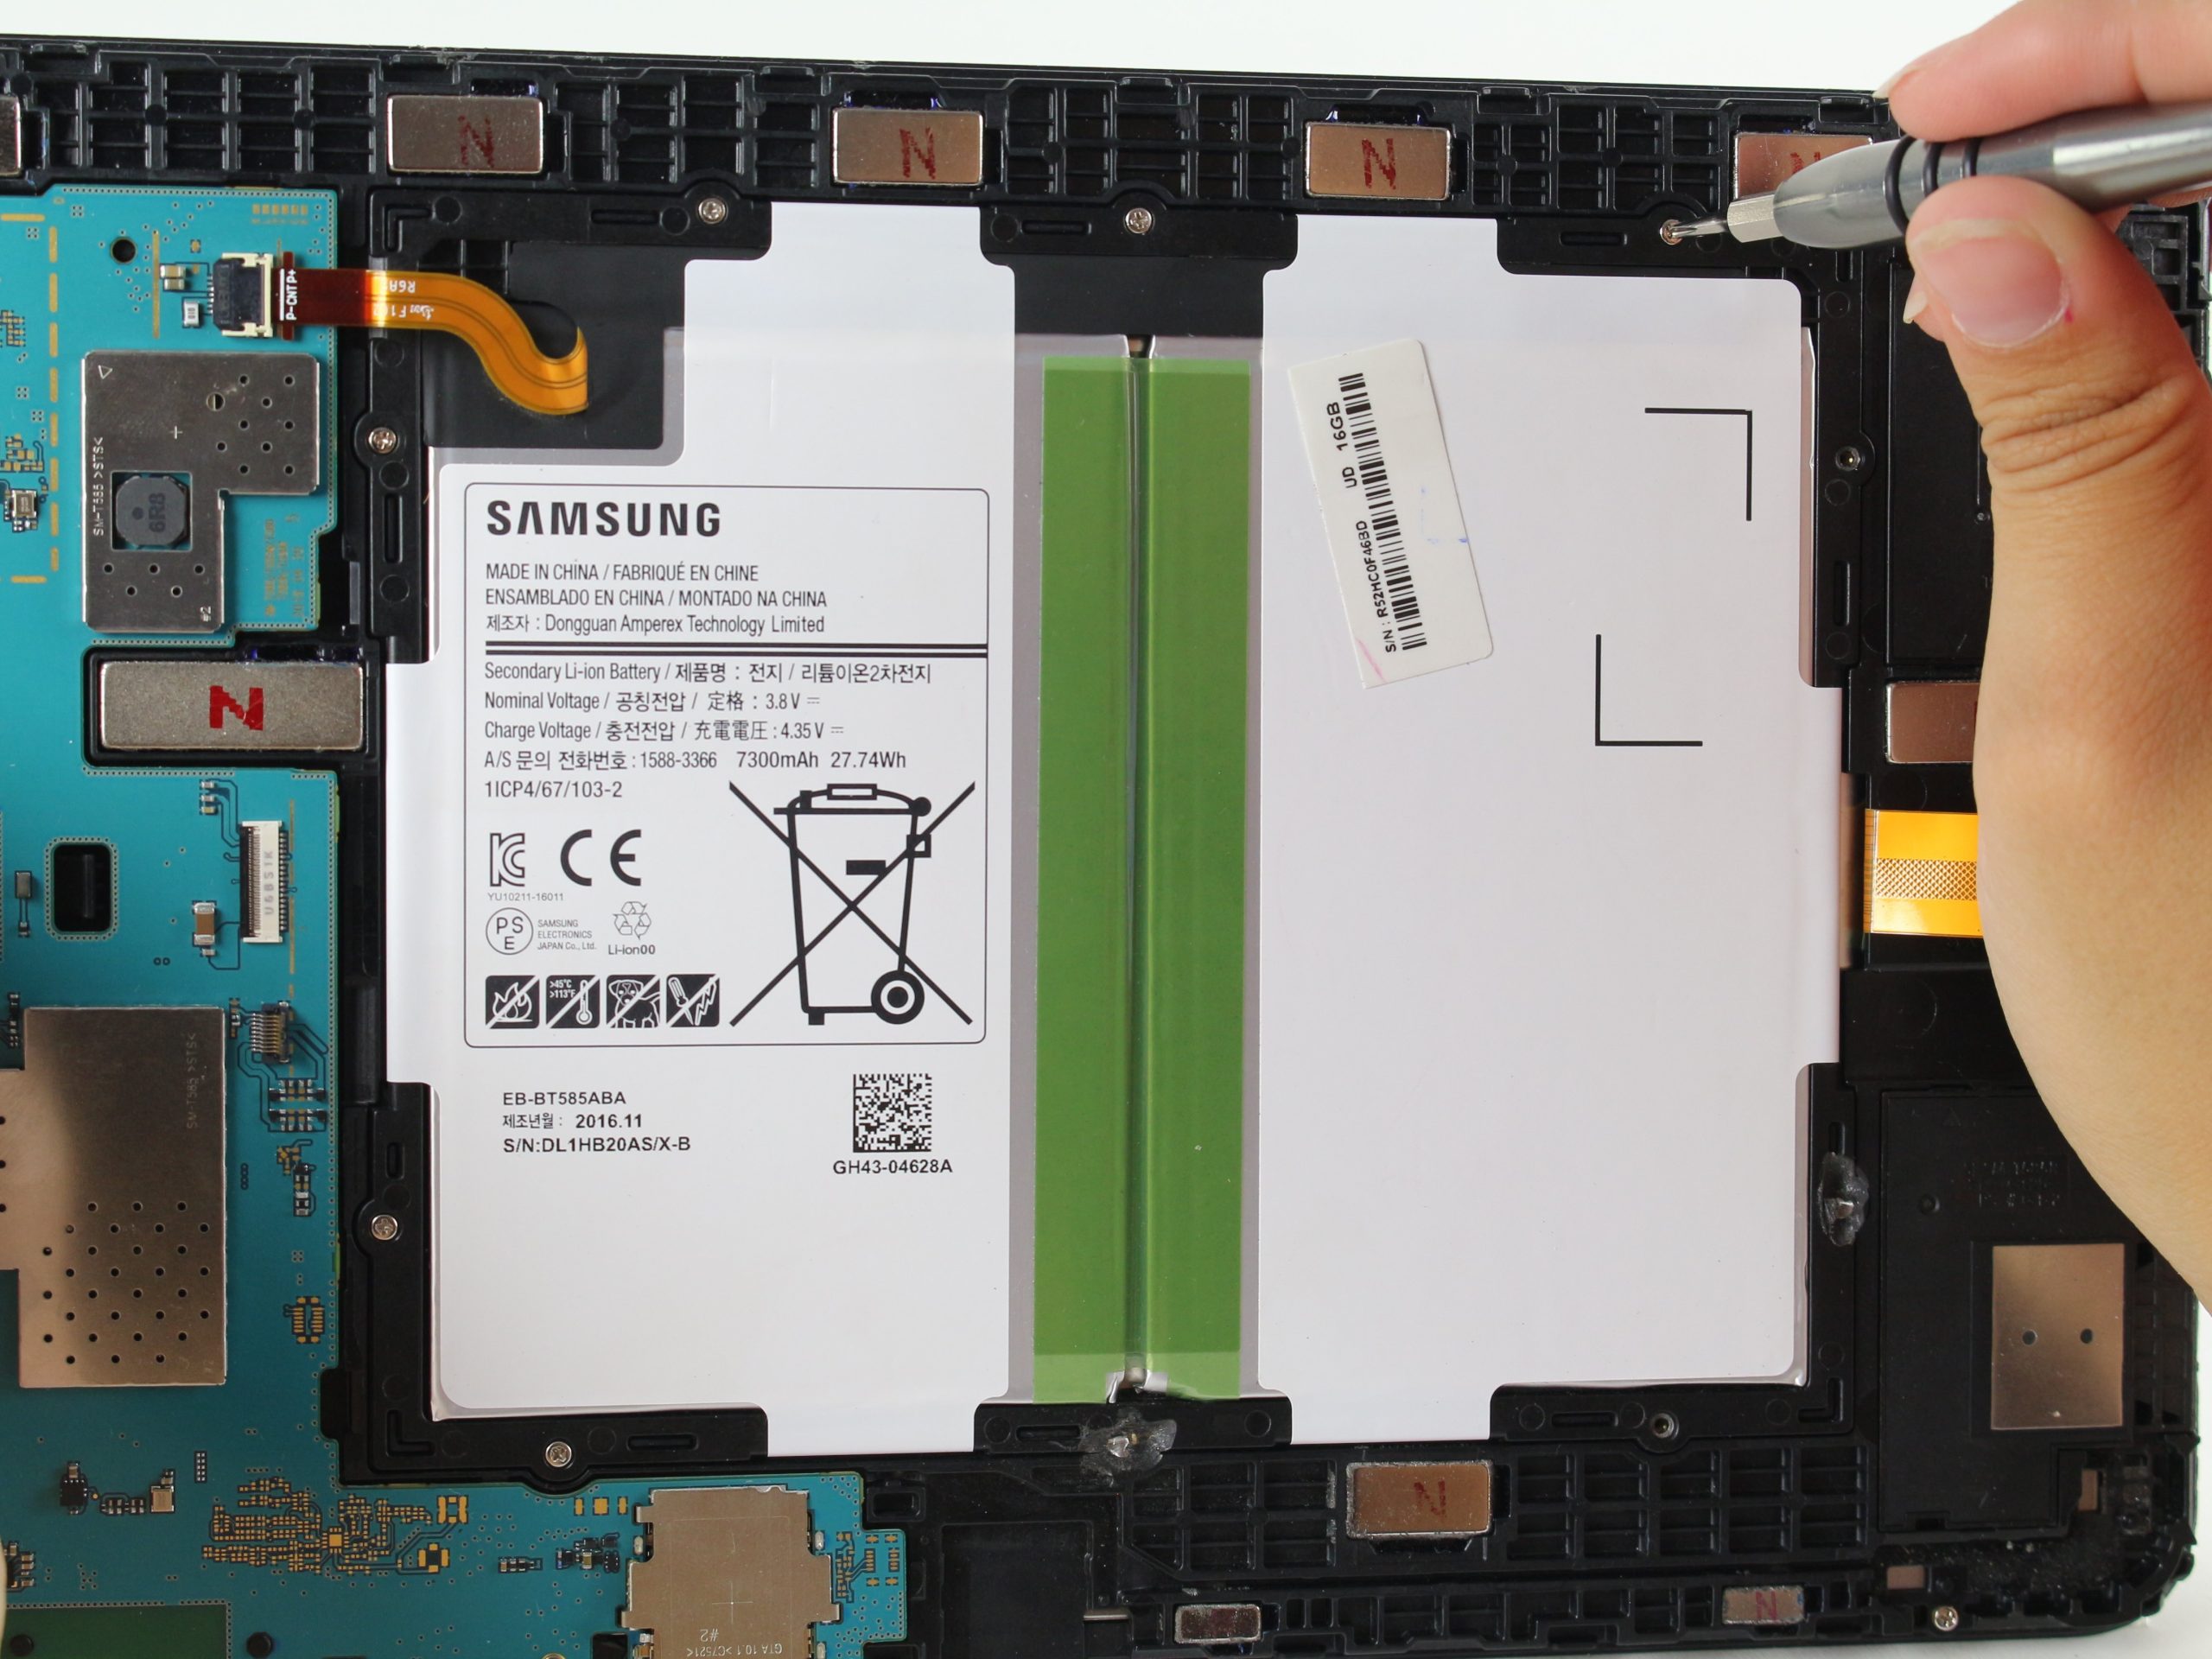
– Grab that PH0 screwdriver bit and unscrew those 2.5 mm screws holding the earphone jack in place. You got this!
– Check out the second picture to see this move in action.
Step 5
– To get your device back in action, just follow these steps in reverse order.
– Not feeling it? No worries – you can always tap out here.
– Need extra help? You can schedule a repair anytime!
Tools Used
Success!


