Samsung Galaxy Tab A9 Plus Camera Replacement
Duration: 45 minutes
Steps: 9 Steps
Time to show your Samsung Galaxy Tab A9 Plus some love! Let’s jump in and get your device sorted out, one simple step at a time.
Your Samsung Galaxy Tab A9 Plus (Models SM-X210, SM-X16B, SM-X215) camera is your go-to for capturing those epic moments in high-quality photos and videos. If your camera’s acting up—blurry shots, poor focus, or refusing to open—it might be a damaged or faulty camera module that needs swapping out. In this step-by-step guide, we’ll walk you through replacing your device’s cameras safely, covering both front and rear cameras for your convenience. You’ll need a heat gun to soften the tough adhesive holding the back panel—while iOpeners work for some models, they don’t get hot enough for this one. The process is pretty straightforward and doesn’t require advanced skills, but a little patience goes a long way. Signs of trouble include distorted images, inability to focus, or a camera that just won’t turn on—these could point to a camera issue. If troubleshooting hasn’t fixed the problem, a replacement is likely the way to go. Always power down and unplug your device before starting to avoid any electrical mishaps. Back up your important data first—better safe than sorry! Keep in mind, opening up your device breaks the water-resistance seal, so you’ll need new adhesive if you want to keep it protected. If your screen is cracked, wear safety glasses and gloves, and consider taping it to prevent injuries. Be cautious if you notice a swollen battery during disassembly—handle it carefully because it’s a fire risk. During the repair, avoid touching the camera lens or image sensor with your fingers or tools, since oils and dust can mess with picture quality. Take your time, organize your parts, use the right tools, and don’t force anything. Follow these steps and safety tips, and you’ll be able to successfully replace the camera on your Galaxy Tab A9 Plus. If you need help, you can always schedule a repair.
Step 1

Heat guns are awesome, but don’t overdo it! Keep the heat moving and avoid focusing too long on one spot to keep your device safe. It’s all about the balance!
Set your heat gun to a cozy 5 when warming up that adhesive!
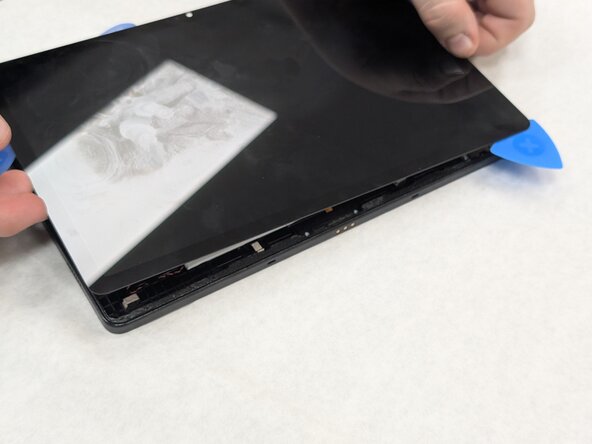
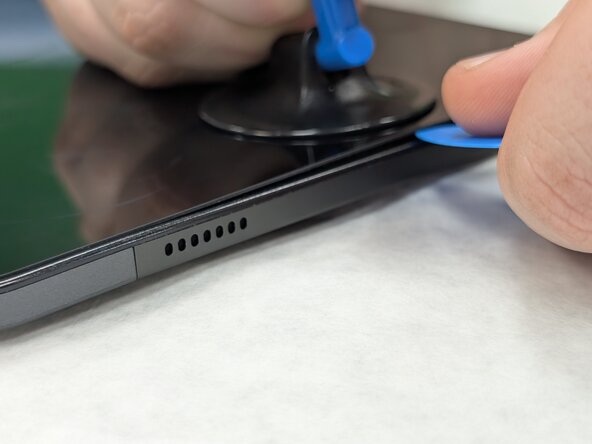
– Turn off the device by holding down the power button for 10-15 seconds—no need to rush, just hold steady. Next, grab your heat gun and gently warm the edge of the device to loosen up that stubborn adhesive holding the screen in place. Carefully use the suction tool to lift the screen away from the case, then slide an opening pick in to keep the gap open. Take a second pick and carefully glide it around the edge to cut through any remaining glue. Keep placing plastic opening picks about every inch or so along the edges until the screen is completely free. If you need help, you can always schedule a repair.
Tools Used

Step 2

– Carefully lift the screen towards the top of the device, where the front camera is, and make sure to avoid any damage to the orange flex cable.
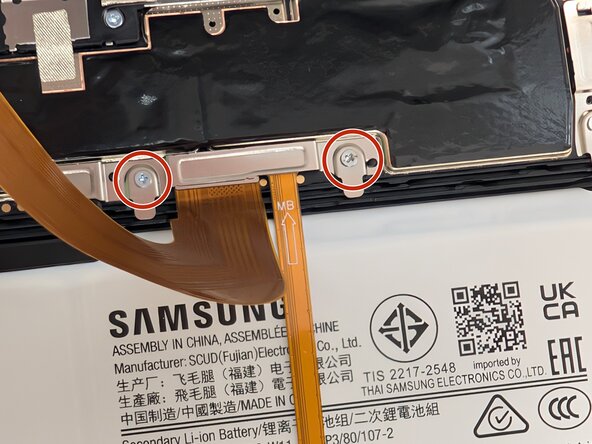
– Grab a JIS #00 screwdriver and unscrew the two 2.4 mm screws holding the metal bracket in place.
– Take off the metal bracket that’s covering the connector and set it aside—you’ll need it when it’s time to put everything back together.
Step 3


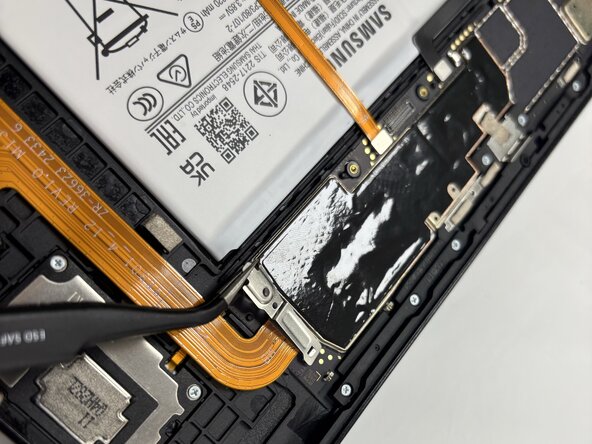
– Gently slide a spudger or opening pick underneath the glued-down cable to loosen the adhesive and disconnect the cable.
– Carefully lift the display screen away from the tablet to complete the removal.
Tools Used

Step 4

Having a tough time with that stubborn adhesive? No worries! Grab some adhesive remover and it’ll be off in no time.
– Grab a spudger and gently work around the edges to clean up any leftover adhesive that might be clinging to the device’s rear housing. A little goes a long way!
Tools Used
Step 5

– Grab a JIS #00 screwdriver and loosen those six 2.3 mm screws holding the front camera bracket above the battery. Keep them safe!
– Next up, use your trusty JIS #00 screwdriver to remove five 2.3 mm screws securing the metal cover in the top right corner for the rear camera. Easy does it!
Step 6

Careful where you pry—make sure you’re getting under the connector edge, not the socket on the board. Prying up the wrong spot could leave your socket out of commission for good!
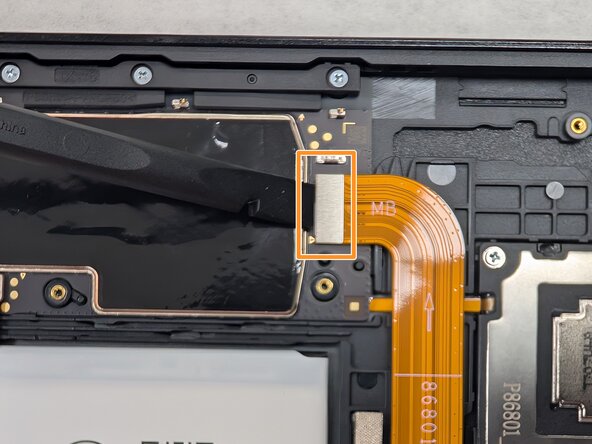
– Grab a JIS #00 screwdriver and unscrew the 2.3 mm screw next to the battery and close to the motherboard—easy does it!
– Use some tweezers to gently lift out the bracket and set it aside with its screw, keeping everything organized.
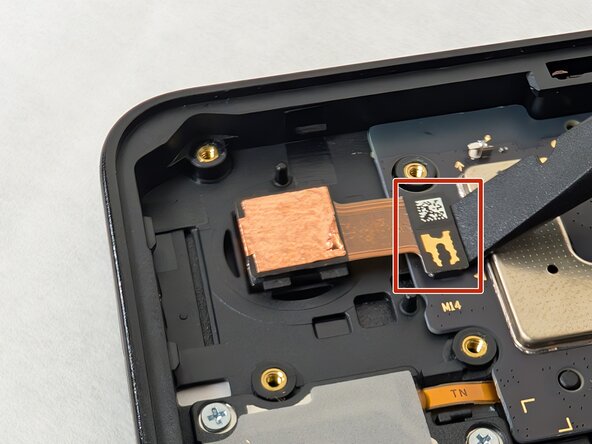
– Slide a spudger or opening tool under the edge of the connector and carefully pry straight up to disconnect the camera connector—no rush, just steady hands!

Step 7
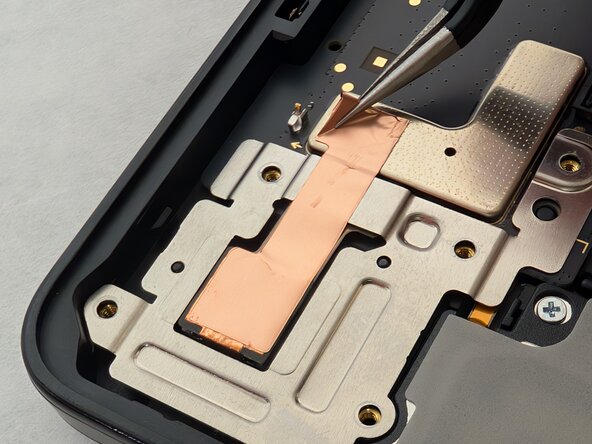

– Grab your tweezers and carefully lift the adhesive tape holding the front camera bracket to the motherboard. It’s a little sticky, but you’ve got this!
– Use the tweezers again to peel off the bronze adhesive tape from the rear camera. Take your time, no rush.
– Now, gently slide the spudger between the motherboard and the front camera bracket to create a tiny gap. This will give you just the space you need to remove the bracket with ease.
Step 8

Watch out when removing the metal bracket—it’s a sneaky little part that can easily scratch or damage the rear camera. Take your time and handle it gently. If you need help, you can always schedule a repair.
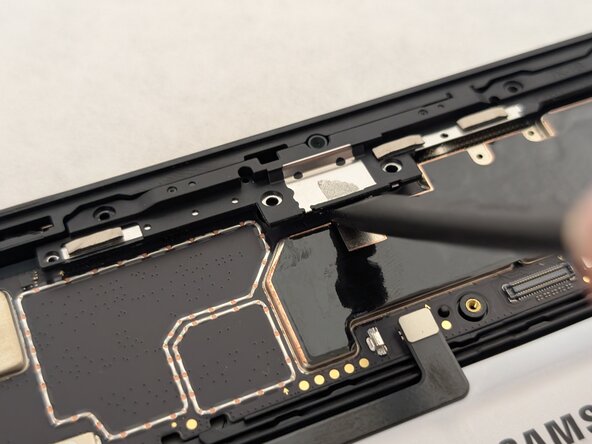
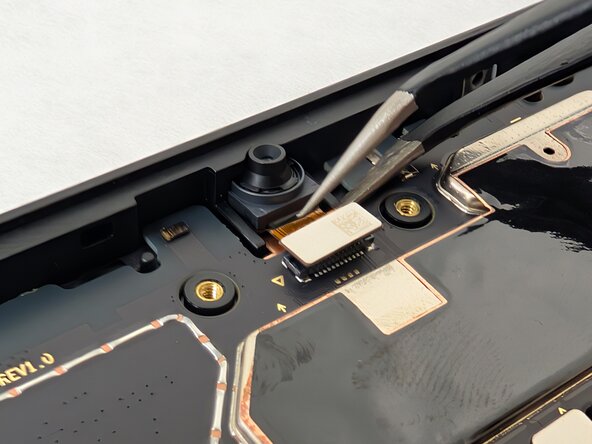
– Grab those tweezers and gently lift out the rear metal camera bracket located in the upper left corner of your device. You’ve got this!
– Next up, take your trusty spudger or opening tool, slide it under the edge of the connector, and carefully pry it straight up to disconnect the rear camera connector. Easy peasy!
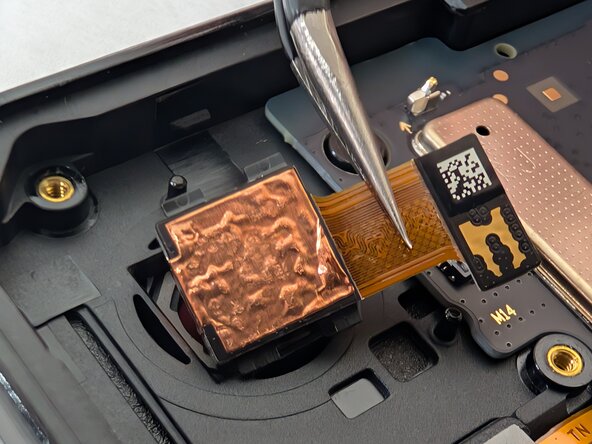
– Finally, use your tweezers again to delicately remove the rear camera from the tablet. You’re almost there!
Step 9

Take it easy and make sure you don’t accidentally give the camera a scratch as you remove it. A little care goes a long way!
– Gently pry under the front camera connector’s edge with a spudger and lift straight up to disconnect it.
– Grab your tweezers and carefully lift out the front camera.
Success!