Samsung Galaxy Tab E 9.6 Verizon Front Panel Replacement
Duration: 45 minutes
Steps: 6 Steps
Time to pop off the front panel of your Samsung Galaxy Tab E Verizon! We’ll walk you through the steps to carefully separate the screen from the body without turning it into a jigsaw puzzle. Grab your tools, stay sharp, and let’s get that front panel off like a pro.
Step 1

Before you start, make sure to remove any micro-SD or SIM cards from your device to avoid any potential damage.
Double-check that your device is completely powered off – this will help prevent any accidental start-ups or short circuits.
Disconnect all external devices from your tablet, like keyboards or chargers, to ensure a safe and smooth repair process.
Step 2


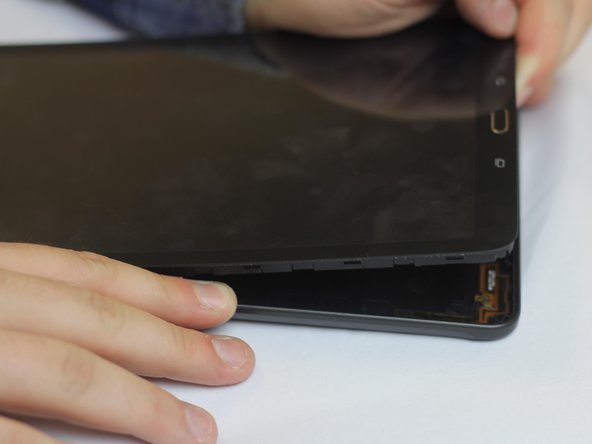
This step might need a bit more muscle than you’d think. If it’s stubborn, try giving the screen a little help with a suction cup.
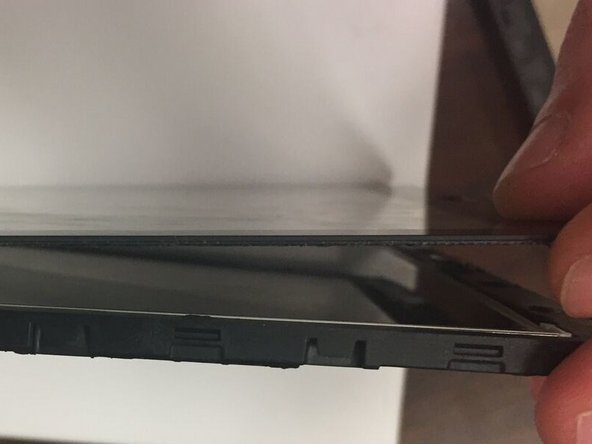
– Gently slide the plastic opening tool between the screen and the back cover. It’s like opening a book, but with a little more finesse.
– Carefully work your way around the edges with the tool, popping off the plastic lips that are holding everything together. Take it slow, no need to rush!
Step 3

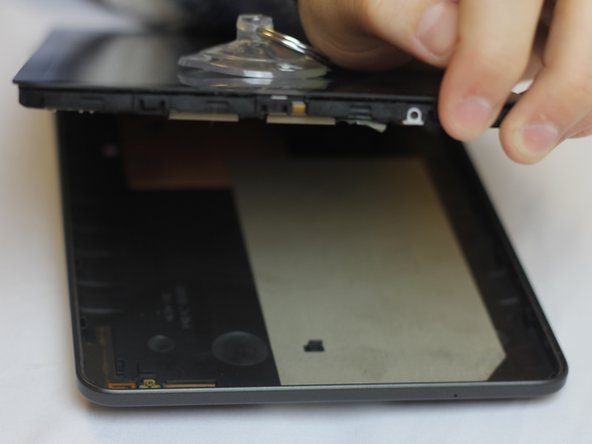
– As you pop more clips free, the job gets simpler—kind of like peeling a sticker but without the sticky fingers.
– Once about half the clips are popped, use your hands to carefully pull the back cover away from the device—gentle does it!
– If you want a little extra help, a suction cup can lend a hand to separate the pieces smoothly.
Step 4


– Flip the device so the screen is face down. Find the front panel connector at the top left corner of the motherboard.
– To disconnect it, grab some tweezers and gently flip the connector lock upwards, moving it toward the battery to unlock.
Tools Used

Step 5

– Now that you’ve released the connector lock, grab a pair of tweezers and gently pull the cable out of its housing. It’s a delicate move, so take your time!
Tools Used
Step 6
– Put your device back together by simply reversing these steps.
– If you hit a snag or want a hand, you can always schedule a repair.
Success!
