Samsung Galaxy Tab E Lite 7 Kids Battery Replacement
Duration: 45 minutes
Steps: 5 Steps
Ready to swap out the battery in your Samsung Galaxy Tab E Lite 7 Kids? This guide will walk you through the process step by step, making sure you avoid any mishaps with those delicate parts inside your tablet. Take it slow, follow the instructions carefully, and you’ll have it up and running in no time. If you hit a roadblock, feel free to schedule a repair for extra support!
Step 1


Don’t forget to power down your device before getting started. Safety first!
– Grab a plastic opening tool and gently slide it into the seam where the screen meets the case.
– Wiggle the tool back and forth, moving it toward and away from the center of the screen, to help loosen the tape holding everything together.
Step 2


– Once you’ve gently popped the latches apart that keep the screen and case buddies stuck together, carefully lift the screen away from the case like you’re unveiling a secret.
Step 3
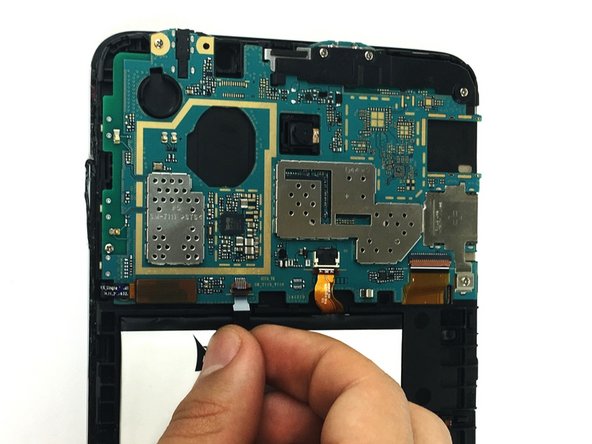

– Grab your plastic opening tool and carefully pop up the black ZIF connector circled in red—think of it like a gentle nudge, not a yank.
– Then, use your fingers to slide that black cable right out of its slot with a smooth pull.
Step 4
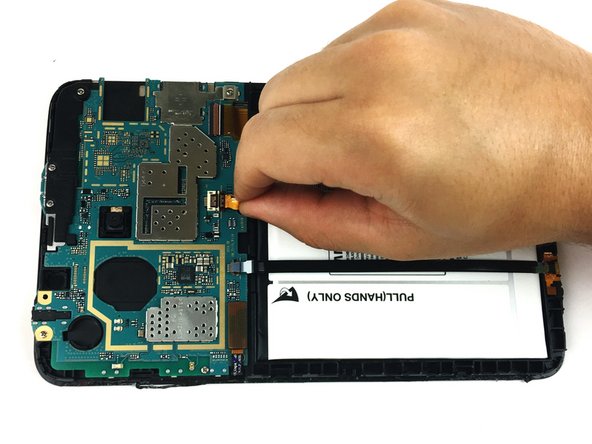

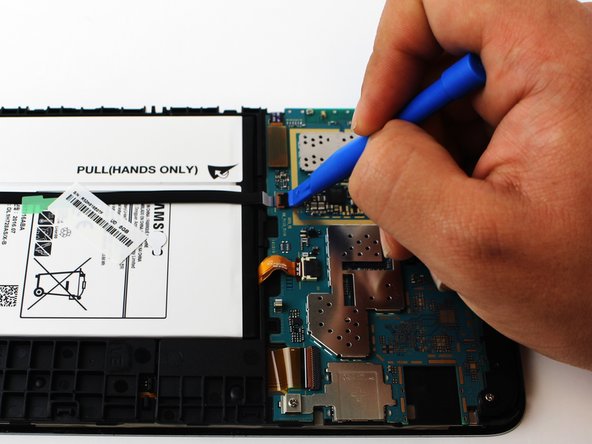
– Grab your plastic opening tool and gently pry up the black ZIF (zero insertion force) connector, which is highlighted within the red square. Once that’s done, carefully pull out the battery’s ribbon cable to disconnect it.
Step 5

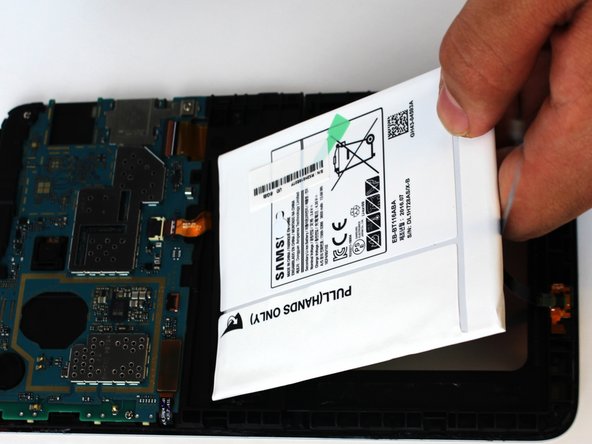
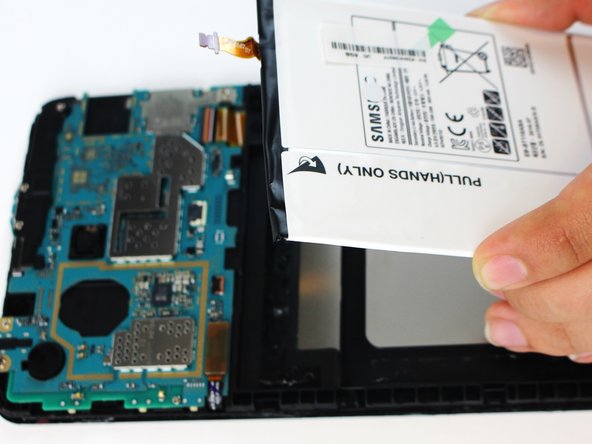
– You’re almost done! To put everything back together, just follow these steps in reverse. Easy peasy!
– If you need help or have any questions, you can always schedule a repair with Salvation Repair.
Success!