Samsung Galaxy Tab E Lite 7 Kids Camera Replacement
Duration: 45 minutes
Steps: 10 Steps
Ready to replace the camera in your Samsung Galaxy Tab E Lite 7 Kids? Follow these simple steps, and you’ll have it back to its picture-perfect self in no time. Just take it slow and be careful around those delicate parts—you don’t want any surprise mishaps. If you need help, you can always schedule a repair.
Step 1


Before you get started, double-check that the device is powered down. It’s the first step to keep things safe and smooth sailing!
– Grab your plastic opening tool and carefully slide it between the screen and the case.
– Gently rock the tool back and forth, moving towards and away from the center of the screen. This will help loosen the tape holding the screen and case together.
Step 2


– Once you’ve popped apart the latches that keep the screen and case buddies stuck together, gently lift the screen away from the case like you’re unveiling a masterpiece.
Step 3
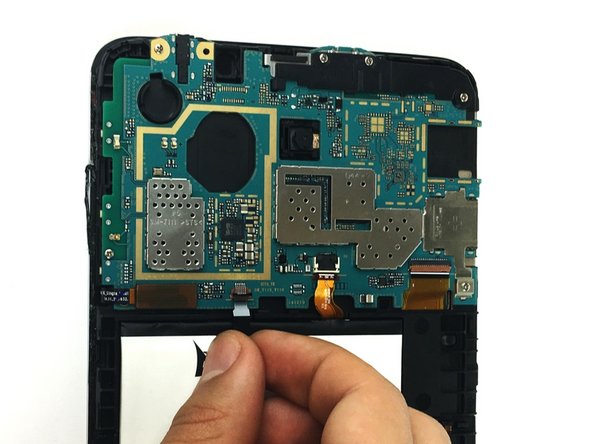

– Grab your trusty plastic opening tool and gently lift up the black ZIF (zero insertion force) connector.
– Now, use your hands to carefully pull the black cable out of its slot. Nice and easy!
Step 4

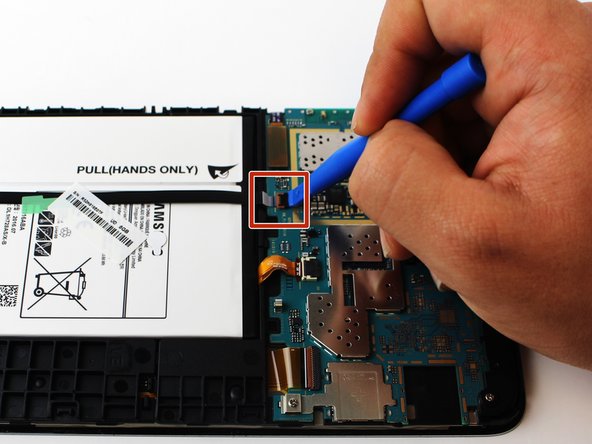
– Grab your trusty plastic opening tool and gently lift the ZIF (zero insertion force) connector that’s holding the ribbon cable in place.
– Now, carefully pull out the ribbon cable from the battery. No need to rush, just take it slow and steady.
Step 5
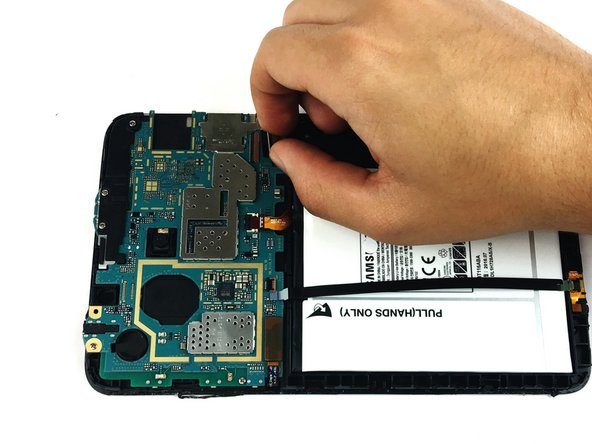

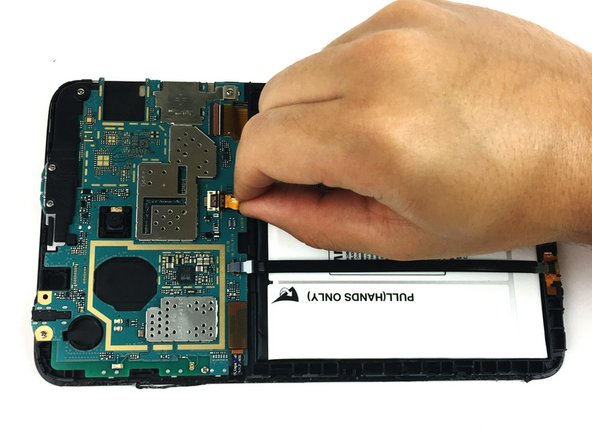
– Gently pry up the latch on the ribbon cable using your trusty plastic opening tool.
– Carefully unplug the ribbon cable from its connector.
Step 6

– Take out the seven 4mm PH000 screws that are holding the motherboard snugly in place. Don’t forget, if you hit a snag, you can always schedule a repair to get expert help.
Step 7

– Now it’s time to carefully pry up the tab that’s holding the motherboard in place – use that trusty plastic opening tool to get the job done!
Step 8


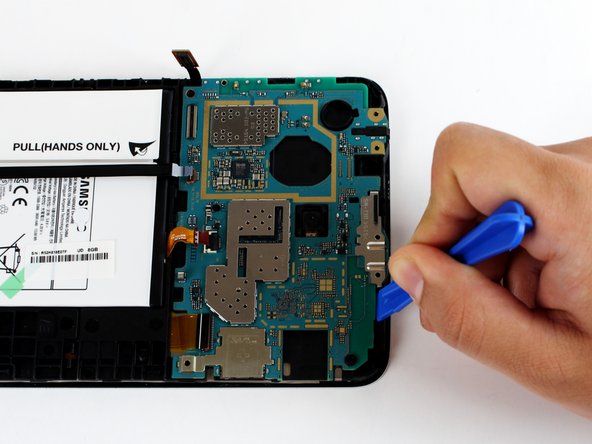
– Grab your precision tweezers and carefully pop off the black plastic corner resting on top of the motherboard. It’s like a little puzzle piece, just take it slow and steady.
– Next, use the plastic opening tool to gently pry the motherboard out of the case. Give it a little nudge, and it should come out nice and easy. If you need help, you can always schedule a repair.
Tools Used

Step 9

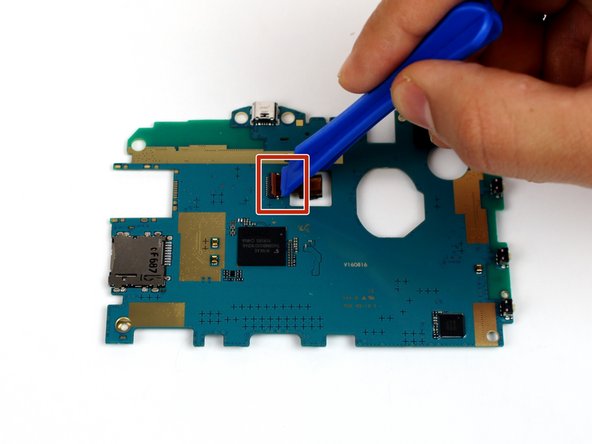
– Time to get this repair started – flip that motherboard over and let’s get access to what’s underneath!
– Now, use a plastic opening tool to carefully lift up the latch that’s holding the camera cable in place. You got this!
Step 10
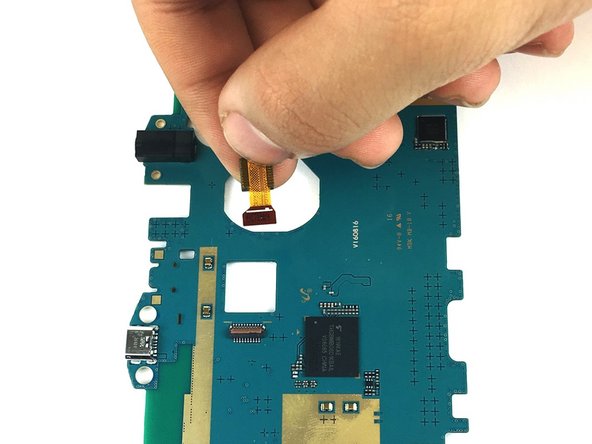

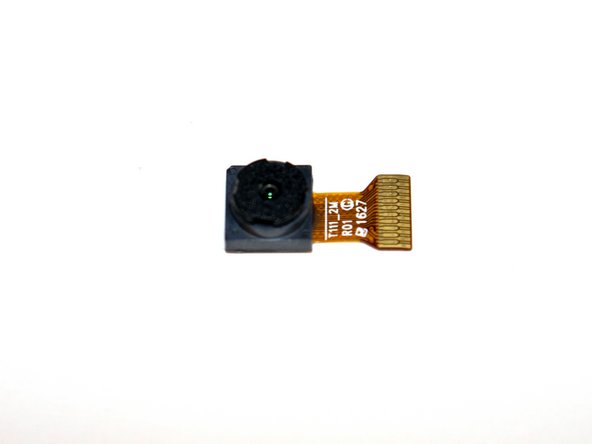
– Gently disconnect the ribbon cable and carefully lift out the camera. If you need help, you can always schedule a repair.
Success!