Samsung Galaxy Tab E Lite 7 Kids Charging Port Replacement
Duration: 45 minutes
Steps: 9 Steps
Ready to bring your Samsung Galaxy Tab E Lite 7 Kids back to life? This guide will walk you through the process of replacing the charging port. Just follow the steps carefully, and take your time to avoid any damage to those delicate internal components. And if you hit a snag along the way, don’t hesitate to schedule a repair for expert help!
Step 1


Before you start taking your device apart, make sure it’s powered off. Safety first, folks!
– Grab a plastic opening tool and gently slide it into the seam between the screen and the case.
– Gently rock the tool back and forth, moving it toward and away from the center of the screen, to carefully loosen the tape holding everything together.
Step 2


– Once you’ve released the latches holding the screen and case together, gently lift the screen off the case. Take it slow—no need to rush this part!
Step 3
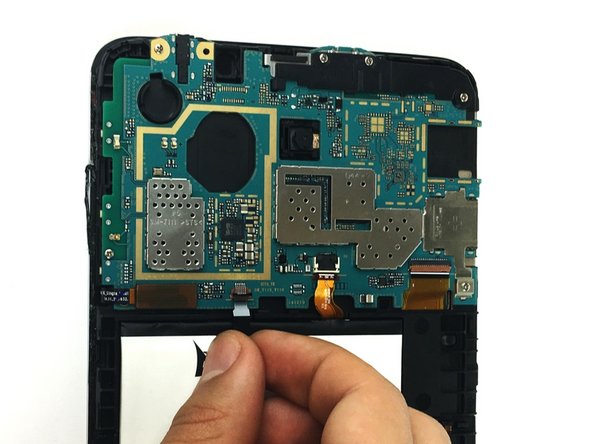

– Let’s get started! Use a plastic opening tool to carefully lift up that black ZIF (zero insertion force) connector – it’s the first step to freeing your device’s inner workings.
– Now it’s time to get a little hands-on: gently pull the black cable out of its slot. You’re making great progress!
Step 4

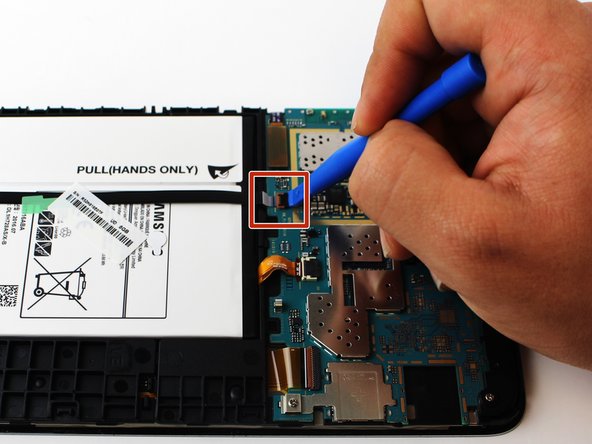
– Time to get started! Use a plastic opening tool to gently lift the ZIF connector that’s holding the ribbon cable in place.
– Now, carefully pull out the ribbon cable that’s connected to the battery.
Step 5
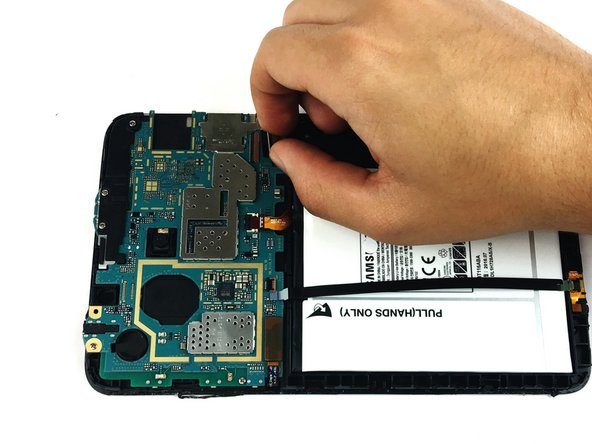

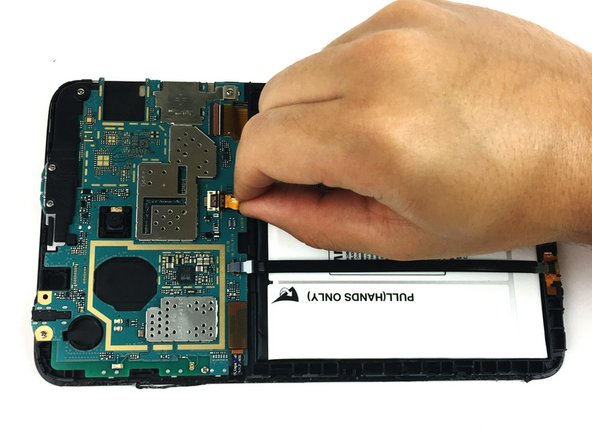
– Let’s get started by using that trusty plastic opening tool to gently pry up the latch on the ribbon cable – it’s like opening a little door!
– Now it’s time to set that ribbon cable free from its connector – just pull it out and you’re one step closer to a fully functional device!
Step 6

– Let’s get started by removing the seven 4mm PH000 screws that keep the motherboard securely in place. Take your time and make sure to set them aside safely.
Step 7

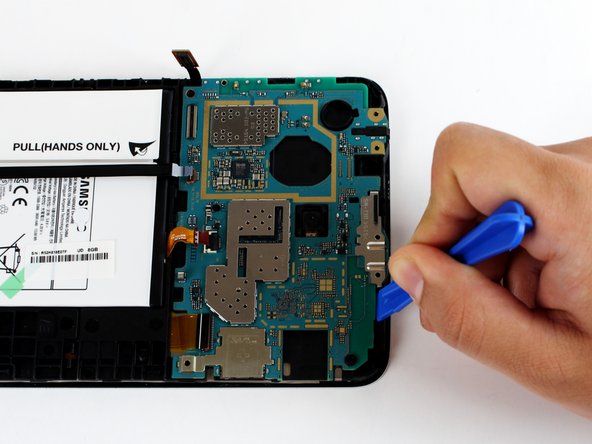
– Grab your plastic opening tool and gently pry up the tab that’s holding the motherboard in place. Take your time and get under that clip to free the board smoothly. If you need help, you can always schedule a repair.
Step 8


– Grab your precision tweezers and carefully lift off that black plastic corner sitting on top of the motherboard.
– Next, take the plastic opening tool and gently wiggle the motherboard free from the case.
Tools Used

Step 9


Want to get the hang of soldering? Dive into our step-by-step soldering technique guide to boost your skills and tackle your repair like a pro!
– Now, just reverse these steps to put everything back together. Easy, right?
– If you need a hand with any tricky parts, don’t hesitate to schedule a repair.
Tools Used

Success!