Samsung Galaxy Tab E Lite 7 Kids Motherboard Replacement
Duration: 45 minutes
Steps: 8 Steps
Ready to give your Samsung Galaxy Tab E Lite 7 Kids a new lease on life? This guide will walk you through replacing the motherboard. Just be sure to take it slow and steady, so you don’t accidentally damage any delicate parts. If you need help along the way, feel free to schedule a repair.
Step 1


Double check that your device is powered down completely before diving into the teardown dance.
– Grab your trusty plastic opening tool and gently slide it between the screen and the case.
– Now, gently rock the tool back and forth towards the center of the screen, working to break free the adhesive holding everything together. Patience is key!
Step 2


– Gently release the latches holding the screen and case together, then carefully lift the screen off the case. Take it slow and steady – your device will thank you.
Step 3
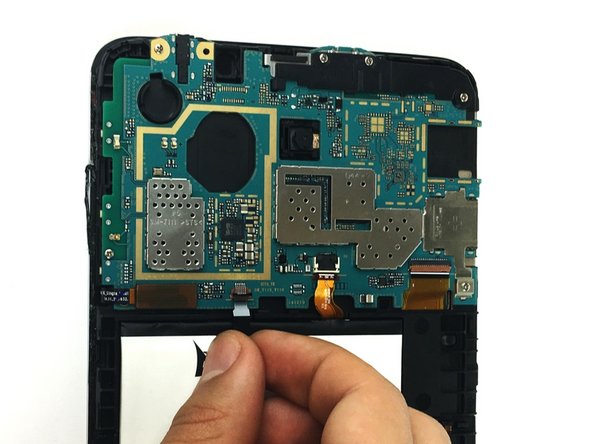

– Grab your plastic opening tool and gently pry up the black ZIF (zero insertion force) connector like a pro.
– Carefully slide the black cable out of its slot using just your fingers — no tugging, just smooth moves.
Step 4

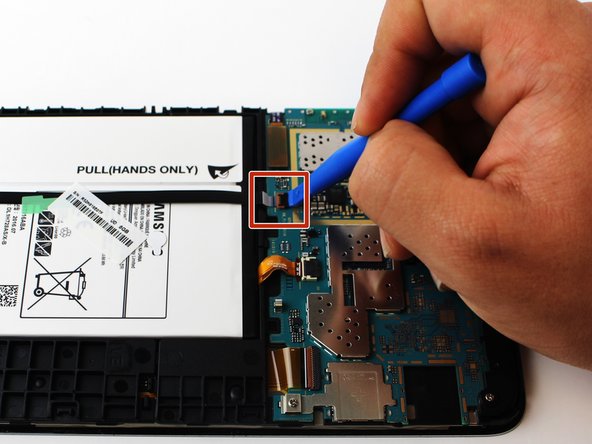
– Grab your plastic opening tool and gently lift the ZIF (zero insertion force) connector that’s clutching the ribbon cable.
– Carefully pull out the ribbon cable from the battery to disconnect it.
Step 5
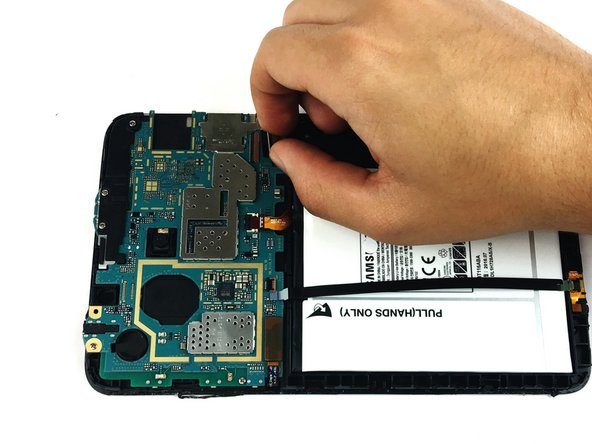

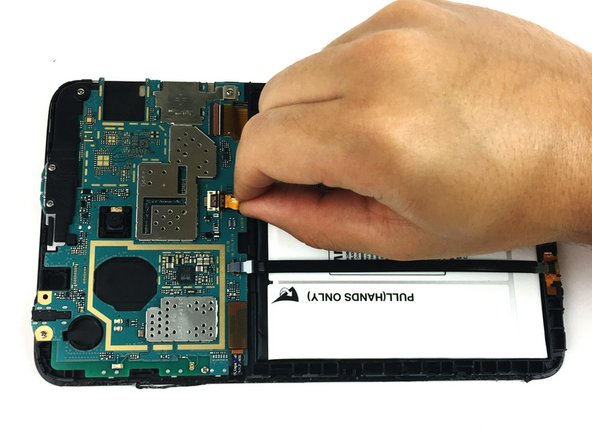
– Grab your plastic opening tool and gently pry up the latch holding the ribbon cable in place.
– Carefully disconnect the ribbon cable from its connector to free it.
Step 6

– Unscrew the seven 4mm PH000 screws that keep the motherboard snug in place.
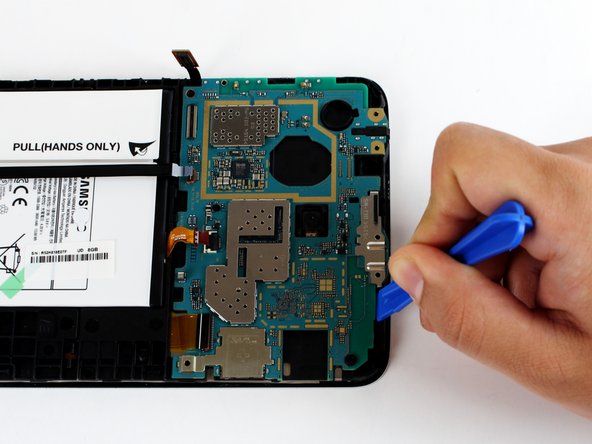
Step 7

– Now it’s time to gently pry up the tab that’s holding the motherboard in place – use that trusty plastic opening tool to get the job done!
Step 8


– Put your device back together by following these steps in reverse—easy peasy!
– If you hit a snag or this feels like too much, no worries—you can always schedule a repair and let the pros handle it.
Tools Used

Success!