Samsung Galaxy Tab S 10.5 Display Replacement Guide
Duration: 45 minutes
Steps: 8 Steps
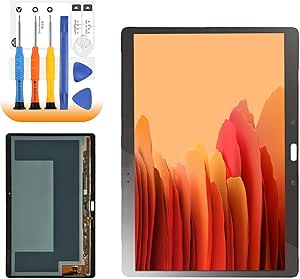
Is your screen playing tricks with dead pixels or colors that just aren’t right? Time to give that display a makeover! Follow this guide to swap out the display on your device and bring it back to life. If you need help, you can always schedule a repair.
Step 1
– Pop that plastic opening tool into the SD card slot or charging port.
– Give it a little upward wiggle until you see a gap between the tablet and the back cover. Keep at it, you’re doing great!
Step 2
The first time is always a bit tricky to pry off the back cover from the tablet, but you’ve got this!
The clips are spaced about 5 cm apart. As you work your way around the device, you’ll hear the clips making a satisfying ‘pop’ as they come loose.
– Work your way around the device by gliding the plastic opening tool along the edges.
Step 3
Handle the internal components of the tablet with extra care!
– Take off the back cover after you’ve successfully disconnected all the links. You’ve got this!
Step 4
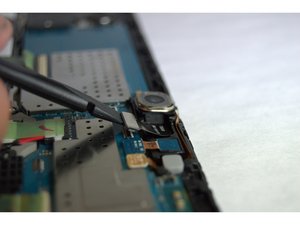
Warning : Ribbon cables are connected with ZIF connectors (Zero Insertion Force): it requires a special sequence with rotation of a plastic lever to release the pressure on contacts. Then ribbon cable can be extracted without any damage.
– Once you’ve got the back cover off, grab a pair of tweezers and gently pop off those two (T807) ribbons. You got this!
Tools Used
Step 5
– Using your trusty Phillips #000 screwdriver, carefully unscrew the four screws that are keeping the battery in place. You’ve got this!
Tools Used
Step 7
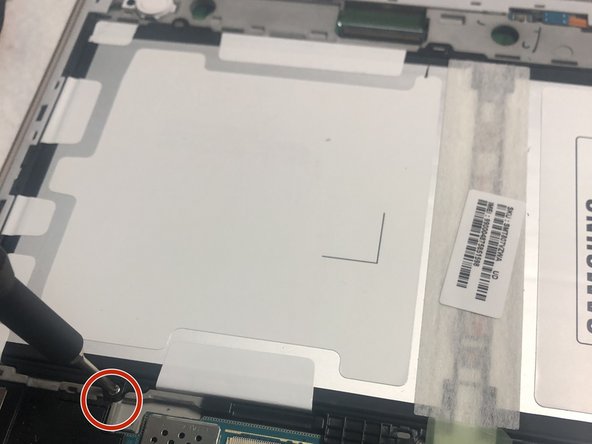
– Now it’s time to get started! Use a trusty Phillips #00 screwdriver to carefully remove the screw that’s holding the motherboard in place. Take your time, and don’t worry if it takes a little bit of elbow grease – you’ve got this!
Tools Used
Step 8
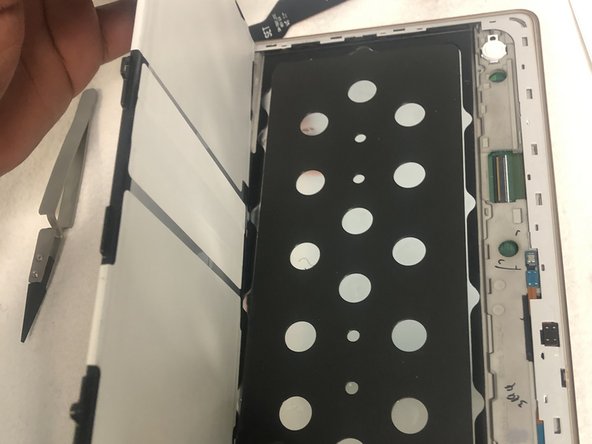
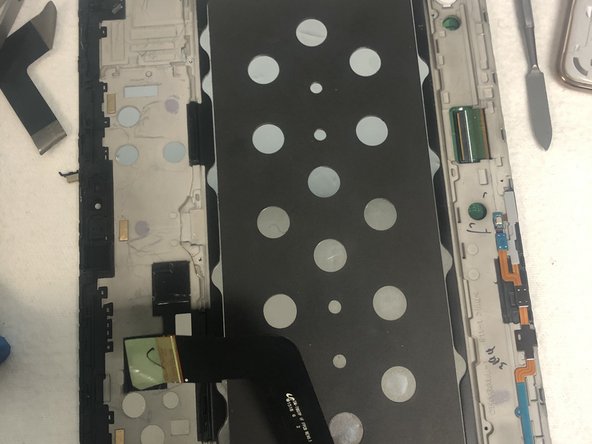
What you’re looking at now is the whole display assembly of the device, ready for your expert touch!
– To put your device back together, just follow these steps in reverse!
– Cancel: I couldn’t finish this guide.
– If you need help, you can always schedule a repair.
Tools Used
Success!


