Samsung Galaxy Tab S2 9.7 AT&T Camera Replacement
Duration: 45 minutes
Steps: 9 Steps
A busted camera can turn your photos into blurry messes or stop working altogether. Don’t worry, with a little patience, you can get it back in focus. If you need help, you can always schedule a repair.
Step 1


Keep that heat gun moving—don’t let it sit in one spot for more than two seconds, or you might accidentally melt the plastic around the screen.
No heat gun? No problem! You can swap in an iOpener or even a hair dryer. For a little extra guidance, check out the iOpener guide.
– Warm things up a bit by moving the heat gun around the edges of the tablet to soften that stubborn adhesive. Keep it gentle and steady, and you’ll have that screen lifting in no time. If you need help, you can always schedule a repair.


Step 2


– Stick the suction cup on the bottom or top right corner—go for that sweet spot.
– As you gently pull up with the suction, work the plastic opening tool around the edges to nudge the screen loose. Patience is key—and don’t rush it!
Step 3

Take it easy when opening the tablet – don’t yank the pieces apart! There’s a delicate orange ribbon cable inside, and you definitely don’t want to risk damaging it. Go slow and steady!
– After detaching the screen, gently open the tablet like you’re flipping through a book. Keep it steady and friendly, and if you need help, you can always schedule a repair.
Step 4

– Grab your trusty precision tweezers and gently peel off the silver tape that’s holding that orange ribbon cable in place. Easy does it, and you’ll have it in no time!
Step 5

– Grab your trusty precision tweezers and gently lift that tiny press-fit connector from the tablet’s body. It’s a small step, but it makes all the difference!
Step 6


Keep those screws safe—drop them onto a magnetic mat or pop them in a small container so they don’t go AWOL.
– Grab your trusty Philips #000 screwdriver and go ahead and unscrew the seventeen 2.74 mm screws that line the edges. Take your time, and make sure you’re all set for the next step.
– Now, let’s focus on the two 2.74 mm black screws in the center of the tablet. Use the same Philips #000 screwdriver to carefully remove them. You’re almost there!
Tools Used

Step 7


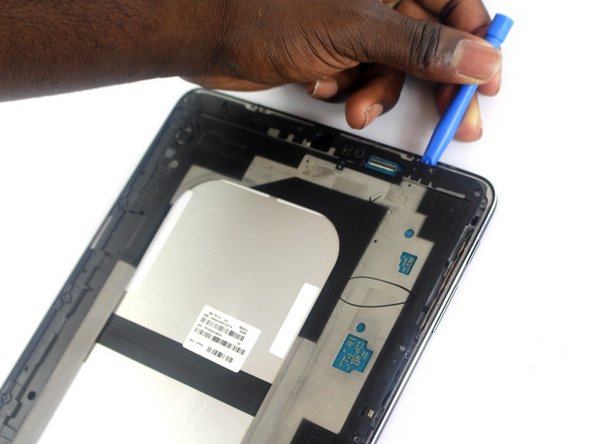
– Use the plastic opening tool to gently work around the edges of the tablet, carefully lifting the motherboard out of the device. Take your time, no rush – you’ve got this!
Step 8
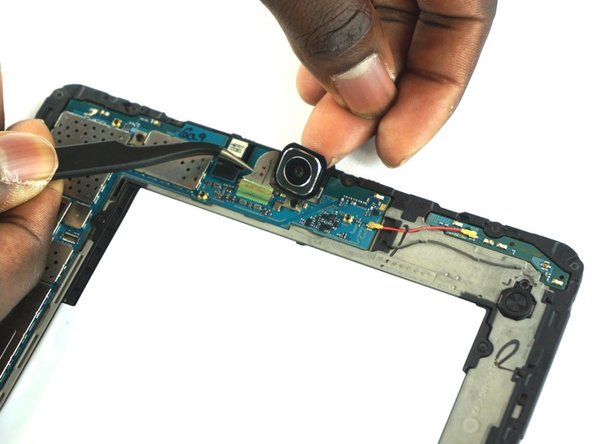
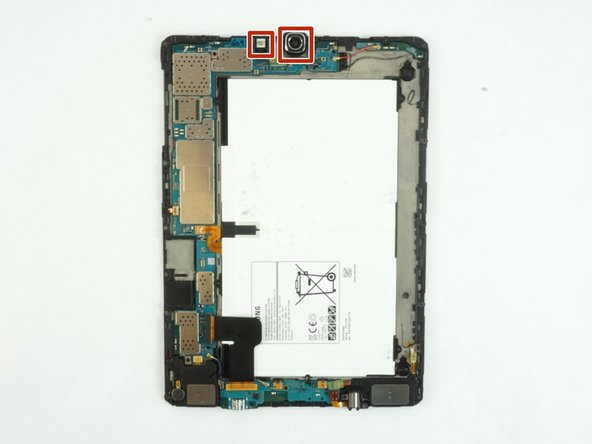
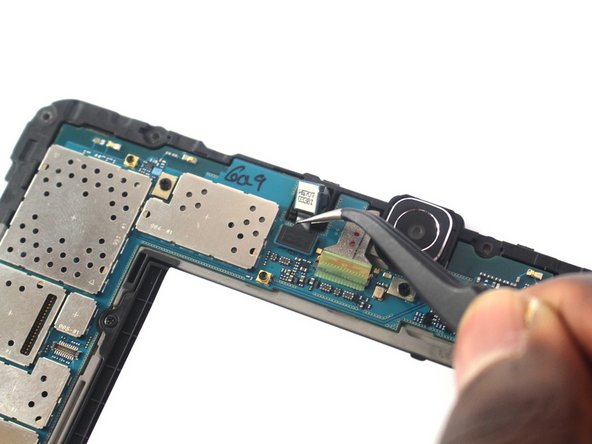
– Find the two cameras sitting at the top of the motherboard—that’s your starting point.
– To get the larger, back-facing camera free, grab some precision tweezers and gently slide the silver ribbon cable out of its ZIF connector. Easy does it!
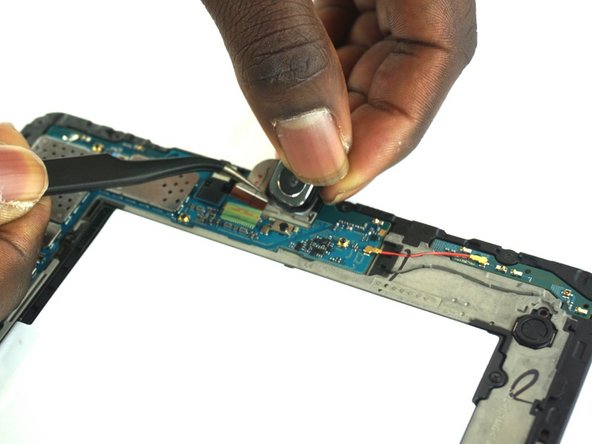
Step 9
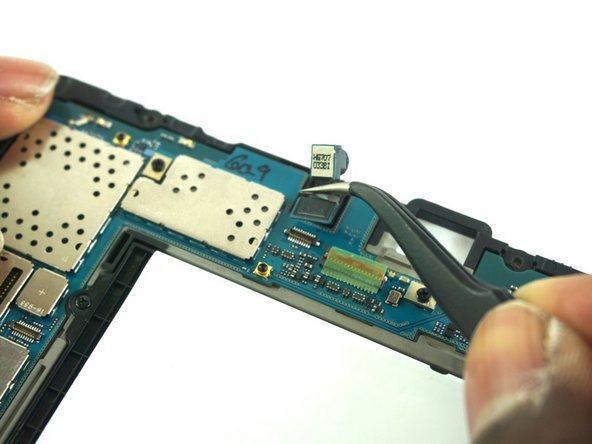
– Grab your precision tweezers and gently disconnect the press-fit connector to free the smaller, front-facing camera.
– Carefully lift and detach the camera using your precision tweezers—easy does it!
Success!