Samsung Galaxy Tab S2 9.7 SM-T813 Motherboard Replacement
Duration: 45 minutes
Steps: 23 Steps
Replacing the motherboard isn’t a solo job—it requires removing some other parts first. Make sure to check out the prerequisite guides before diving into the motherboard swap to keep things smooth and avoid surprises. If you need help along the way, remember you can always schedule a repair.
Step 1

Heads up: those iOpeners are toasty! Grab them by the end tabs so you don’t burn your fingers.
For a deeper dive into using those handy iOpeners, check out the iOpener Instructions. They’re worth a look!
– Pop those iOpeners in the microwave for 1-2 minutes to get them nice and warm.
– Lay the toasty iOpeners around the edges of the screen to loosen up the adhesive.
Tools Used

Step 2

– Gently pry the screen assembly away from the back by slipping those trusty picks in between the two parts.
– Run the picks along the edge and let them keep the device open all around, just like a pro!
Step 3

– Grab that suction cup and gently place it near the corner of the screen. Lift it up just a bit to create a little gap between the front panel and the back. You’re doing great!
– Now, slide those picks in to keep the two parts apart once you’ve got that gap. Easy peasy!
Step 4

Watch out for those sharp edges! Broken glass can be a little prickly, so keep your fingers safe while you work.
– After all the edges are loose, gently lift the screen by tilting one side upward. Take it slow and steady—no rush!
Step 5

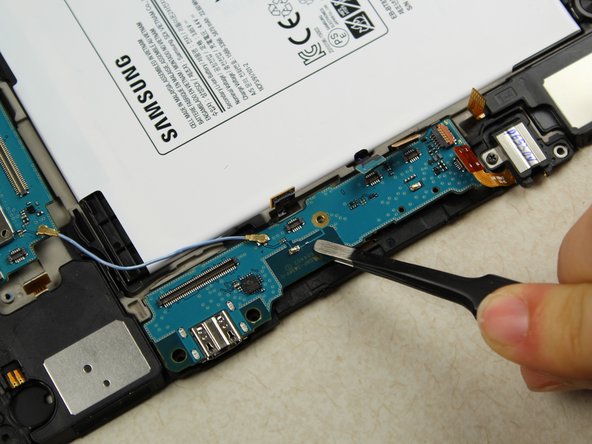
– Grab your tweezers and gently lift up the silver tape covering the connector. Take it slow and steady—no rush! If you need a hand, you can always schedule a repair.
Tools Used

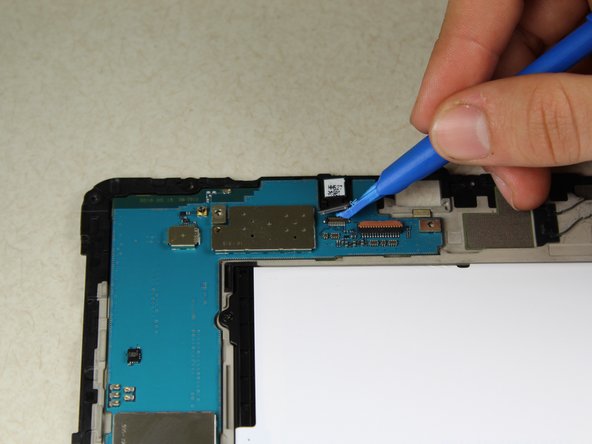
Step 6

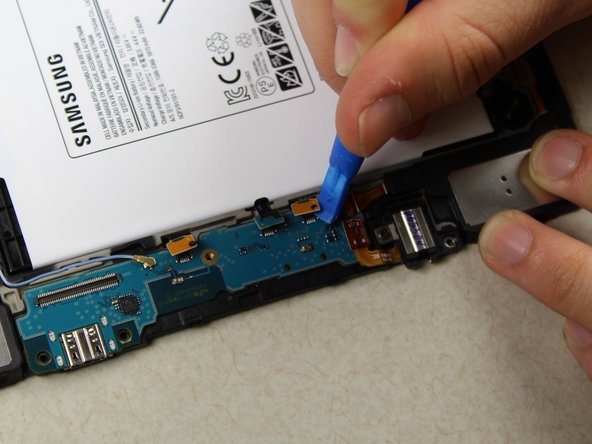
– Grab your trusty plastic opening tool and gently slide it under the connector piece. This will free up the front panel, so you can easily detach it from the rest of your device. Nice and smooth!
Step 7

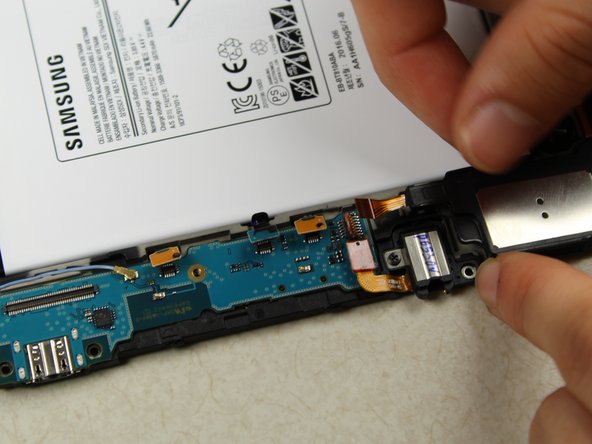
– Unplug the connector from inside the device—think of it like untangling a pair of stubborn headphones.
– Gently lift up the screen to pop the front panel off, setting it free from the rest of the device.
Step 8


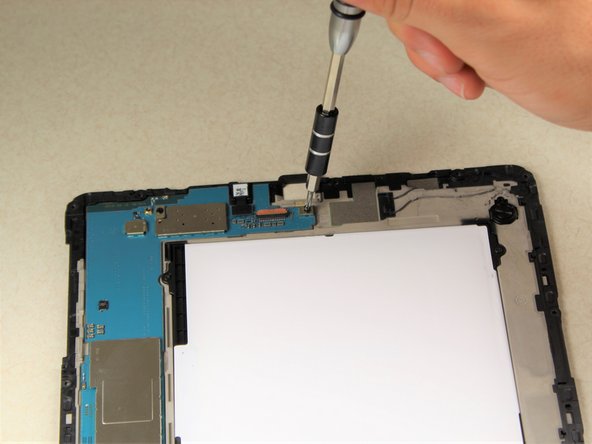
Need a refresher on screw removal? Check out Screwdriver Best Practices for some smooth moves.
– Use your screwdriver to carefully remove the 17 silver 3.0 mm Phillips head screws around the edge of the device. If you need help, you can always schedule a repair.
Step 9


– Grab your trusty screwdriver and remove the two black 3.0 mm Phillips head screws right in the center. Easy does it!
Step 10


Hearing pops or cracks? Totally normal! That’s just the panel doing its thing and coming loose from the rest of your device.
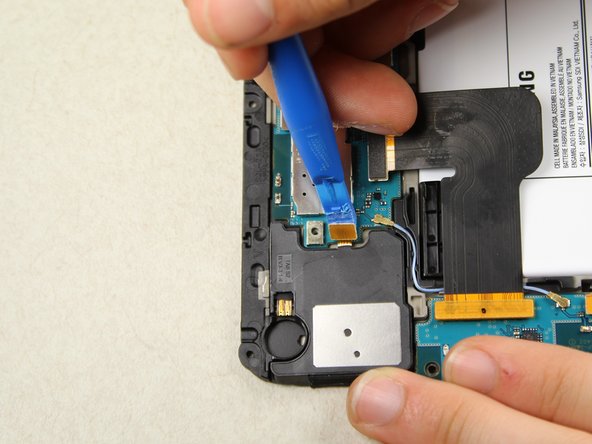
– Grab your trusty plastic opening tool and carefully work it between the middle panel and the rest of the device.
– Slide the tool all the way around the edges until the panel pops loose and you can lift it off with your hands.
Step 11


– Gently lift the central panel from one corner to start loosening it from the device. Then, pull upward towards the top of the device as you lift it out, making sure not to damage the charging port connection. If you need help, you can always schedule a repair.
Step 12


– Grab your trusty screwdriver and carefully unscrew the 4 black 3.0 mm Phillips head screws, one on the upper motherboard and the other on the lower. It’s a simple task, but take your time!
Step 13

– Grab your trusty plastic opening tools and carefully pop open the 11 connectors that are waiting to be freed before you can lift out that motherboard. You’ve got this!
Step 14


– Grab that plastic opening tool and keep going! It’s time to detach those cables on the upper motherboard. You’ve got this!
Step 15


– Keep working your way down the left edge of the device, gently disconnecting as you go.
Step 16


– Keep going with detaching those cables on the lower motherboard. You’ve got this!
Step 17

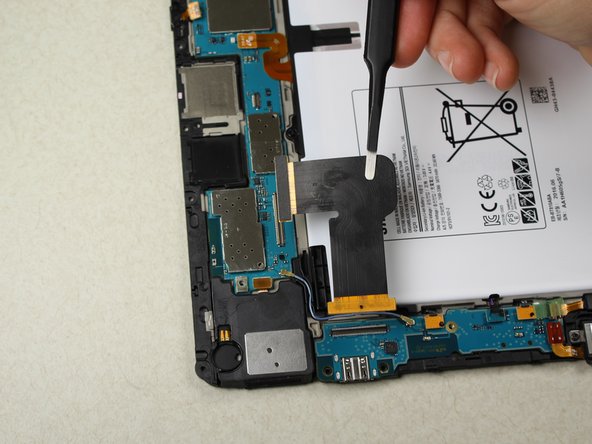
– Grab your tweezers and gently peel away the green plastic film to access the last cable. Keep it careful and steady—you’re almost there! If you need help, you can always schedule a repair.
Tools Used
Step 18
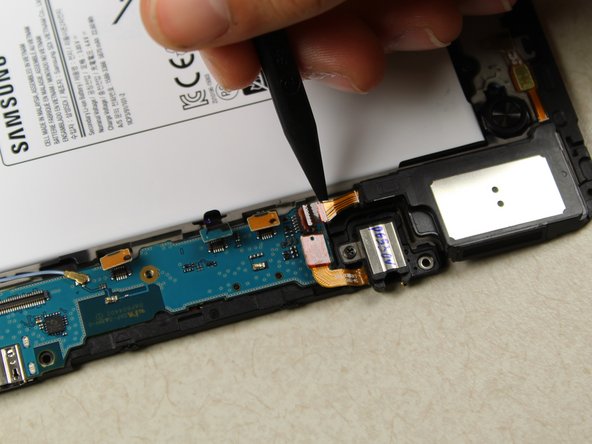

– Gently lift the orange flap with your trusty black spudger. Once that’s done, go ahead and disconnect the cable from the motherboard.
Tools Used

Step 19


– Gently lift the cable off the motherboard using the tweezers, taking care not to force it. If you need a hand, you can always schedule a repair.
Tools Used
Step 20


– Gently lift the top part of the motherboard away from the back panel using your hands. If you need help, you can always schedule a repair.
Step 21


– Grab your tweezers and gently wiggle them under the lower motherboard to loosen that stubborn adhesive.
– Carefully latch onto the adhesive with your tweezers and lift it away. Keep it steady and patient—you’re doing great!
Tools Used
Step 22


Keep those two motherboard halves chilling together—if that little connecting cable gets messed up, things can go downhill fast for your board.
– Gently lift up the lower motherboard, giving it a careful nudge to free it from its snug spot. Keep at it steadily—no rush, just a smooth lift to keep everything in good shape. If you need help, you can always schedule a repair.
Step 23

– Carefully lift the two parts of the motherboard out of the back panel.
Success!