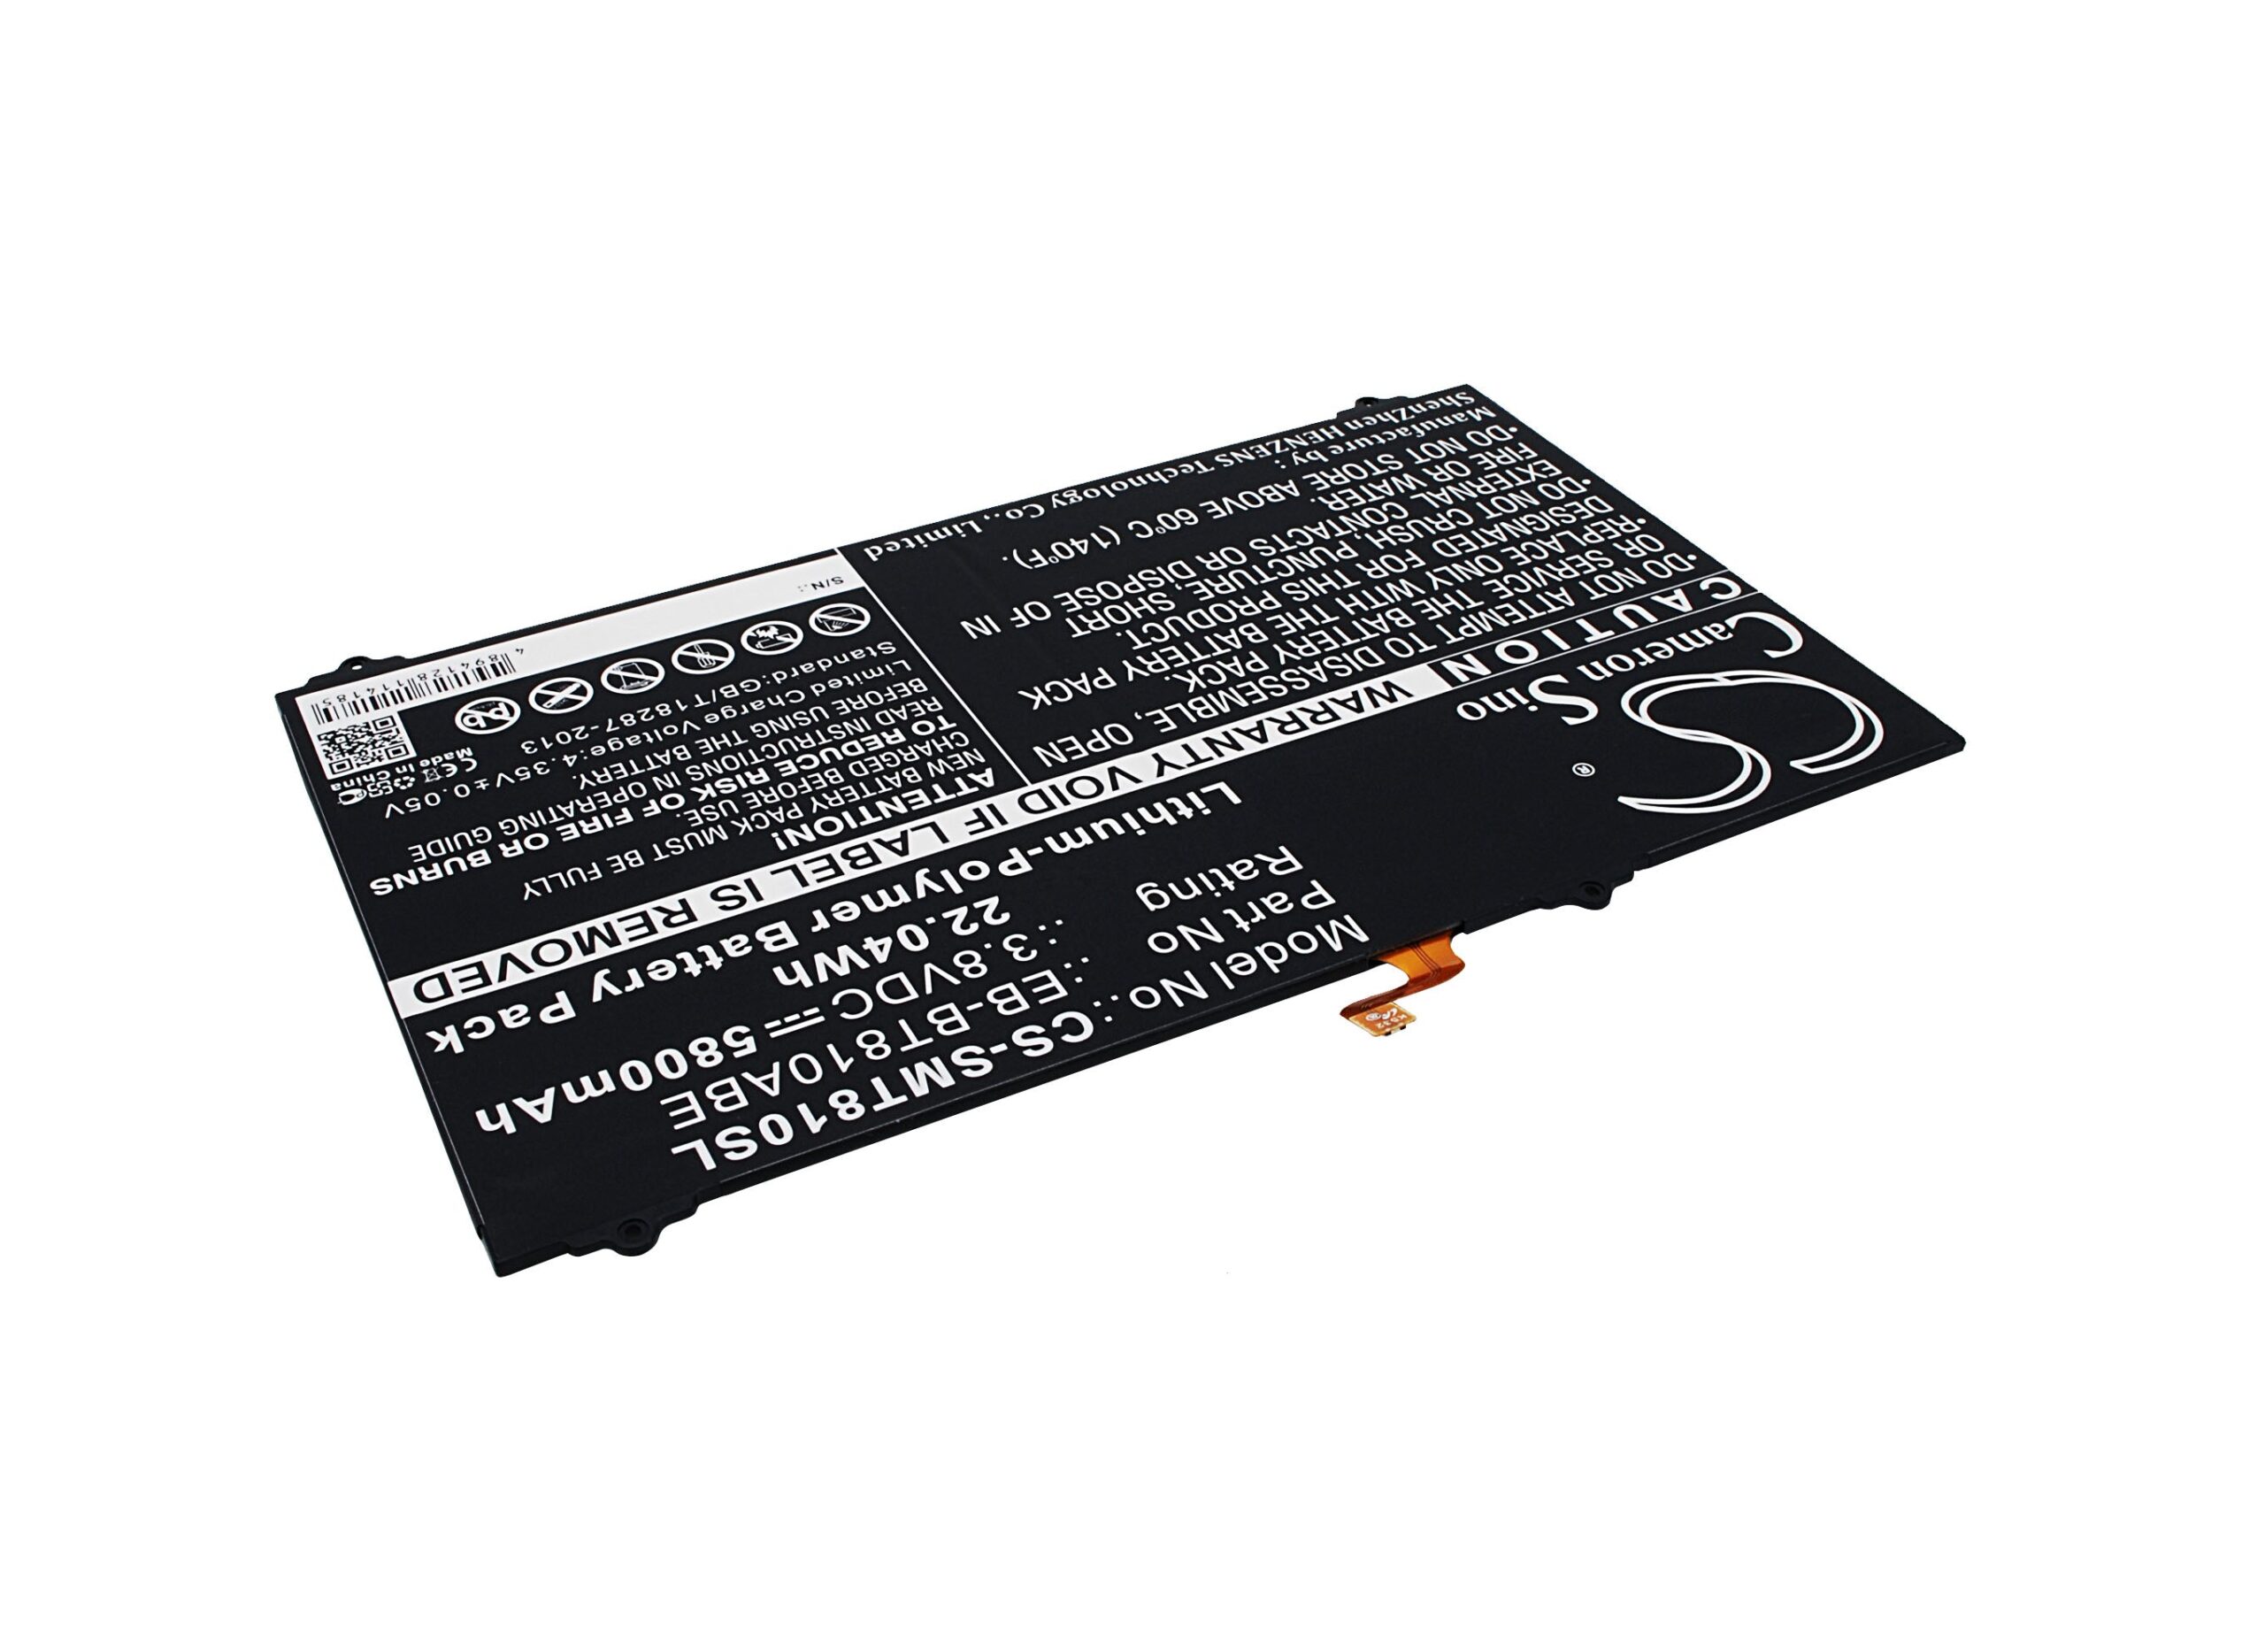
Samsung Galaxy Tab S2 9.7 SM-T813 Screen Replacement
Duration: 45 minutes
Steps: 7 Steps
Be careful here—there’s a lot of glue on the back of the screen. Watch out for any sharp bits of broken glass to avoid cuts while working. If you need help, you can always schedule a repair.
Step 1
The iOpeners get pretty toasty—grab them by the end tabs to keep your fingers happy.
Want to get the lowdown on using iOpeners like a pro? Check out the iOpener Instructions for all the tips and tricks.
– Pop those iOpeners in the microwave for about 1-2 minutes to get them nice and toasty.
– Gently lay the warmed iOpeners along the edges of the screen to loosen up that sticky adhesive.
Tools Used
Step 2
– Gently wedge the picks between the screen assembly and the back to start separating them. Then, slide the picks along the edge, keeping them in place to hold the device open all around. If you need help, you can always schedule a repair.
Step 3
– Start by positioning your suctioning tool near one of the screen’s corners, then gently lift it up to create a small gap between the front panel and the back.
– Once you’ve got that gap, carefully insert your picks to keep the two parts separated. It’s like giving your device a little breathing room!
Step 4
Watch out for sharp edges! Broken screen glass can be sneaky, so handle with care.
– Once you’ve loosened all the edges, gently peel the screen up from one side and lift it off.
Step 5
– Grab your tweezers and carefully lift the silver tape covering the connector. Take your time—gentle is the way to go. If you need help, you can always schedule a repair.
Tools Used
Step 6
– Grab your plastic opening tool and gently slide it under the connector piece. This will help you lift the front panel assembly away from the rest of the device. If you need help along the way, you can always schedule a repair.
Step 7
– Unplug the connector nestled inside the device.
– Gently raise the screen to free the front panel assembly from the rest of the gadget.
Success!


