Samsung Galaxy Tab S2 9.7 Verizon Battery Replacement Guide
Duration: 45 minutes
Steps: 9 Steps
Got a tablet that’s running on fumes or refusing to charge? Don’t worry, a battery replacement might be just what it needs! Follow this step-by-step guide from Salvation Repair and you’ll be a pro in no time.
Step 2
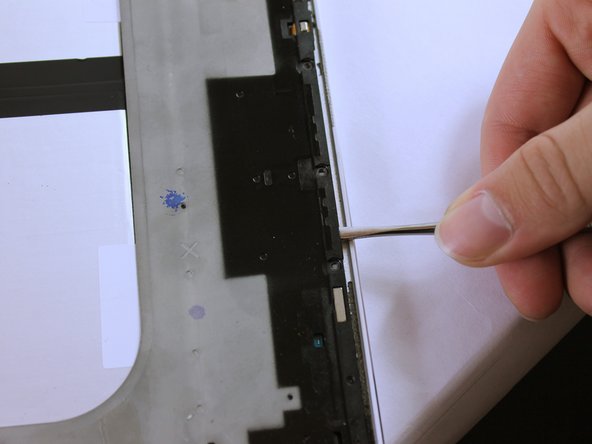
Careful now! Don’t shove the metal spudger past these buttons—you don’t want to mess up your device.
– Now that the glue is softened, grab that metal spudger and gently pry open all sides of the tablet.
– When you’re working near the home and touch screen buttons, use a suction cup to avoid damage.
Step 3
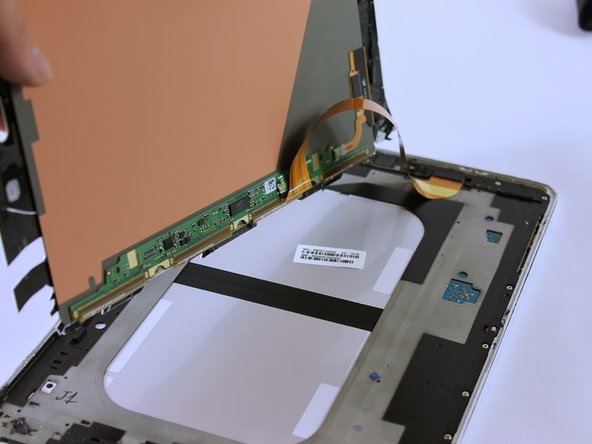
Watch out! There’s a ribbon cable in there. If you lift the screen too fast, it could get damaged. Take it slow and steady!
– Gently pop up the screen like you’re opening a treasure chest.
Step 4
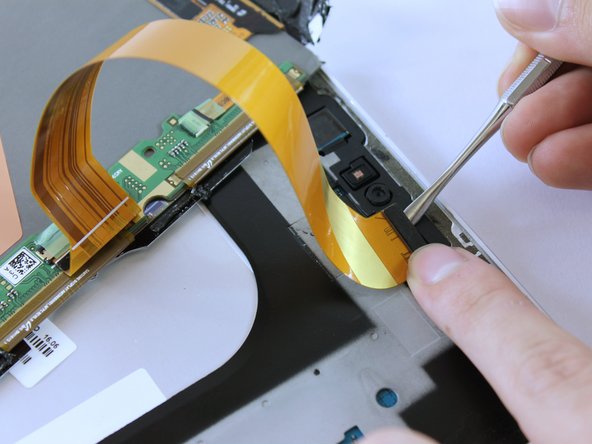
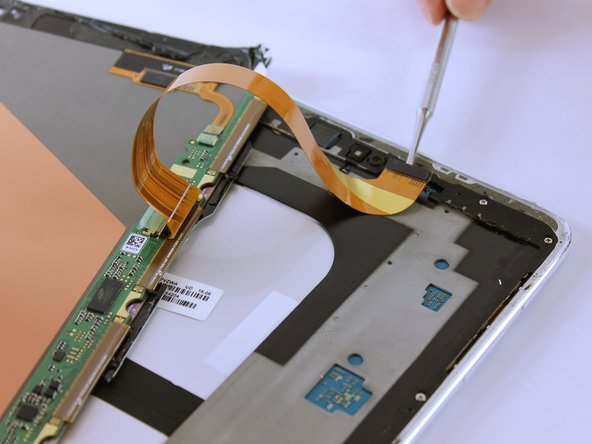
The ribbon might be snugly taped under the grey frame. Carefully peel it back to free it up!
– Gently pop off the ribbon cable with the Metal Spudger—easy does it, you’re a pro!
Step 5
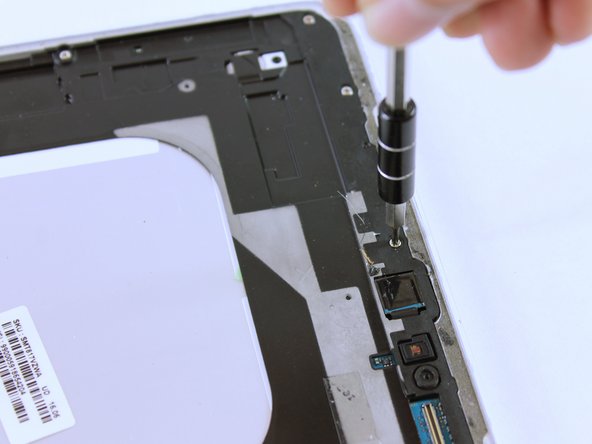
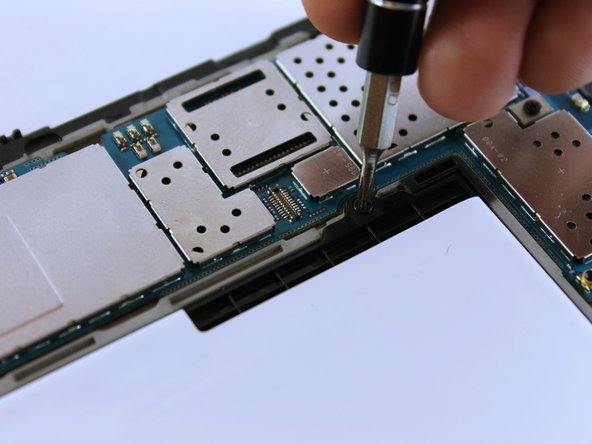
– Let’s get started! Remove all seventeen 3 mm screws using a trusty PH000 Phillips screwdriver. Take your time and make sure to keep those screws organized, you’ll need them later!
Step 6
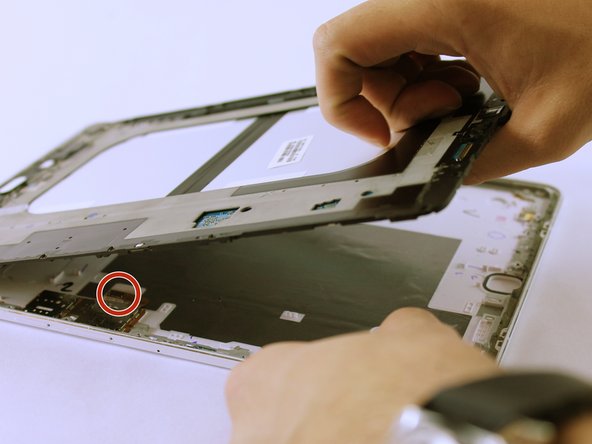
Check out the third picture—there’s a Sim Card component chillin’ between the frame and back cover. As you lift the frame, it’ll pop off. No worries, that’s totally supposed to happen!
– Gently pop up the black frame using the two Metal Spudgers shown. You’ve got this!
Step 7
– Once you’ve lifted it up, give that grey frame a flip!
– This little guy connects to the SIM card.
– When you’re putting the tablet back together, don’t forget to click this piece back into place.
Step 8
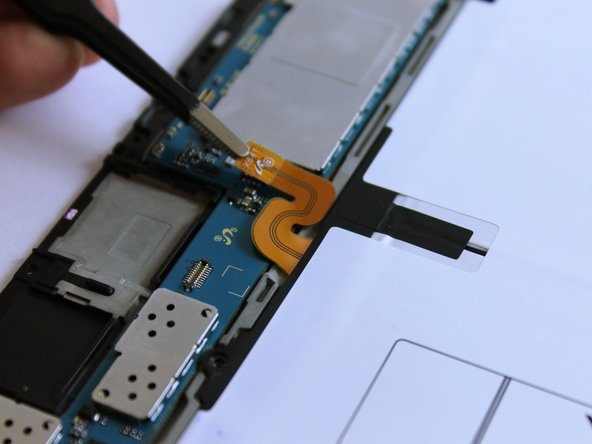
– Gently unclip the cheerful orange ribbon cable that’s hanging out above the battery with your trusty Blunt ESD Tweezer.
– Time to tackle those four black 3mm screws! Grab your PH000 Phillips screwdriver and show them who’s boss.
Success!


