Samsung Galaxy Tab S2 9.7 Verizon Camera Replacement Guide
Duration: 45 minutes
Steps: 9 Steps
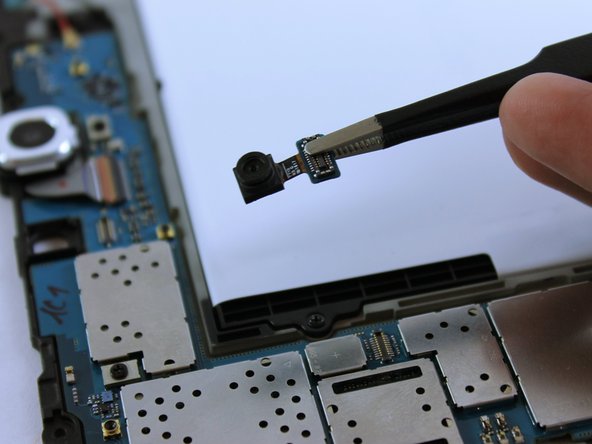
If your camera is feeling a bit under the weather or just not performing as it should, fear not! This guide will help you swap out your front-facing camera with style and ease.
Step 2
Keep that metal spudger away from those buttons! Pushing it too far could lead to some unwanted damage to your device. Let’s keep it safe and sound!
– Now that the glue’s all nice and melted, grab the metal spudger and gently pry around the edges of the tablet. Take your time and work your way around.
– When you’re working near the home and touch screen buttons, it’s best to use a suction cup. It’ll give you that extra grip you need without causing any damage.
Step 3
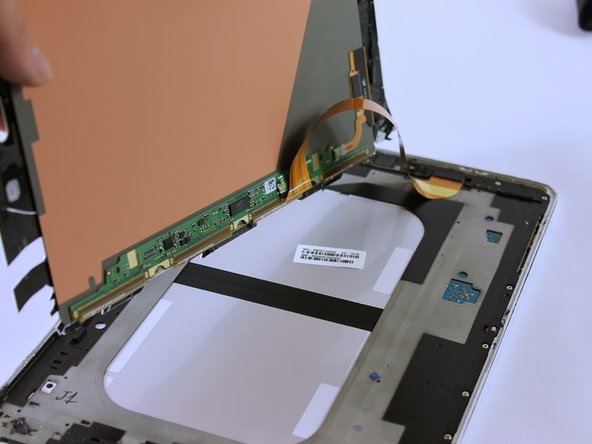
Hey there, heads up! There’s a ribbon cable connected. Lifting the screen too quickly could mess up that cable.
– Gently lift the screen up like you’re opening a treasure chest.
Step 4
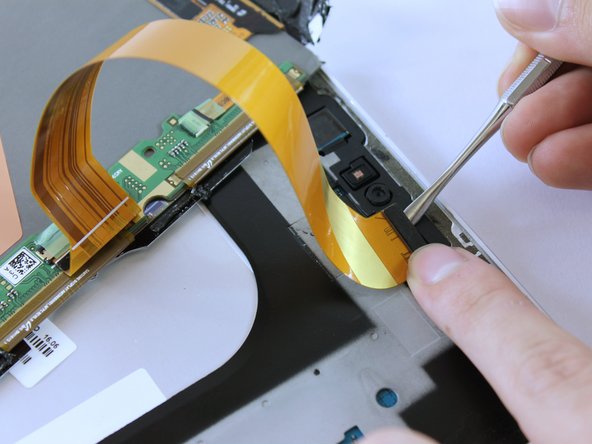
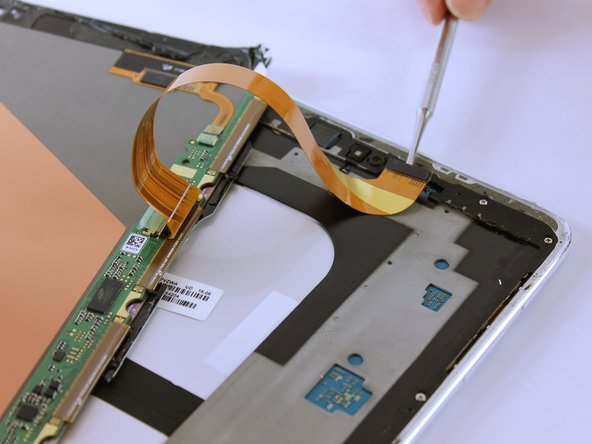
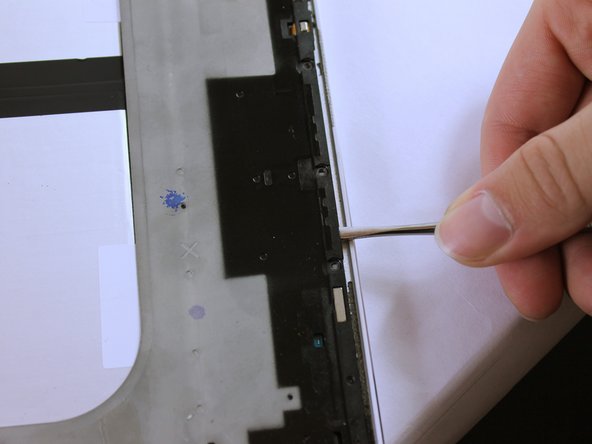
Sometimes the ribbon is sneaky and hides under the grey frame with a bit of tape. Just lift it gently to unstick it—no rush, take it easy!
– Carefully detach the ribbon cable with the Metal Spudger.
Step 6
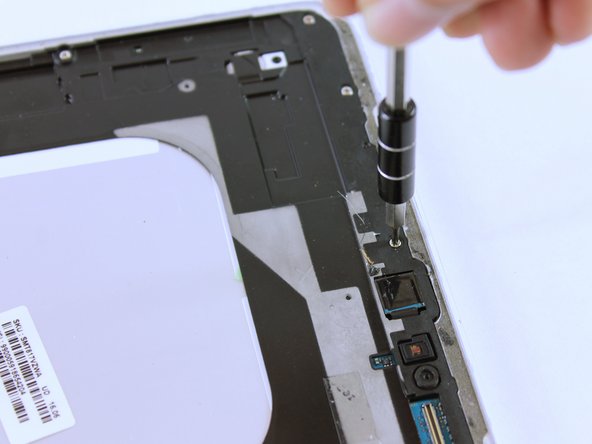
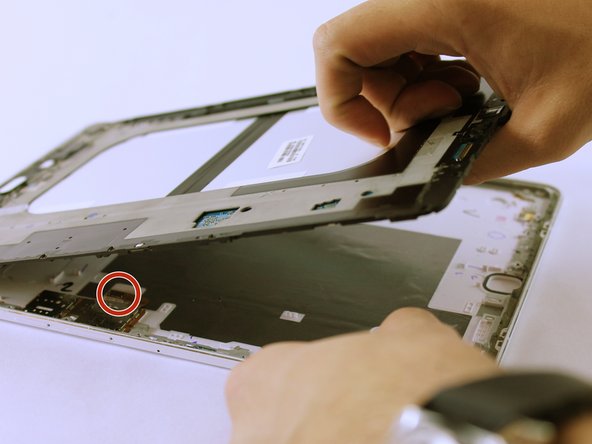
In the third photo, you’ll spot a Sim Card component that’s snugly attached to the frame and back cover. As you lift the frame, it’ll pop loose—don’t stress, that’s totally normal!
– Grab those trusty Metal Spudgers and gently pry up the black frame like a pro.
Step 7
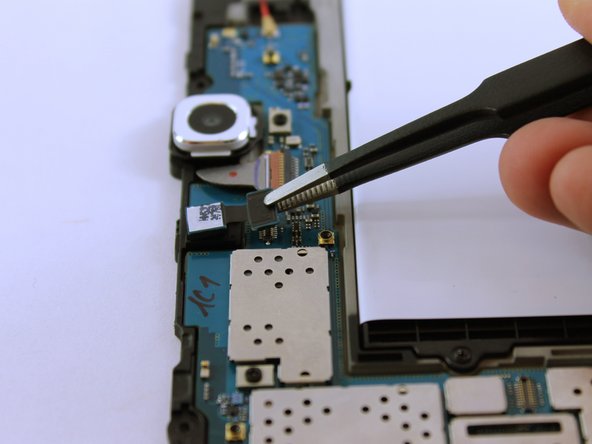
– Once you’ve lifted it, give that grey frame a gentle flip.
– This little component is your connection buddy for the SIM card.
– Don’t forget to click this part back into its cozy spot when you’re putting the tablet back together!
Step 9
– Time to put your device back together! Just retrace your steps and follow these instructions in reverse. You’ve got this!
– If you feel like taking a break, that’s totally cool! Just remember, if you need help, you can always schedule a repair.
–
Success!


