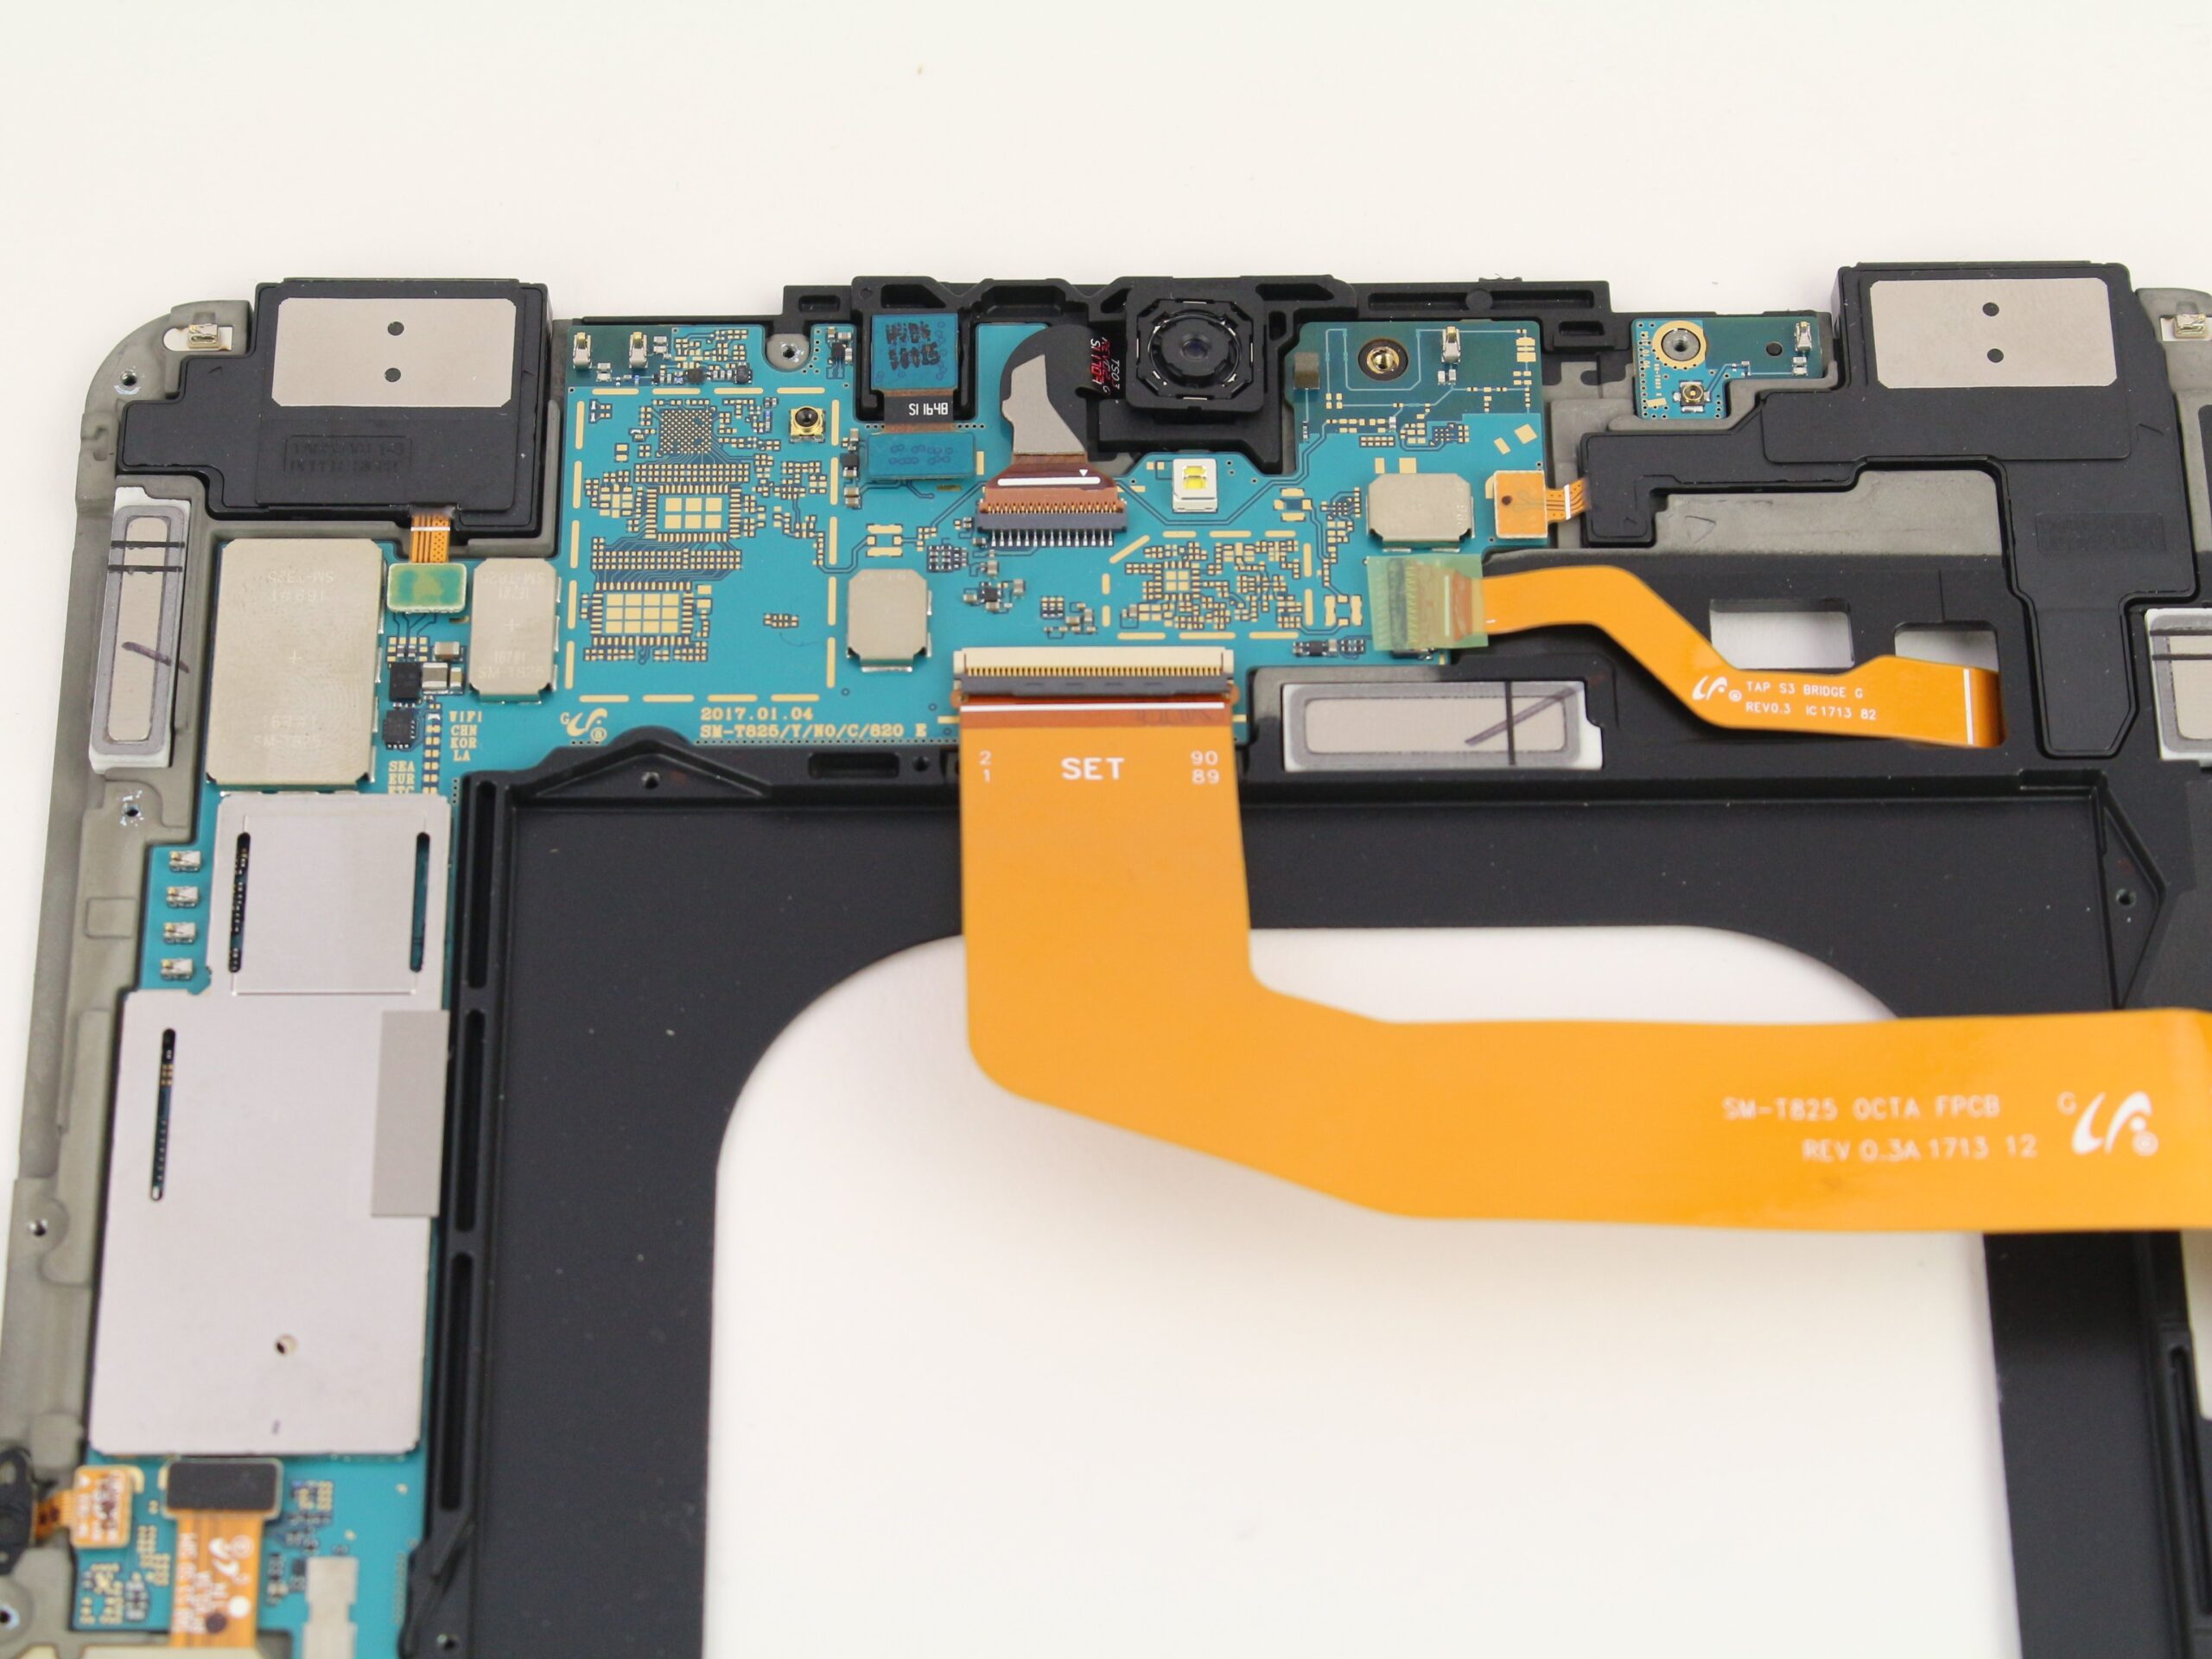
Samsung Galaxy Tab S3 Daughterboard Replacement
Duration: 45 minutes
Steps: 14 Steps
Get ready to dive into the world of repairs! This guide will take you through the steps to replace the daughterboard in your Samsung Galaxy Tab S3. If you’ve got a charging port that just won’t cooperate, this is your ticket to a smooth recharge since that port is lovingly soldered onto the daughterboard. Plus, if your home button, auxiliary, charging port, and left speaker are all playing dead at once, it’s likely because they rely on the daughterboard to chat with the motherboard. Let’s get those gadgets back in action!
Step 1

Watch your fingers—this iOpener gets pretty toasty! For tips on using it safely, check out the iOpener Instructions Guide.
– Warm up the glue holding your tablet together by running a heated iOpener along the edges of the glass. Got a heat gun? That’ll do the trick too—just keep it moving so you don’t toast anything.
– Let the iOpener hang out on the edge for about two minutes to really loosen things up.
Tools Used

Step 2

Watch out for the glass! When prying it free from the frame, go slow and gentle so you don’t shatter it. If you need a hand, you can always schedule a repair.
– Grab that suction cup and place it near the edge you just warmed up with the iOpener.
– Press down firmly on the suction cup to make a solid seal, then give it a good pull to gently separate the display from the midframe.
– Now, take your trusty opening tool and carefully work it to pry the glass panel away from the midframe.
Tools Used
Step 3

Feel free to grab a few opening picks instead of using a plastic card.
– Keep sliding your opening tool along the edge, and pop in a plastic card to hold that glass away from the midframe—just like a pro keeping things apart at a party.
Step 4


As you remove the glass panel, be careful not to tear the ribbon connecting the motherboard to the display.
– Start by gently lifting the glass panel with a suction cup—think of it as giving your device a little spa treatment. Once it’s loose, carefully peel it away.
– Next, carefully unplug the ribbon cable that connects the display assembly to the motherboard. Feel free to disconnect this ribbon from either end—smooth sailing all the way.
Step 5


– Now, let’s flip the device and repeat steps 3 through 7 to remove the rear glass panel on the other side. Almost there—just a few more moves to go!
Step 6


– Grab your trusty Phillips #000 screwdriver and get ready for some fun! First, unscrew the five screws holding down the battery, and then tackle the twenty-two screws that surround the midframe. You’ve got this!
Tools Used

Step 7

– Gently pry the midframe away from the motherboard. It should come off without too much fuss!
Step 8


– Find the ribbon sneaking its way from the midframe and carefully detach it from the motherboard using the flat end of your trusty spudger.
Tools Used

Step 9


– Grab the flat end of the spudger and gently pry up the connector between the battery and the motherboard. If you need help, you can always schedule a repair.
Tools Used
Step 10


– Carefully flip the midframe over and gently pop the battery out. Just make sure you slide it out smoothly, avoiding the ribbon cables underneath.
Step 11

– You’ve made it! Go ahead and lift out the battery—it should come away from the device without a fuss.
Step 12


– Grab a spudger and gently lift the four press-fit connectors from the lower board near the charging port. It’s like unlocking a hidden level—just a little careful prying and you’re golden!
Tools Used
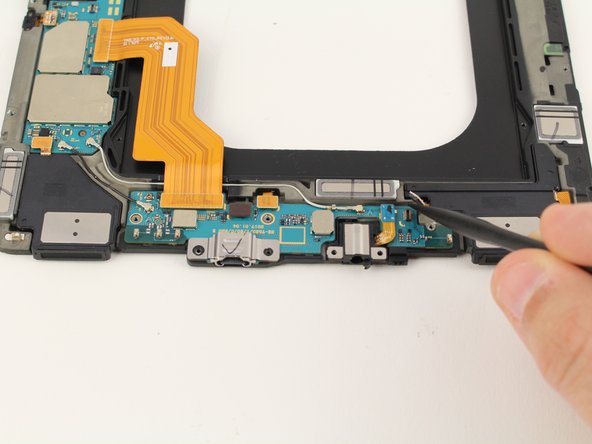
Step 13


Before you get too carried away, make sure to gently disconnect the white coaxial cable from its small bracket holding it to the daughterboard. It’s like letting it breathe before the next step!
– Gently lift the two coaxial cables connecting the daughterboard to the motherboard.
Step 14
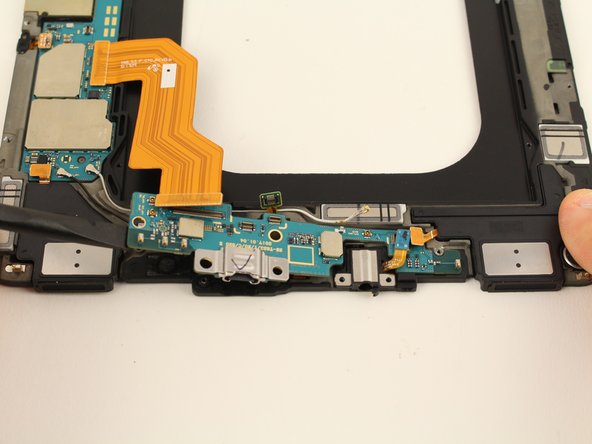

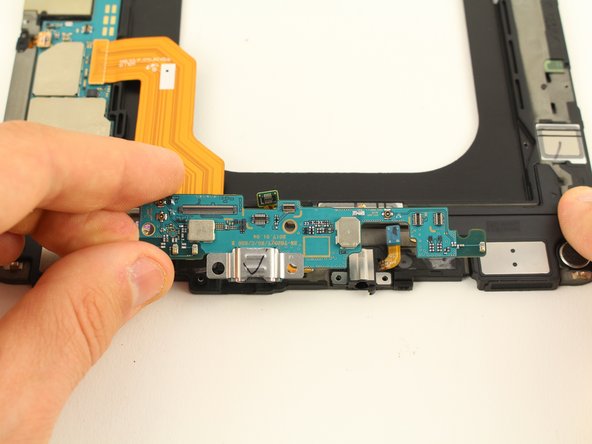
– Gently lift the daughterboard from the midframe using a spudger—think of it like popping toast out of a toaster.
– Once it’s free, go ahead and remove the daughterboard.
Tools Used
Success!