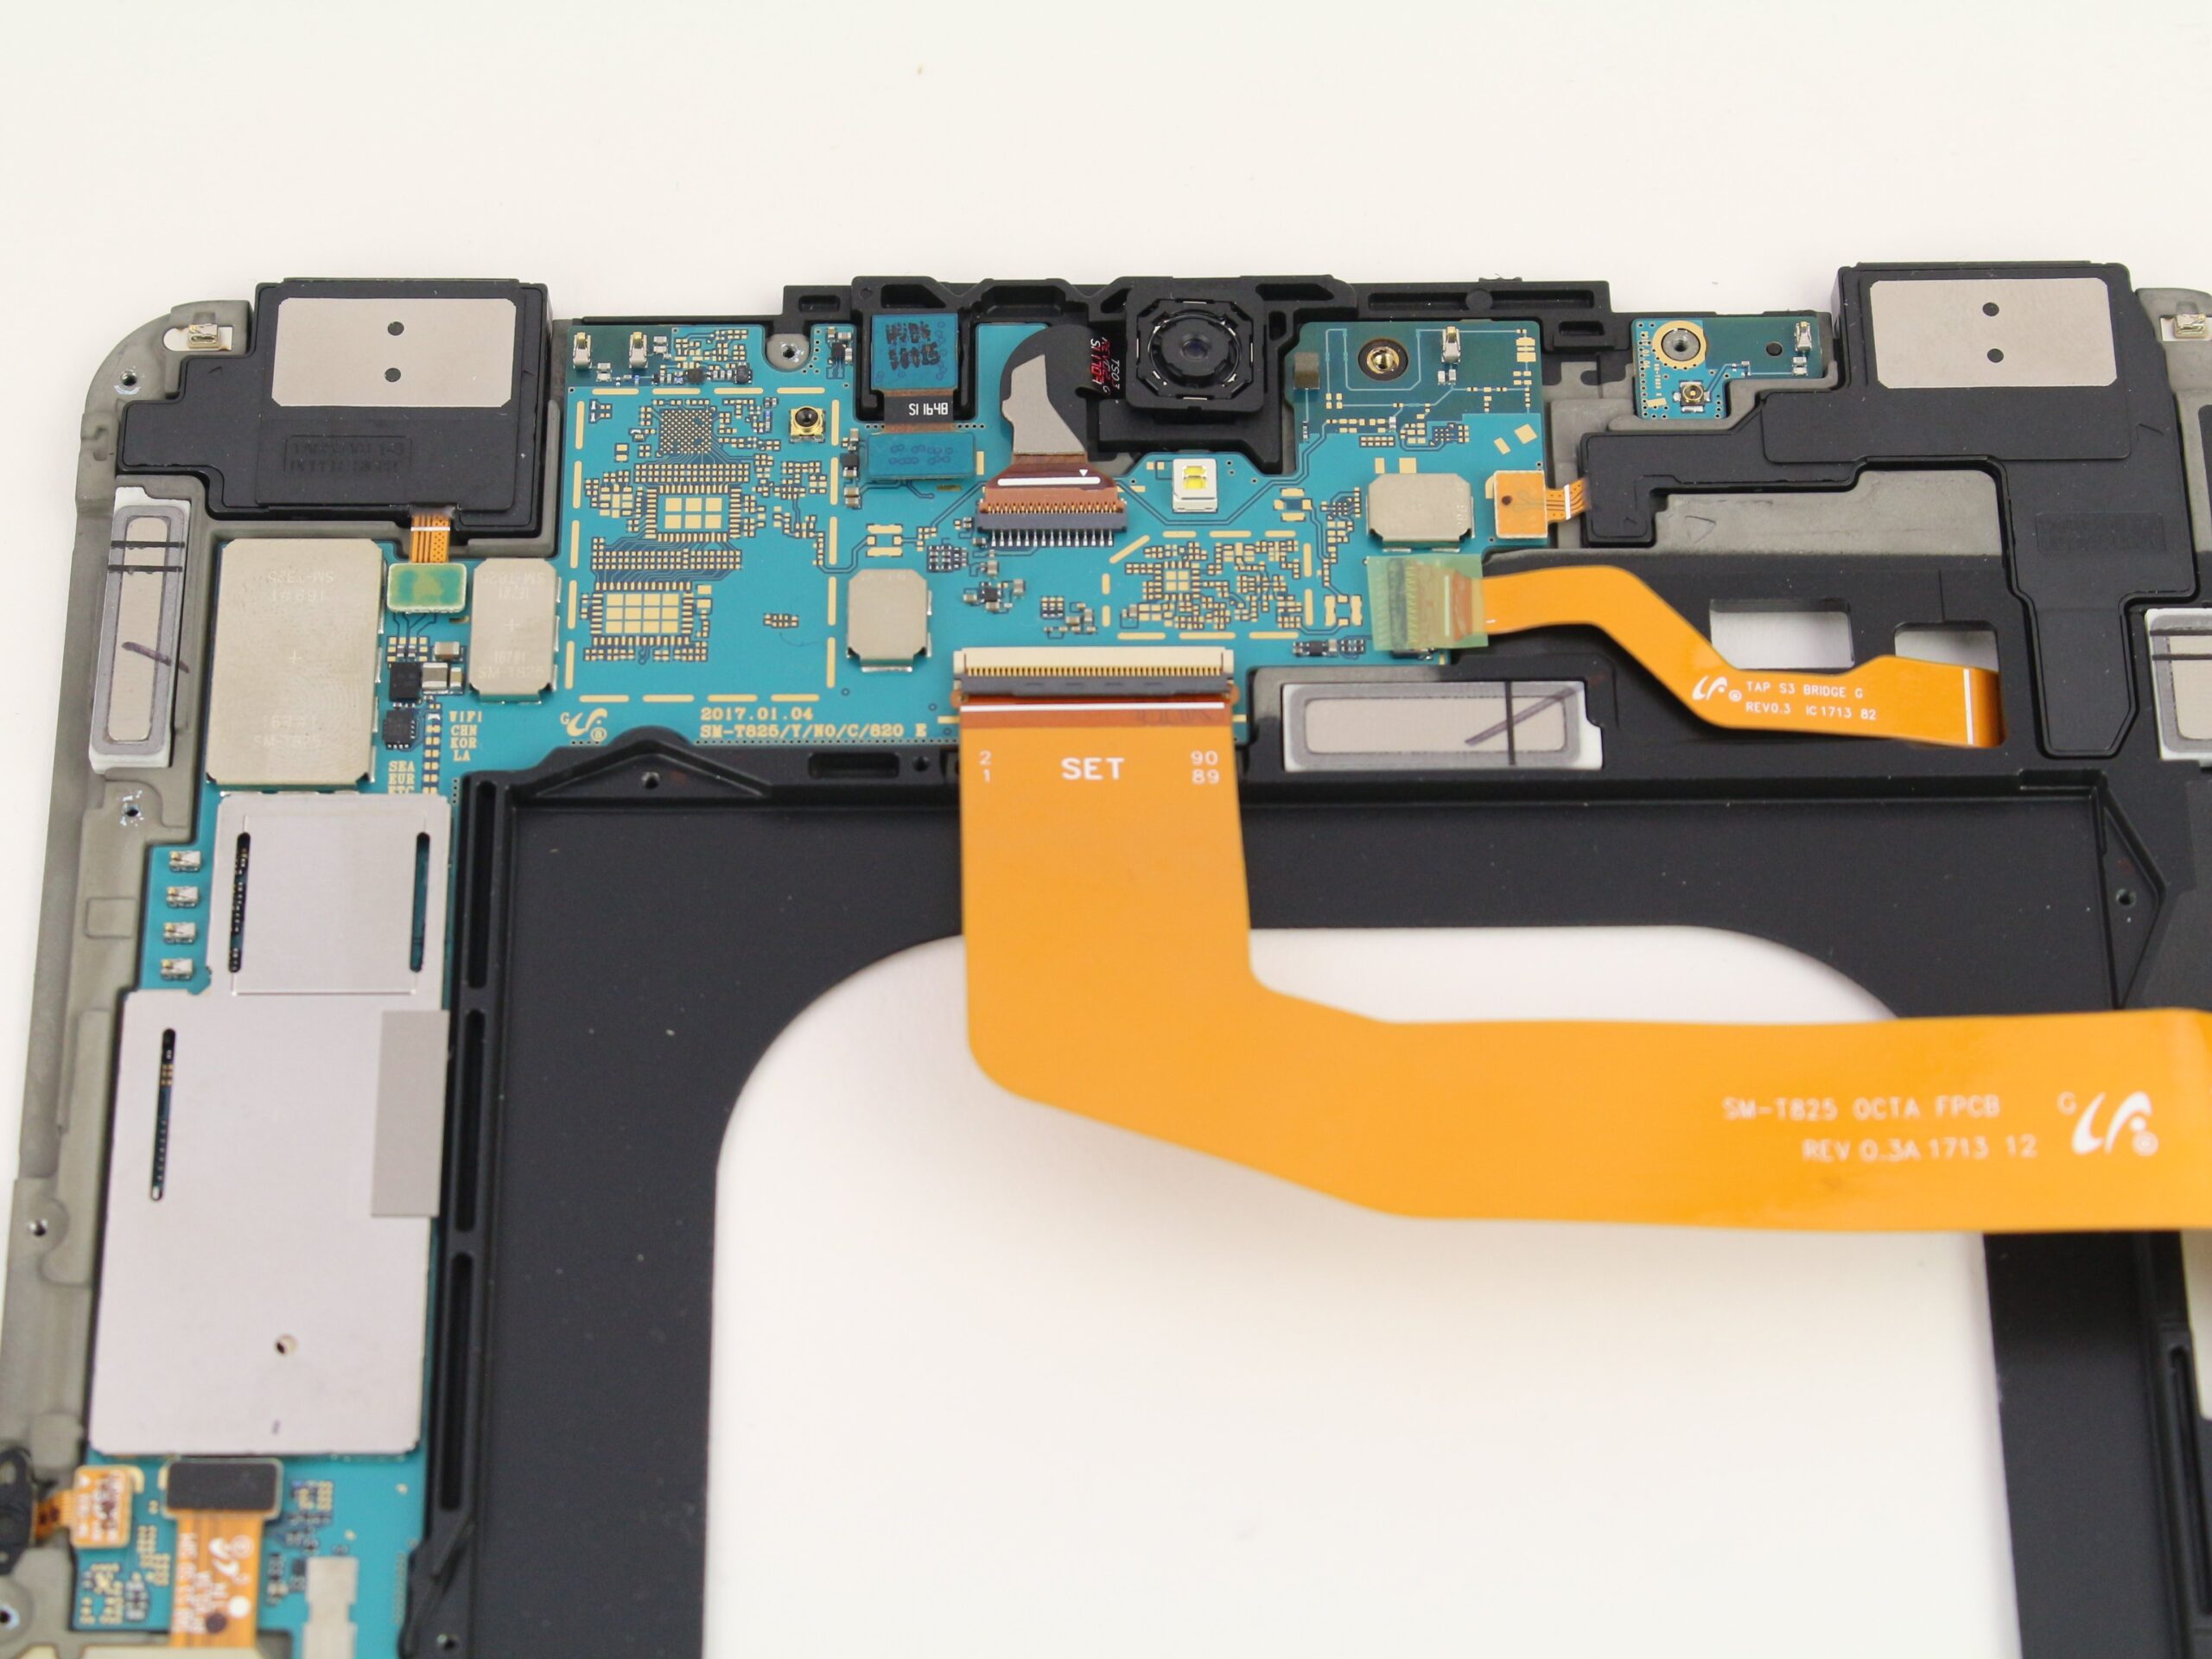
Samsung Galaxy Tab S3 Rear Facing Camera Camera Replacement
Duration: 45 minutes
Steps: 14 Steps
Got a scratched or damaged camera on your Galaxy Tab S3? If the camera sensor or image stabilization is acting up, it’s time for a swap. This guide walks you through how to carefully remove and replace the rear camera module. Remember, a scratch on the lens isn’t the same as a damaged camera—if the lens is scratched but the camera still works, you might just need to replace the glass panel or display assembly. When in doubt, schedule a repair to get professional help. Let’s get that camera back in top shape!
Step 1

Watch out for that hot iOpener! It can be a bit feisty, so take care not to burn yourself. If you want to learn more about using it, check out the iOpener Instructions Guide.
– To loosen up the adhesive that’s holding the tablet parts together, warm up the edges of the glass with a heated iOpener placed along the edge of the device. If you don’t have an iOpener, a heat gun works just as well to soften things up.
– Keep the iOpener on the edge for about two minutes to make the adhesive more pliable and easier to work with.
Tools Used

Step 2

Be gentle when prying from the frame to avoid cracking the glass. If you need help, you can always schedule a repair.
– Grab a suction cup and place it on the edge you just warmed up with the iOpener.
– Give that suction cup a good press to seal it tight, then pull up with some strength to start separating the display from the midframe.
– Now, take your opening tool and gently work your way around to separate the glass panel from the midframe.
Tools Used
Step 3

You can also swap out a plastic card for a bunch of opening picks to get the job done. It’s all about finding the right tools to make your repair smooth sailing. Remember, if you ever need a hand, you can always schedule a repair.
– As you glide along the edge with your opening tool, grab a plastic card and gently slide it in to keep the glass from sticking to the midframe. Keep it steady and work your way around for a smooth separation. If you need help, you can always schedule a repair.
Step 4


When lifting the glass panel, go easy—there’s a ribbon cable connecting it to the motherboard that you don’t want to accidentally unplug or damage.
– Start by gently lifting the glass panel off with a suction cup—think of it as peeling a sticker, but way cooler.
– Next, carefully disconnect the ribbon cable that links the display to the motherboard. Feel free to disconnect from either end—just take your time and keep it smooth.
Step 5


– Now, give the other rear glass panel the same treatment by following steps 3 through 7.
Step 6


– Grab your trusty Phillips #000 screwdriver and carefully unscrew the five screws holding the battery in place. Then, tackle the twenty-two screws that are keeping the midframe nice and secure. Take your time, and if you need any extra help, feel free to schedule a repair.
Tools Used

Step 7

– Gently pop the midframe away from the device’s motherboard. You’ve got this!
Step 8


– Find the ribbon cable coming from the midframe and gently pop it off the motherboard using the flat end of your spudger. Easy does it!
Tools Used

Step 9


– Grab the flat end of your trusty spudger and gently wiggle it to disconnect the connector between the battery and the motherboard. You’ve got this!
Tools Used
Step 10


– Flip the midframe over, then gently pop the battery out—just make sure to slide it out from under those ribbon cables without snagging anything.
Step 11

– Now, it’s time to carefully lift out the battery and set it aside. If you’re feeling unsure at any point, remember you can always schedule a repair for a hand with the heavy lifting.
Step 12

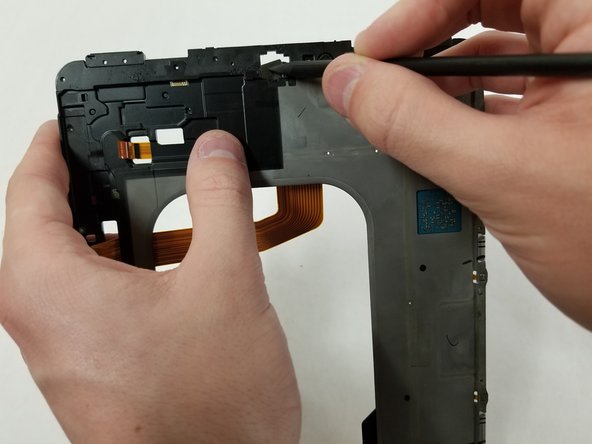
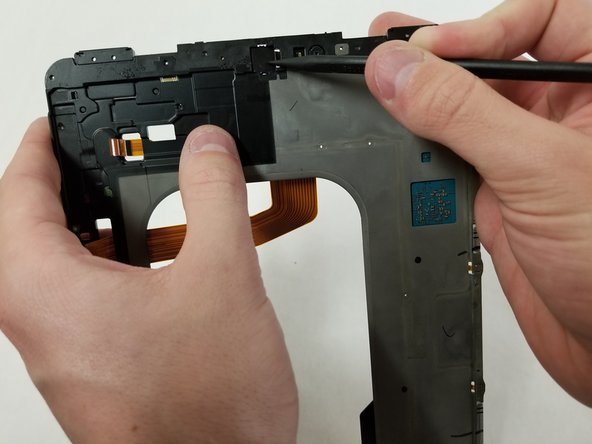
– Flip the device over and gently nudge the Rear Camera out of its frame with the spudger. Take your time and be careful, this part’s a bit tricky!
Tools Used
Step 13
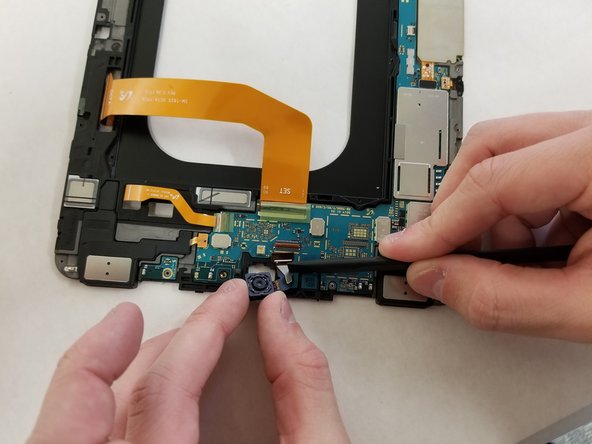
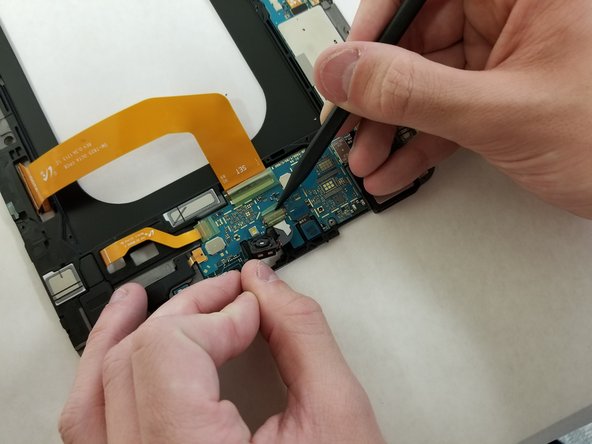

– Turn the motherboard upside down and find the ribbon that connects the Rear Camera to it. Gently ease the ribbon off the logic board using the flat edge of your spudger.
Tools Used
Step 14

– Time to say goodbye to the rear camera! Gently remove it from the device and set it aside for now. You’ve got this!
Success!