Samsung Galaxy Tab S7 Plus Battery Replacement
Duration: 45 minutes
Steps: 38 Steps
For your safety, make sure to drain the battery below 25% before starting to disassemble your tablet. Also, watch out—there’s a good chance the delicate, unreinforced display could crack during this process. If you need help, you can always schedule a repair.
Ready to swap out the battery on your Samsung Galaxy Tab S7+? First, for safety’s sake, make sure to drain the battery below 25% before you start tearing into your tablet. This helps keep things safe in case the battery gets a little too excited during the process. If your battery is swollen, take extra precautions—no one wants a bloated surprise! Be aware that the fragile display panel is quite the delicate flower and might crack if you’re not careful. Applying plenty of heat and handling the prying stage with care will help prevent damage. Don’t forget, you’ll need some fresh adhesive to seal everything back up. If you need help, you can always schedule a repair.
Step 1

– Grab your trusty heated iOpener and gently apply it to the bottom edge of your device. This will help to loosen up that sticky adhesive underneath, making your repair journey a breeze!
First things first – power down your device completely before diving in. We don’t want any surprises while you’re fixing things up!
The Galaxy Tab S7+ display is held on with some seriously strong adhesive, so you’ll probably need to reheate and reapply the iOpener a few times—both during the initial loosening and throughout the removal process. You might also opt for a hair dryer, heat gun, or hot plate to warm things up, but be cautious not to overheat the device. If you need assistance, you can always schedule a repair.
Tools Used

Step 2


Be gentle with your pick—don’t insert it more than 2 mm to keep the circuit board happy. For the display, avoid going more than 3 mm to prevent any damage. Take your time and work carefully—your device will thank you. If you need help, you can always schedule a repair.
– While the adhesive is taking its sweet time to loosen up, here are a couple of things to keep in mind:
– There’s a circuit board that runs along the bottom edge, neatly attached to the screen. It’s like the hidden hero of your device.
– Check out this image to see what it looks like when the display starts separating from the glass. Don’t worry, you’re on the right track!
Step 3


Be careful not to insert the pick more than 2 mm to keep your circuit board safe and sound. A little goes a long way!
If your screen is really cracked, putting a layer of clear packing tape on it might help the suction cup stick better. Or, if you’ve got some heavy-duty tape lying around, that can do the trick instead of the suction handle. If that doesn’t work, you can always try supergluing the suction cup directly to the screen.
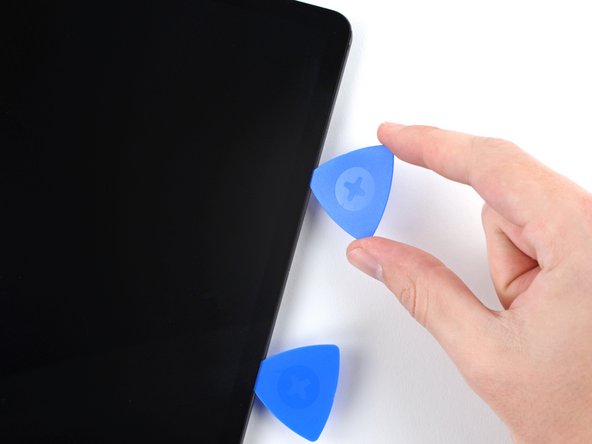
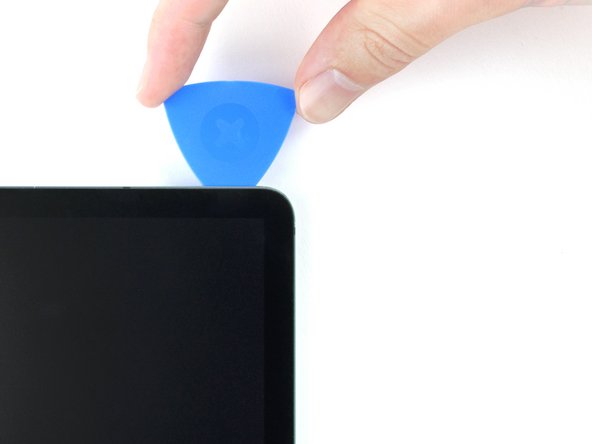
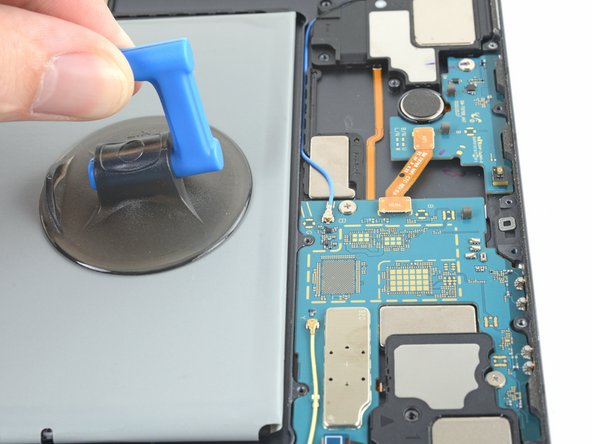
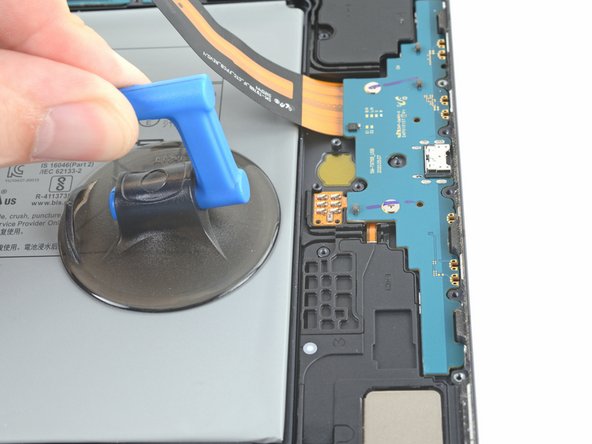
– Once the screen is nice and toasty, grab a suction handle and stick it as close to the bottom edge as you can.
– Gently pull up the screen using the suction handle, just enough to create a tiny gap between the screen and the frame.
– Now, slide an opening pick into that gap you’ve created.
– Keep the opening pick in place so that the adhesive doesn’t get any funny ideas and try to seal itself back up.
Tools Used

Step 4


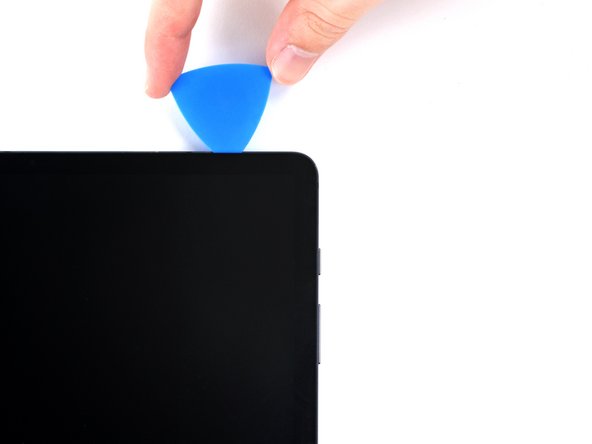
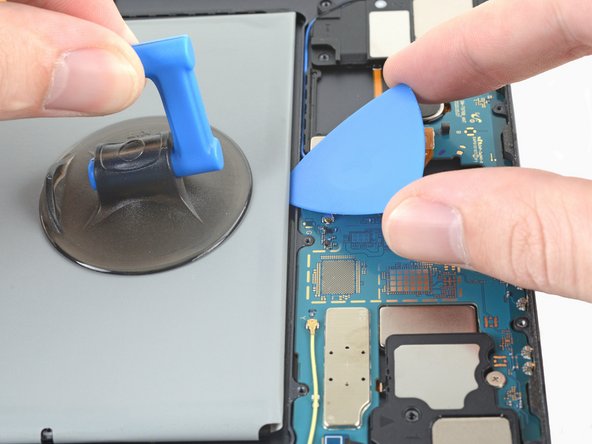
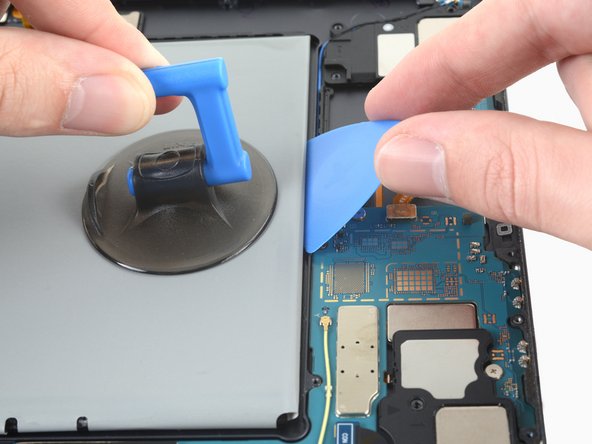
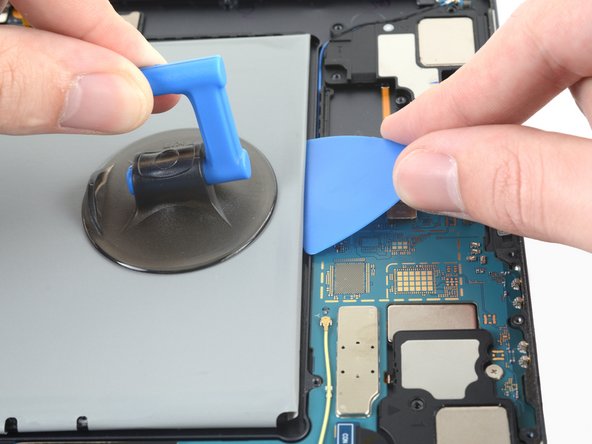
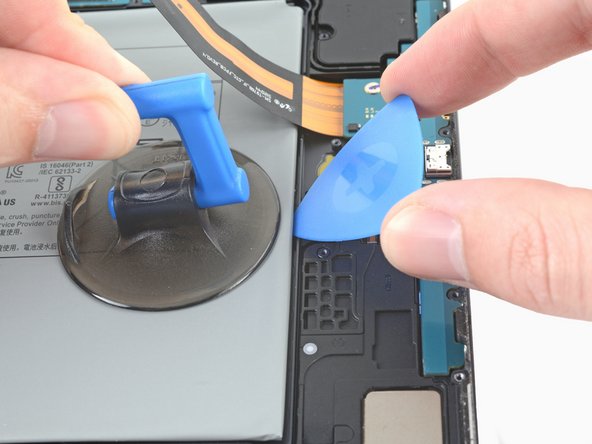
– Place a fresh opening pick into the gap you’ve made.
– Gently slide the pick along the device’s bottom edge, moving towards the bottom-right corner.
Step 5

– Place a heated iOpener along the right edge of the device to soften the adhesive underneath. If you need help, you can always schedule a repair.
Tools Used
Step 6


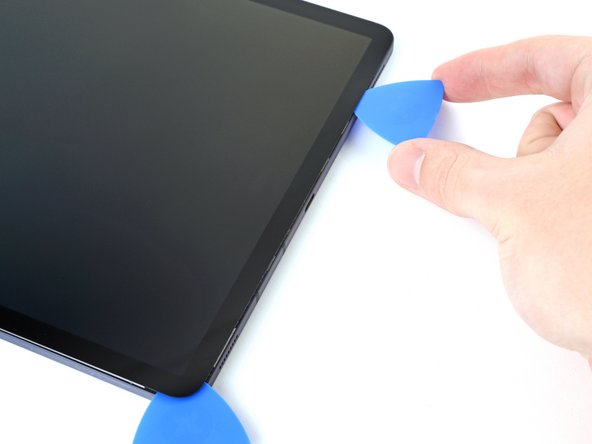
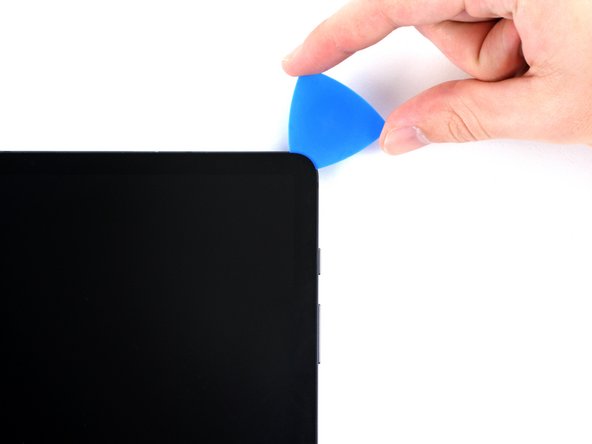
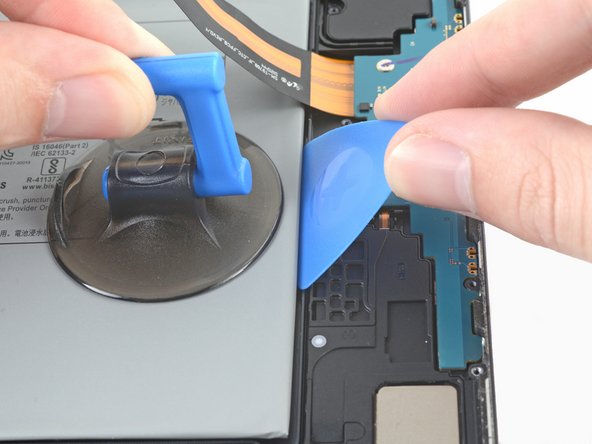
– Swing the opening pick around that bottom-right corner like you’re tracing a smooth curve.
– Let the pick chill in place—this keeps the sticky stuff from gluing itself back together.
Step 7


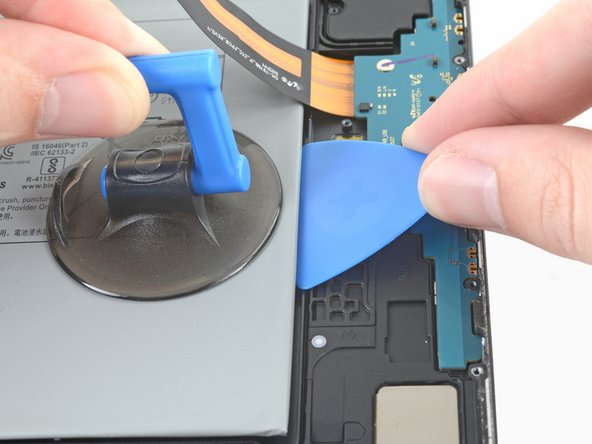
Hey there! When you’re inserting the pick, keep it gentle—no more than 3 mm—to avoid any accidental damage to those delicate components on the right edge. Take your time and go slow. If you need a hand, you can always schedule a repair.
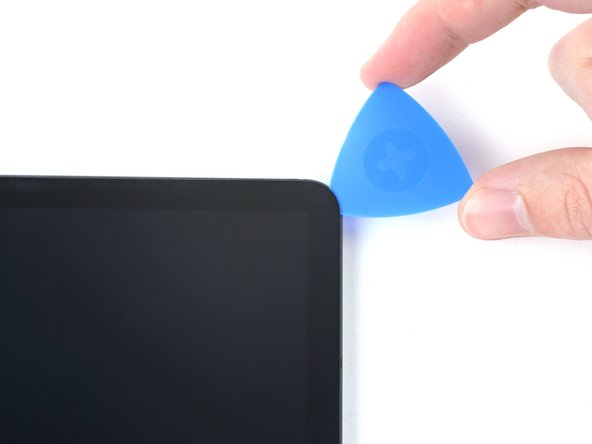
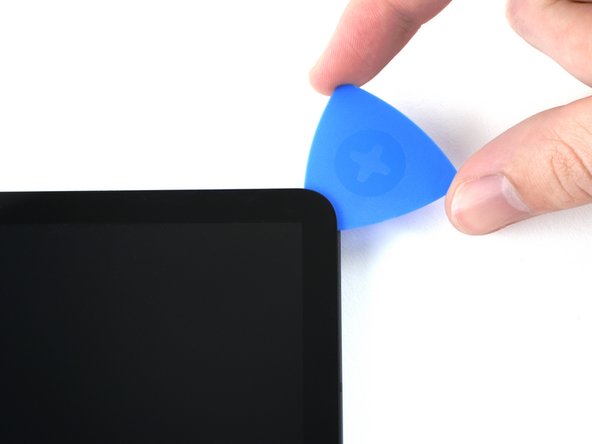
– Pop in a fresh opening pick where you made that little gap.
– Gently glide the pick along the right side of your device, making your way to the top-right corner.
Step 8

– Gently warm up the top edge of the device with a heated iOpener to help loosen that stubborn adhesive hiding underneath. Keep at it until the adhesive softens up and gives way easily.
Tools Used
Step 9


– Gently rotate the opening pick around the top-right corner of the device, like you’re opening a treasure chest. Keep the pick in place afterward to stop the adhesive from sticking back together. If you need help, you can always schedule a repair.
Step 10

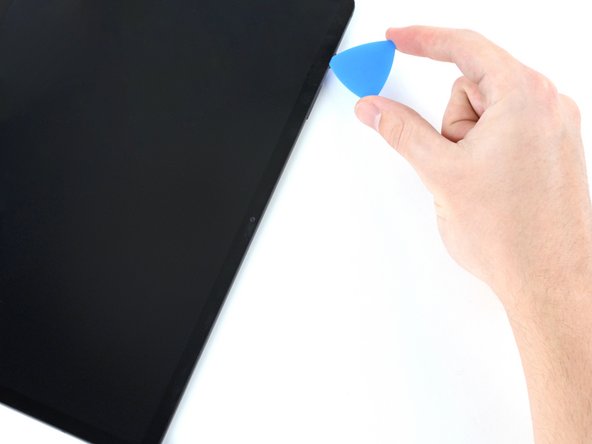

– Gently slide a fresh opening pick into the little gap you’ve just made.
– Now, glide that pick along the top edge of your device, steering it toward the top-left corner like a pro!
Step 11

– Heat up your iOpener and gently apply it to the left edge of your device. This will help loosen up the adhesive underneath, making things easier when it’s time to get in there!
Tools Used
Step 12

– Gently slide the opening pick around the top-left corner of your device. Take it slow—this step’s all about finesse!
– Once you’ve got the pick in place, leave it there to keep that sticky adhesive from sealing itself back up. You got this!
Step 13


– Grab a fresh opening pick and gently slide it into the gap you’ve made.
– Carefully glide that pick along the left edge of your device, aiming for the bottom-left corner.
Step 14


At this point, the screen should be coming loose from the frame. If you’re still feeling some resistance along the edges, grab an opening pick and give that adhesive another gentle nudge.
– Gently slide the opening pick around the bottom-left corner of your device, giving it a little twist as you go.
– Leave the opening pick in place so that the adhesive doesn’t get a chance to seal itself back up. You’ve got this!
Step 15


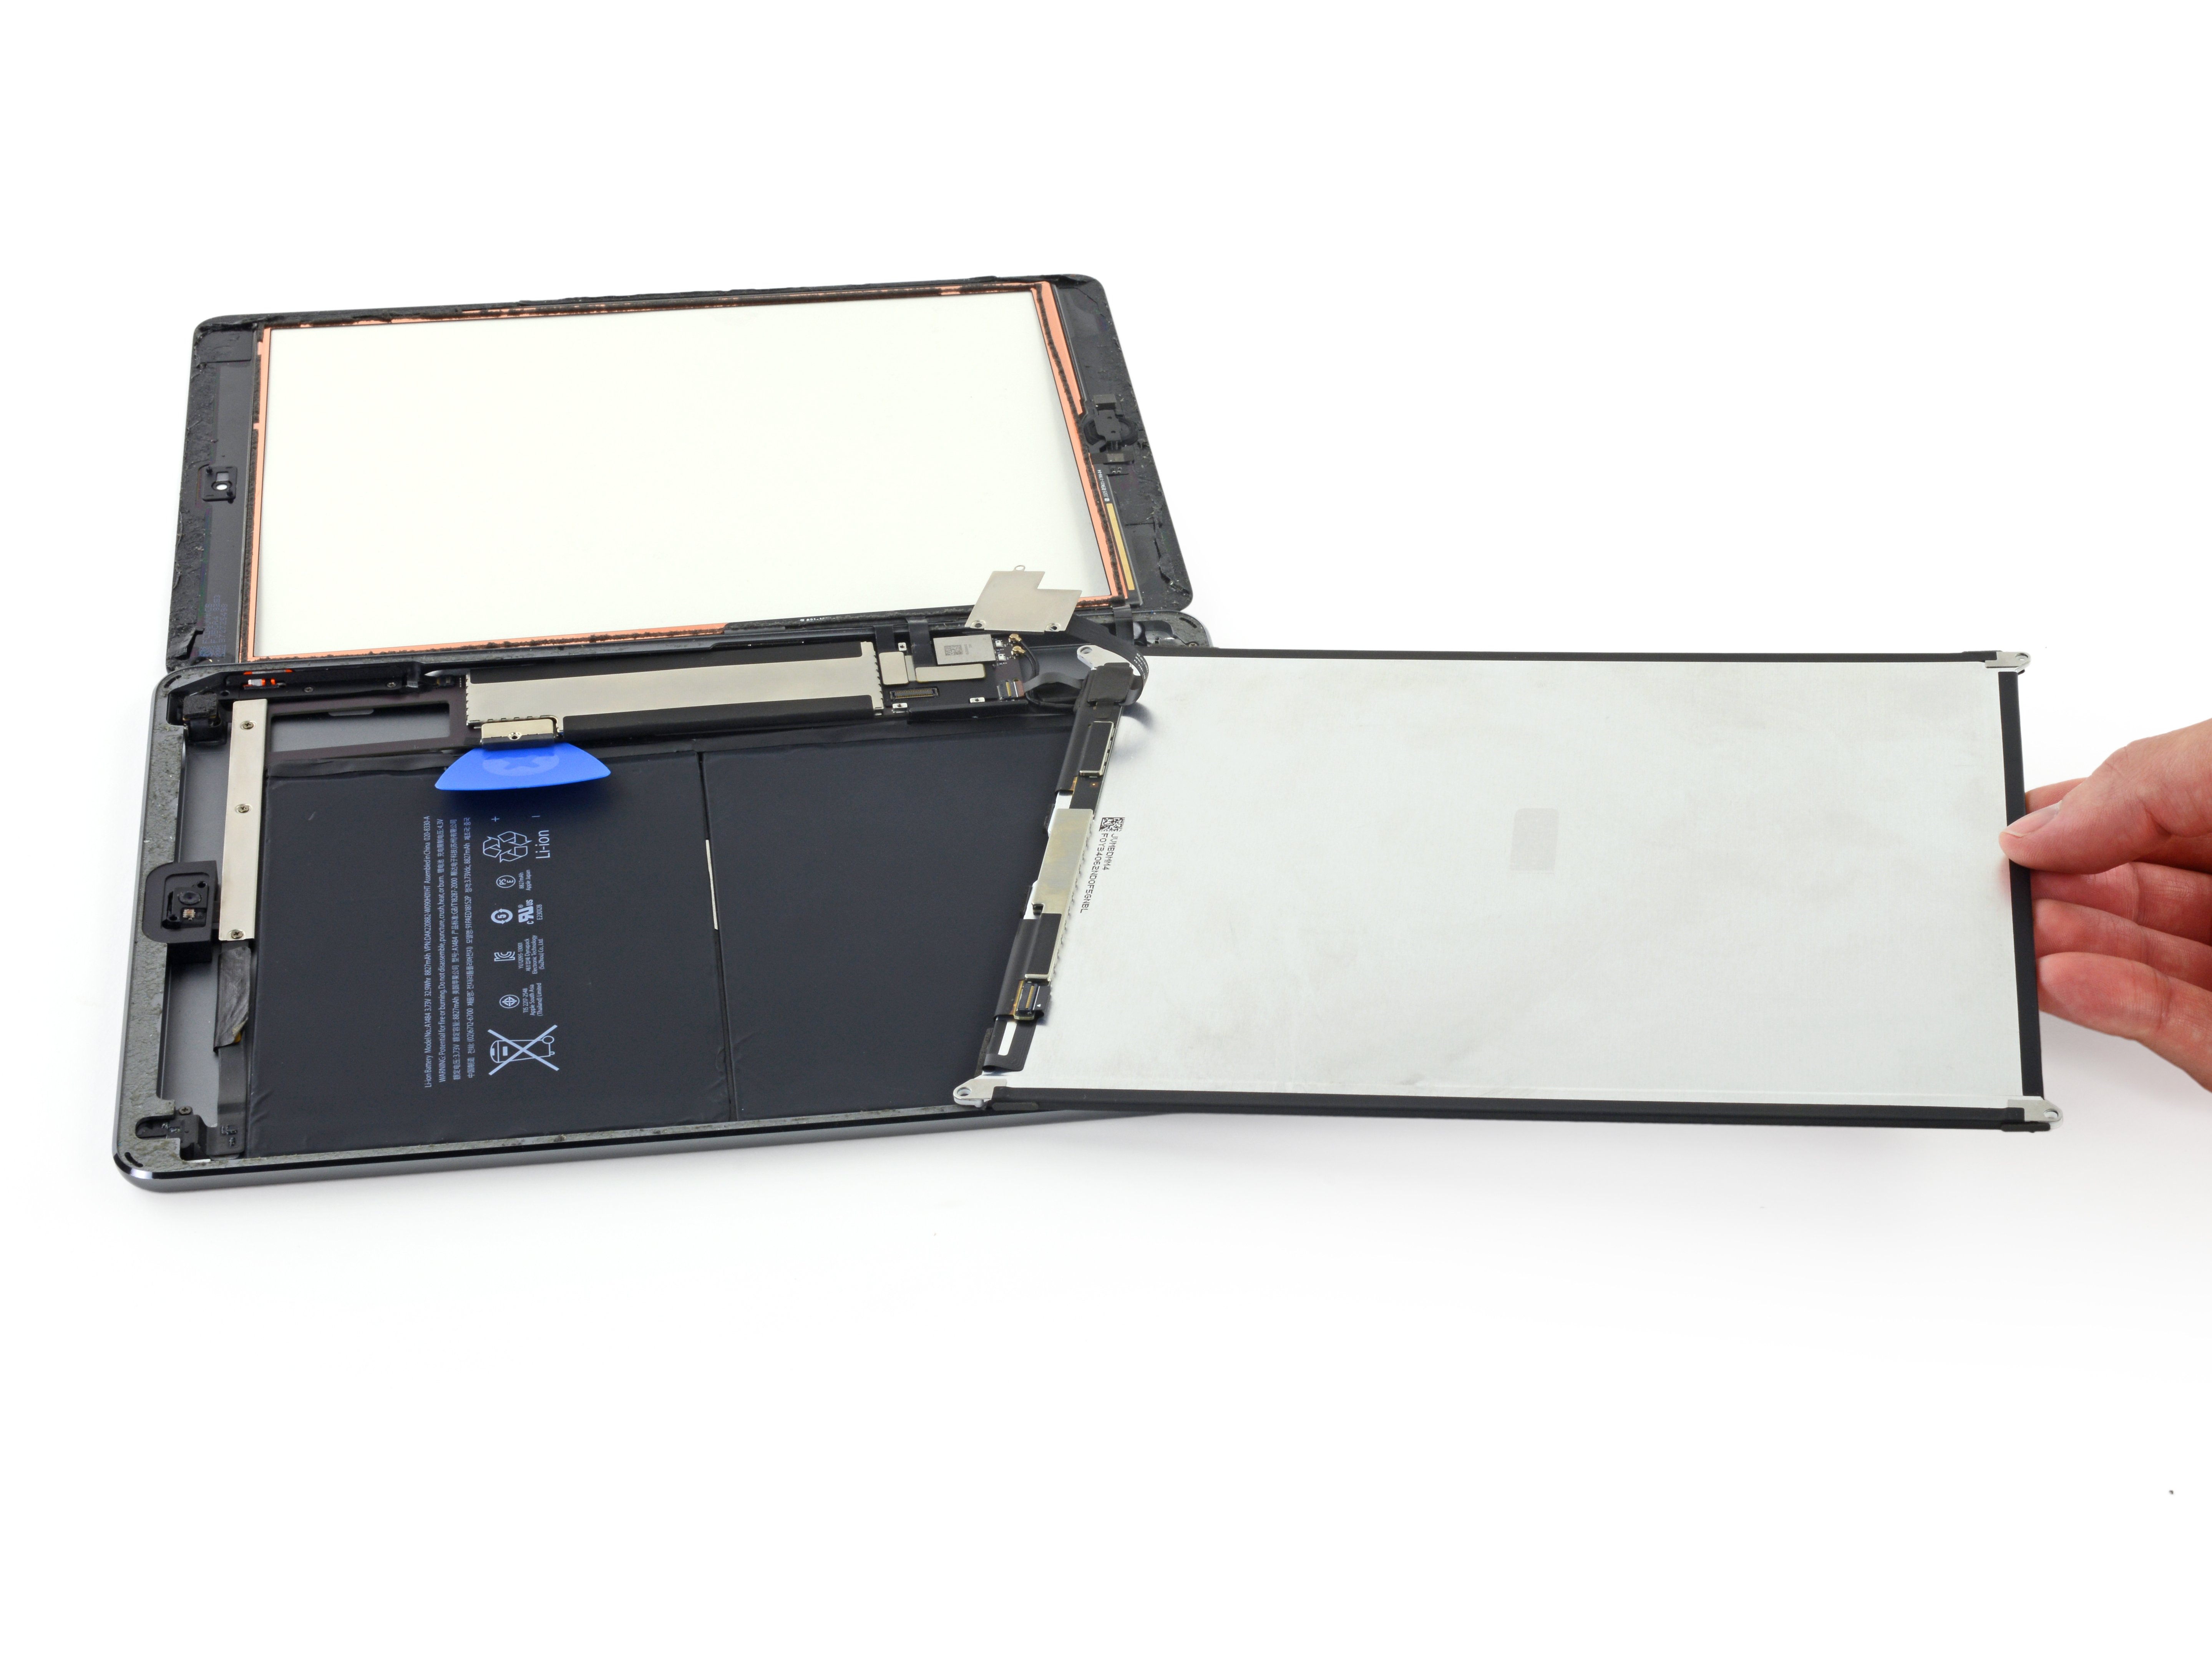
Hold your horses! Don’t yank that screen off just yet; it’s still attached to the frame by a flex cable that needs some love.
And hey, no twisting or pulling that screen too far from the frame, or you might just give that flex cable a really bad day.
– With the top of your device facing you, gently flip the screen open like you’re cracking a good book.
– Set the screen down upside down, keeping it parallel with the frame—think of it as a little screen yoga.
– When you’re putting things back together:
– Now’s a great time to power up your tablet and make sure everything’s working before you seal it back up. Once you’re done testing, shut it down again before moving forward.
– Grab tweezers or just your fingers to pull off any leftover adhesive chunks. For stubborn residue, a bit of high-strength (over 90%) isopropyl alcohol will do the trick.
– If you’re working with custom-cut adhesives, check out this guide. If double-sided tape is your style, follow this one.
Tools Used

Step 16

– Take the flat end of a spudger and gently pop up the display cable’s press connector from the screen—think of it as unplugging a little LEGO piece.
– To snap this type of connector back in, get the sides lined up just right. Press down gently on one side until you hear a click, then do the same on the other side. Skip pressing the middle—nobody wants bent pins and a bad day!
Tools Used

Step 17

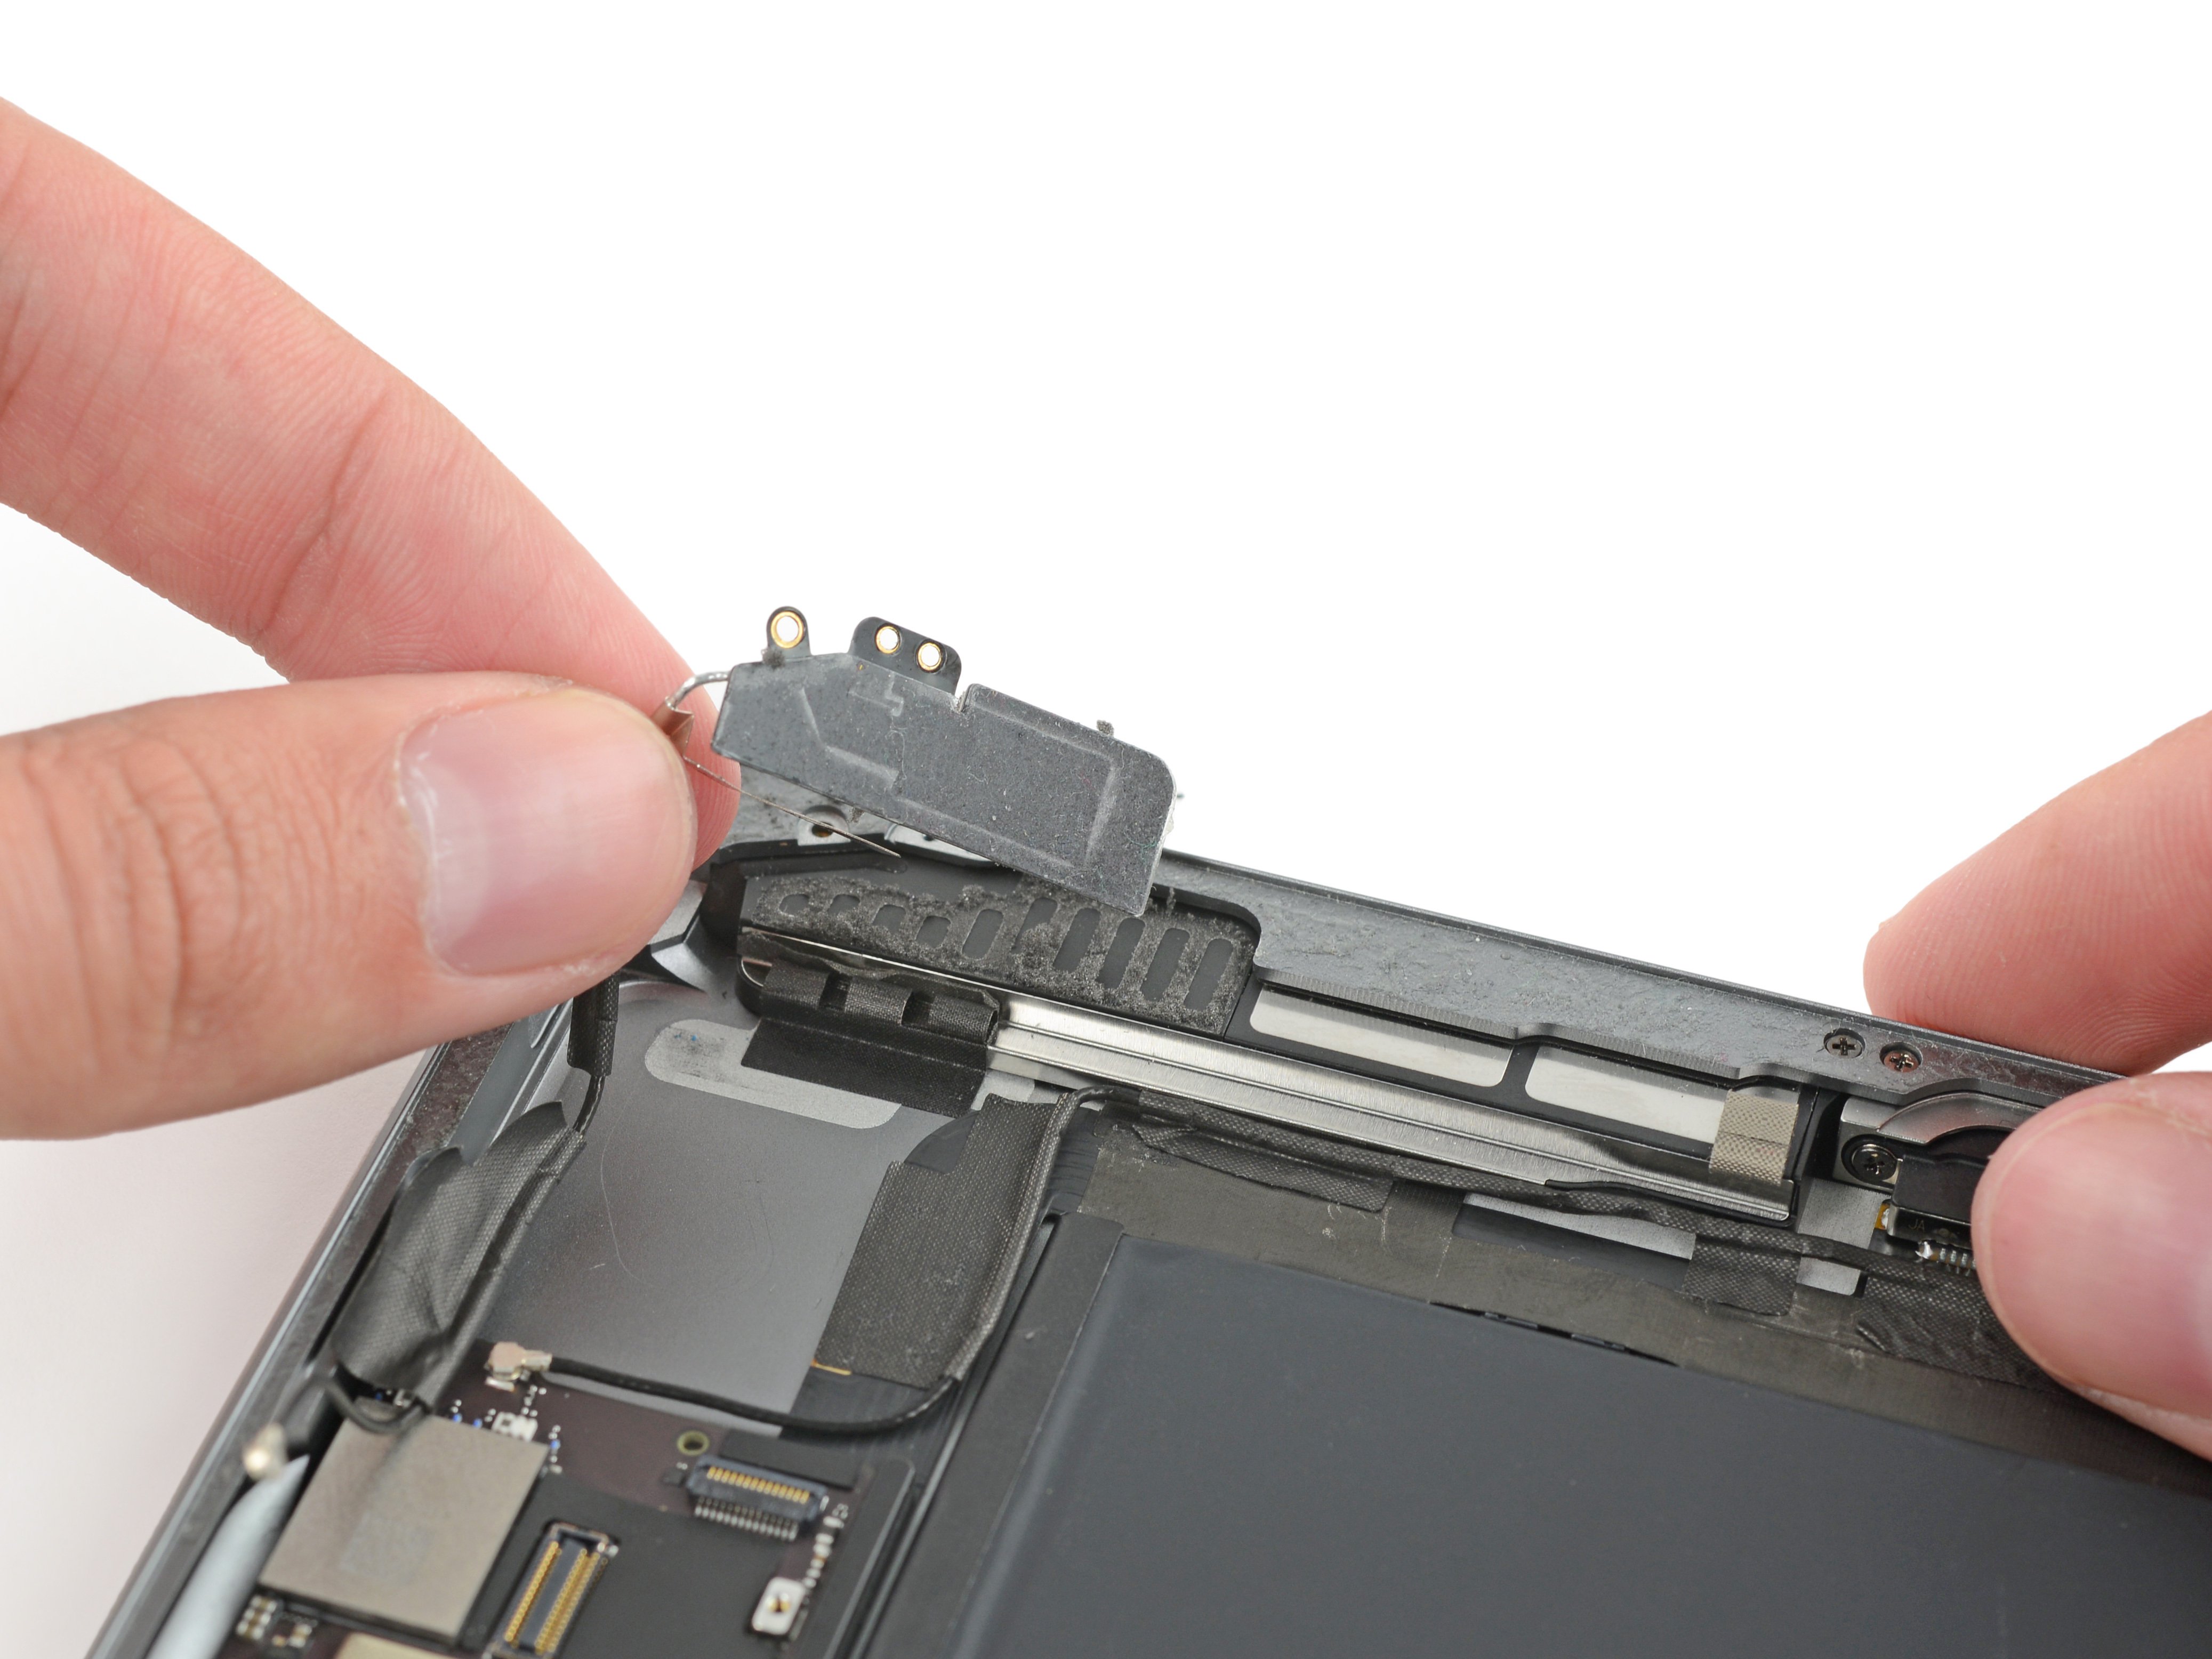
– Grab your tweezers or your fingers and gently hold the display cable in place. No need to rush—steady hands help here.
– Use the flat end of a spudger to carefully lift and disconnect the fingerprint sensor’s press connector from the display cable. A little finesse goes a long way!
– Pay attention to how the display cable is positioned. When it’s time to connect the new screen, you’ll want to bend it the same way. Trust us, it’ll save you some hassle!
Step 18


– Gently detach the screen from the frame, like you’re peeling off a sticker, but with a little more care. Make sure not to rush—this part’s all about precision.
Step 19


– Grab a Phillips #00 screwdriver and carefully remove the fifty 3mm screws holding the frame bracket in place. The third photo shows the screws grouped by quadrant—use this as your map during reassembly to make sure nothing gets left behind: bottom left has 9 screws, bottom right has 14, top right has 12, and top left has 15. Take your time, and if you need a hand, you can always schedule a repair.
Tools Used

Step 20
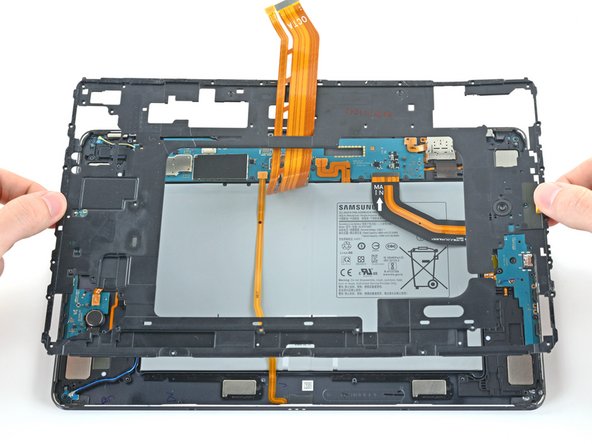
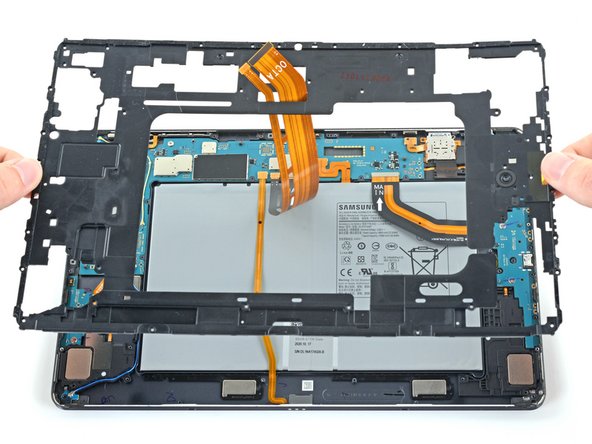

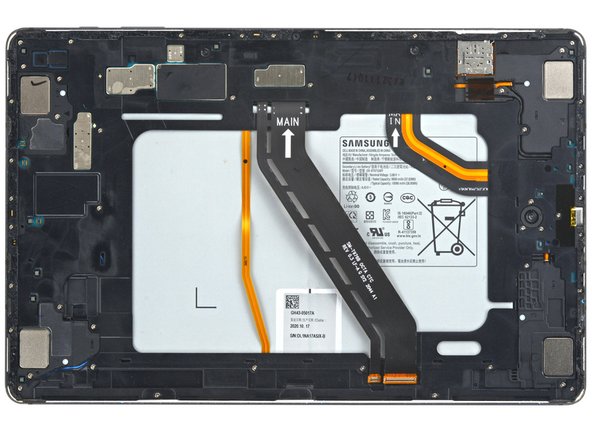
– Gently lift the frame bracket away from the frame, making sure to guide the display cable through its socket. If you need help, you can always schedule a repair.
Step 21

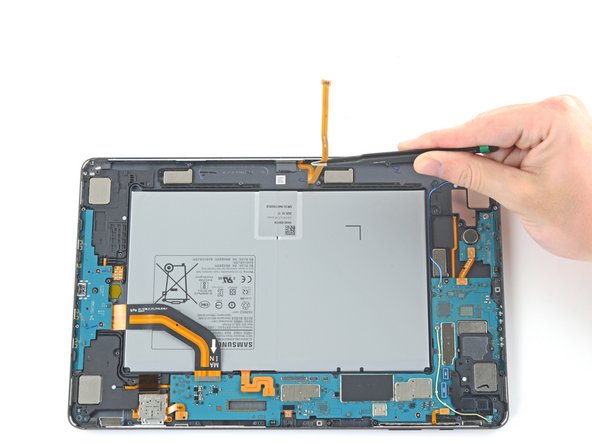
– Grab the flat end of your spudger and gently lift to disconnect the battery’s press connector from the motherboard. You’ve got this!
Tools Used
Step 22
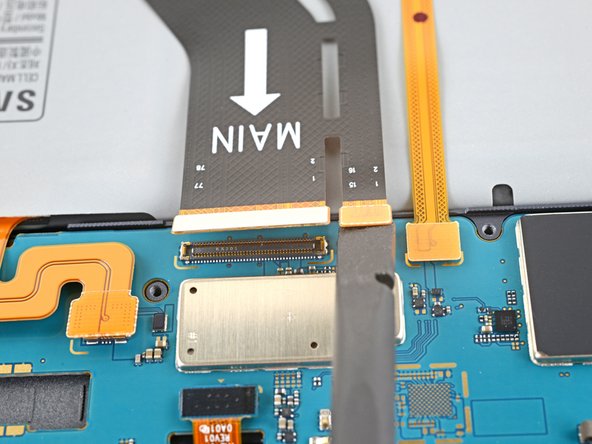


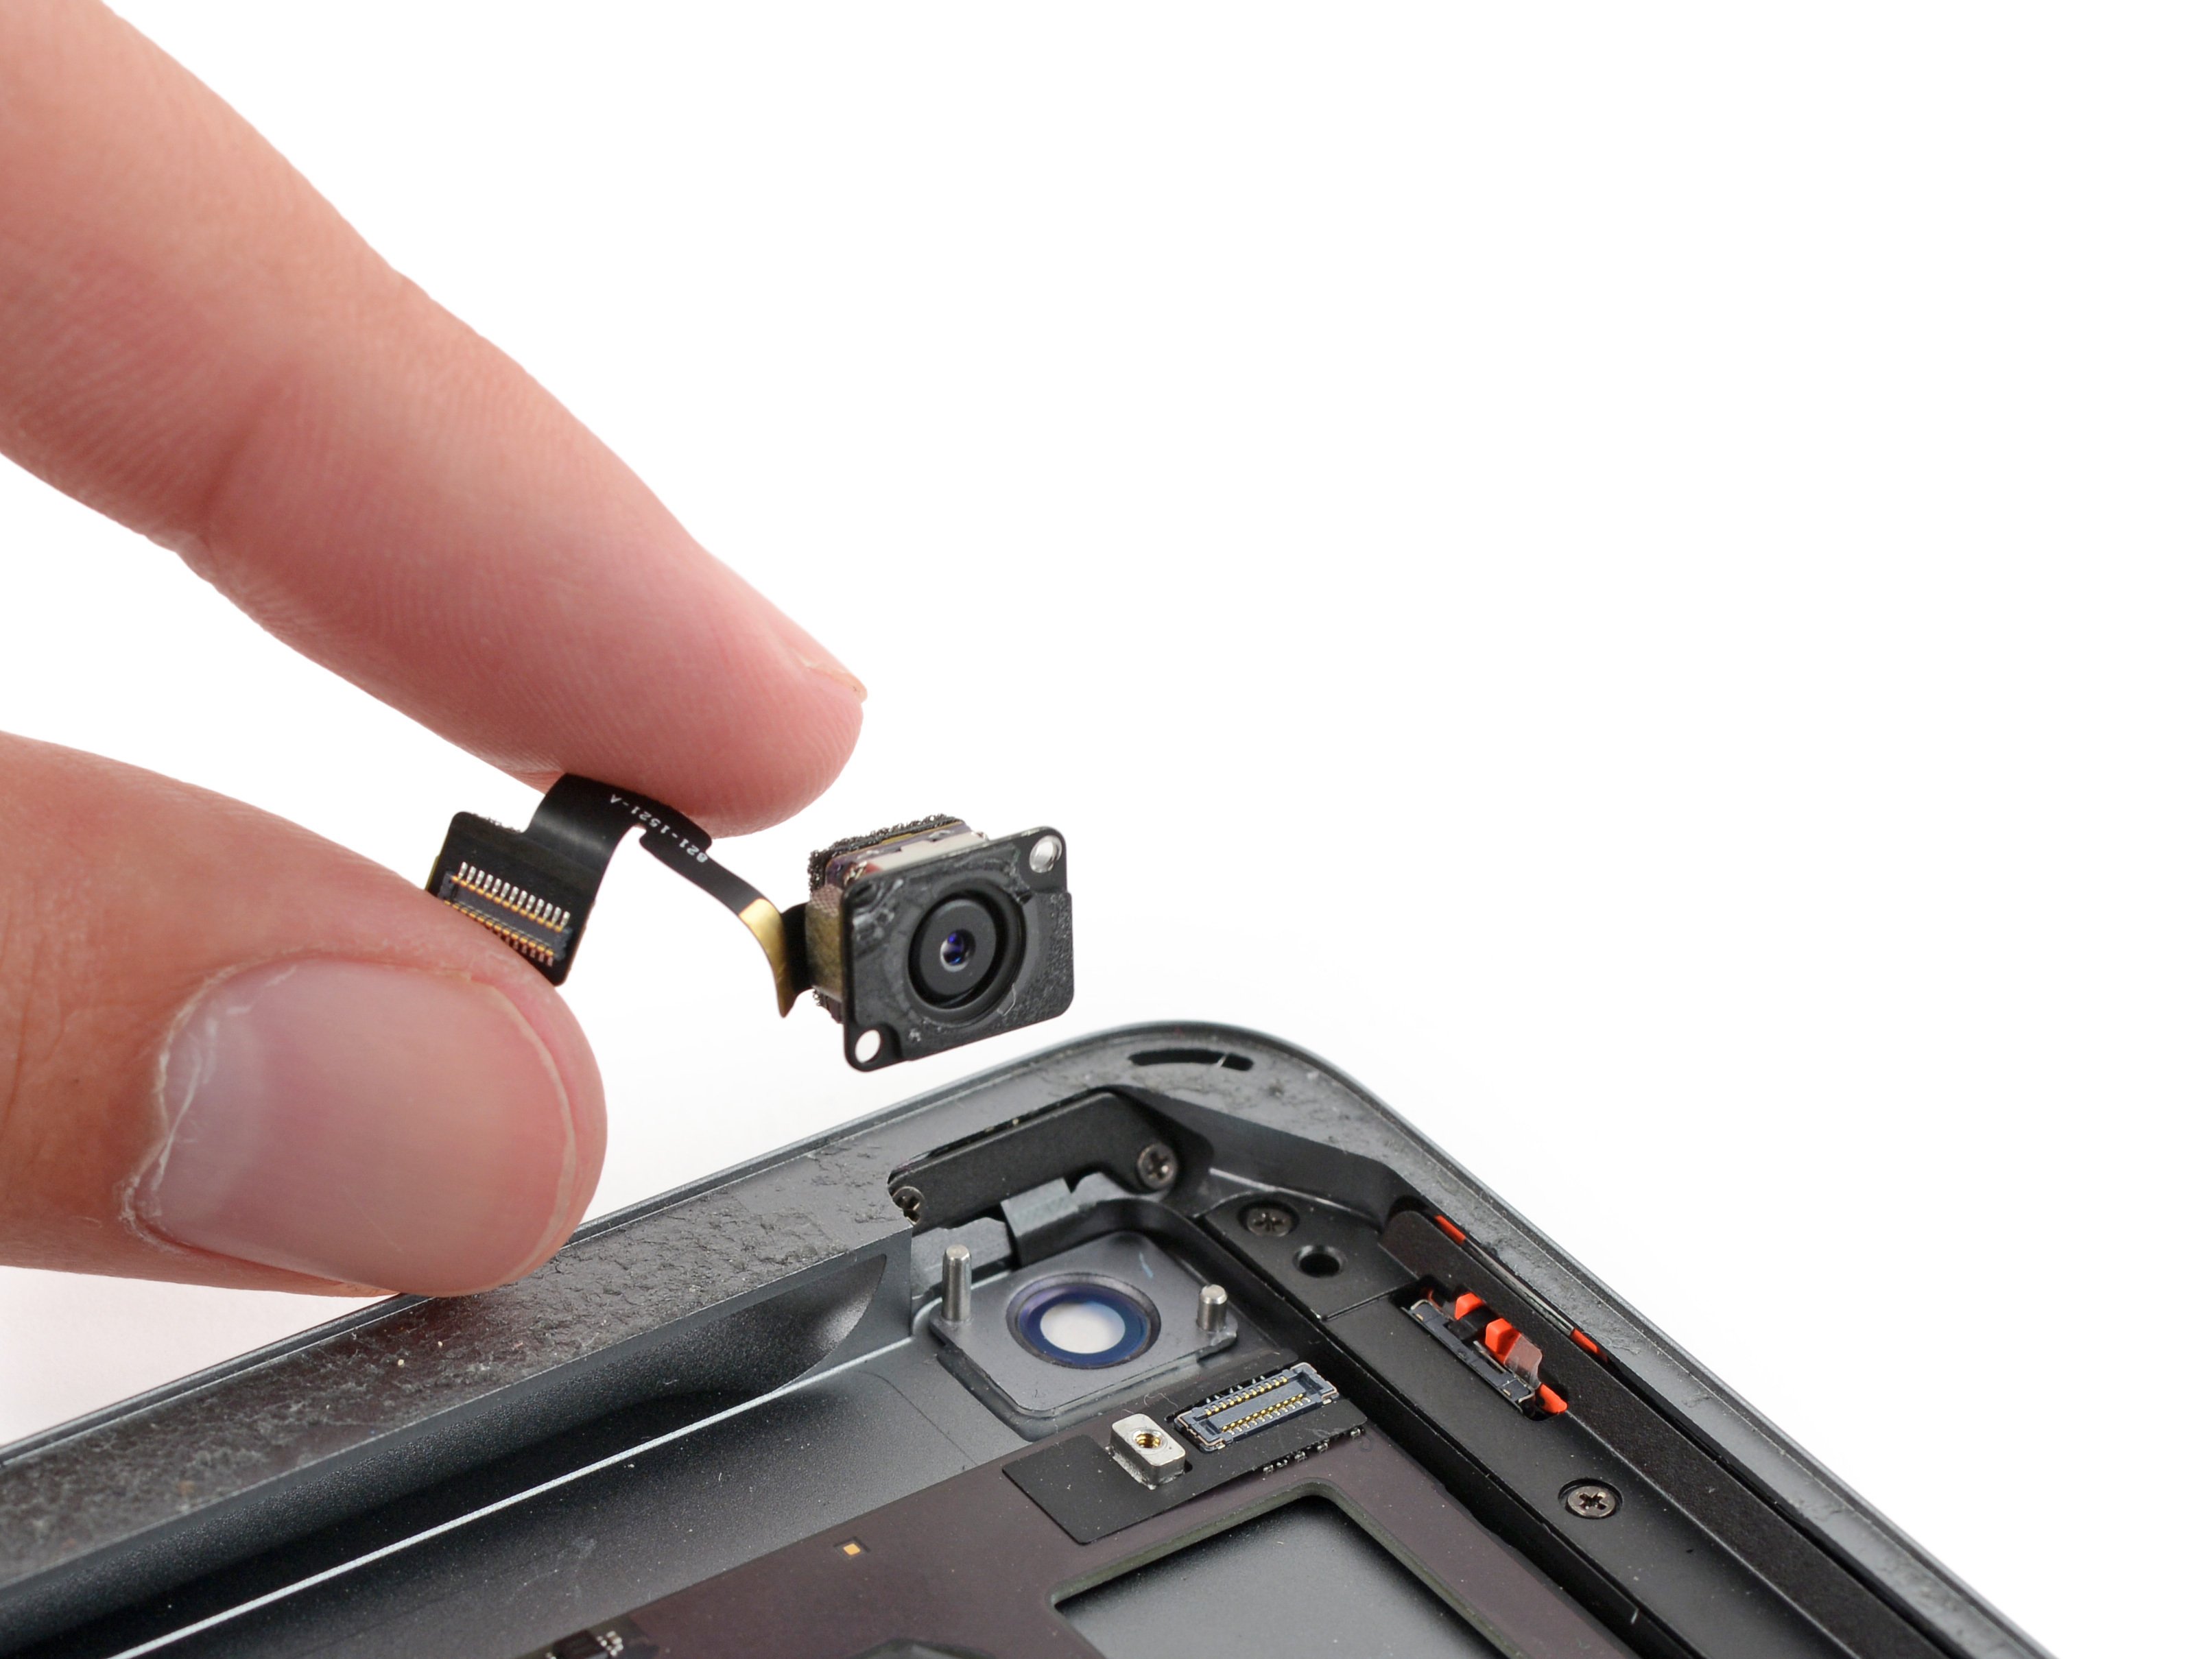
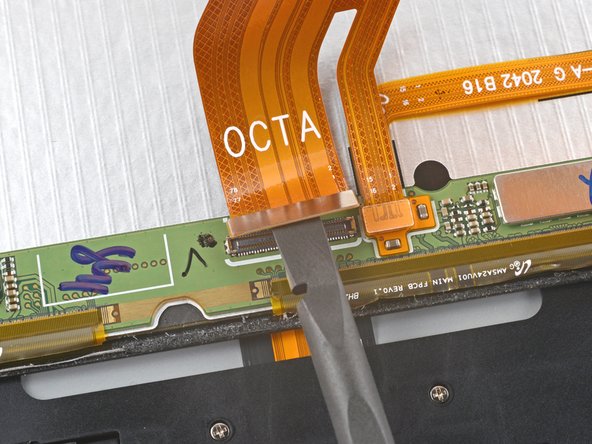
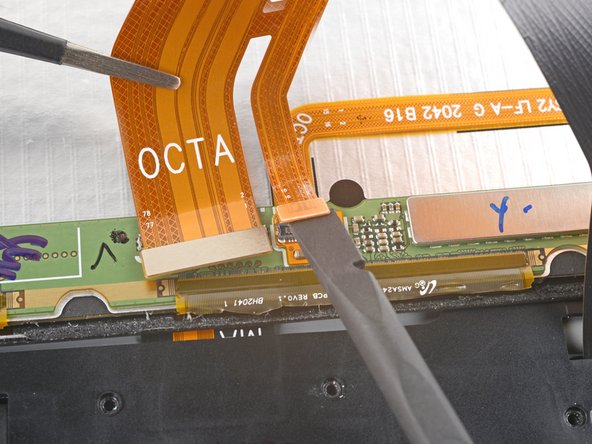
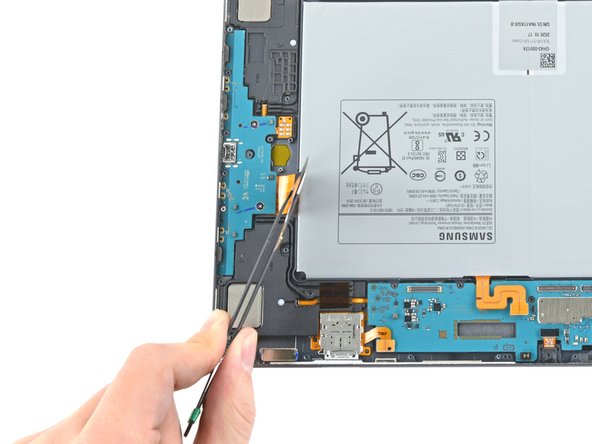
– Grab your trusty spudger and gently slide the flat end under the display cable’s press connector. Give it a little lift to disconnect it from the motherboard—voilà!
– Now, let’s do the same for the fingerprint sensor cable that’s connected to the display cable. You got this!
Tools Used
Step 23

– Gently pinch and lift the display cable with your fingers to disconnect it. It’s a simple move – just take your time and be careful not to damage it!
Step 24

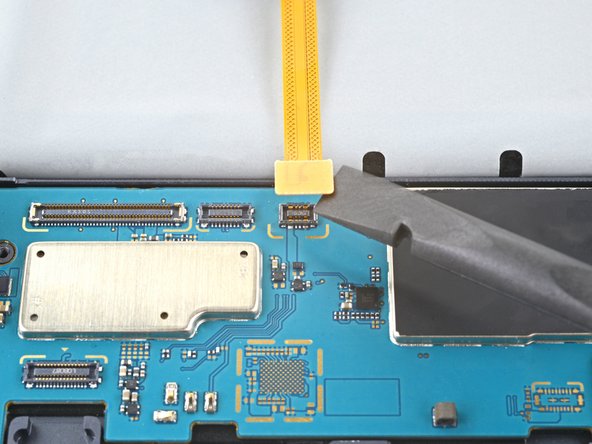
– Grab the flat end of a spudger and gently pry up the press connector holding the keyboard dock port cable to the motherboard. Keep it careful and steady—you’re doing great! If you need help, you can always schedule a repair.
Tools Used
Step 25


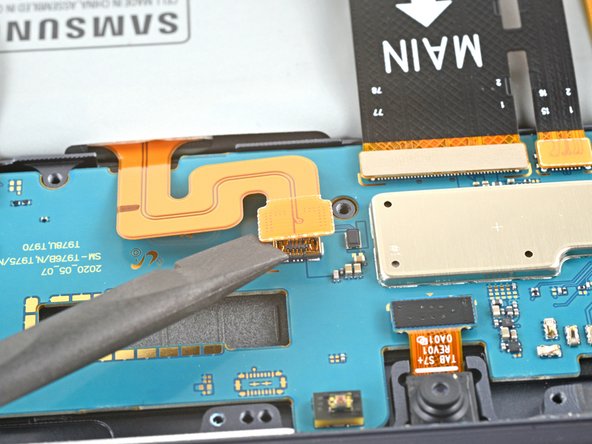
– Gently use the flat end of a spudger to lift and disconnect the daughterboard interconnect cable’s press connector from the motherboard.
Tools Used
Step 26


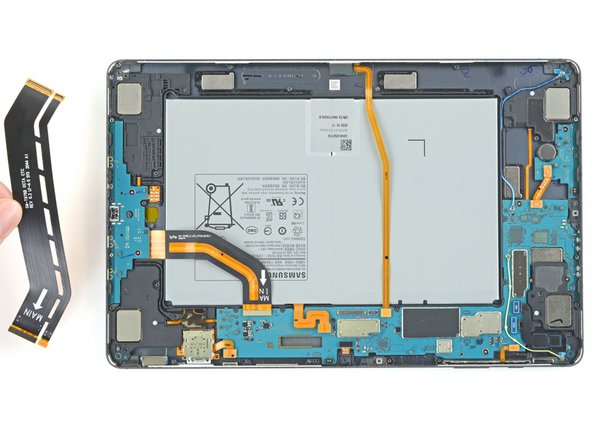
Handle the cable gently—no dramatic folding or sharp bends while moving it around. Keep things smooth to avoid tearing the cable apart. If you need a hand, you can always schedule a repair.
– Grab some blunt tweezers or just use your fingers to gently nudge the orange keyboard dock port cable away from the device. Easy does it, no need for extra force!
Tools Used
Step 27


– Gently nudge the interconnect cable out of the way using blunt tweezers or your fingers—no need to wrestle with it, just coax it aside so it’s not in your way.
Tools Used
Step 28

– Drop a few drops of high-strength (over 90%) isopropyl alcohol around the edges of the battery to loosen up the adhesive.
– Give it a minute or two for the glue to get nice and soft—patience pays off here!
Be cautious not to puncture or bend the battery with your tool—a punctured or misshapen battery can leak harmful chemicals or even catch fire. If you’re having trouble lifting the battery, try applying a bit more isopropyl alcohol and give it another gentle go.
Start with a gentle touch—apply just a few drops of isopropyl alcohol at first. If things need a little more, go ahead and add some more, but be careful not to flood the area. Too much alcohol could spill over onto the motherboard or daughterboard, and that’s a situation you want to avoid. Take your time and keep it neat—your device will thank you. If you need help, you can always schedule a repair.
Step 29

While you’re waiting for that adhesive to give up its grip, here’s a pro tip:
To keep those cells from getting all bent out of shape, try peeling the adhesive off one cell at a time before going all in and removing the whole battery.
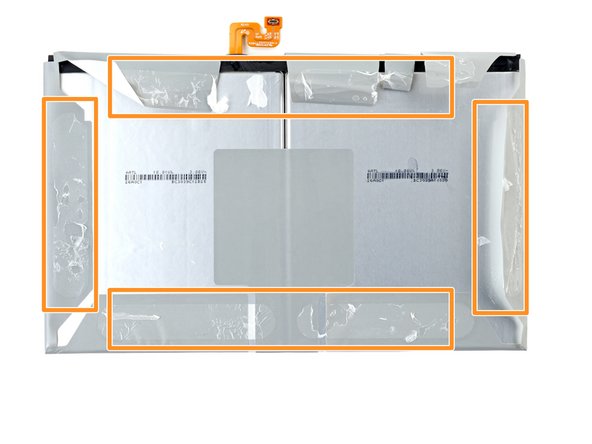
– The battery is made up of two cells wrapped in a plastic cover, keeping everything snug and protected.
– The adhesive holding the battery in place forms a ring around the edge of the battery, giving it a secure grip. If you need help, you can always schedule a repair.
Step 30

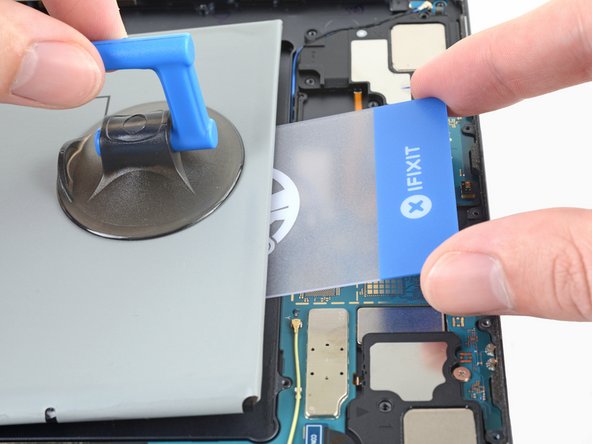
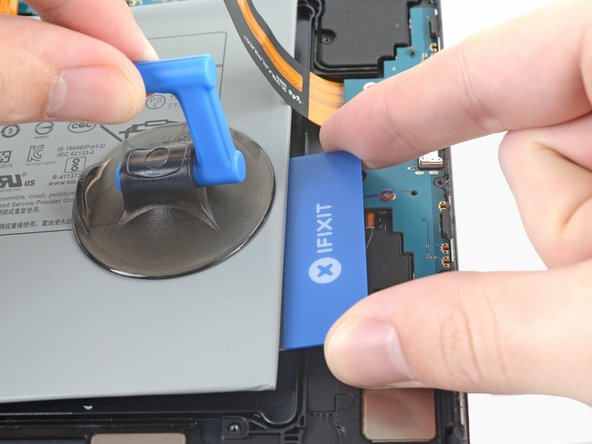
– Stick a suction cup onto the battery, aiming as close to the middle of the right edge as you can. Then, slide an opening pick into the gap at the edge where the frame and battery are furthest apart. If you need help, you can always schedule a repair.
Step 31

Start by creating a gap wide enough for a plastic card to slide in—just enough to get things moving. Keep in mind, you won’t be able to fully peel away the battery’s adhesive with the pick alone, so patience is key. If you need help, you can always schedule a repair.
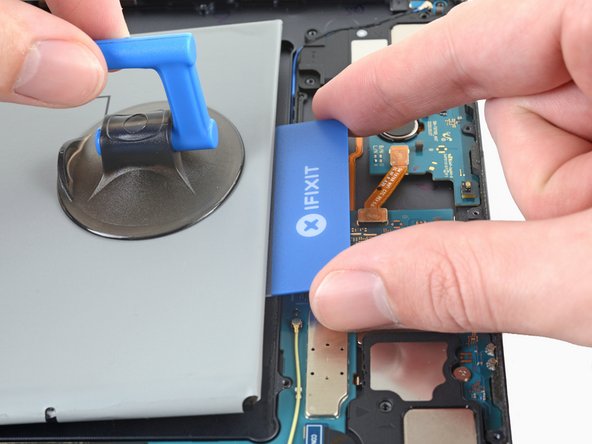
– Turn the opening pick so its long edge slides into the gap like a pro.
– Grip the suction cup firmly and lift steadily, then use the opening pick to gently pry the battery away from the frame. If you need help, you can always schedule a repair.
Step 32

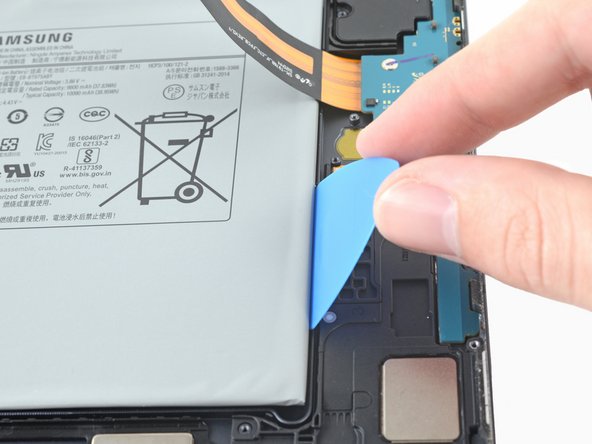
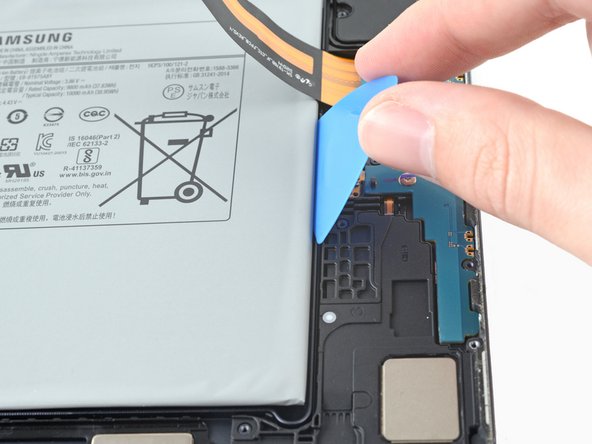
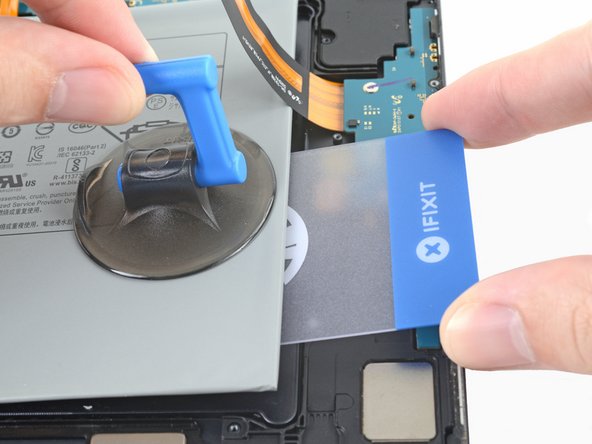
– Slide a plastic card carefully into the gap between the battery and the frame.
– Gently work the card underneath the battery to break the adhesive seal.
Step 33

– Grab an opening pick and slide it into the gap at the edge where the frame and the battery’s left side are farthest apart.
– Twist the pick gently to slide its long side into that gap, making space to work.
– Carefully move the pick along the battery’s edge to widen the gap just enough for some isopropyl alcohol to get in. If you need help, you can always schedule a repair.
Step 34

Start with just a few drops of isopropyl alcohol—less is more here! Add more only if needed. Using too much might cause it to spill over onto the motherboard and daughterboard. If you need help, you can always schedule a repair.
– Grab some high-concentration (over 90%) isopropyl alcohol—just a few drops will do—and gently apply it to the gaps around the battery’s left edge. This helps loosen things up and makes the next steps smoother. If you need help, you can always schedule a repair.
Step 35

– Stick a suction cup onto the battery, aiming for the middle of the left edge—right in the sweet spot.
– Slide an opening pick into the spot where the gap between the battery and the frame is at its widest.
Step 36

Create a gap just big enough to slide a plastic card in there; trying to separate the battery’s adhesive completely with the pick won’t do the trick.
– Give that opening pick a little twist and slide its long edge into the gap.
– Now, gently but firmly pull up on the suction cup while using the opening pick to coax the battery away from the frame. You’ve got this!
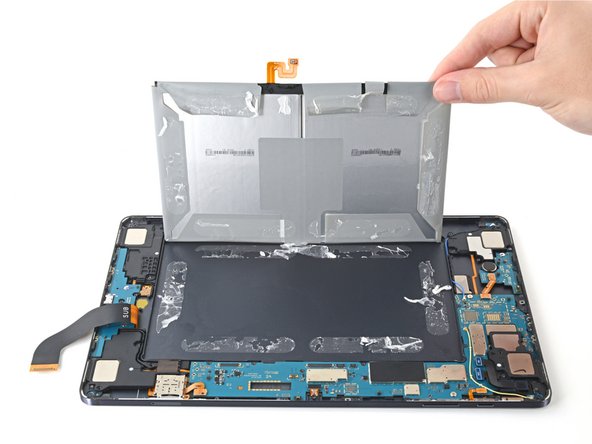
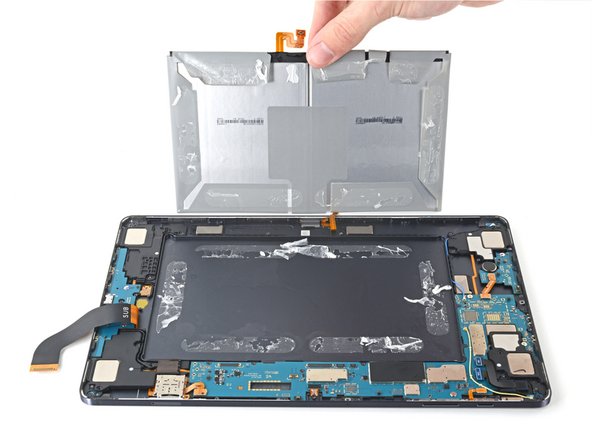
Step 37

– Slide a plastic card into the little gap between the frame and the battery. It’s like finding a secret door to the battery world!
– Use the plastic card to gently slice through the adhesive holding the battery in place. Think of it as carefully cutting through a sticky web without disturbing the rest of the house.
Step 38

– To get your device running at its best, don’t forget to calibrate that shiny new battery after following this guide.
– Got some e-waste? Make sure it finds a good home at an R2 or e-Stewards certified recycler.
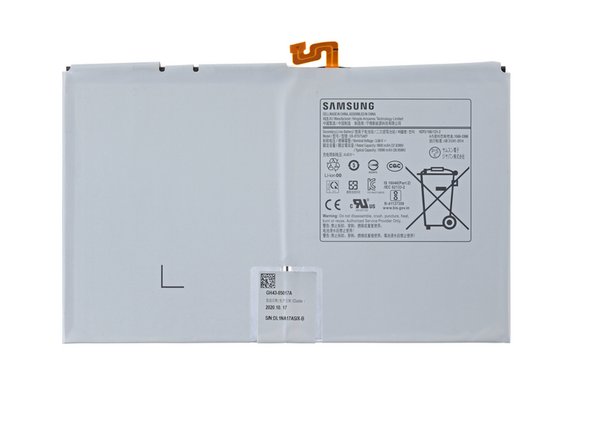
– Take a moment to compare your new replacement part with the original—sometimes you might need to swap over some components or peel off adhesive backings before diving into installation.
– Things not going smoothly? No worries! Try some basic troubleshooting, or if you’re still stuck, our community is here for you.
– If you need help, you can always schedule a repair.
Once you’ve removed the battery, avoid reusing it — it’s best to keep things safe and sound. If you need help, you can always schedule a repair.
If you encounter any stubborn resistance when prying up the battery, grab a plastic card and gently run it along the edges again. It’s like giving your battery a friendly nudge to loosen up—no damage, just smooth sailing. If you need help, you can always schedule a repair.
Success!