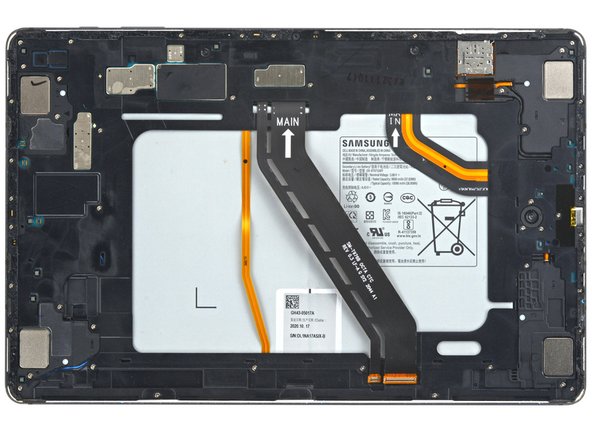
Samsung Galaxy Tab S7 Plus Rear Camera Replacement
Duration: 45 minutes
Steps: 41 Steps
For safety’s sake, try to drain your tablet’s battery below 25% before you start taking it apart. Also, watch out—there’s a good chance you might crack that delicate, unreinforced display if you’re not careful during this step.
Ready to swap out the rear camera on your Samsung Galaxy Tab S7+? Here’s how. Make sure your battery is under 25% before starting—safer for you, less drama if the battery takes a hit. If your battery’s looking puffy, handle it with care. Heads up: the display is delicate and can crack easily, so bring the heat and take it slow when prying it open. You’ll need some fresh adhesive to put everything back together. If this feels like too much, you can always schedule a repair.
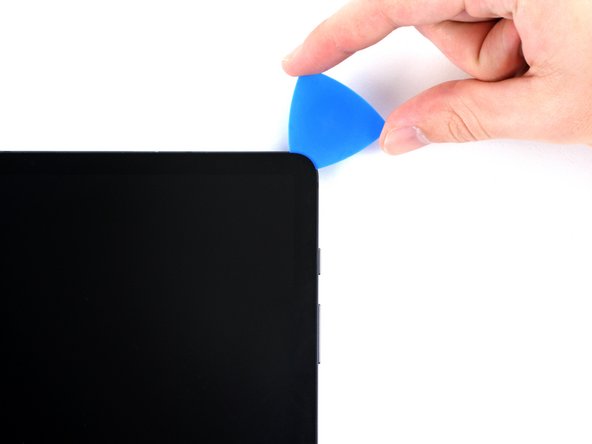
Step 1

– Start by gently applying a heated iOpener to the bottom edge of the device. This helps soften the adhesive and makes it easier to lift the screen away. Take your time and be careful not to overheat. If you need help, you can always schedule a repair.
Be sure to power down your device completely before diving in!
The adhesive holding the Galaxy Tab S7+ display is super strong, so you’ll probably need to heat it up and reapply the iOpener a few times—both before you start and during the removal process. You can also use a hair dryer, heat gun, or hot plate, but just be careful not to overheat the device. If you need help, you can always schedule a repair.
Tools Used

Step 2


Keep the pick shallow—no deeper than 2 mm—or you might poke something important on the circuit board.
Limit the pick to 3 mm deep here, so the display stays happy and uncracked.
– While you let that adhesive take its sweet time loosening up, here are a couple of things to keep in mind:
– You’ve got a long circuit board hanging out with the screen, just chilling parallel to the bottom edge.
– Take a peek at this image to see what it looks like when the display is making a break from the glass panel.
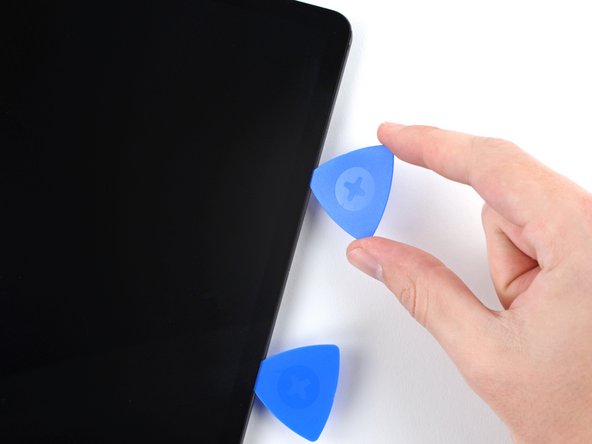
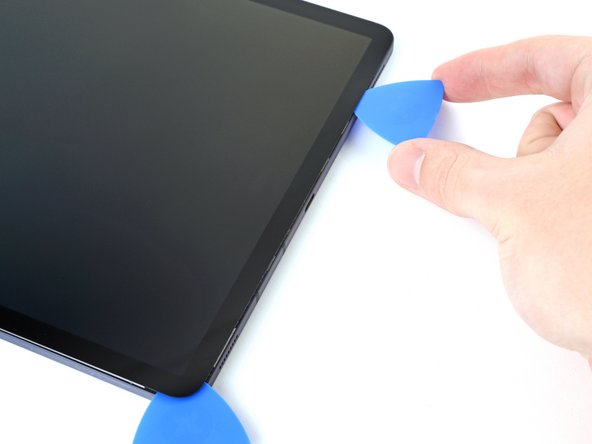
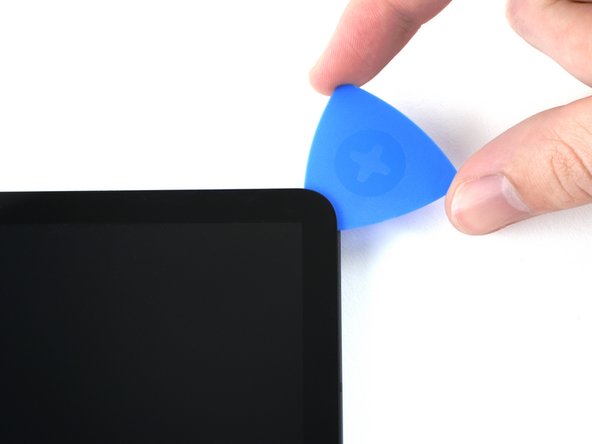
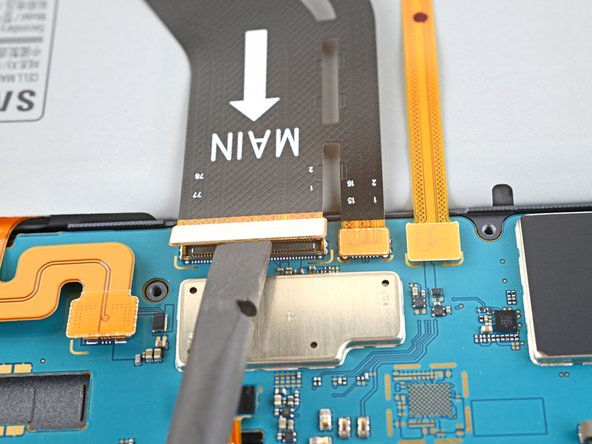
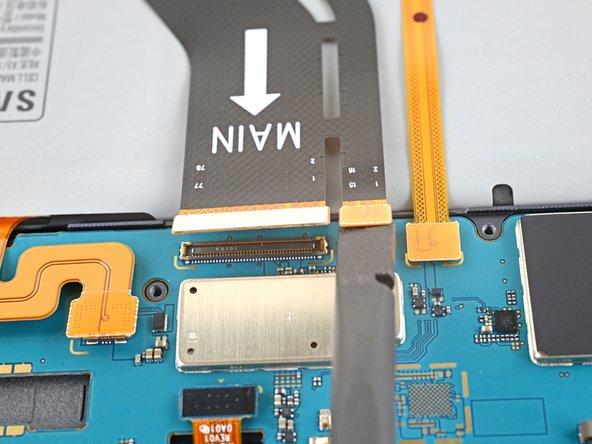
Step 3


– Warm up the screen a bit—just enough so it’s comfortably warm to the touch. Then, grab your suction handle and place it as close to the bottom edge of the screen as possible.
– Gently pull on the suction handle to lift the screen, creating a small gap between the screen and the frame.
– Now, slide an opening pick into that gap you just created. Take your time and be gentle.
– Leave the opening pick in place so that the adhesive doesn’t seal back up while you continue. This keeps things moving smoothly!
Be gentle—don’t insert the pick more than 2 mm to keep that circuit board happy and intact.
If your screen looks like it’s been through a blender, try smoothing a layer of clear packing tape over it—this gives your suction cup something to grab onto. Super sticky tape can even stand in for the suction handle if you’re feeling creative. If nothing’s working, and you’re up for a little adventure, you could superglue the suction cup right to the screen. (Just remember you’ll need to clean that up later!)
Tools Used

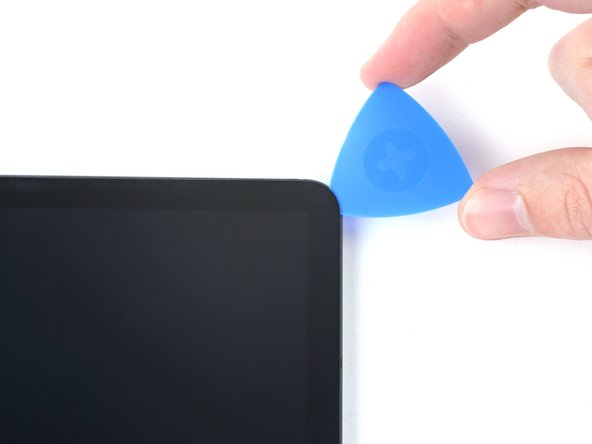
Step 4


– Pop in a fresh opening pick where you made that first gap. You’ve got this!
– Gently slide that pick along the bottom edge of your device, heading toward the bottom-right corner. Smooth and steady, no rush!
Step 5

– Grab a heated iOpener and gently apply it to the right edge of your device. This will help loosen up the sticky adhesive hiding underneath, making the next step a lot easier. Keep it on there for a bit, and you’ll be good to go!
Tools Used
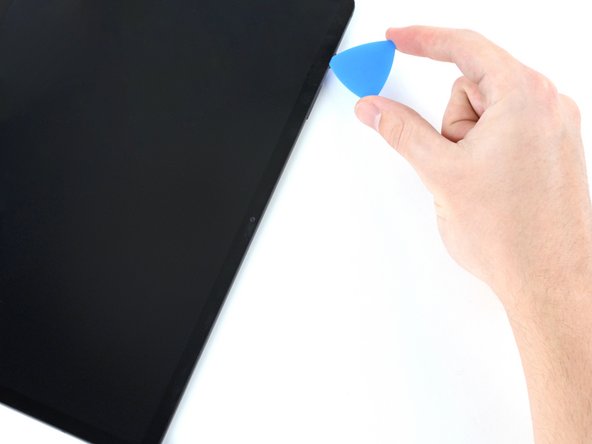
Step 6


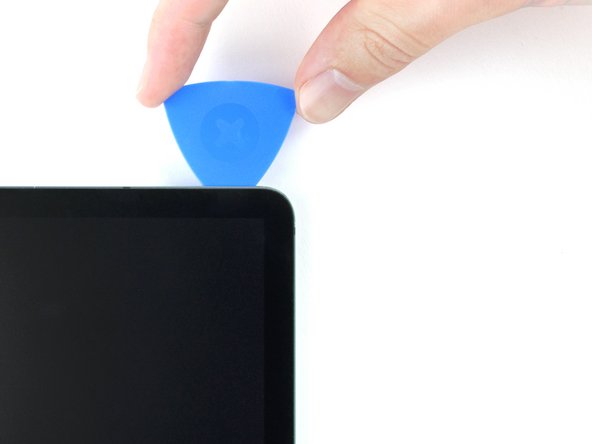
– Swing the opening pick around the bottom-right corner like you’re tracing a line.
– Keep the pick parked there so the sticky stuff doesn’t sneak back together.
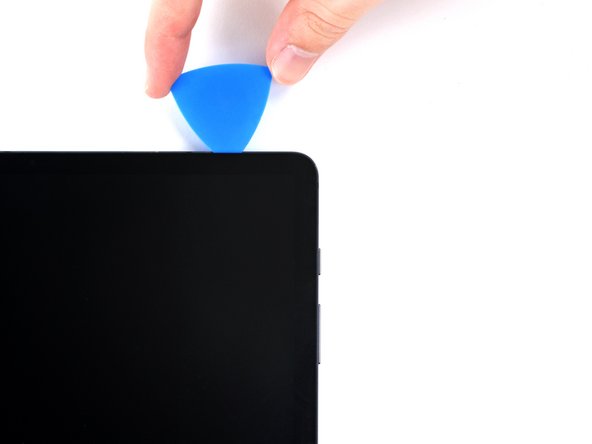
Step 7


Be gentle—don’t insert the pick more than 3 mm, or you might end up with some unintended damage along the right edge. Take it slow and steady!
– Pop a fresh opening pick into that gap you just made.
– Glide the new pick up the right edge, heading for the top-right corner. Smooth moves only!
Step 8

– Gently heat up the top edge of the device with an iOpener to soften the adhesive underneath, making it easier to open.
Tools Used
Step 9


– Swing that opening pick around the top-right corner—like you’re tracing a line, but cooler.
– Keep the pick right where it is, so that sticky adhesive doesn’t try to make a comeback.
Step 10


– Pop a new opening pick into that gap you made earlier.
– Then, glide the pick along the top edge of the device toward the top-left corner to keep things moving smoothly.
Step 11

– Place a heated iOpener along the left edge of the device to soften the adhesive underneath. If you need help, you can always schedule a repair.
Tools Used
Step 12

– Gently rotate the opening pick around the top-left corner of the device, like you’re opening a treasure chest. Keep the pick in place afterward to stop the adhesive from sticking back together. If you need help, you can always schedule a repair.
Step 13


– Pop a new opening pick into that gap you made and get ready to slide.
– Glide the pick along the left edge of the device all the way down to the bottom-left corner.
Step 14


By now, the screen should be loose around the edges. If it’s still sticking anywhere, just slide your opening pick around the sides again to loosen up any stubborn adhesive.
– Gently rotate the opening pick around the bottom-left corner of the device, just like you’re carefully peeling a sticker off a new laptop.
– Leave the opening pick in place to keep the adhesive from making a comeback and resealing. It’s like holding the door open for your next move!
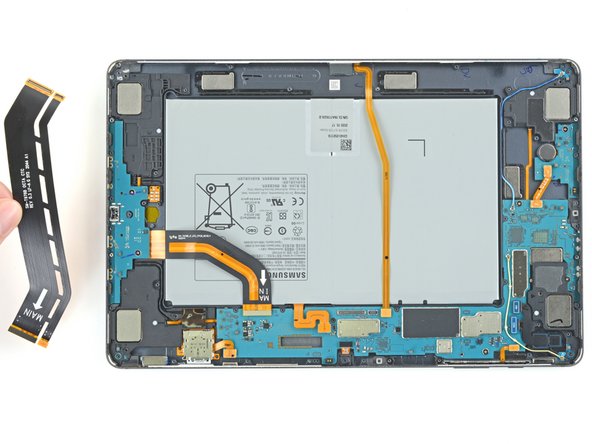
Step 15


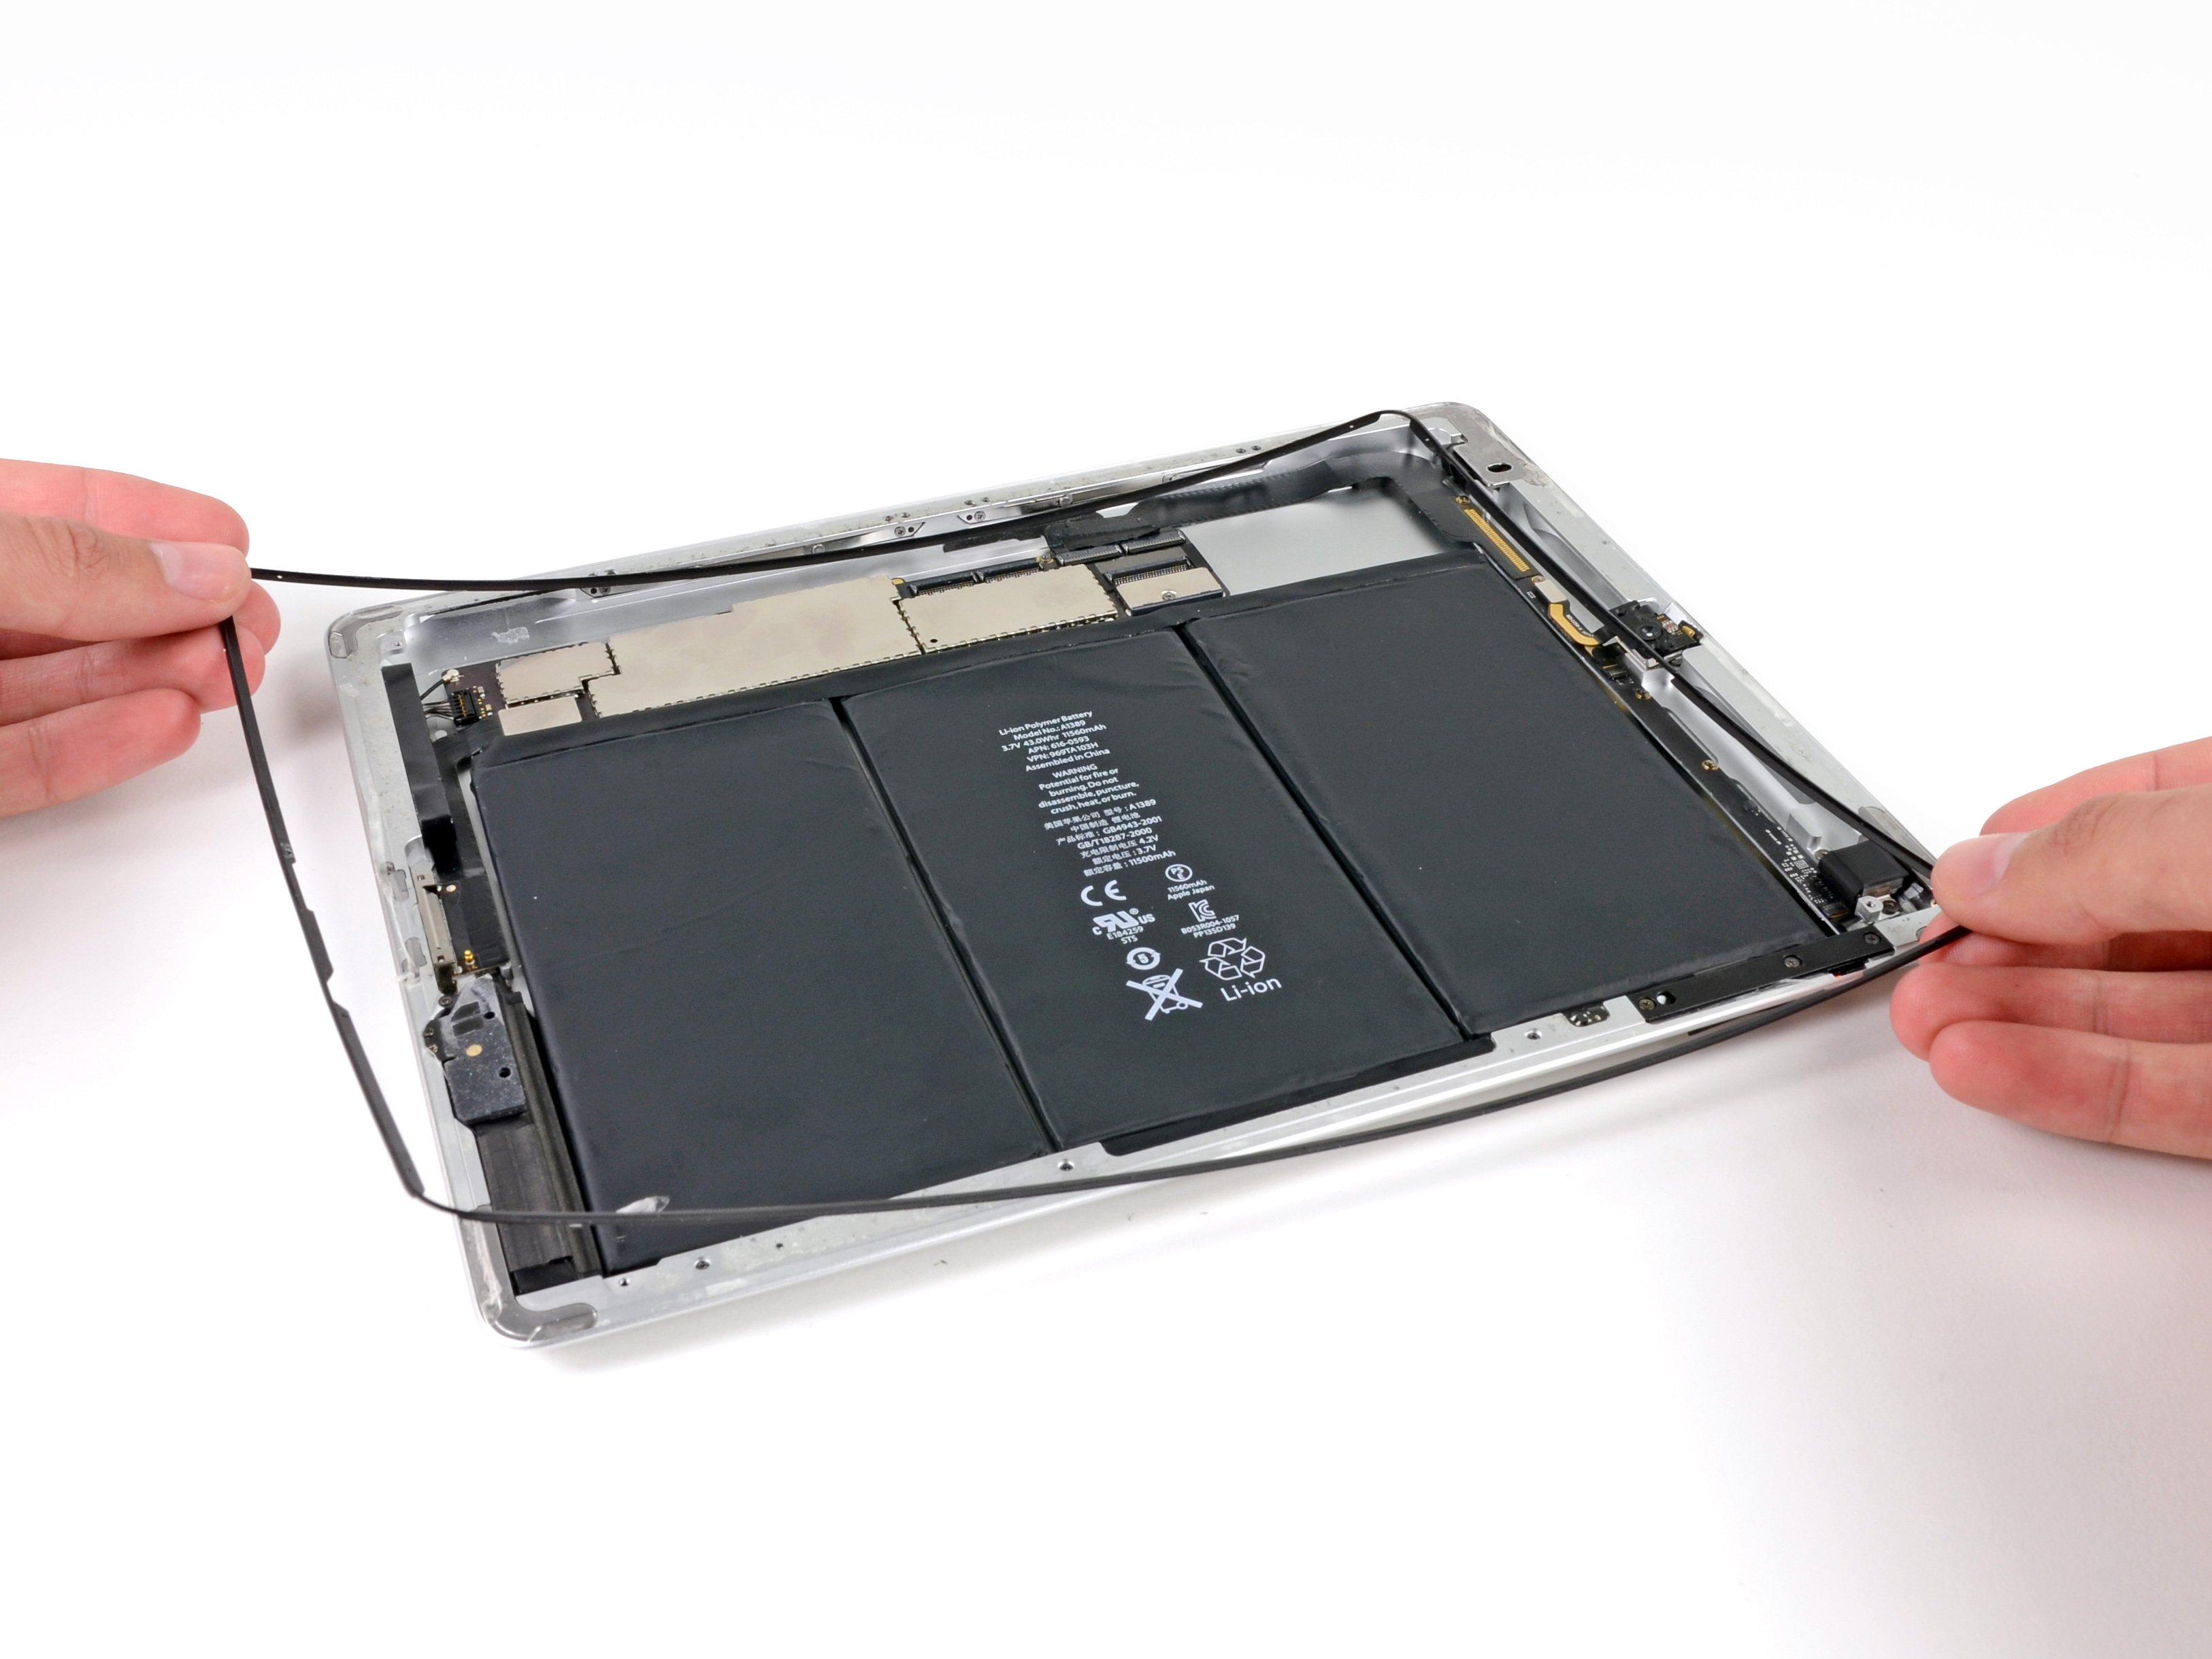
– With the top of your device facing you, lift the screen up and away, as if you’re opening a hardcover book.
– Flip the screen over so it’s upside down and lies flat, parallel to the frame, before you move on.
– As you put things back together:
– Now’s a great moment to turn on your tablet and make sure everything works before you seal things up. Just remember to power it off again before you get back to work.
– Clear out any leftover adhesive chunks with tweezers or your fingers. Wipe away the sticky stuff using some high-strength (over 90%) isopropyl alcohol.
– If you’re rocking custom-cut adhesives, follow this guide. For double-sided tape, there’s a separate guide for that too.
Hold up on trying to peel the screen all the way off; it’s still hanging tight to the frame with a flex cable. And steer clear of twisting or yanking the screen too far away—those flex cables are delicate little connectors. If you hit a snag, you can always schedule a repair to get it sorted out smoothly.
Tools Used

Step 16

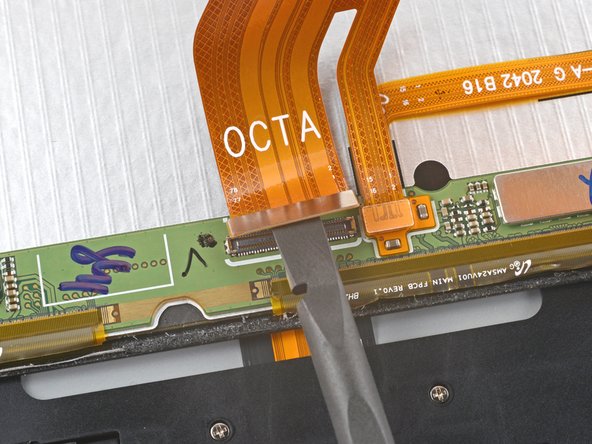
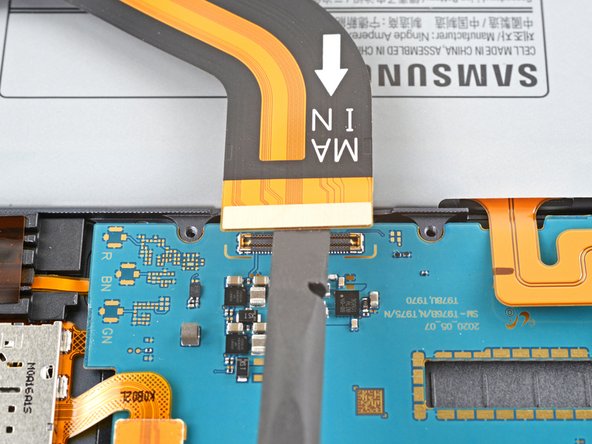
– Grab the flat end of your spudger and gently pop up that display cable’s press connector from the screen.
– To snap the press connector back in, line it up carefully, then press down one side until you hear a satisfying click. Repeat for the other side. Avoid pressing the middle. If the connector gets misaligned, those pins can bend, leading to some irreversible damage. Be careful!
Tools Used

Step 17

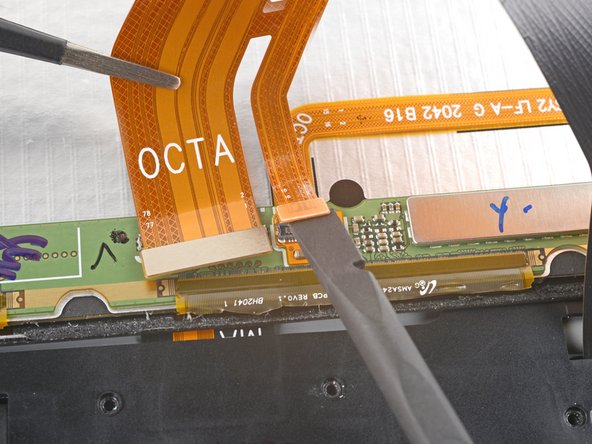
– Grab the display cable with tweezers or your fingers to keep it steady.
– Pop the fingerprint sensor’s press connector off the display cable using the flat end of a spudger.
– Notice the way the display cable is bent—you’ll want to match that curve when hooking up your new screen.
Step 18


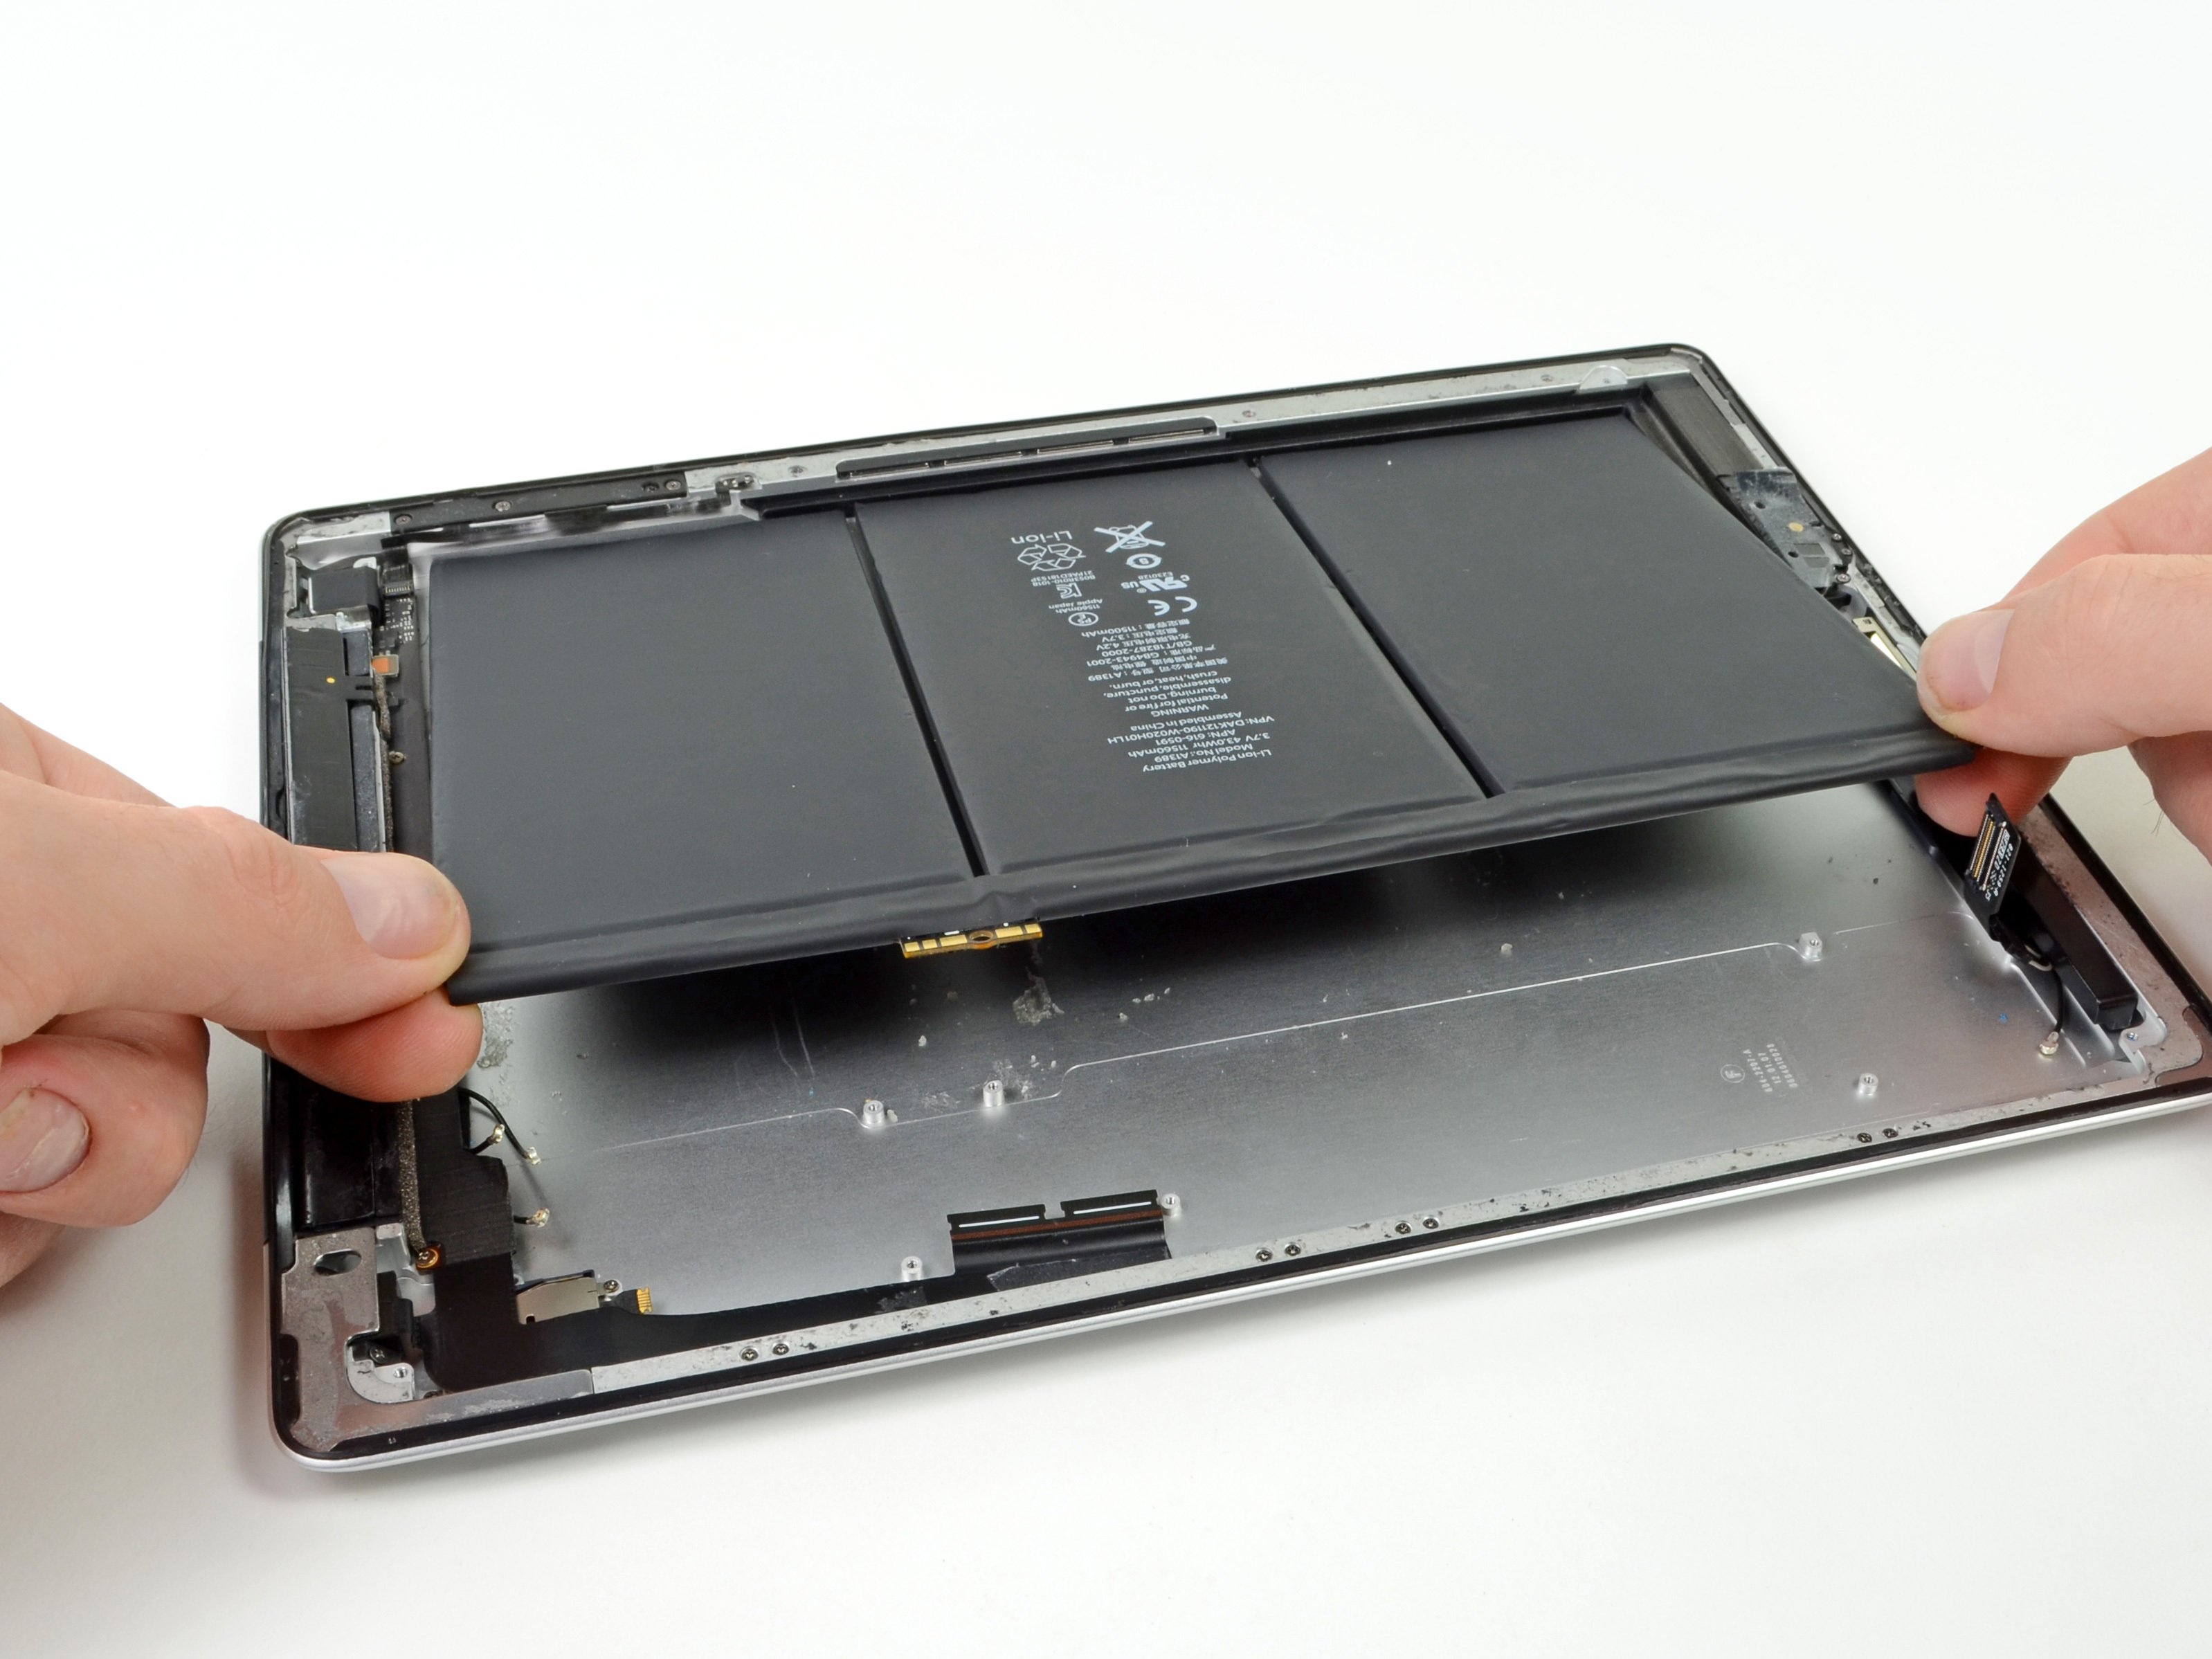
– Gently lift the screen away from the frame, making sure to keep things smooth and steady. If you need help, you can always schedule a repair.
Step 19


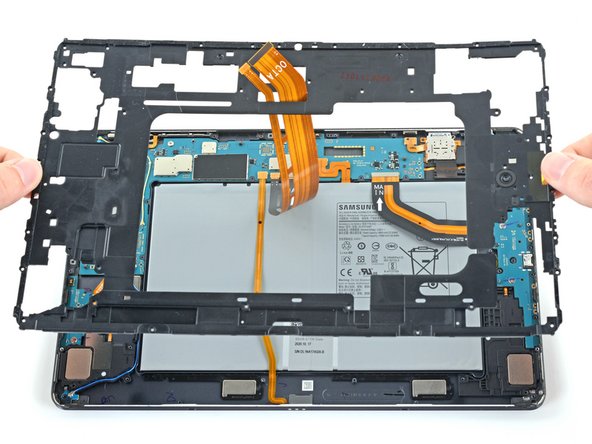
– Grab a Phillips #00 screwdriver and get ready to remove fifty 3mm-long screws that hold the frame bracket to the frame. The third photo shows these screws marked by quadrant—use it during reassembly to keep track of everything: bottom left has 9 screws, bottom right has 14, top right has 12, and top left has 15. Take your time, stay organized, and if you need help, you can always schedule a repair.
Tools Used

Step 20
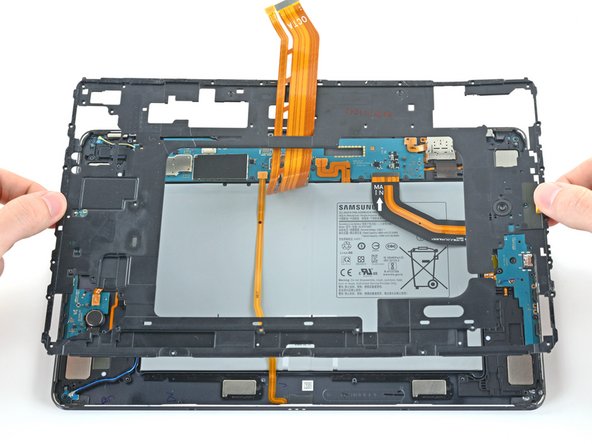

– Carefully lift the frame bracket away from the frame, making sure to gently guide the display cable through its socket to avoid any damage.
Step 21

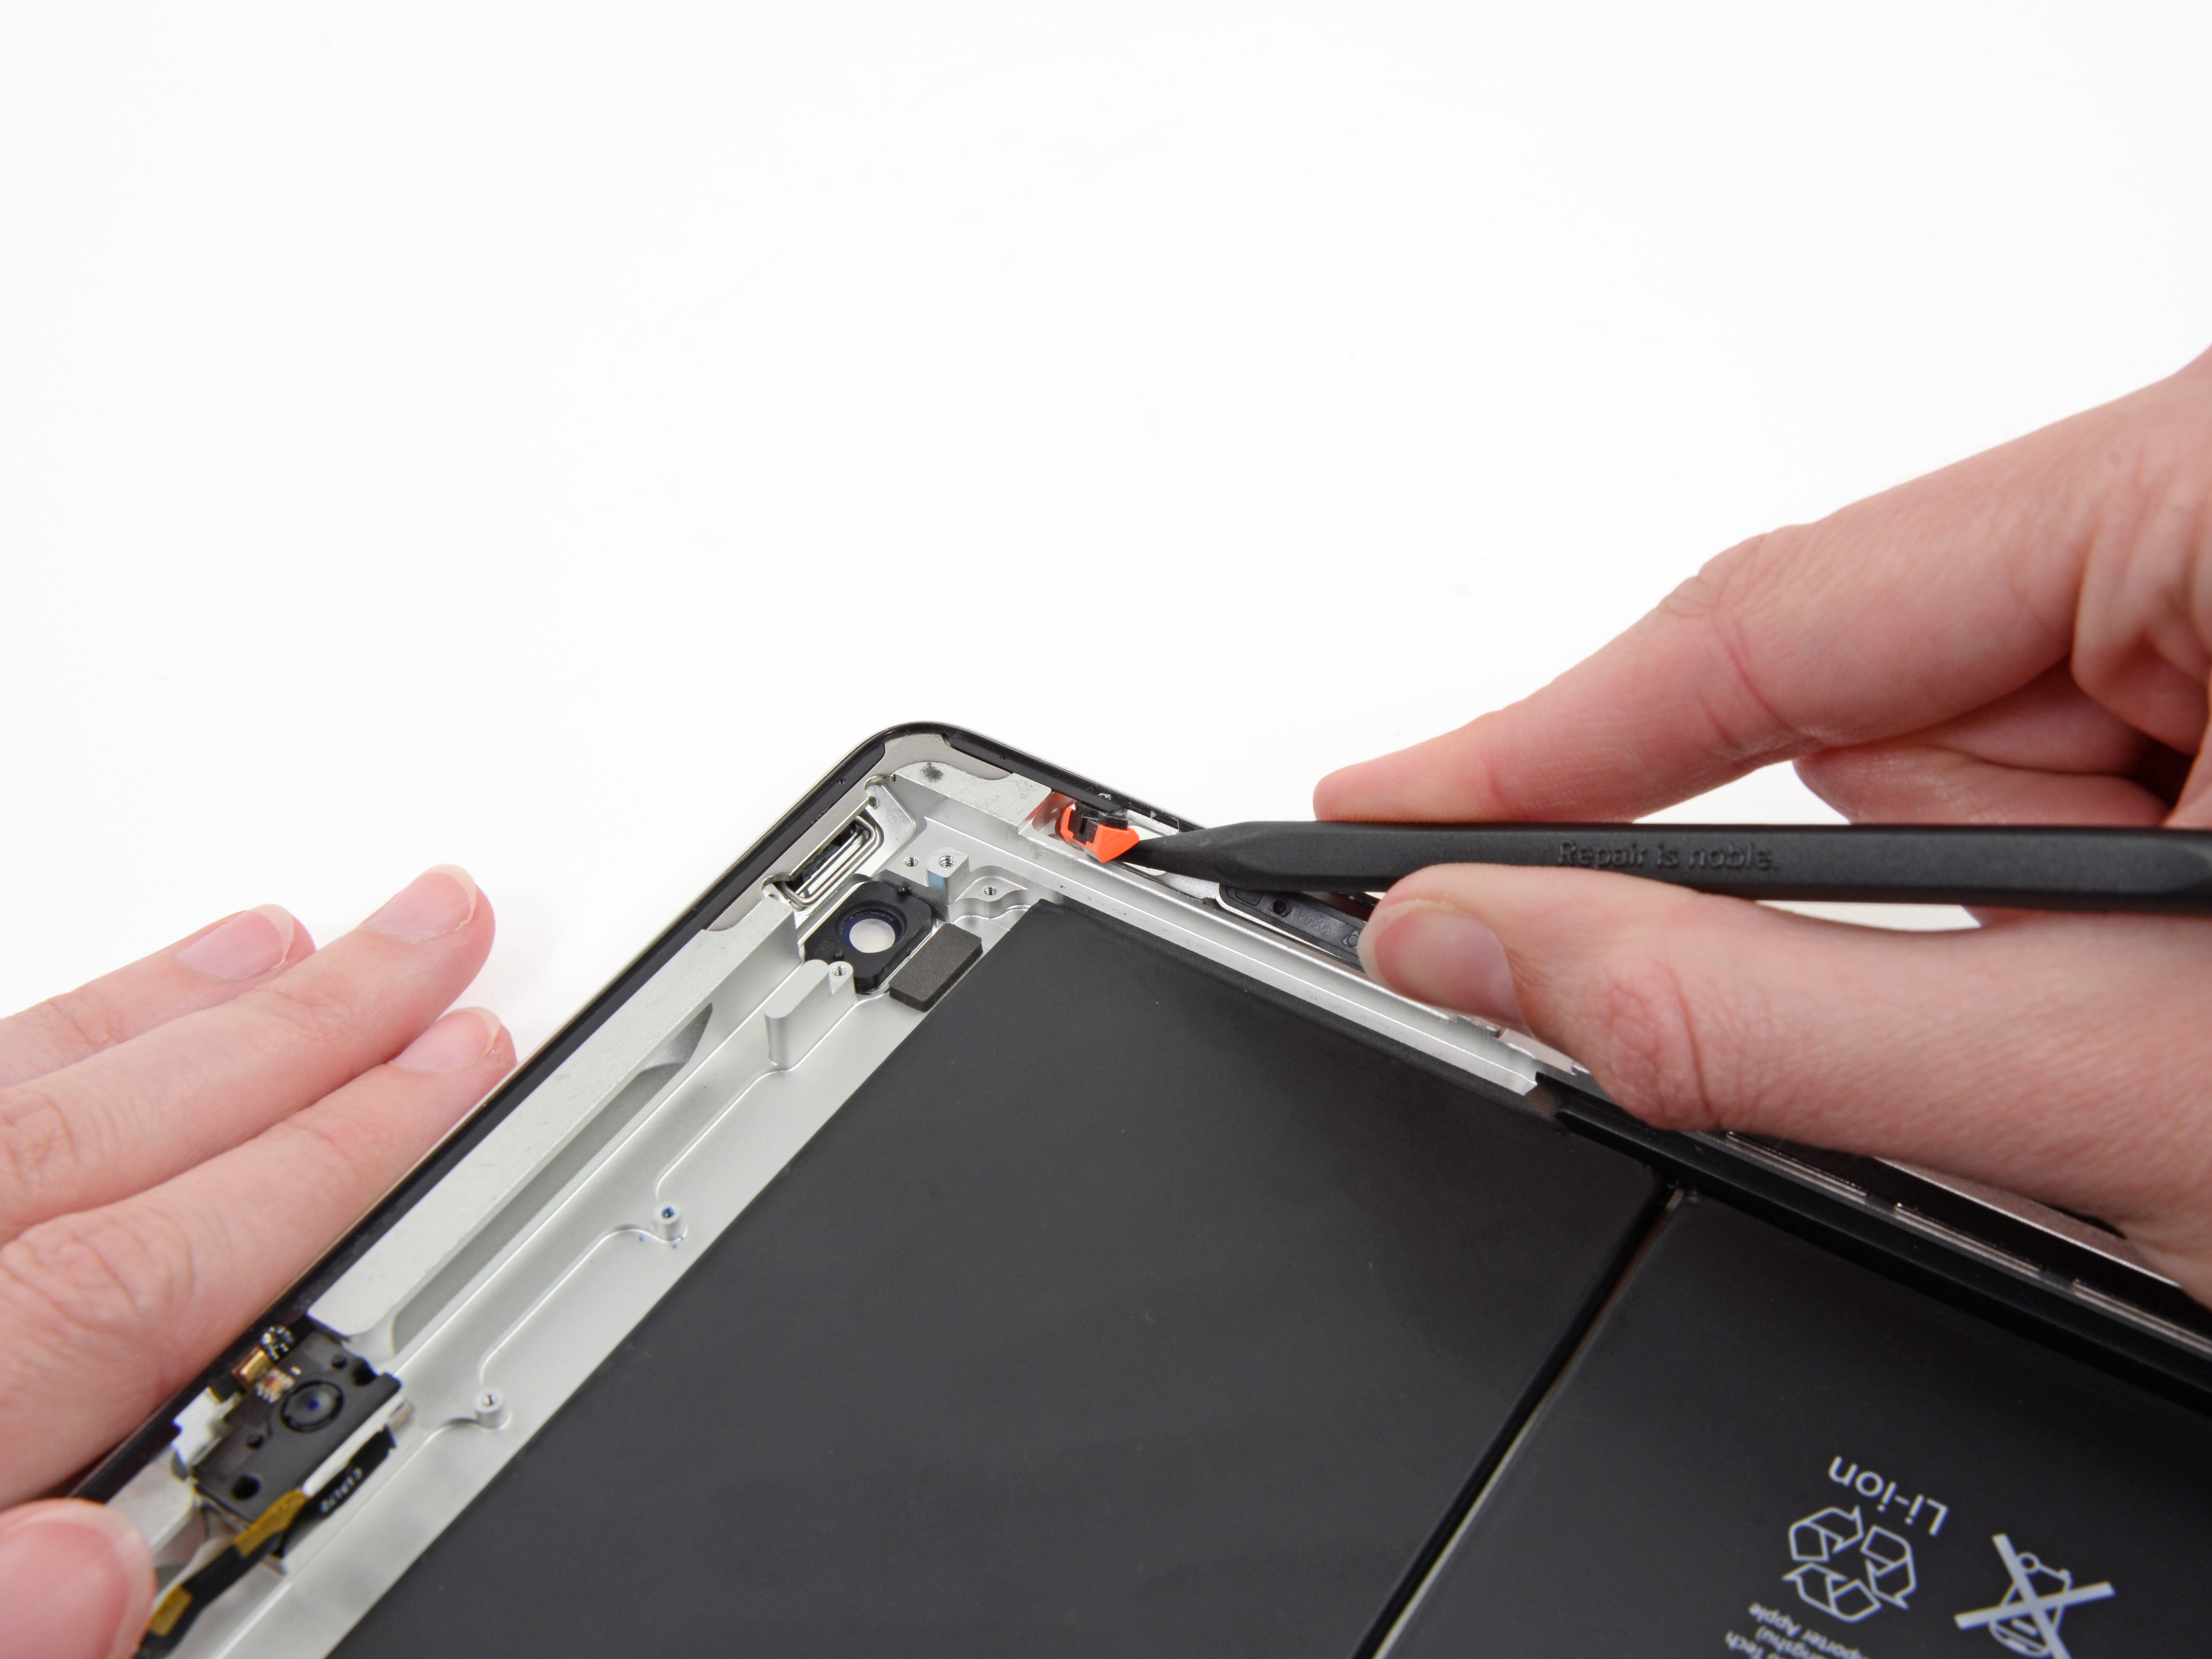
– Grab the flat end of your spudger and gently pop up the battery’s press connector from the motherboard—like you’re opening a tiny treasure chest!
Tools Used
Step 22

– Grab the flat end of a spudger and gently pry up to disconnect the display cable’s press connector, which is held onto the motherboard.
– Repeat the same process for the fingerprint sensor cable connected to the display cable.
Tools Used
Step 23

– Gently use your fingers to disconnect the display cable. No need to rush, you’ve got this!
Step 24

– Grab the flat end of your spudger and gently pop up the press connector for the daughterboard interconnect cable from the motherboard. Easy does it!
Tools Used
Step 25


– Grab the flat end of a spudger and gently pry up the press connector holding the keyboard dock port cable to the motherboard. Keep it steady and disconnect carefully to avoid any damage. If you need help, you can always schedule a repair.
Tools Used


Step 27
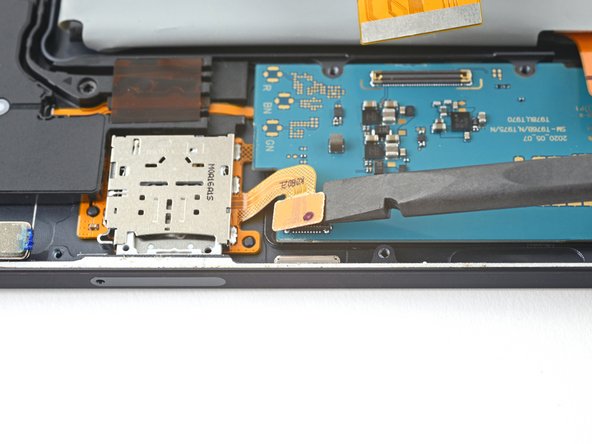

– Grab that trusty spudger and gently lift up the flat end to disconnect the microSD card reader’s press connector from the motherboard. You’re doing great—keep it up!
Tools Used
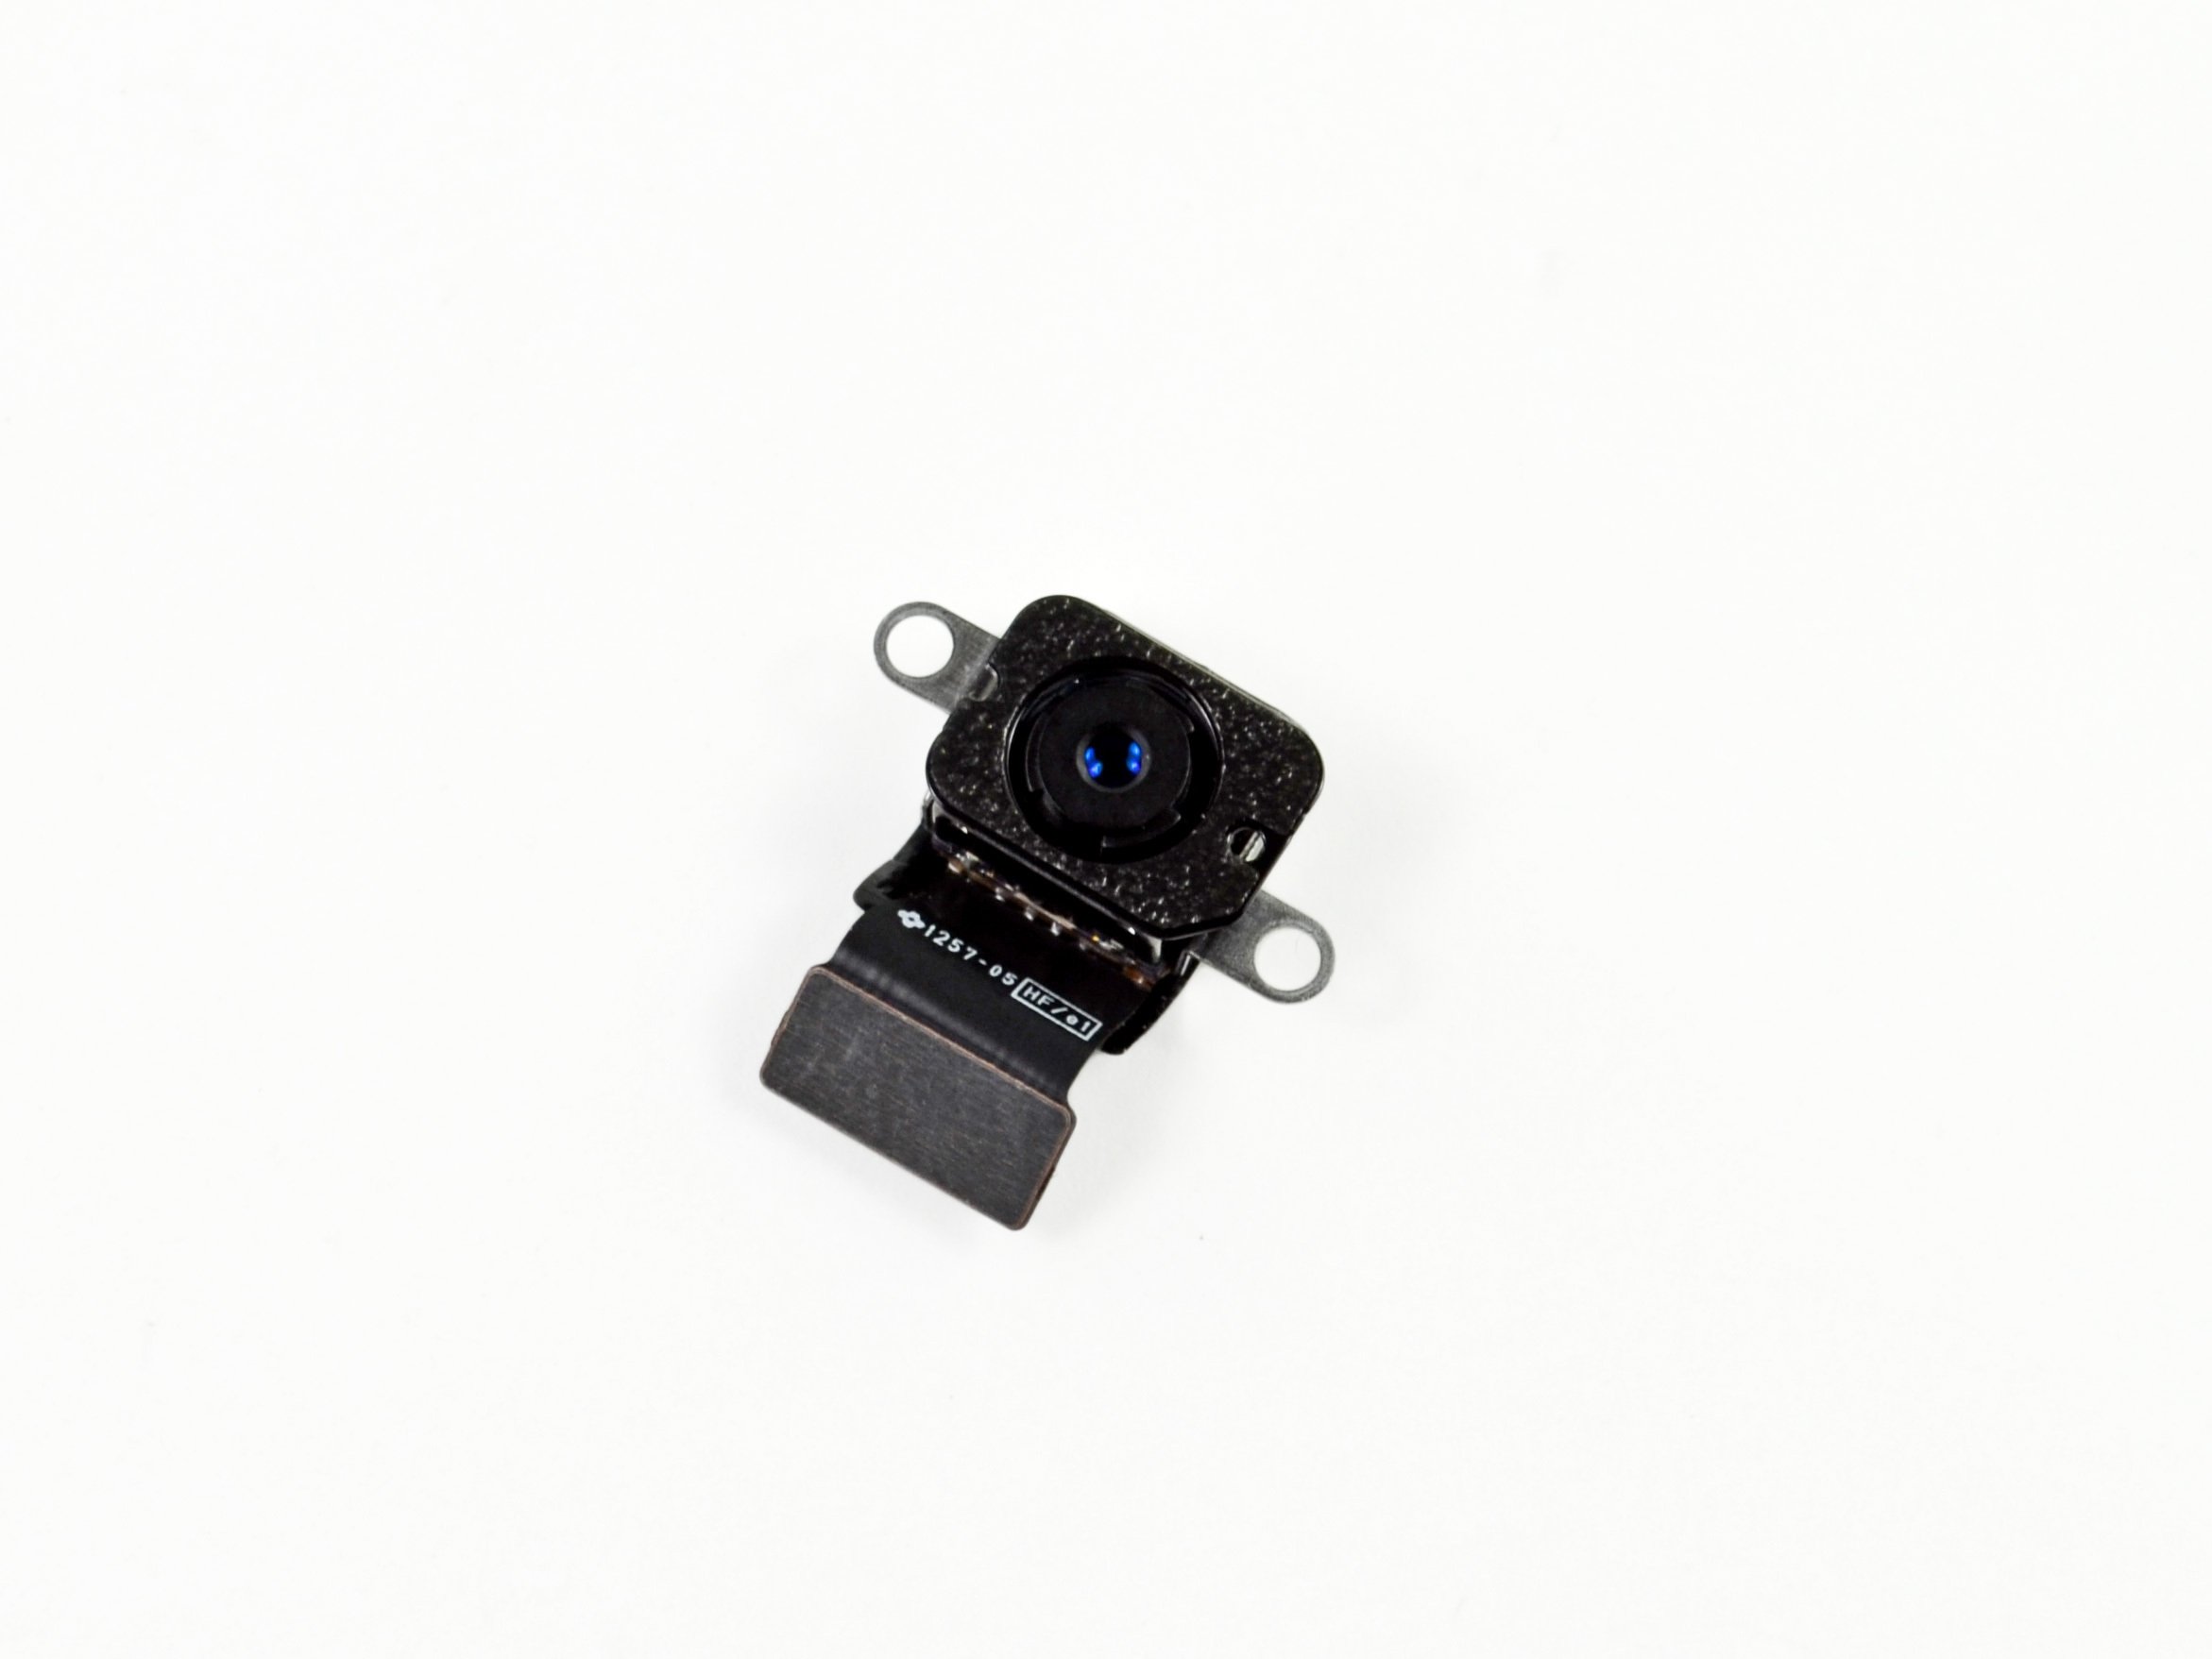
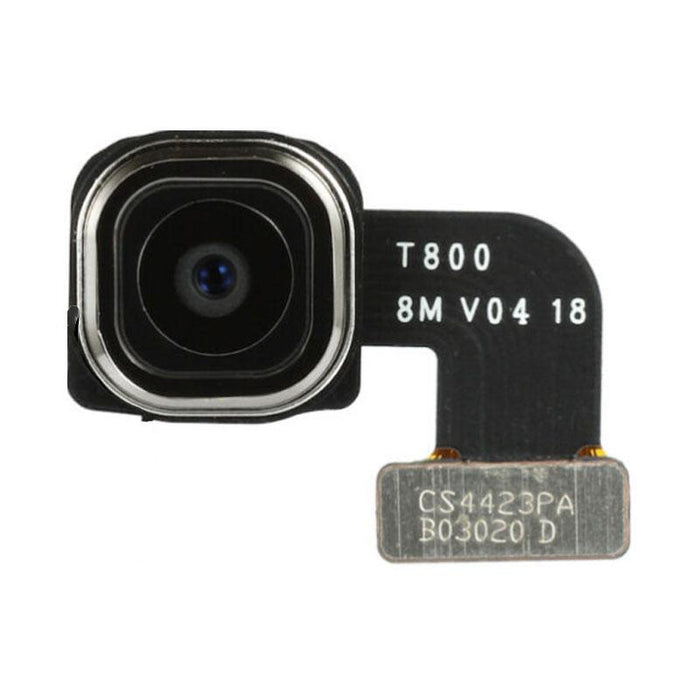
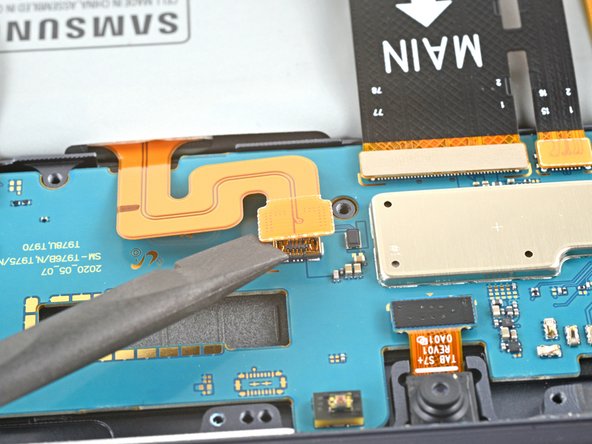
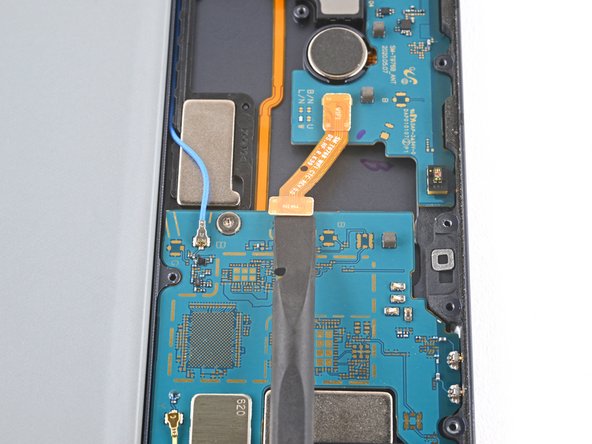
Step 28

– Grab that trusty spudger and use its flat end to gently lift and disconnect the two press connectors holding the rear camera in place on the motherboard. You’ve got this!
Tools Used
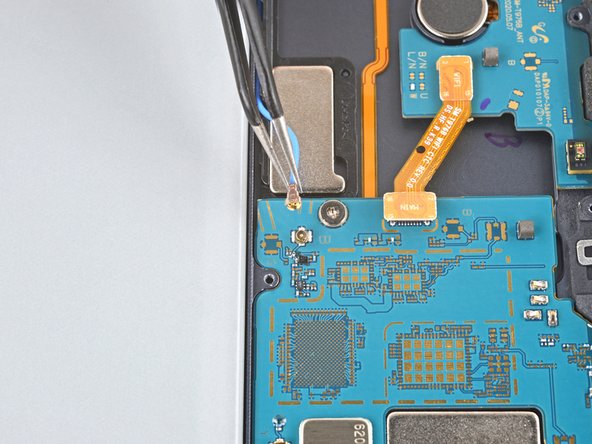
Step 29

– Gently use the flat end of your spudger to lift and unplug the power button cable’s press connector that’s clipped onto the motherboard.
Tools Used
Step 30

Be careful not to puncture or bend the battery with your tool—a punctured or bent battery might leak harmful chemicals or even start a fire. If you need help, you can always schedule a repair.
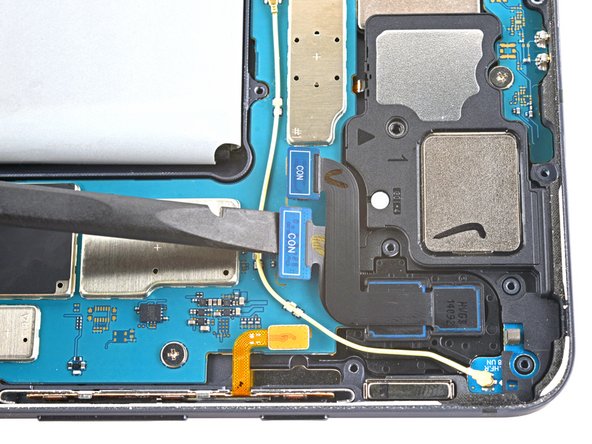
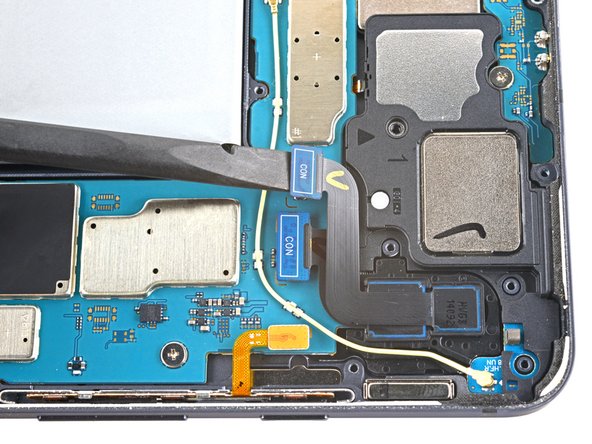
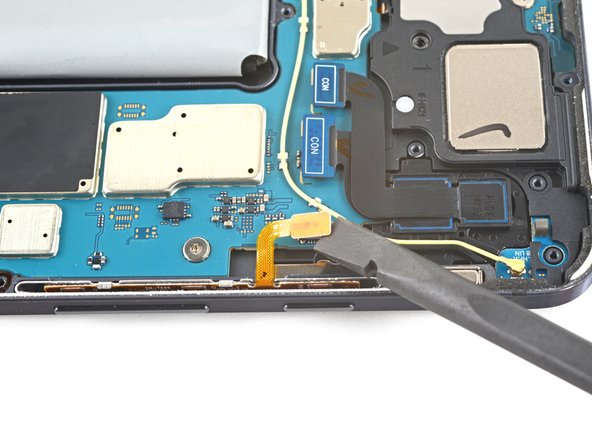
– Grab your trusty spudger and gently pry up the yellow coaxial cable connected to the bottom-right loudspeaker. Just be careful not to go too wild with it—gentle is the name of the game!
– When it’s time to put everything back together, those connectors can be a bit sneaky. Take your time with each one, positioning it over its socket. Then, with the flat end of your spudger, press down gently. You’ll hear that satisfying snap when it’s in place!
Tools Used
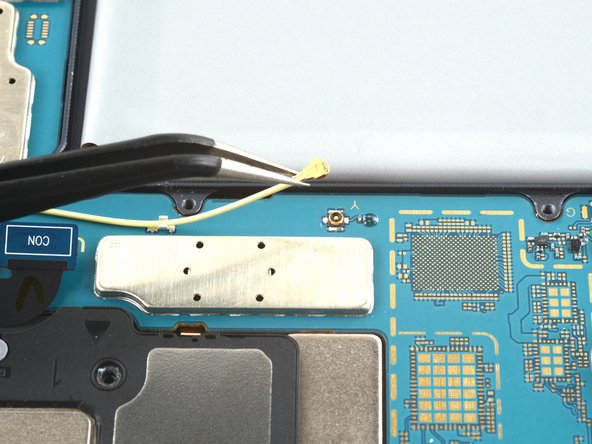
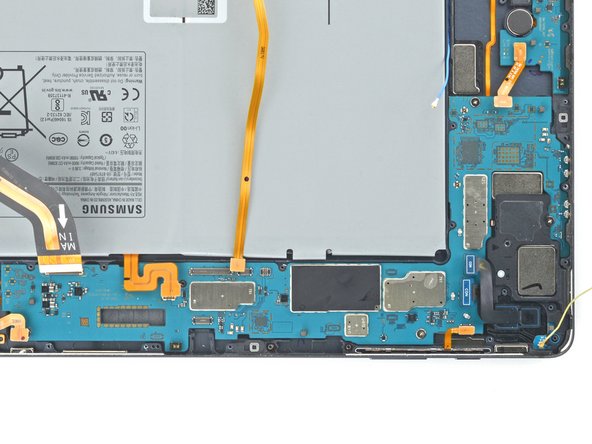
Step 31

– Gently pull the coaxial cable away from the frame, making sure it’s completely freed from the motherboard.
Step 32

– Grab the flat end of a spudger and gently pry up the press connector holding the interconnect cable to the motherboard. Keep it cool and steady—you’re doing great! If you need help, you can always schedule a repair.
Tools Used
Step 33

– Grab your spudger and gently lift the blue coaxial cable of the top-right loudspeaker, carefully disconnecting it from the motherboard. Take your time and keep everything steady. If you need help, you can always schedule a repair.
Tools Used
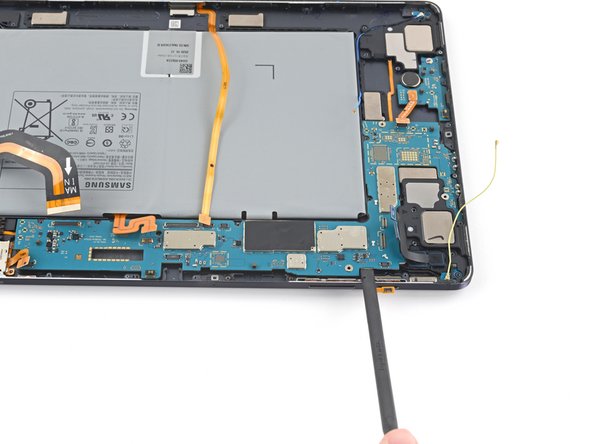
Step 34

– Grab your Phillips #00 screwdriver and take out those three 2 mm screws that are holding the motherboard in place. It’s a quick step that will make your next move a breeze!
Tools Used
Step 35


– Slide a spudger into the little gap between the motherboard and the frame.
– Gently pry up with the spudger to free the motherboard from its clips.
– Carefully take out the motherboard.
– When putting it back together, start by securing the motherboard screws to align everything perfectly, then reconnect those cables.
Tools Used
Step 36

– Press a heated iOpener gently against the left edge of the device and hold it there for about two minutes. This helps soften the adhesive so you can safely open things up without a fuss. If you need a hand along the way, you can always schedule a repair.
The connector for the top-left loudspeaker is glued to the frame, so a little heat can help loosen it up—just be careful not to overdo it. You might use a hair dryer, heat gun, or hot plate, but keep an eye on the temperature to avoid overheating the device. If you need help, you can always schedule a repair.
Tools Used
Step 37

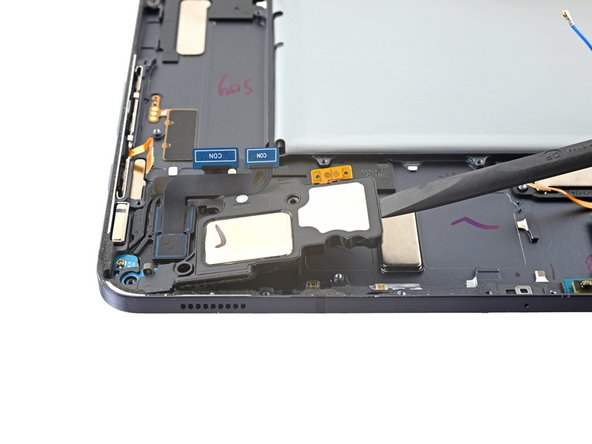
– Gently slide an opening pick between the loudspeaker cable and the frame to get started.
– Carefully slice through the adhesive while lifting with the pick to free the cable from the frame. If you need help, you can always schedule a repair.
Step 38

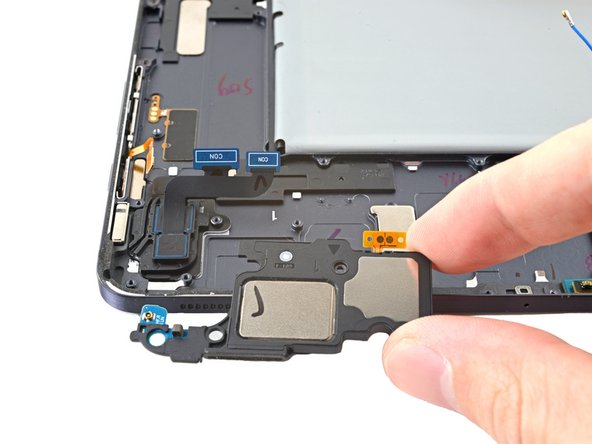
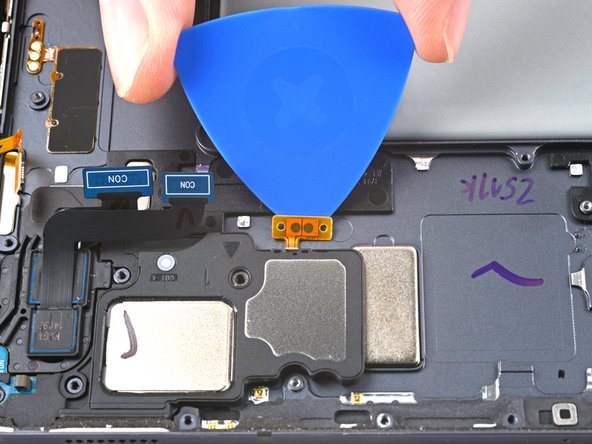
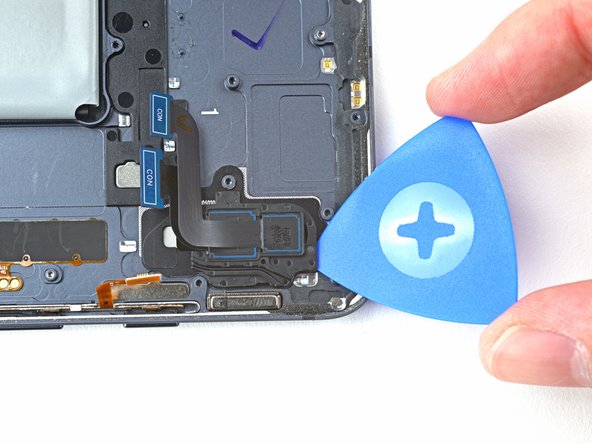
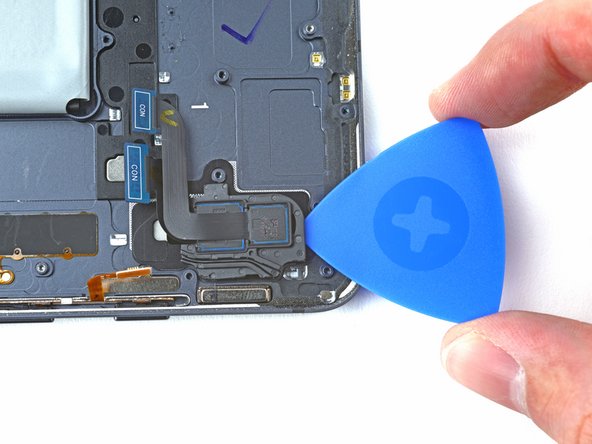
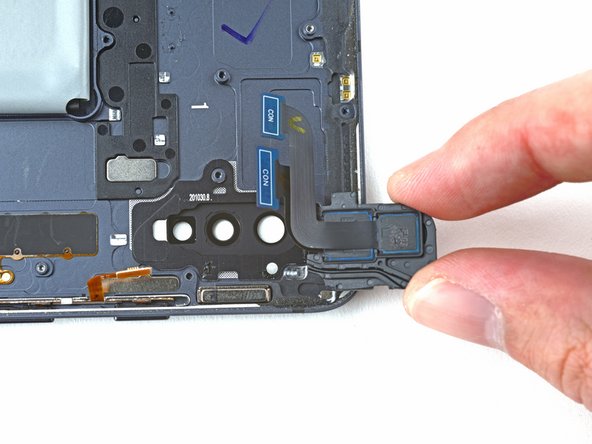
– Grab your spudger and gently pry up the loudspeaker from the frame, then carefully lift it out.
– Remove the loudspeaker completely and you’re all set for the next step.
Tools Used
Step 39

The rear camera is glued to the frame, so let’s apply some heat to keep it safe and sound during the process.
You can use a hair dryer, heat gun, or hot plate for this, but just a friendly reminder: don’t let it get too hot!
– Warm up the top-left corner of your device with a heated iOpener for about two minutes—think of it as giving your device a little spa treatment before the real work begins.
Tools Used
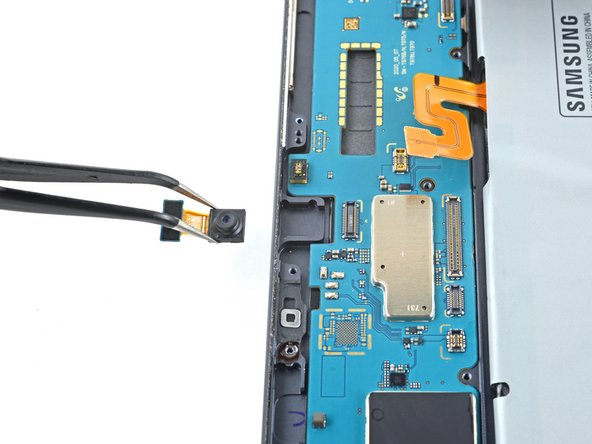
Step 40
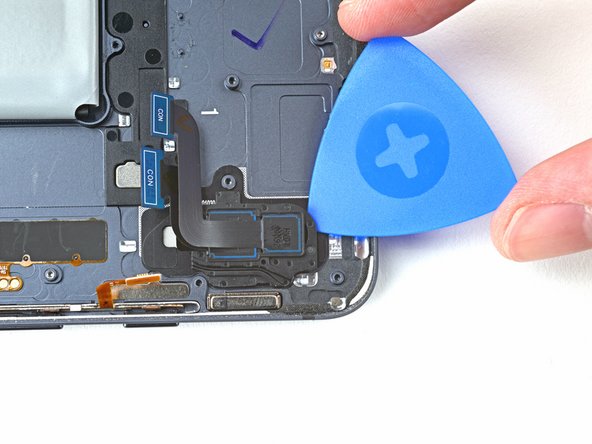

– Slide an opening pick into the gap between the rear camera and the frame.
– Gently rotate the pick along the edges of the rear camera to cut through the adhesive.
Step 41

– Use the pick to gently pop the rear camera away from the frame—think of it as giving it a little nudge to freedom.
– Lift out the rear camera and set it aside.
Success!