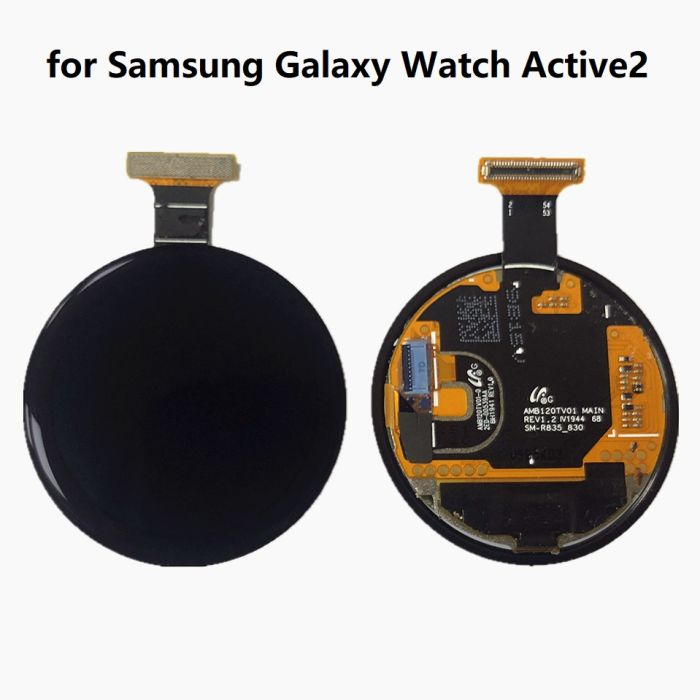
Samsung Galaxy Watch Active Screen Replacement Guide
Duration: 45 minutes
Steps: 13 Steps
Ready to tackle that cracked or broken screen on your Samsung Galaxy Watch Active? You’ve come to the right place! Just a heads-up: if your replacement screen is just the screen without a frame, that’s a whole different ball game! Make sure to check out the right guide for that. But if you’re all set for a full assembly swap, let’s get to it! If you need help, you can always schedule a repair.
Step 1


– Power down your Galaxy Watch Active by pressing and holding that bottom button for about 3 seconds. Feel that short buzz? That’s your watch saying, ‘Goodbye for now!’
– When the ‘Power off’ icon pops up, give the center of the screen a gentle tap to shut it down completely. You’ll get a longer buzz this time as a little confirmation hug from your watch.
Step 2

– Grab your Tri-point Y00 screwdriver and unscrew those four 4 mm-long screws on the back of the watch like a pro.
Tools Used

Step 3


Hold your horses! Don’t go yanking that back cover off just yet. It’s got a cable giving it a cozy connection to the motherboard.
– Grab your trusty opening tool and slide it between the plastic back cover and the metal frame near the buttons—go ahead, show it who’s boss!
– Gently wiggle the tool’s tip into the gap and start separating the back cover from the frame like you’re unveiling a hidden treasure.
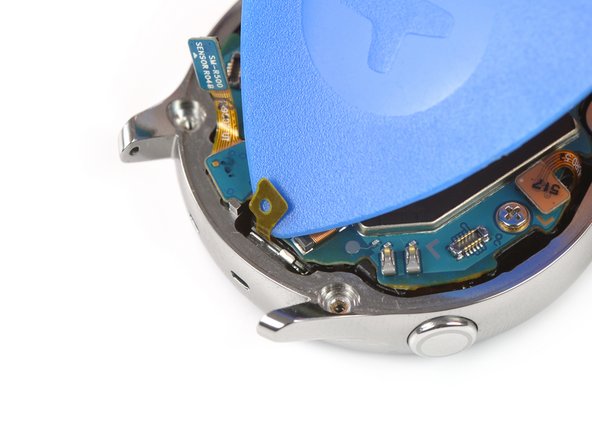
Step 4


– Gently pop the back cover open and lift it about 2 cm to reveal the sensor array connector hanging out near those two buttons—easy peasy, right?
– Grab your trusty spudger and carefully disconnect the sensor array from the motherboard. Boom, you’re making progress!
Tools Used


Step 7

– Grab an opening pick and carefully peel back the thin tape covering the microphone array—nice and easy does it.
– When putting it all back together, make sure that tape hugs the motherboard snugly. Give it a good press-down with the flat end of a spudger to keep it in place.
Tools Used
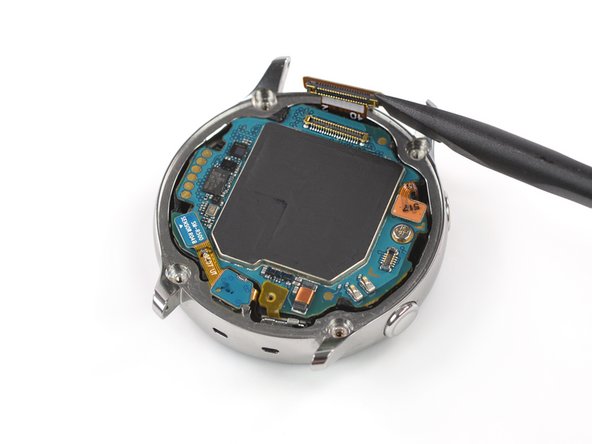
Step 8


– Slide an opening pick into the bottom right corner between the motherboard and the frame to gently lift the core assembly up.
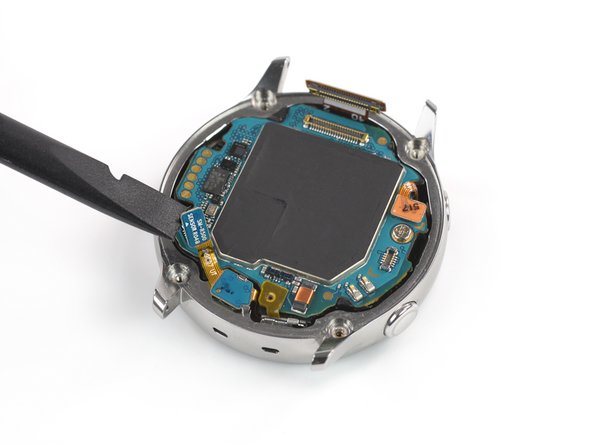
Step 9


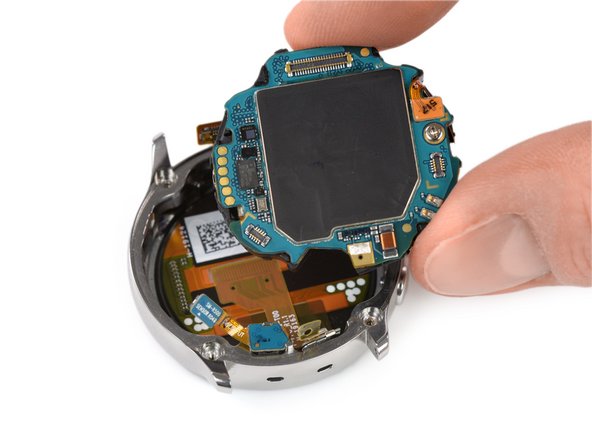
– Gently lift out the core assembly and set it aside like a pro.


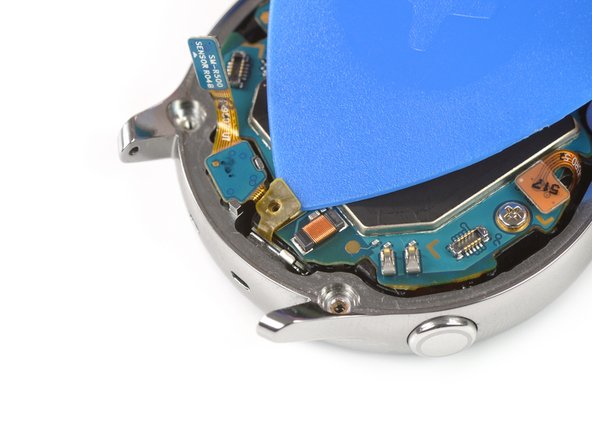
Step 12

– Gently detach the microphone and barometric sensor array from the frame, and give yourself a pat on the back for taking this step like a pro!
Step 13

– Give your new replacement part a good look compared to the original—you might need to swap over some bits or peel off those sticky backings from the new part before you set it in place.
– To put your device back together, just retrace your steps like a pro.
– When it’s time to say goodbye to your e-waste, make sure to drop it off with an R2 or e-Stewards certified recycler.
– If things didn’t go as smoothly as you’d hoped, no worries! Try some basic troubleshooting or reach out to our awesome Answers community for support.
– Decided to call it quits? No problem! Just let us know.
– You got this! And remember, if you ever feel stuck, you can always schedule a repair.
Success!