Samsung Galaxy Y LCD Replacement Guide: Step-by-Step DIY Tutorial
Duration: 45 minutes
Steps: 5 Steps
Get ready to breathe new life into your Samsung Galaxy Y. This step-by-step repair guide will walk you through replacing the LCD display if it’s become corrupt or unresponsive. Follow along and you’ll be back to swiping and tapping in no time. If you need help, you can always schedule a repair
Step 1


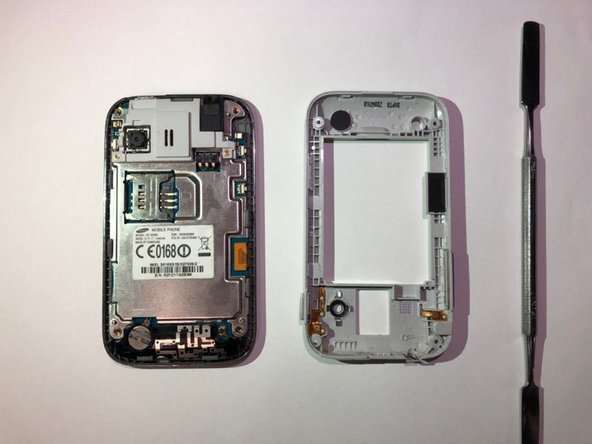
– Alrighty, let’s break open this little buddy with a blue tool. Just pop the back-panel off with a bit of finesse. And don’t worry, if you get stuck, you can always schedule a repair!
Step 2


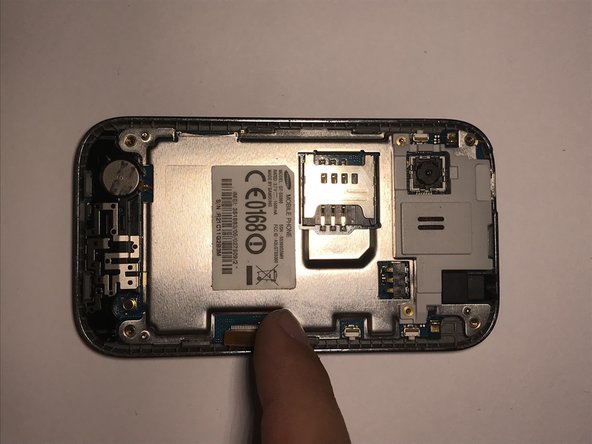
– Alrighty, let’s get these screws moving! Use a Phillips #000 screwdriver to remove those four 5mm screws hiding in the corner of the interior back panel. Don’t break a sweat, you got this!
– We’re making great progress, but lookin’ for that SD card, right? Just slides it out of its slot when you’re ready. Keep it up!
Tools Used


Step 4
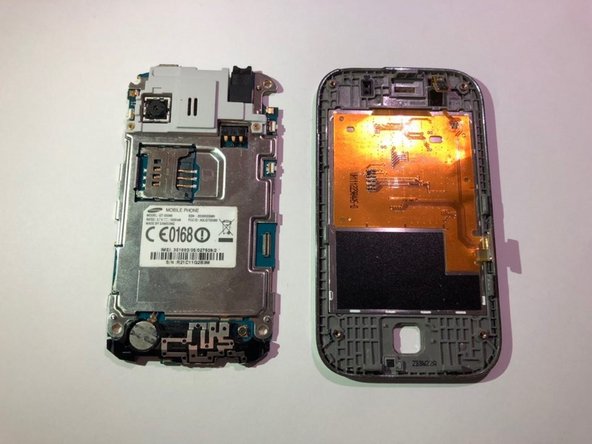

– Let’s get started by disconnecting the orange motherboard connection. Next, carefully remove the interior hardware from the front screen display. If you need help, you can always schedule a repair
Step 5


– Let’s get that LCD screen lens looking fresh! Carefully use your tweezers and metal pry tool to lift it off the outer screen. Time to replace that faulty LCD, buddy.
– Hey, that LCD might be glued in place. If that’s the case, you might need to gently warm things up a bit to help it along.
Tools Used