Samsung Galaxy Y Repair: How to Replace Charging Port & Headphone Jack – Step-by-Step Guide
Duration: 45 minutes
Steps: 6 Steps
Ready to give your Samsung Galaxy Y a brand new lease on life? This step-by-step guide will show you how to replace the charging port and headphone jack, bringing your device back to life in no time. If you need help with any part of the repair, you can always schedule a repair with us. Let’s get started!
Step 1
– Grab that trusty blue plastic opening tool and gently work your magic to pop the back panel off the device. You’ve got this!
Step 2
– Grab your trusty PH000 screwdriver and use it to remove the four 5mm screws you’ll find in the corners of the interior back panel. Easy peasy!
– Next, gently slide the SD card out of its slot to remove it. If you need help, you can always schedule a repair
Step 3
Step 4
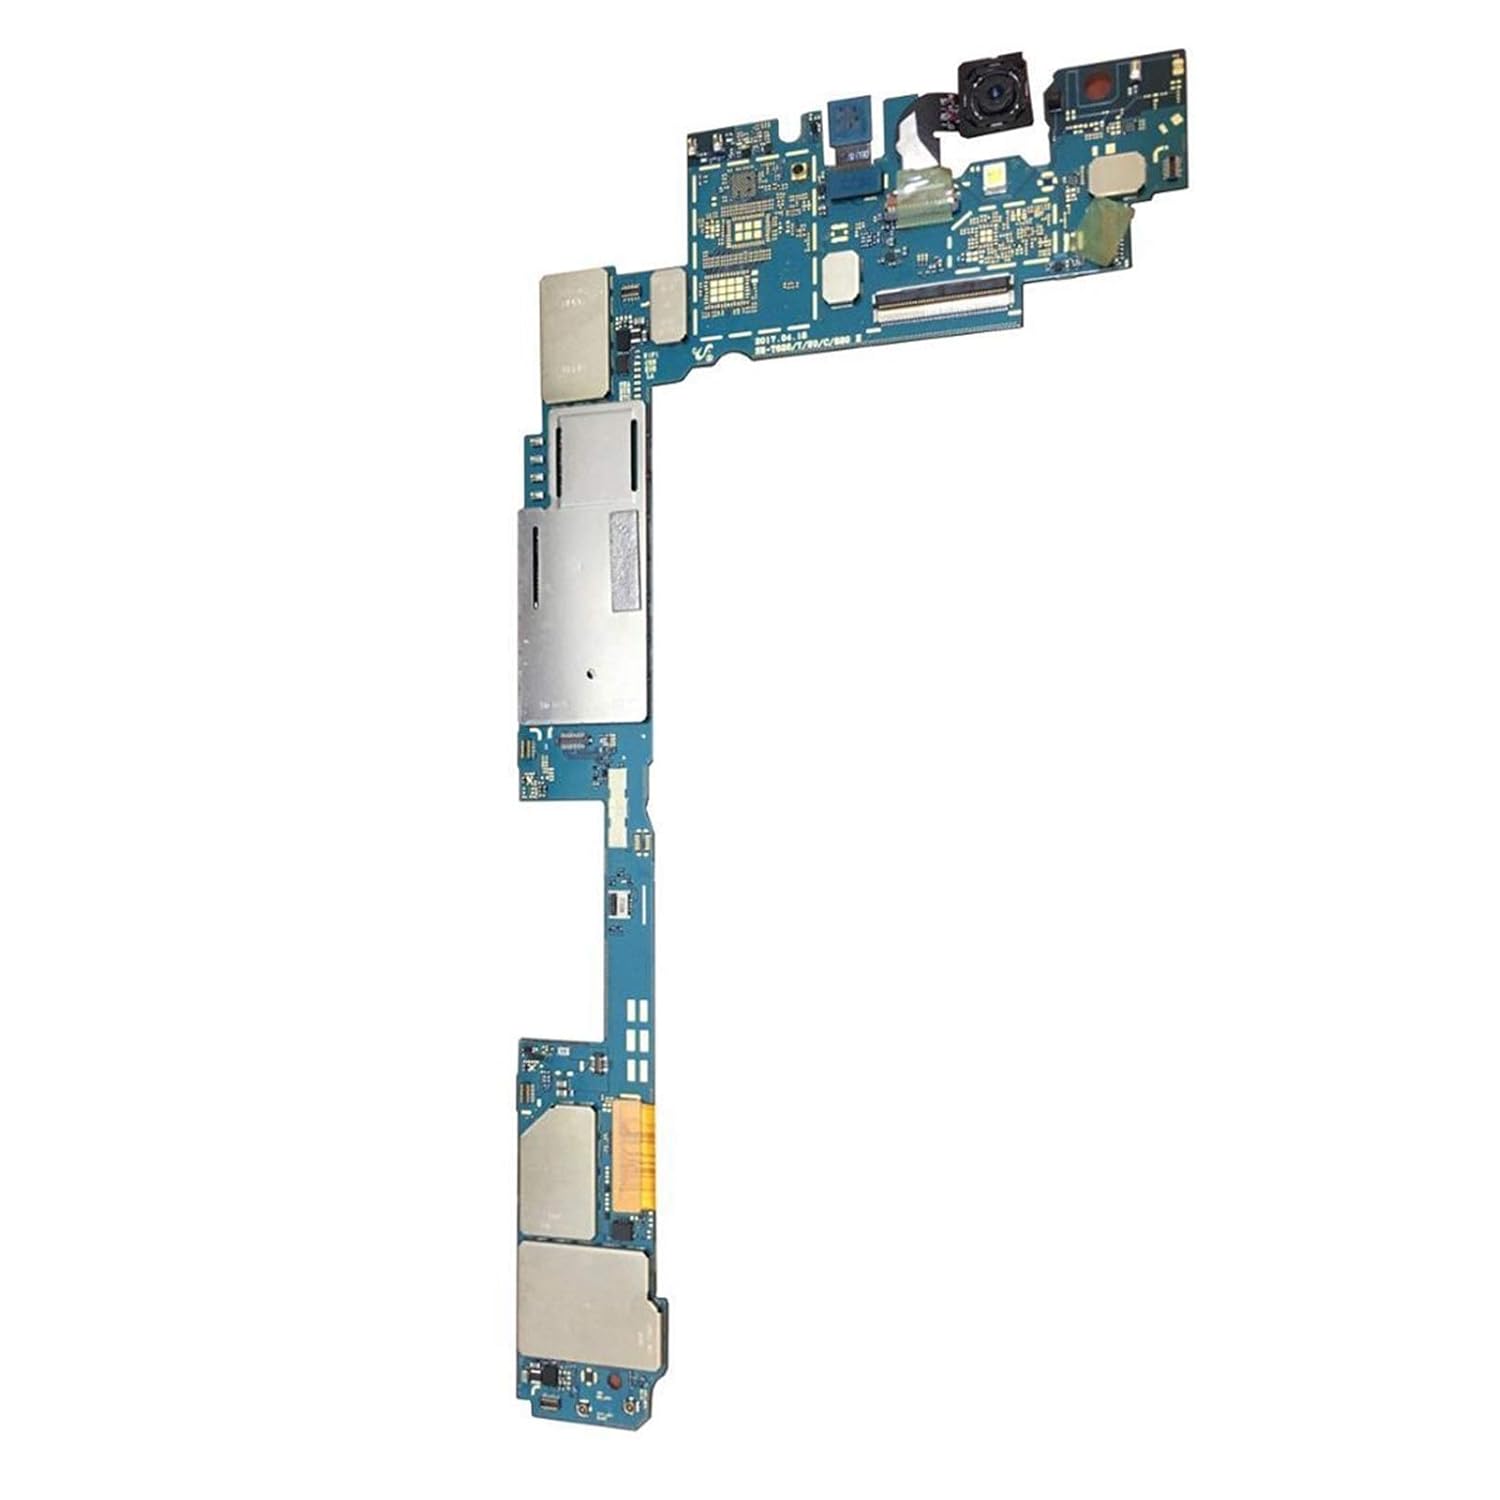
– Unplug the orange connection from the motherboard, then gently take out the internal components from the front screen display.
Step 5
– Grab your trusty Phillips #000 screwdriver and carefully remove the five 2mm screws hiding in the corner of the silver protective panel – you got this!
– If your motherboard is cracked or damaged, it’s time to swap it out with a brand new one. Remember, if you need help, you can always schedule a repair
Tools Used
- Phillips #000 Screwdriver
headphone jack Replacement” src=”https://cart-products.cdn.ifixit.com/cart-products/TItFgnV21b3m5DCU.thumbnail”/>
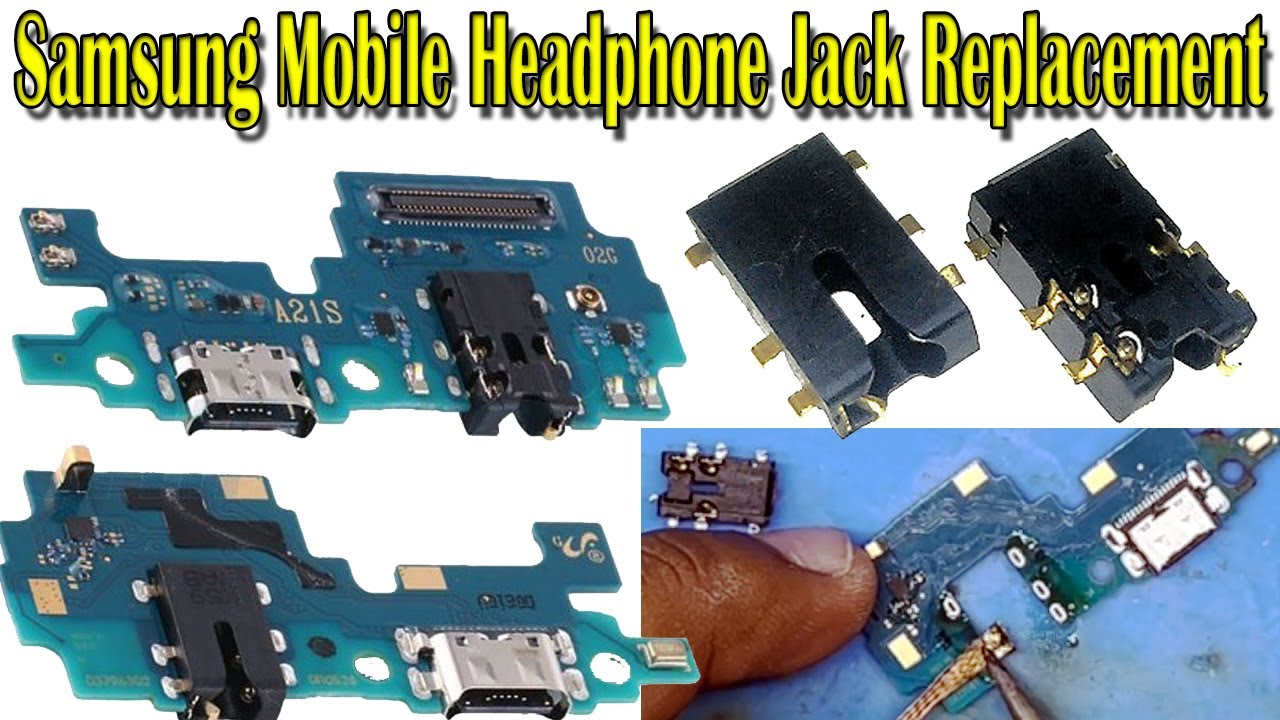
Step 6
Want to master the art of soldering? Check out our handy guide on How to Solder and Desolder Connections for some expert tips and tricks. If you need help, you can always schedule a repair
– Time to get desoldering – carefully disconnect the charging port and headphone jack connections.
– Now, be patient and let the metal cool down before you pull the pieces off. If you need help, you can always schedule a repair