Sanyo CX 110 Teardown
Duration: 45 minutes
Steps: 4 Steps
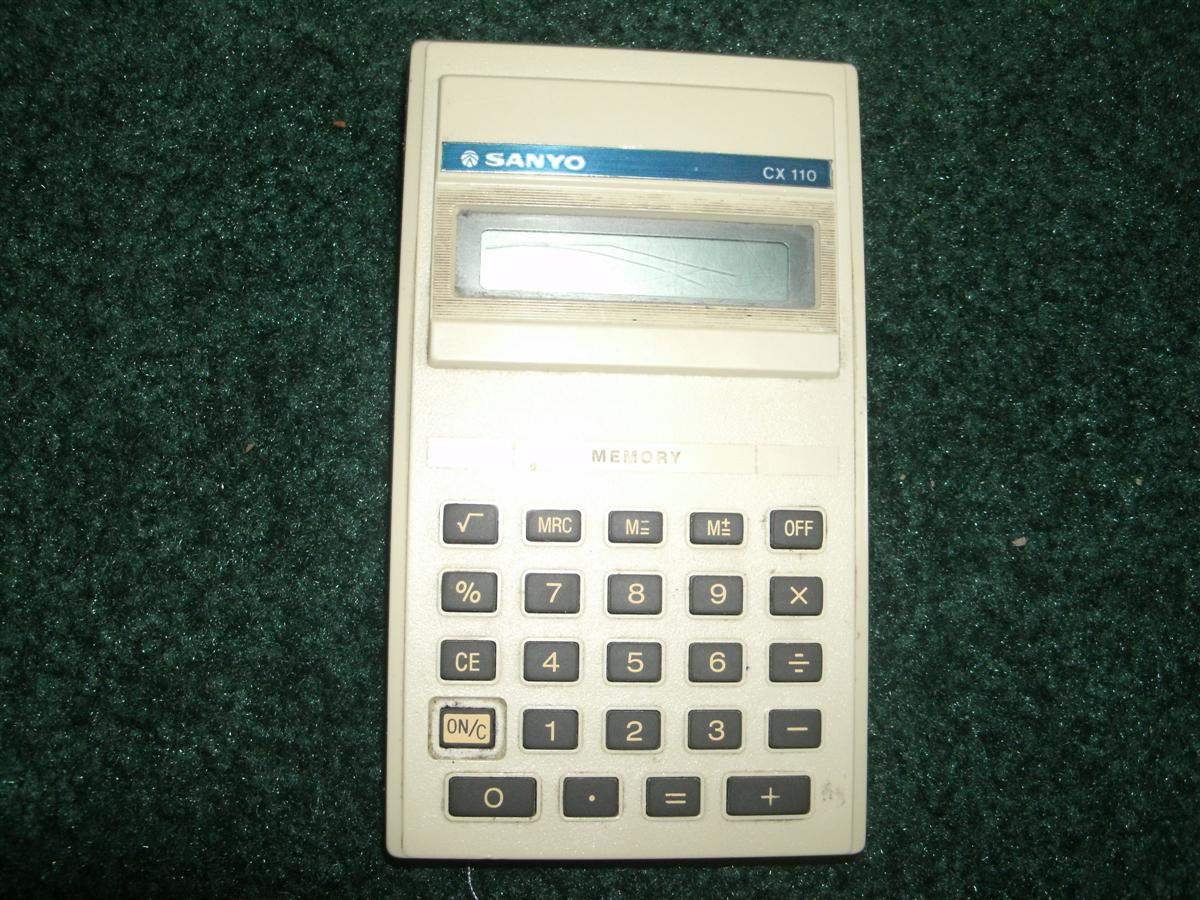
Let’s take a peek inside the vintage Sanyo CX-110 calculator from the early 1980s and see what makes this retro math machine tick.
Step 1


– Grab your Phillips #0 screwdriver and take out these two screws from the back of your calculator. Let’s get things moving!
Tools Used

Step 2


– With the back of your calculator removed, take a look at what’s inside: the battery and the back of the circuit board are now in plain sight.
– Here you’ll find the Sanyo Tight-Seal Power-Up Sum-3 1.5V AA battery, ready to keep things running.
– The positive contact is where the battery’s ‘plus’ side connects.
– And, of course, the negative contact is where the ‘minus’ side gets its power.
Step 3

– Once you’ve unscrewed the seven Phillips screws and flipped the circuit board over, you’ll be greeted by the heart of the calculator—a Sanyo LI3120M chip. With the keypad already removed, you’re well on your way to the internal components. Keep going with confidence—if you need a hand, you can always schedule a repair.
Step 4

– Alright, we’ve successfully taken everything apart! Now, let’s get organized and check out all the cool parts of this calculator.
– First up, we have the trusty AA battery.
– Next, let’s take a look at the different pieces of the LCD display.
– Here’s the circuit board, the brain behind the operation.
– Don’t forget the keypad, where all the magic happens with those buttons!
– Lastly, here’s the housing that keeps everything snug and secure.
Success!