Sega Game Gear Headphone Jack/Volume Wheel Replacement
Duration: 45 minutes
Steps: 8 Steps
Here’s how to swap out the little logic board that’s got both the 3.5mm headphone jack and the volume wheel. Roll up your sleeves, grab your tools, and let’s get your device sounding and spinning like new again!
Step 1

– Flip your device over so it’s upside down, then spot the two battery compartments hanging out underneath.
Step 2

– Press down on the tabs at the bottom of the battery cover, then gently lift it off to get started.
– If you find any batteries inside, carefully remove them.
Step 3

– Time to start unscrewing! Grab your tools and carefully remove the following screws:
– Six Phillips screws, nice and easy, you’ve got this!
– One 4.5 mm Gamebit screw, a little tricky, but totally manageable.
Step 4

– Grab those tweezers and carefully lift out the remaining screws like a pro!
Tools Used

Step 5


Hey there! Just a friendly reminder: don’t yank the back of the case off, as there are some sneaky cables connecting both sides. Let’s keep everything intact, shall we?
– Carefully open the case by gently lifting it over the top of the Sega Game Gear.
Step 6


– Gently disconnect the two white-tipped connectors at the top cover, making sure not to force them—patience is key here. If you need help, you can always schedule a repair.
Step 7
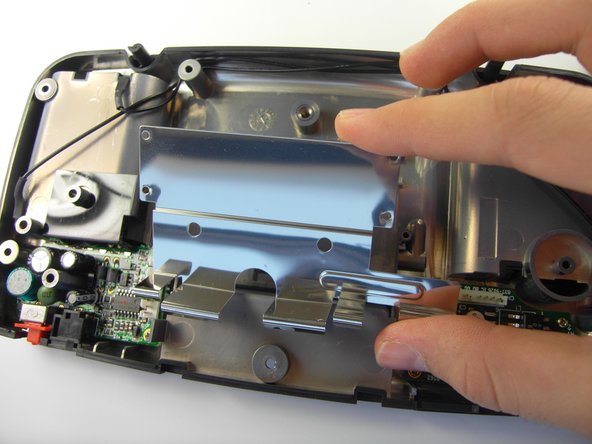

– Grab your screwdriver and gently loosen the screws to lift off the metal cover. It’s like peeling back the lid on a mystery—just make sure to keep track of those screws, they can be sneaky!
Step 8

Oops! It looks like the screws we need to remove aren’t captured in this picture. No worries, let’s keep going!
– Unscrew those two little troublemakers from the spots we’ve pointed out!
Success!