Sega Mega-CD Karaoke Teardown
Duration: 45 minutes
Steps: 13 Steps
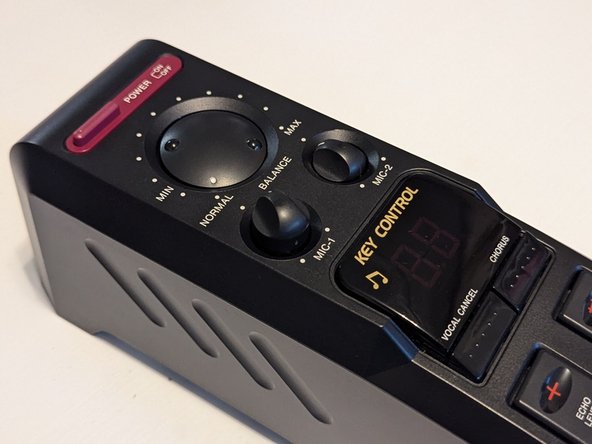
We’re breaking down the Sega Mega-CD Karaoke, the karaoke companion for your Sega Mega-CD (aka Sega CD). Grab your microphones and get ready to see what makes this music machine tick as we open it up step by step.
Step 1

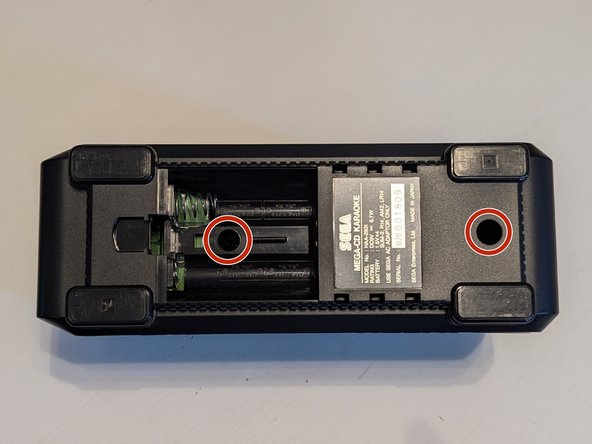
– Flip the karaoke unit over and take off the battery door. Simple, right?
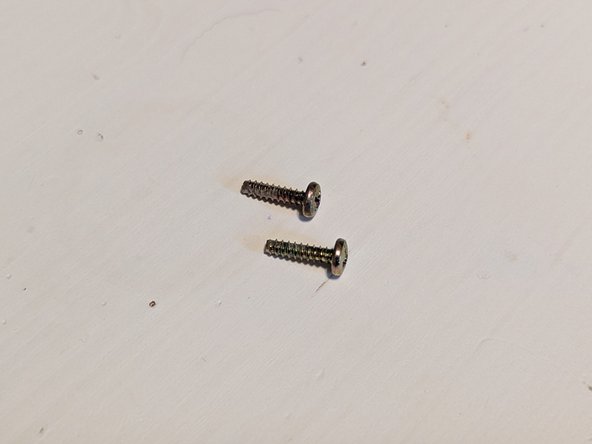
– Grab a 3.5in (9cm) Philips #1 screwdriver and use it to remove the screws at the bottom. Don’t lose them!
– This unit runs on four AM-2, SUM-2, LR14, or R14 batteries. For the ultimate mobile karaoke experience, pair it with a Sega CDX and start belting out your favorites!
Step 2


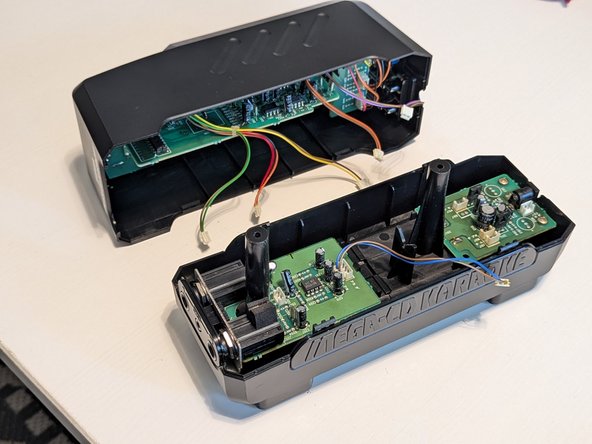
– Grab an opening pick and slide it into one of the corners above the ‘Mega-CD Karaoke’ like a pro, then gently push it in to pop that shell open!
– Now, repeat the process on the other side to effortlessly separate those two halves.
Step 3

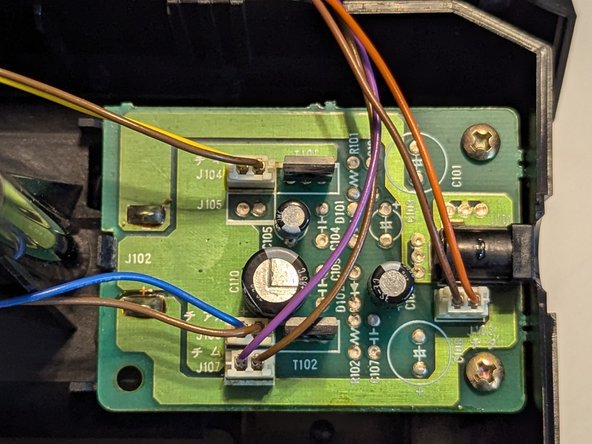
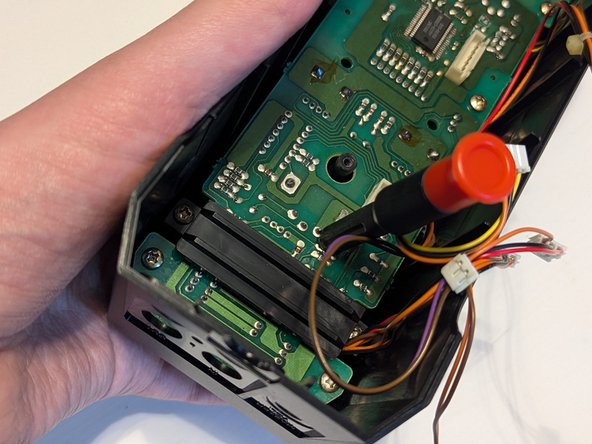
– Disconnect the wires from the microphone board—just a heads-up, don’t try to tug out the blue and brown cables, they’re soldered in place. Then, unplug all the wires from the power supply board to keep things neat and safe. Need a hand? You can always schedule a repair if things get tricky.
Step 4
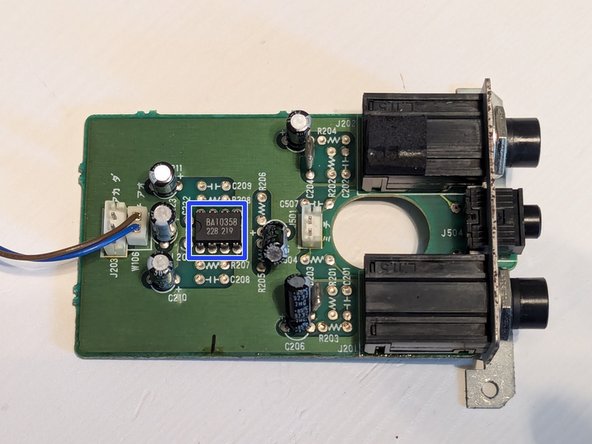

– Take out the two screws holding the board in place.
– Gently nudge the latch back, then tip the board up and over it. Slide the board back toward the inside of the case and lift it out.
– You’ll notice this board is rocking a BA10358 amplifier.
Step 5

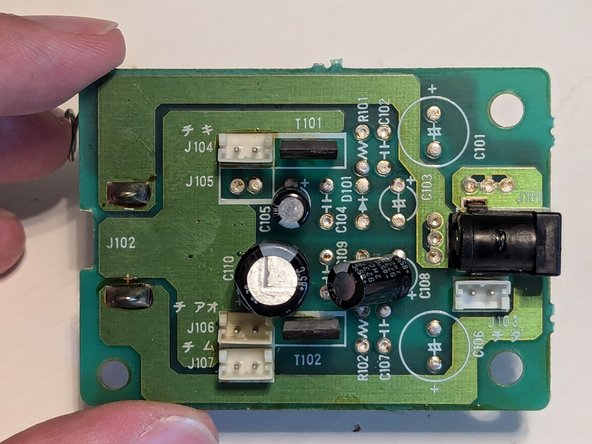
– First things first, let’s get those two screws holding the board snug as a bug out of there. Unscrew them gently!
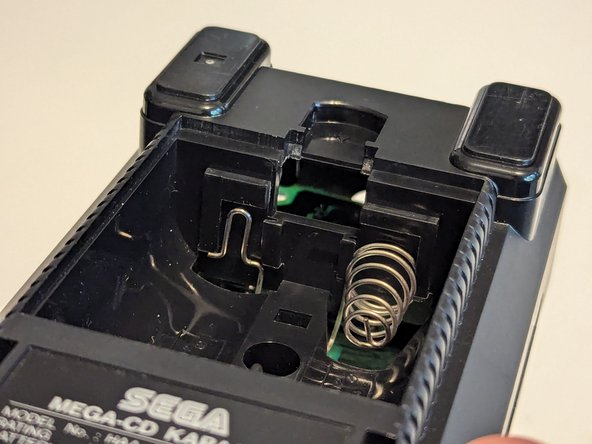
– Now, give that latch a little nudge back and lift the board out with care. The battery prongs are cozy in their slots, so just pull the board straight up and out like you’re lifting a trophy. You’ve got this!
Step 6
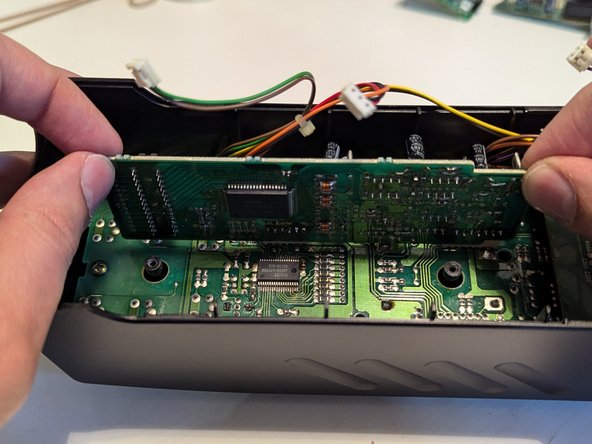
– Take a firm grip on the edges of the board, and gently lift it straight up.
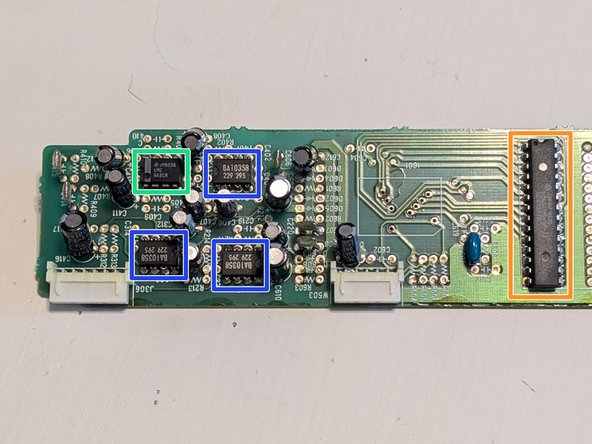
– This board houses three BA10358 amplifier boards.
– You’ll also find a LMC 662CN CMOS Dual Operation Amplifier.
– Next, there’s a HM65256BLSP-12 Hitachi RAM IC to look out for.
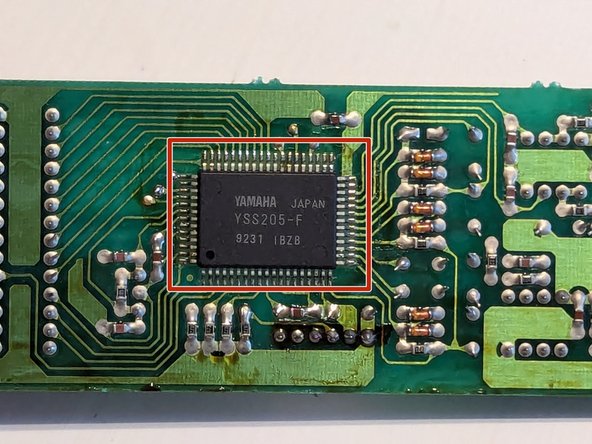
– And lastly, a Yamaha YSS205-F Karaoke Processor makes an appearance.
Step 7
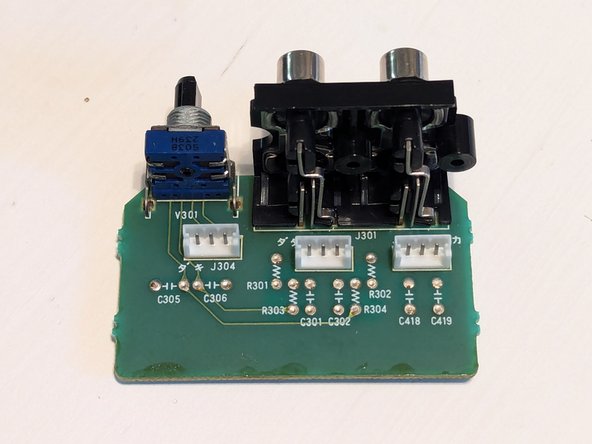
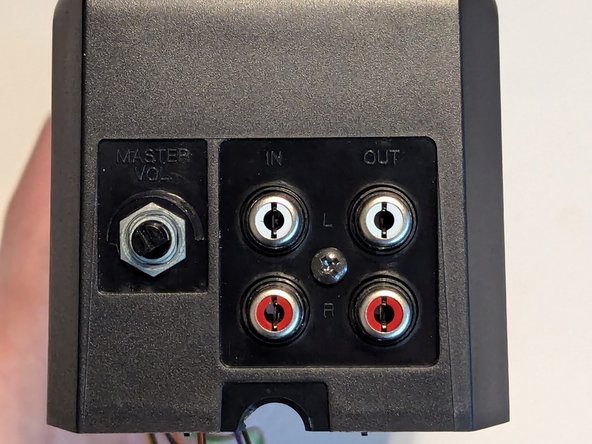

– First off, let’s disconnect those three cables linked to the audio input/output board at the back of your module.
– Next up, unscrew that screw and take off the nut hanging out on the back. You’ve got this!
– Now, gently pull the board back into the case and lift it out like a pro.
Step 8

– Grab a small screwdriver, find the highlighted hole, and gently insert the tip. Tilt the handle toward the front of the device and give it a gentle push to pop out the ‘Mic 1’ volume knob. If you need a hand, you can always schedule a repair.
Step 9

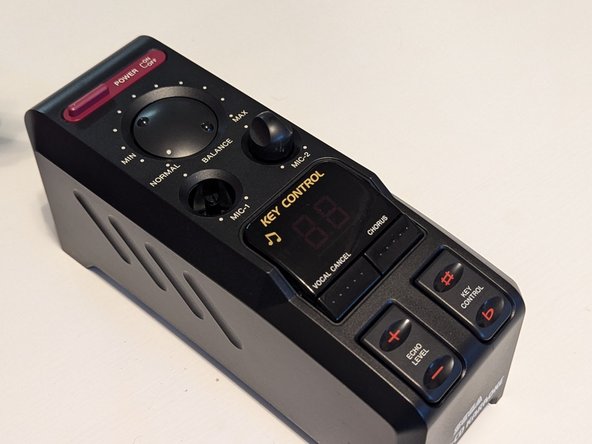
– Grab a small screwdriver and gently insert it into the highlighted hole. Tilt the handle towards the front of the machine and give it a little push to pop out the ‘Mic 2’ volume knob. You’re almost there!
Step 10

– Give that knot a spin all the way to the left until you hear the satisfying ‘click’ to set it to ‘Normal’. It’s not keyed, so just make sure you reinstall it in the right position.
– Grab a small screwdriver and insert it into the highlighted hole. Gently tilt the handle toward the front of the machine, then push to pop off the ‘Volume Balance’ knob.
Step 11


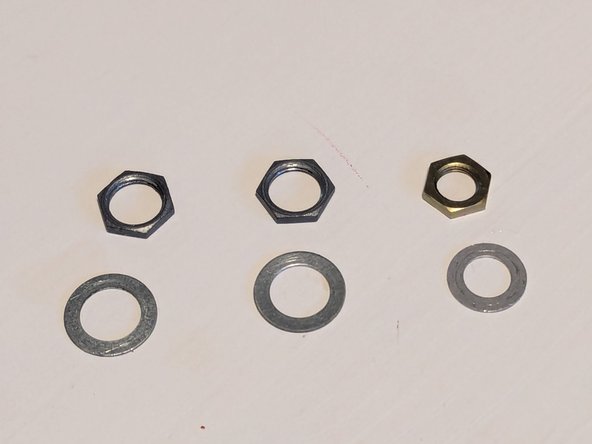
– Grab a pair of pliers or tweezers and carefully unscrew the nut and washer from each of the potentiometers sitting on top of the device. Stay steady and gentle to avoid any mishaps. If you need a hand with this step, you can always schedule a repair.
Tools Used

Step 12

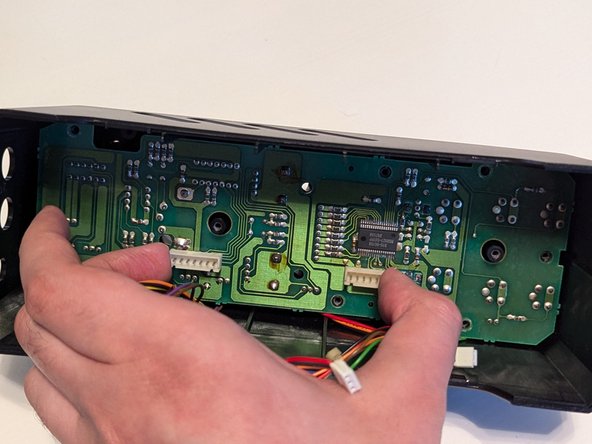
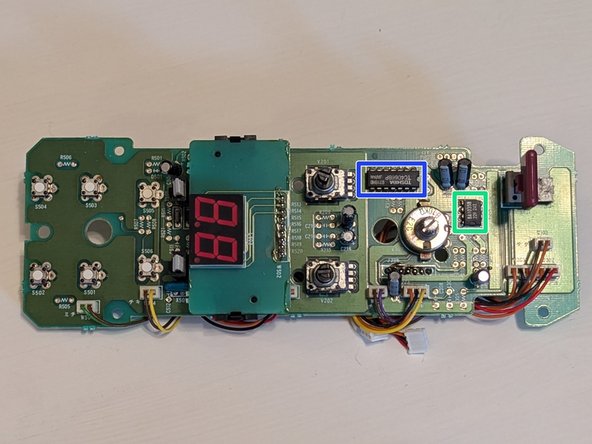
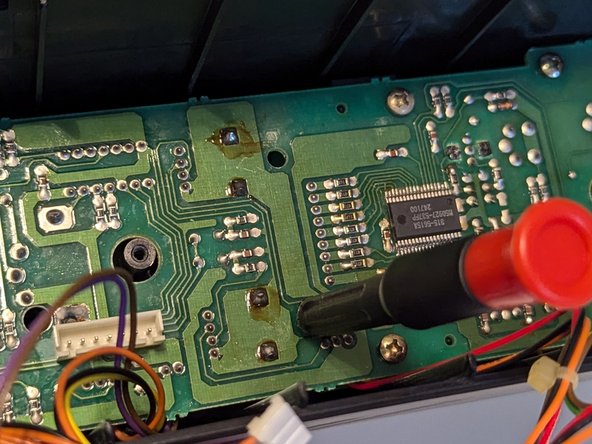
– Start by removing the nine screws shown, along with the black brace near the back of the device. Next, carefully flip the unit over or grip the two connectors to lift the board out of the shell. You’ll find an M50927-537FP microcontroller on the board, along with a BA10358 amplifier and a Toshiba TC4066BP Quad Bilateral Switch IC. If you need extra help, you can always schedule a repair.
Step 13

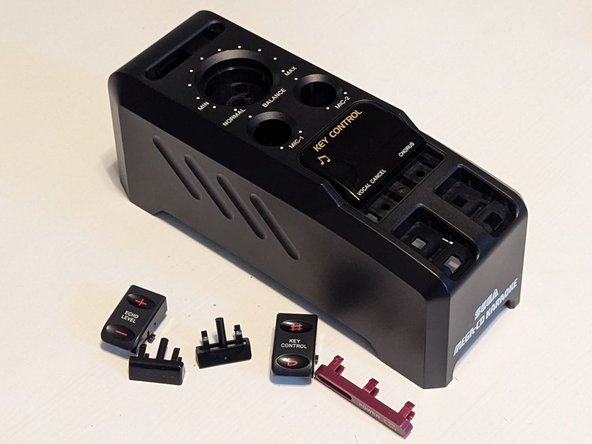
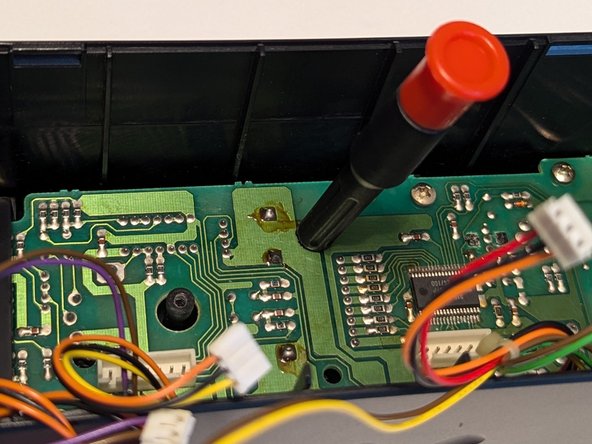
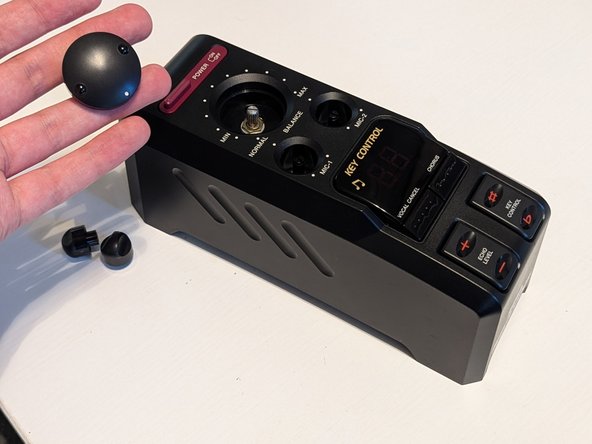
– Start by prying out the Power Button trim, gently pressing in the latching legs and pushing it free.
– Next, remove the Vocal Cancel and Chorus buttons by carefully pressing in their latching legs and sliding them out.
– Finally, detach the Echo Level and Key Control rockers by pressing in the latching legs and pushing them out.
Success!