
Sharp PC-1403 Teardown
Duration: 45 minutes
Steps: 6 Steps
Meet the Sharp PC-1403, your pocket-sized computing buddy that comes with a built-in scientific calculator. It’s like having a mini genius right in your pocket!
Step 1


– You’ll find 2 Philips screws hanging out on the back that need to be unscrewed to pop off the rear. Let’s get to it!
Step 2


– Once you’ve unscrewed those two screws on the back, gently lift the bottom of the rear cover and push it upwards towards the top of your device. You’ve got this!
Step 3

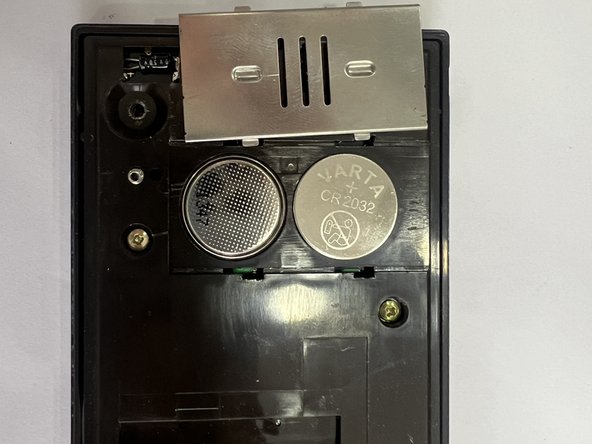
– On the left side, find that metal cover and give it a gentle push upward. Once it pops open, you’ll be able to swap out those batteries with ease. If you need help, you can always schedule a repair.
Step 4

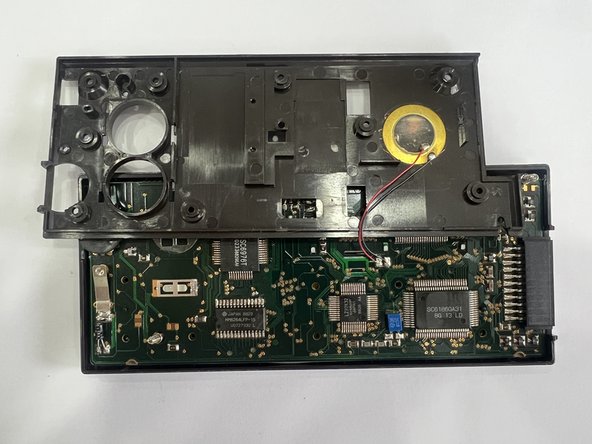
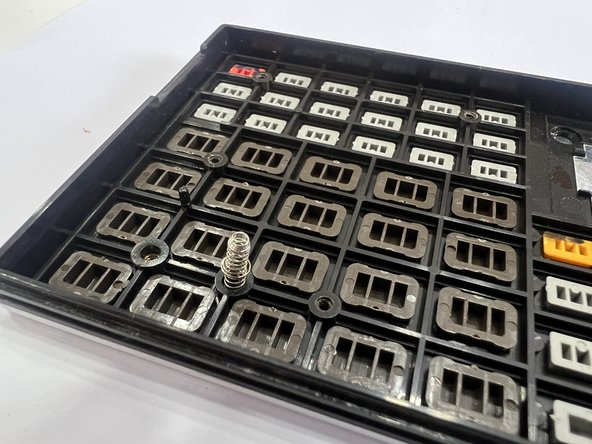
– First things first, grab your trusty screwdriver and remove those 7 Philips screws. Once that’s done, gently lift the plastic center piece. Remember, be super careful with those piezo element cables—no damage allowed! And keep an eye on those 2 sneaky springs hiding at the top right and bottom left; we don’t want them to go on an adventure without you!
Step 5

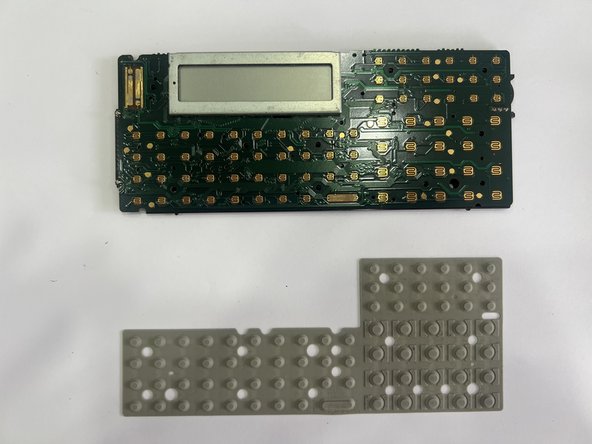
– Go ahead and gently lift out the mainboard like a pro!
Step 6

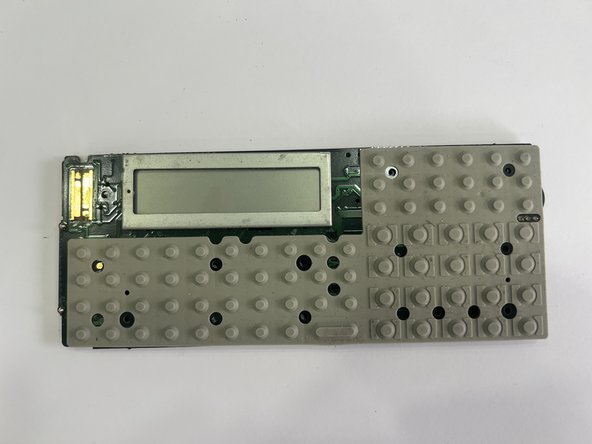
– Reassemble your device by going through the disassembly steps in reverse. Take your time and double-check each part as you put it back together. If you need help along the way, you can always schedule a repair.
Success!