Skil X-Drive 18V Cordless Drill Model No. 2887 Adjustable Clutch Replacement
Duration: 45 minutes
Steps: 7 Steps
Step 1

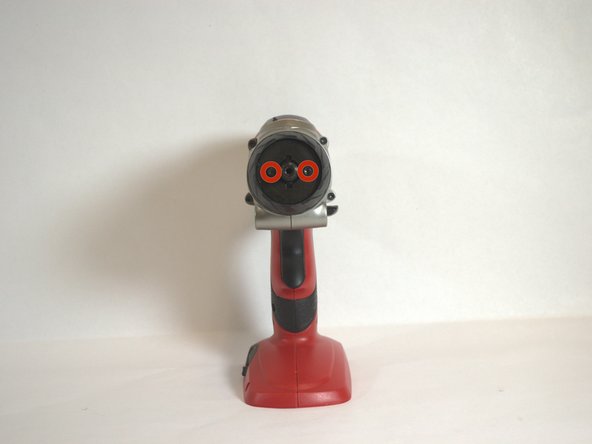
– Grab hold of the drill like you mean it! Spot the red locking switch chilling on the back of the battery, and press it down with confidence.
Step 2


– Hold down the red locking switch and slide the battery out toward the back of the drill—keep sliding until it’s completely free. Easy peasy!
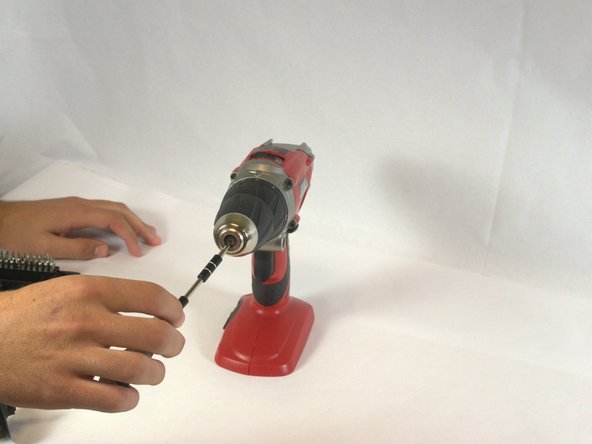
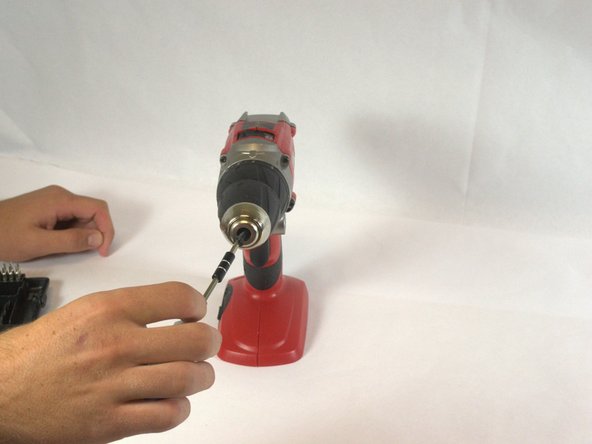
Step 3


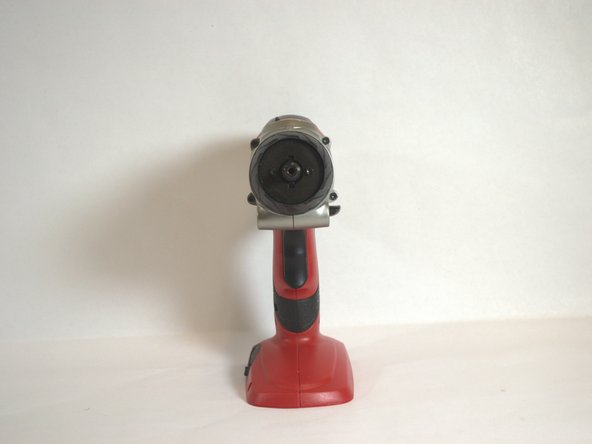
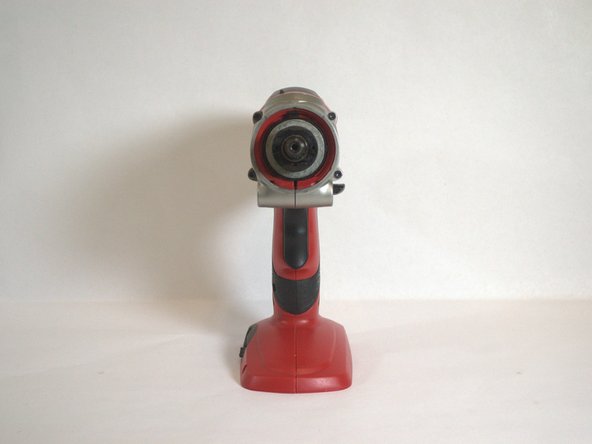
– Hold that cordless drill steady with your left hand—no wobbles here. Grip the handle firmly with your right hand like you’re about to do something epic. Now, give that handle a smooth counterclockwise twist to detach it from the drill. Easy does it!
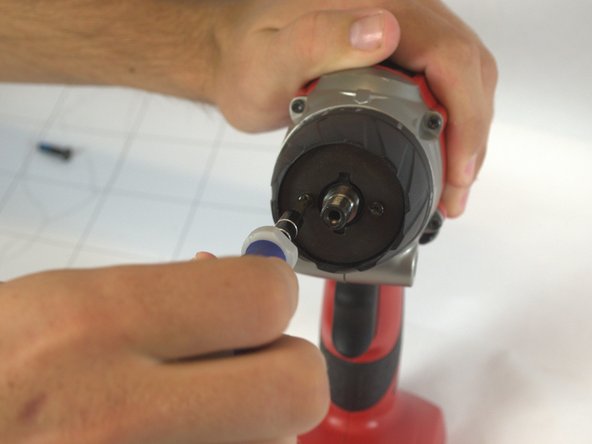
Step 4

– Alright, here’s the deal: the chuck sleeve is secured with a sneaky little 20mm Phillips #2 screw right in the center. Heads up—it’s reverse threaded! Grab your trusty Phillips #2 screwdriver, and instead of the usual lefty-loosey, give it a solid clockwise turn to loosen and pop that screw out. Easy peasy!
Tools Used

Step 5

– The hole where the screw was snugly tucked is shaped like a 6-point star. Grab a T40 Torx Key, give it a confident clockwise spin, and let the chuck sleeve come off like a charm!
Tools Used
Step 6
Set the adjustable clutch to the ‘1’ setting first—it’s like putting your gear in neutral for easy removal.
– The adjustable clutch is secured in place by two 20mm T10 Torx screws. Grab your trusty T10 Torx screwdriver and twist it counterclockwise to gently loosen and remove each screw. You’re doing great!
Step 7

Behind the adjustable clutch, there’s a little metal washer that’s holding onto 12 tiny ball bearings. Tilt the drill just slightly upward to make sure the washer and those little balls don’t make a surprise exit!
– Grab the adjustable clutch firmly on the outside and give it a gentle pull to take it off. Simple, right?
Success!