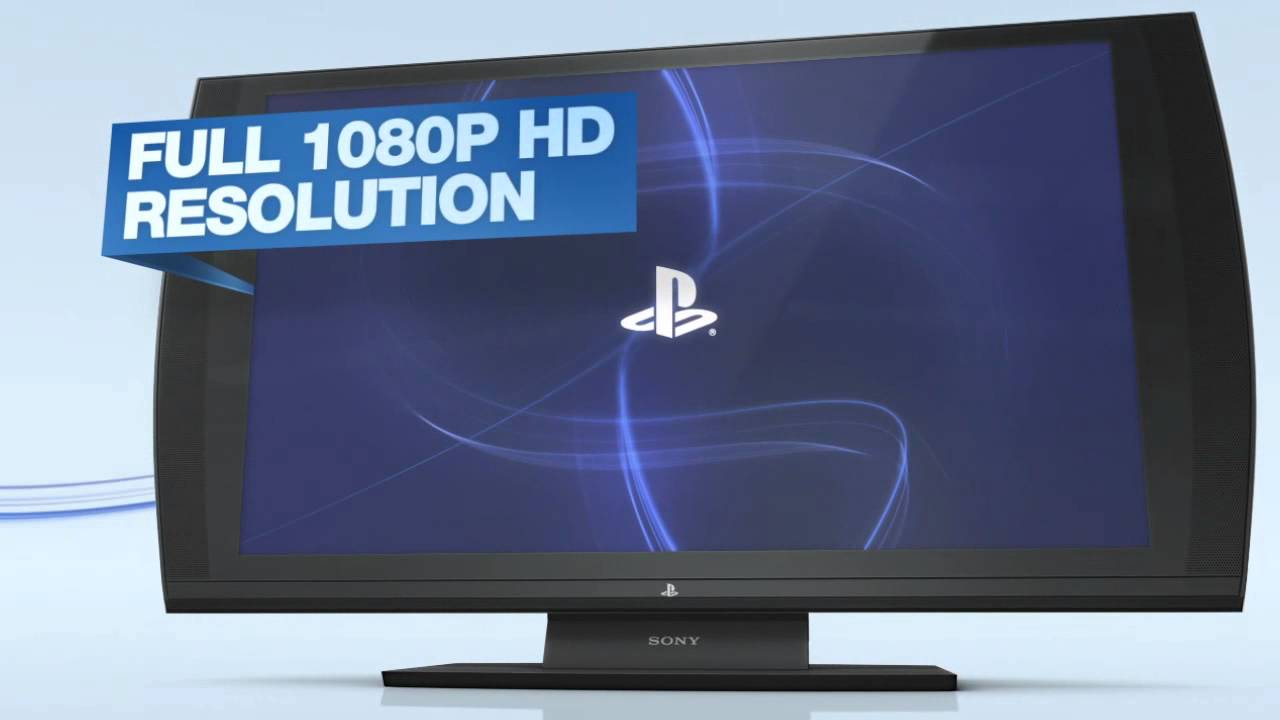
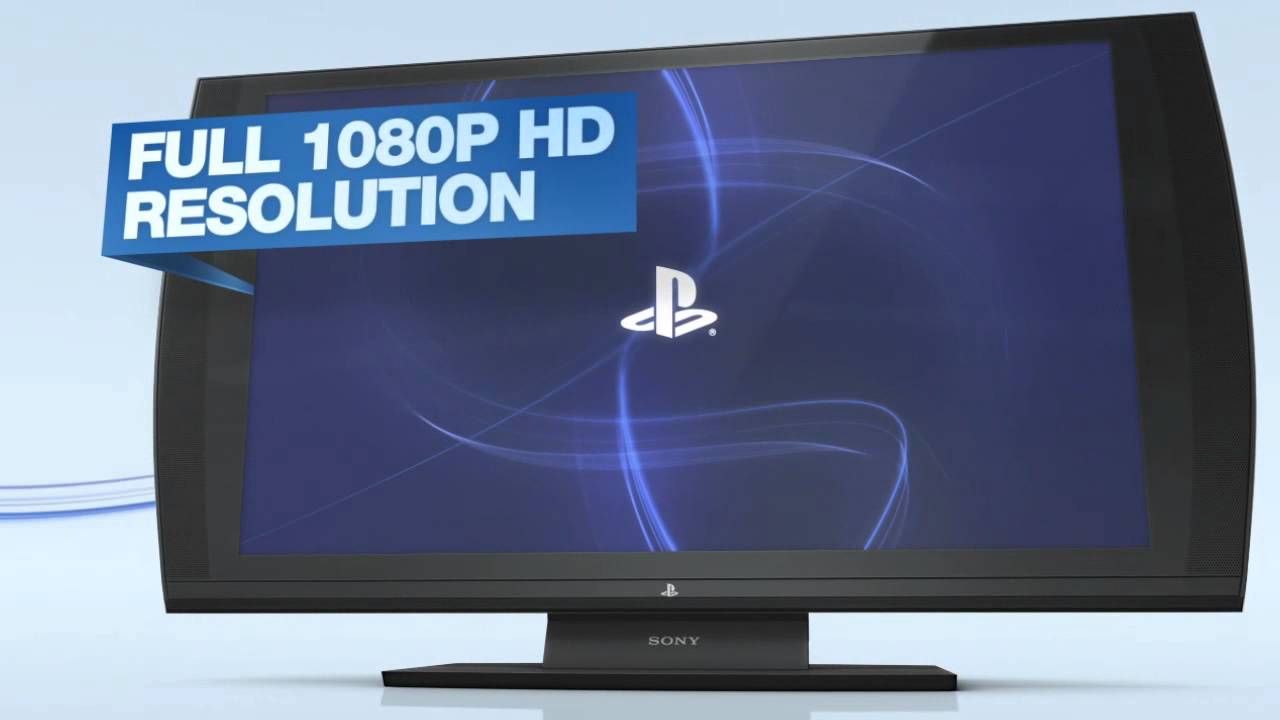
Sony PlayStation 3D Display 3D Sync Transmitter Replacement
Duration: 45 minutes
Steps: 7 Steps
If your 3D glasses are playing hard to get with your Sony PlayStation 3D Display, this guide has got your back!
Step 1
– Give that base a gentle push on the button and slide it out like a pro!
Step 2
Keep that cover steady—this way, it won’t do a disappearing act under the back plate when you lift it off!
– Let’s get started by carefully prying off the USB port cover from the back plate using a trusty metal spudger. Take your time and be gentle, we’ve got this!
Tools Used
Step 3
Each of these screws is unique, and they don’t play well together—make sure to keep ’em separate!
– Grab your trusty Phillips #02 screwdriver and take out the six screws from the back plate—each one measures 6 mm in length with a 6 mm head. Easy peasy!
– Still with the Phillips #02 screwdriver, remove the ten screws holding the back plate—these are 6 mm long with an 8 mm head. You’re making great progress!
Step 4
Take it easy and handle those plastic clips with care – they’re holding things together, and we don’t want any surprises!
– Gently pop off the back plate using a plastic opening tool. Work your way around the edges, taking it slow and steady.
– Once it’s loosened, the plate lifts off effortlessly. Easy peasy!
Step 5
– Grab your trusty Phillips #01 screwdriver and get ready to work some magic! It’s time to unscrew those two tiny 5 mm length x 7 mm head screws that are keeping the 3D Sync Transmitter snug and secure. You’ve got this!
Step 6
Grab that plastic opening tool and work your magic at both ends—skip the middle to keep that 3D Sync Transmitter intact and happy!
– Gently work the plastic opening tool under the 3D Sync Transmitter and carefully pop it off. Take your time—no rush here!
Step 7
– Gently lift the tab with your thumbnail and carefully disconnect the connector from the board.
Success!


