Sony XPERIA Tablet Z Motherboard Replacement
Duration: 45 minutes
Steps: 11 Steps
Ready to tackle the Sony XPERIA Tablet Z? This step-by-step guide will walk you through popping off the back panel, unplugging all the bits and bobs connected to the motherboard, and swapping out the motherboard like a pro. If you need help, you can always schedule a repair.
Step 1


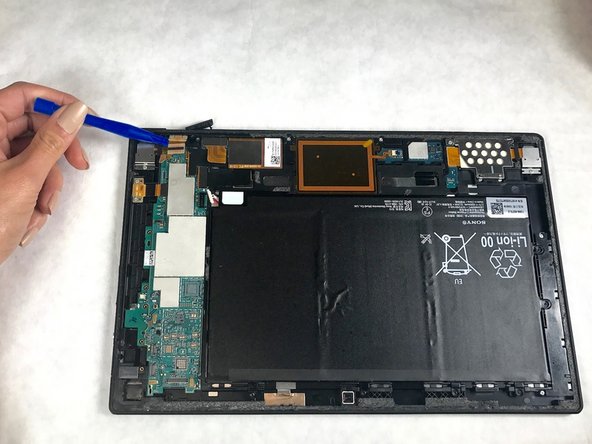
– Gently pry off the back cover using your trusty plastic opening tools.
Step 2


Keep your hands off those wires! Instead, gently lift the white plastic part of the connector that’s closest to the battery. You’ve got this!
– Gently pop the battery connector straight up from the motherboard using a trusty plastic opening tool or something similar. You’ve got this!
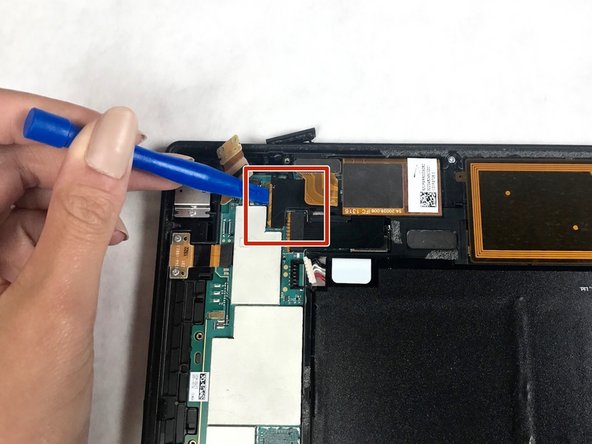
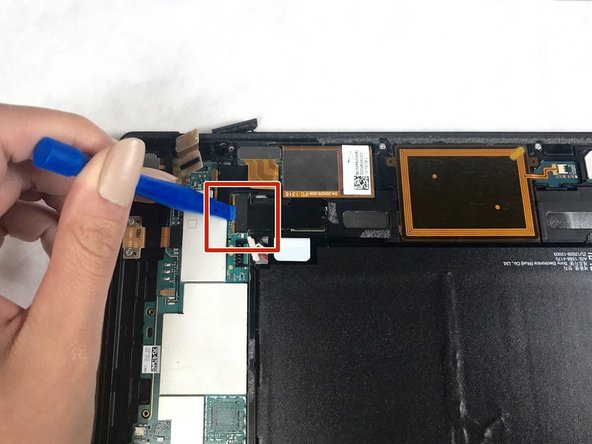
Step 3


– Gently lift the tape and the ribbon cable connector for the front facing camera.
– Carefully take out the front facing camera along with its cables.
Step 4

This cable is the one and only in our guide that gracefully slides out from the motherboard in a smooth, parallel motion. Keep it cool and take your time!
– Gently pull the ribbon cable away from the motherboard.
Step 5

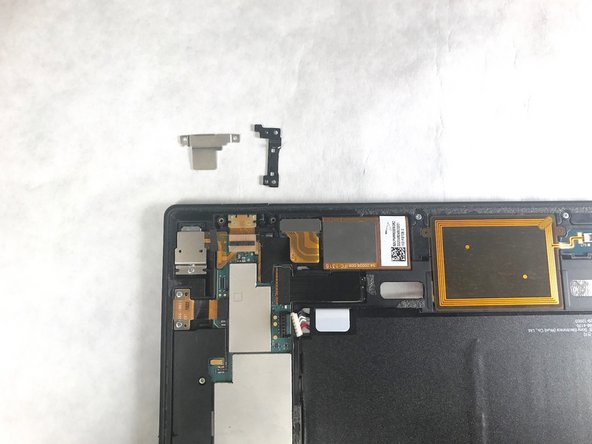
You’ve got a plastic plate and a metal one hanging out together. Let’s get to work on them!
– Grab your Phillips head #0 screwdriver and take out those tiny 3.06 mm screws holding the Micro USB retaining plate in place.
– Pop off the cover plates—easy peasy!
– Carefully nudge the USB port out of its spot. No need to completely disconnect it; just move it aside a bit to clear the way.
Step 6


– Grab your trusty Phillips head #0 screwdriver and get ready to tackle those 3.43 mm screws holding the volume control plate in place. Unscrew them with care!
– Now, gently lift out the volume control. You’re making great progress!
Step 7

– Time to get that rear facing camera out – start by gently lifting up its connector.
– Now that the connector is out of the way, you can remove the rear facing camera itself.
Step 8

– Use a Phillips head #0 screwdriver to remove the 3.43mm cover plate screws for headphone port, power button, and status LED assembly.
– Remove headphone port, power button, and status LED assembly cover plate.
Step 9

– Unplug the connectors for the headphone jack, power button, and LED from the motherboard. You’ve got this!
– Carefully take out the headphone jack, power button, and LED from the motherboard. Keep up the great work!
Step 10

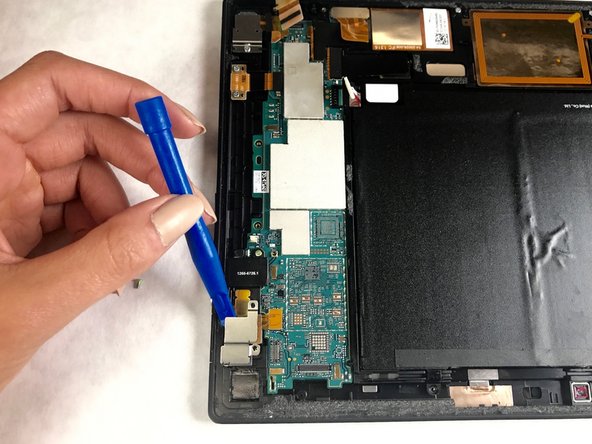
– Unplug those three ribbon cable connectors from the motherboard, right by the USB port and speaker. You’ve got this!
Step 11

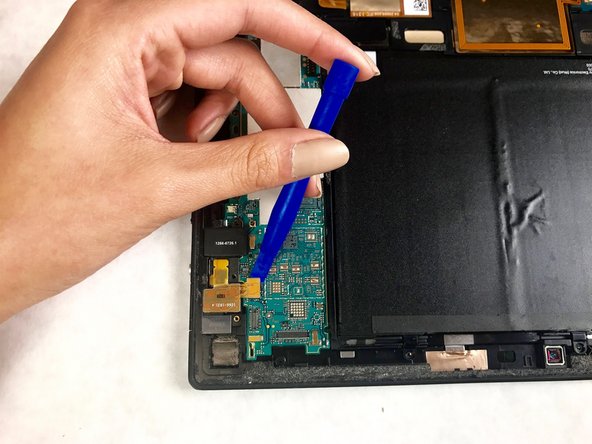
– Gently lift up the motherboard to free it from its cozy adhesive home. Once it’s a bit loose, you might need to slide it away from the battery while giving it a gentle lift. You’ve got this!
Success!