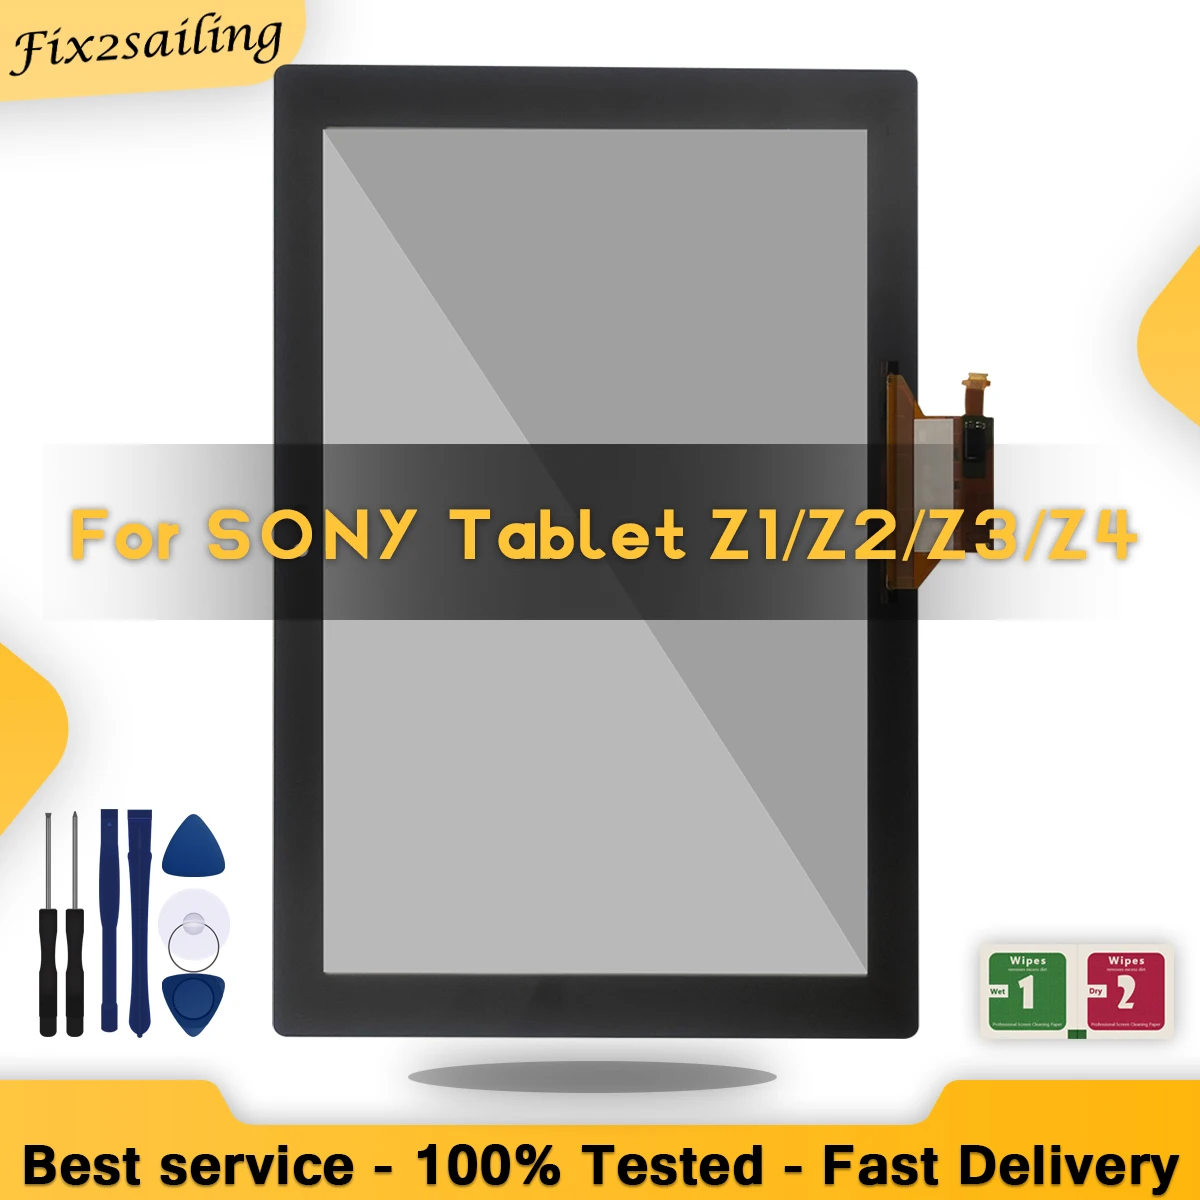
Sony XPERIA Tablet Z Screen Replacement
Duration: 45 minutes
Steps: 5 Steps
Get ready to give your Sony XPERIA Tablet Z a brand new display. This step-by-step guide will walk you through the process of carefully removing the old display and its connection points to the motherboard. Be cautious when applying heat to loosen the adhesive, as excessive heat can damage the tablet itself. Take your time and follow along – you’ve got this!
Step 1
– Time to pop off that back cover! Grab your plastic opening tool and gently pry up one corner—think of it as giving your device a little stretch after a long day. Once you’ve got a corner lifted, work your way around, removing the adhesive like a pro. Take your time, no rush—you got this!
Step 2
– Carefully detach the shiny gold ribbon cable from the back by gently lifting it with a plastic opening tool and peeling it away from the adhesive. You’ve got this!
– Now, let’s tackle the black ribbon cable. Lift it off the back of the screen using your trusty plastic opening tool. Easy peasy!
Step 3
Warm it up just enough to ease that sticky stuff, but keep your tablet safe and sound!
– Grab a hairdryer, heat gun, or a similar tool to warm up the edges of the screen. This will help loosen the adhesive that’s keeping it stuck. You’ve got this!
Step 4
– Carefully lift the screen’s edge, making your way around while applying some gentle heat.
Step 5
– Put your device back together by retracing these steps in reverse—easy as pie!
– If you hit a snag or want a helping hand, you can always schedule a repair.
Success!


