Steam Deck Back Cover Replacement Guide Step-by-Step Tutorial
Duration: 45 minutes
Steps: 4 Steps
Heads up!
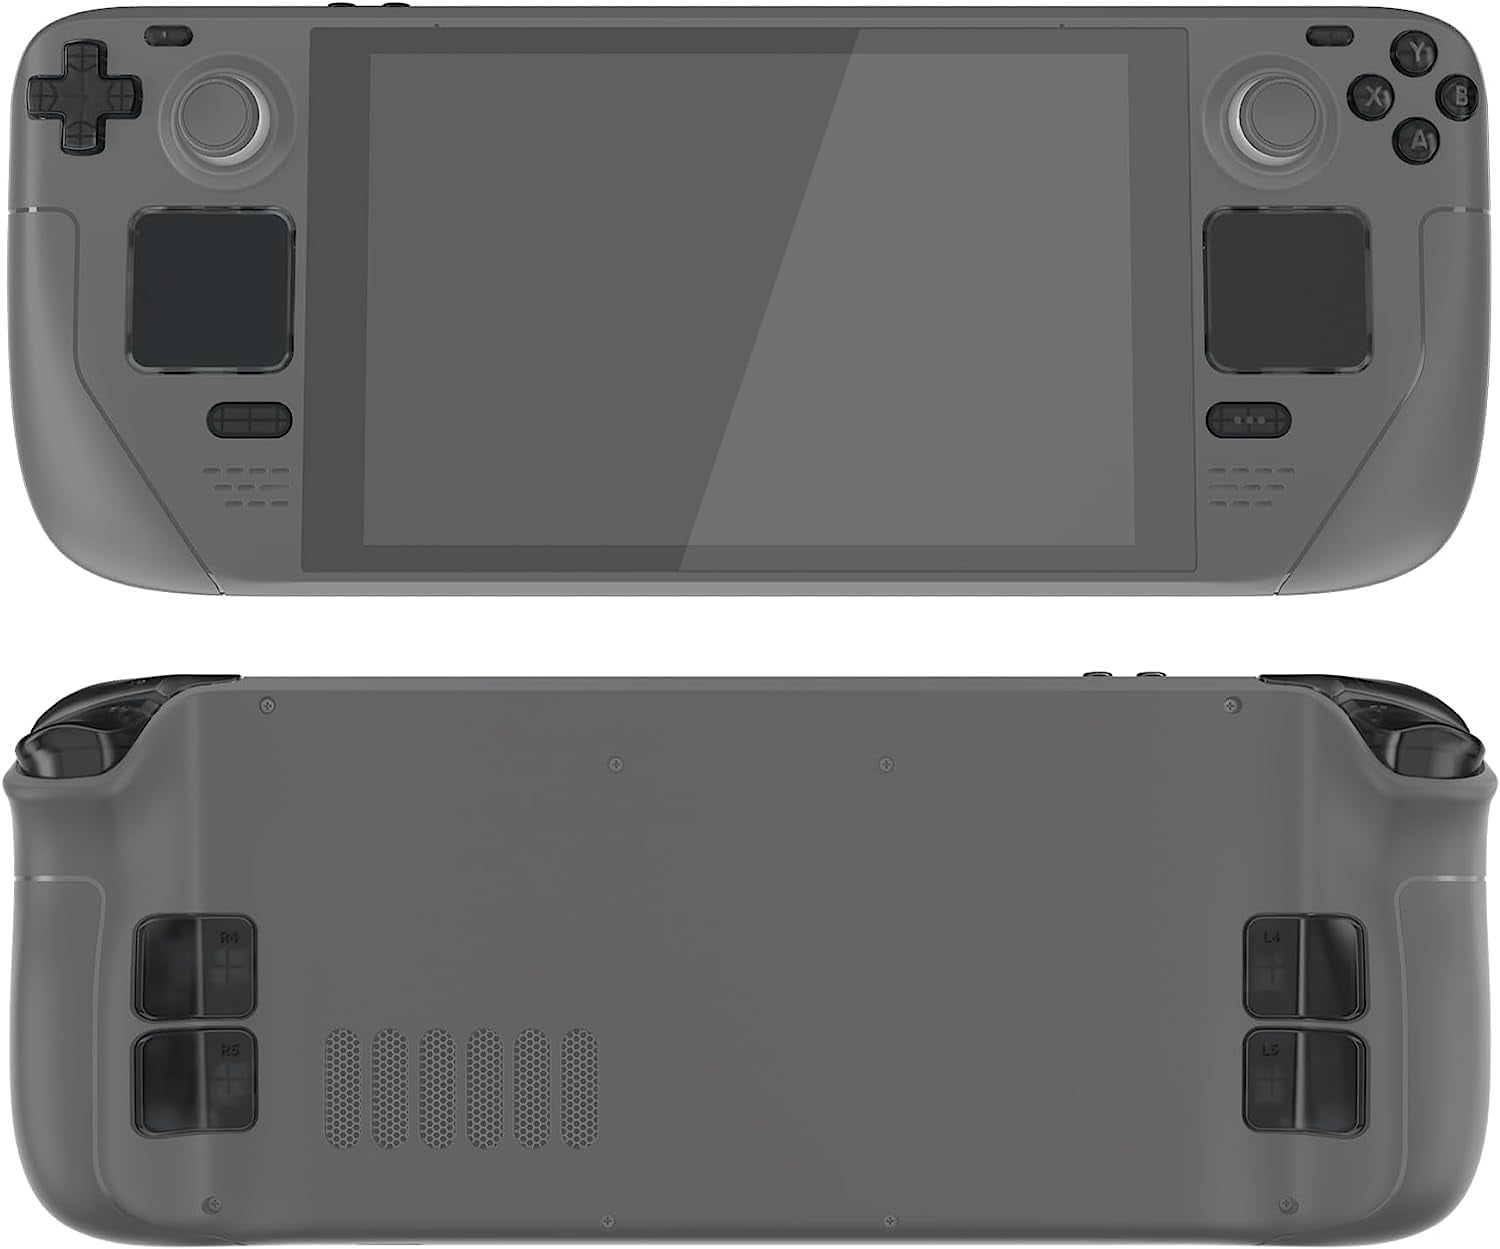
Ready to jazz up your Steam Deck? Let’s hop on the ride to switch out or pop off the back cover on your LCD screen. Just a heads up – keep those funky ESD safety moves in mind while you’re at it! Oh, and remember that groovy back button crew (L4, R4, L5, and R5) – they’re part of the cool gang with the back cover, so they’re inseparable. Valve wants us to be mindful that going solo on the back cover might shake the Steam Deck’s chill vibes, so let’s keep it tight!
Step 1


Hey there! Before you dive into your repairs, power up your Steam Deck and let that battery drop below 25%. A fully charged lithium-ion polymer battery can be a little temperamental if it gets punctured, and we want to keep things safe and sound!
And don’t forget, if you’ve got a microSD card hanging out in there, make sure to pop it out before you start prying open the Steam Deck. Leaving it in could lead to a little mishap where it might just snap—yikes!
To keep your Steam Deck in tip-top shape during repairs, try laying it face-down in its case. This little trick helps protect those thumbsticks and keeps things steady.
As a smart move, Valve suggests switching your Steam Deck to battery storage mode in the BIOS before diving into any internal repairs. If you’re unsure how to do that, just check out the guide here.
– First things first, power down your Steam Deck and unplug any cables. Let’s keep it safe while we work some magic!
Step 2

As you tackle this repair, remember to keep an eye on every single screw. Make sure it finds its way back home to avoid any mishaps with your Steam Deck!
While Phillips screwdrivers are supposed to be standardized, they can sometimes throw us a curveball with their sizes and shapes. Two drivers labeled the same can feel totally different in the same screw. So, grab the one that fits snugly and you’re golden!
– To kick things off, grab your trusty Phillips driver. Locate the eight screws holding the back cover in place:
– You’ll find four coarse thread 9.5 mm-long screws
– And four fine thread 5.8 mm-long screws. Let’s dive in with a can-do attitude!
Step 3


Struggling to insert your pick at the grip seam? No worries – just start at either the top or bottom long edges first, then smoothly slide the pick towards the grip.
– Gently slide an opening pick into the slim crevice between the back cover and the front shell, right along the edge of the cool grip.
– Lift the back cover with care to free it from the nifty locking clips.
Step 4


Once you free the clips on one side, the rest will follow like a well-rehearsed dance.
– Grab the back cover at the little opening you’ve just made and gently pull it up and away from the device to release those long edges.
– Now, go ahead and take off the back cover.