Step-by-Step DIY Guide: Replace the USB Board on a Samsung Galaxy S22 Ultra
Duration: 45 min.
Steps: 21 Steps
Once you pop open your Galaxy, its IP68 certification will wave goodbye!
Join us on this fun photo journey as we guide you through each step of swapping out the USB board like a pro!
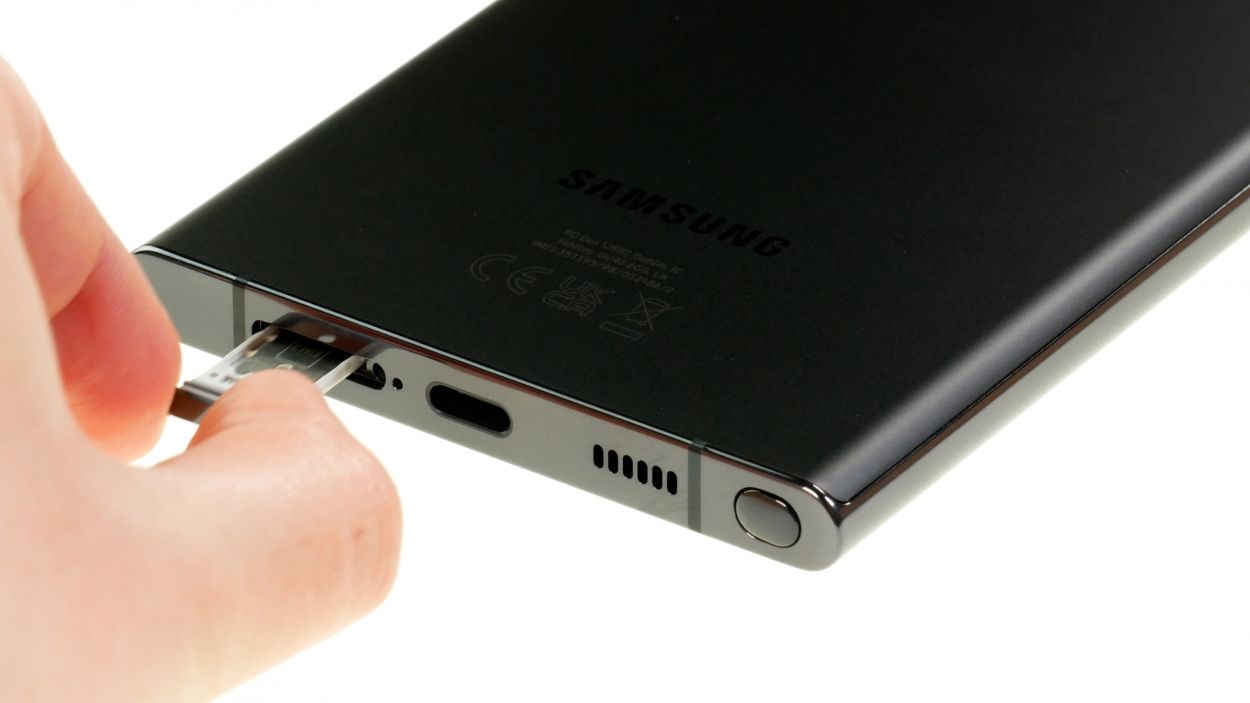
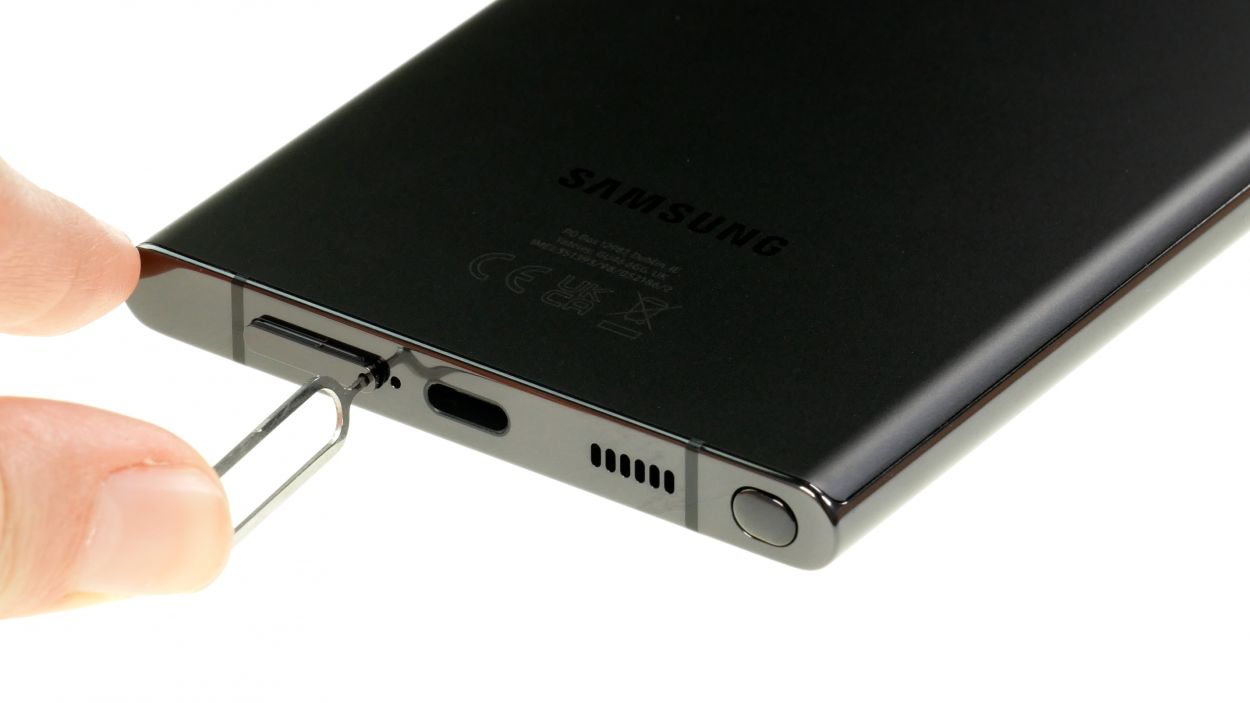
Step 1

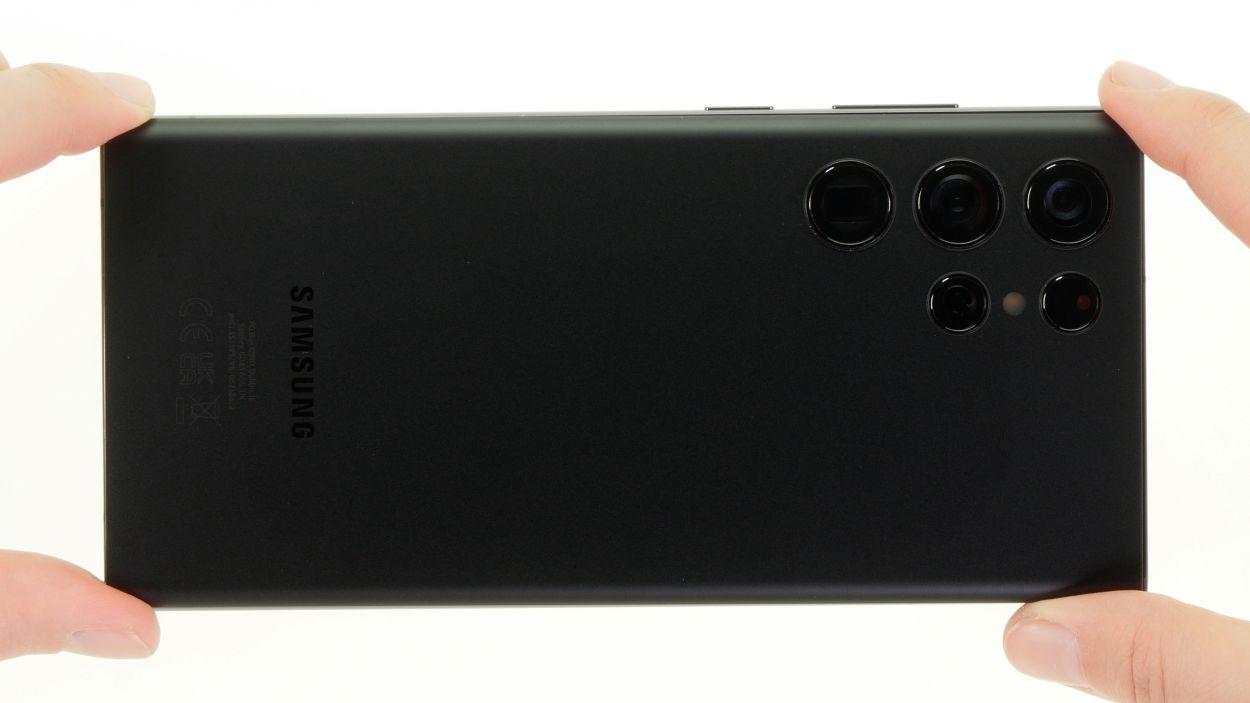
Before diving into the repair of your Galaxy S22 Ultra 5G, give our handy checklist a whirl to test out the basic functions. This way, you can celebrate your success later by confirming everything is working like a charm!
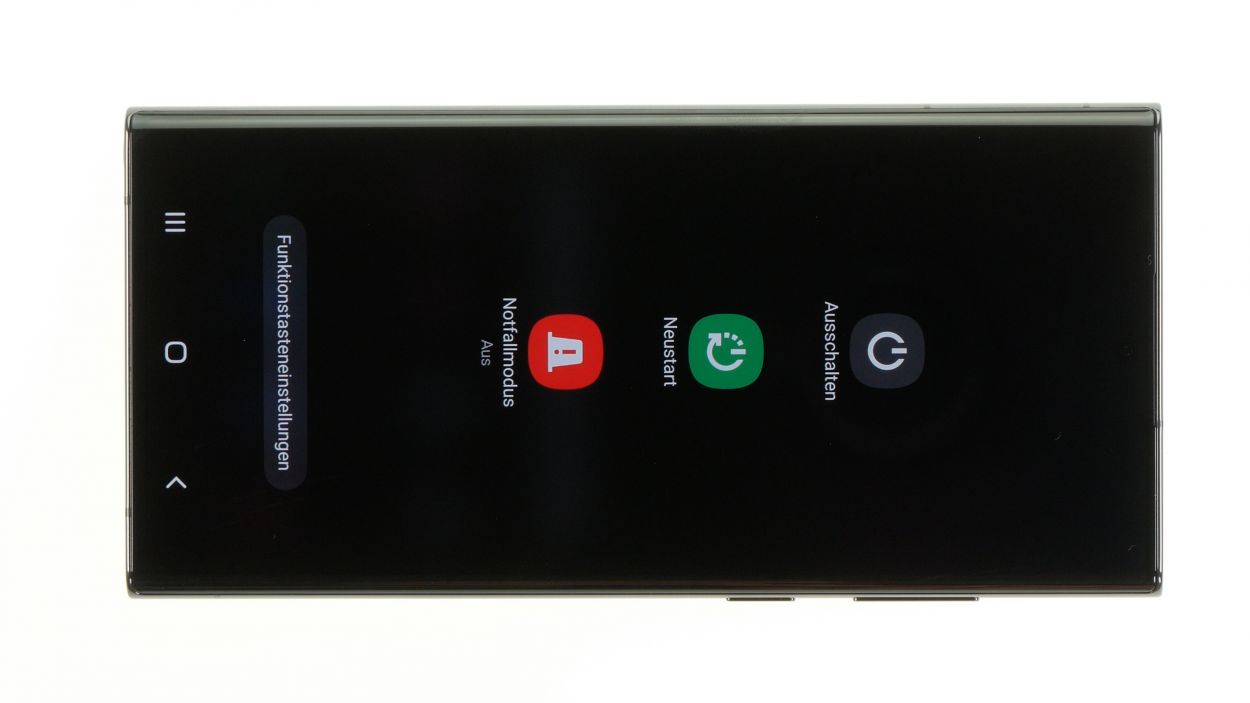
– Press and hold both the side button and the volume down button together for a few seconds. You’ve got this!
– Once the menu pops up, just tap on ‘Power off’ and you’re on your way to a fresh start!

Step 3
The back cover is glued down pretty well, so it’s time to give it some love! Grab your heat gun or a trusty hair dryer and warm it up just right.
– Warm up the edge of the back cover by gliding your hot air device evenly over it. You’re doing great!
Tools Used
- heat gun to heat parts that are glued on so they’re easier to remove.
In most cases, you can also use a hairdryer.” rel=”noopener”>Heat gun
Step 4
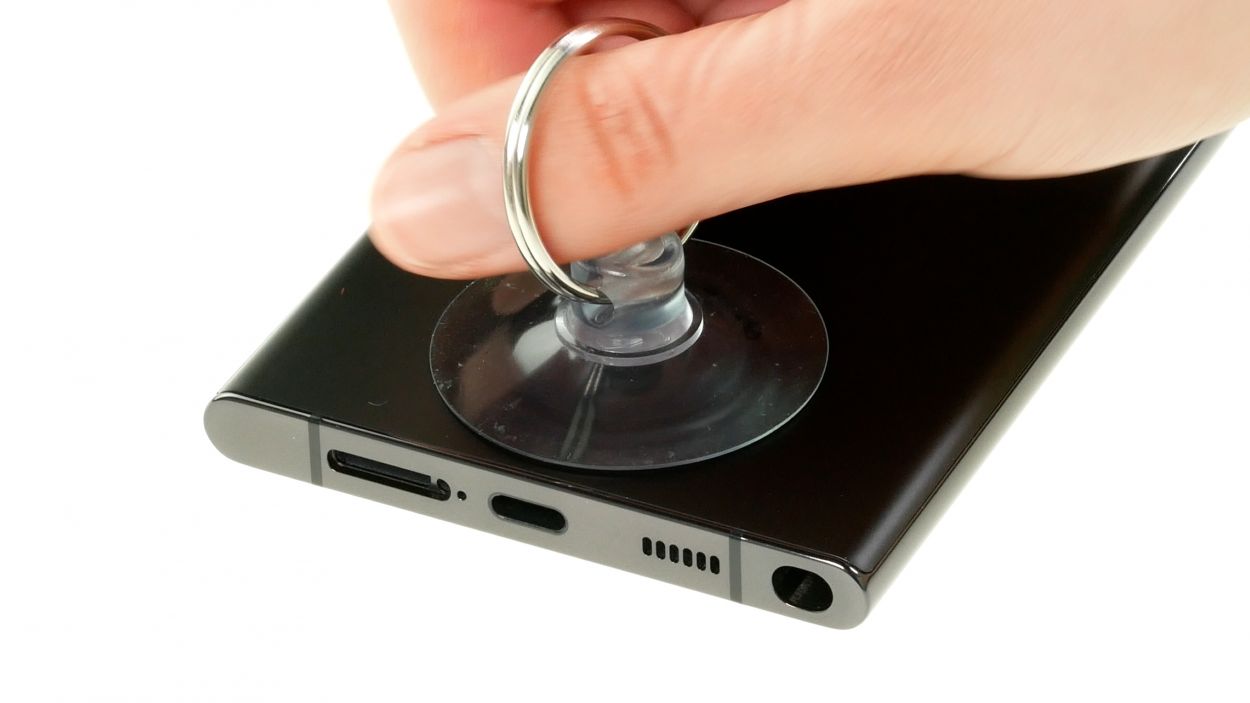

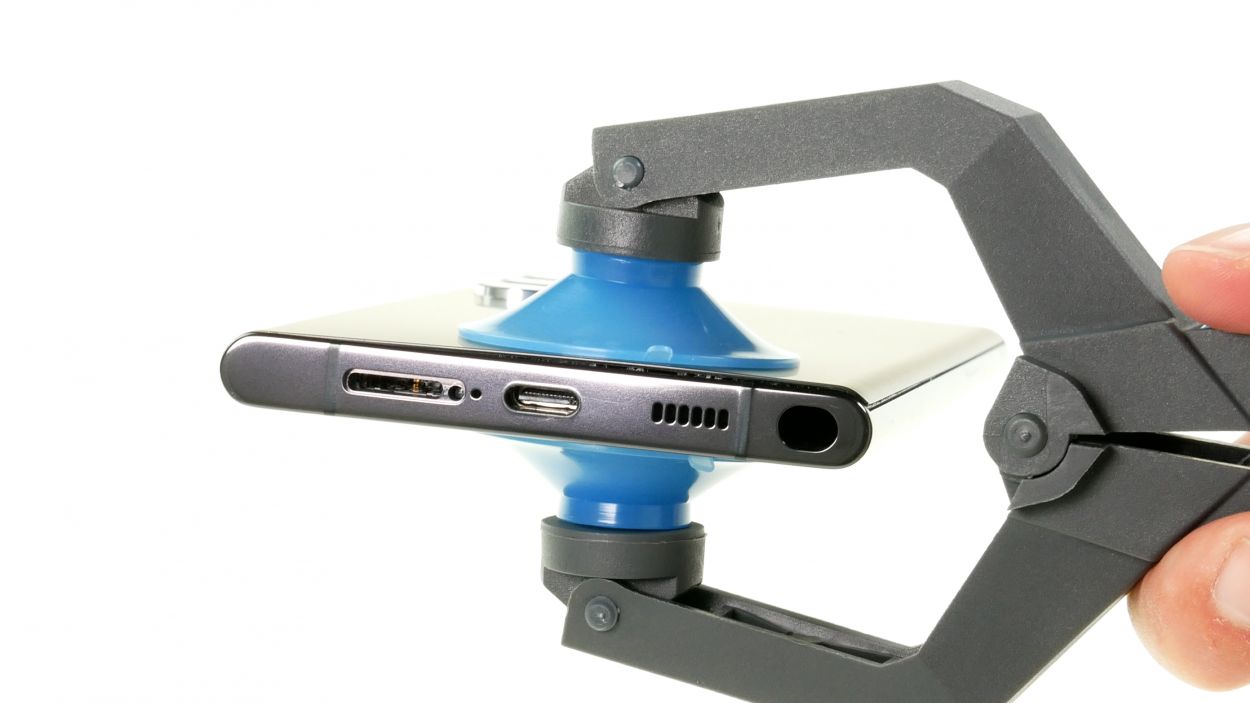
Instead of wrestling with a suction cup, why not try the iSclack? It makes lifting the back cover a breeze with way less effort!
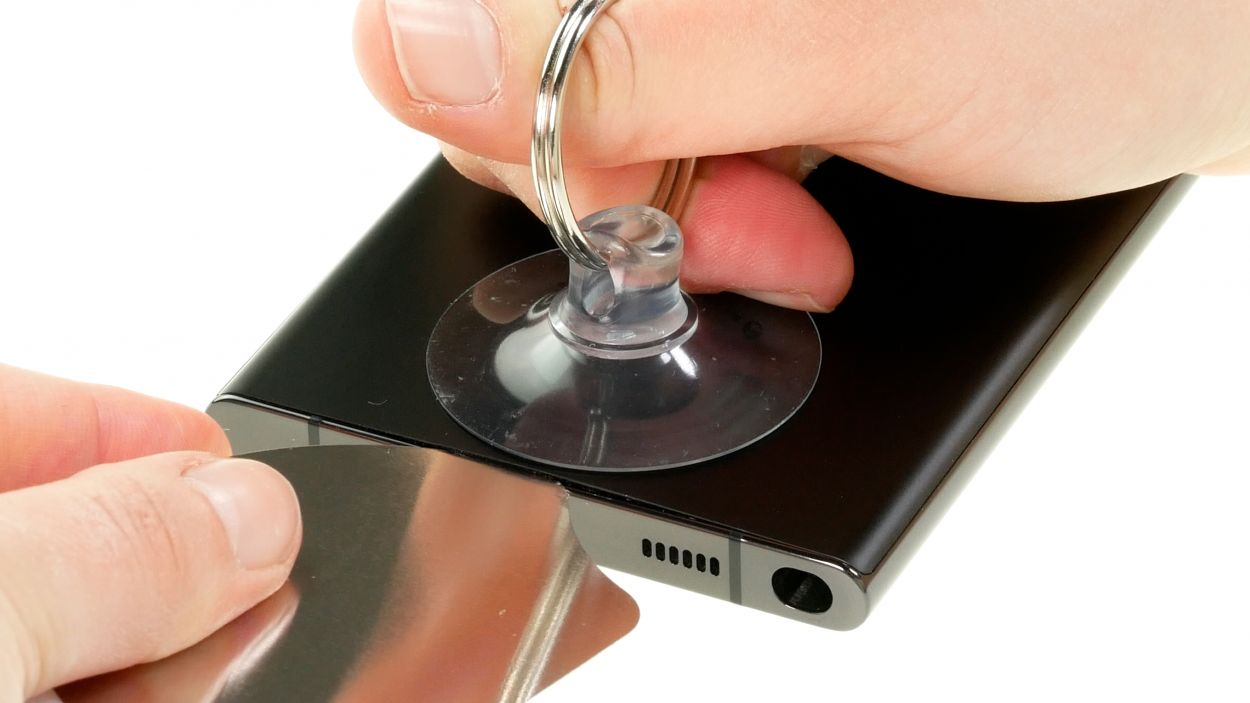
– Stick a suction cup on the lower edge of the back cover and give it a gentle tug upwards to create a little gap. You’re doing awesome!
– Now, while you’re at it, slide a flat tool into that gap between the back cover and the screen unit. Keep it steady!
Step 5
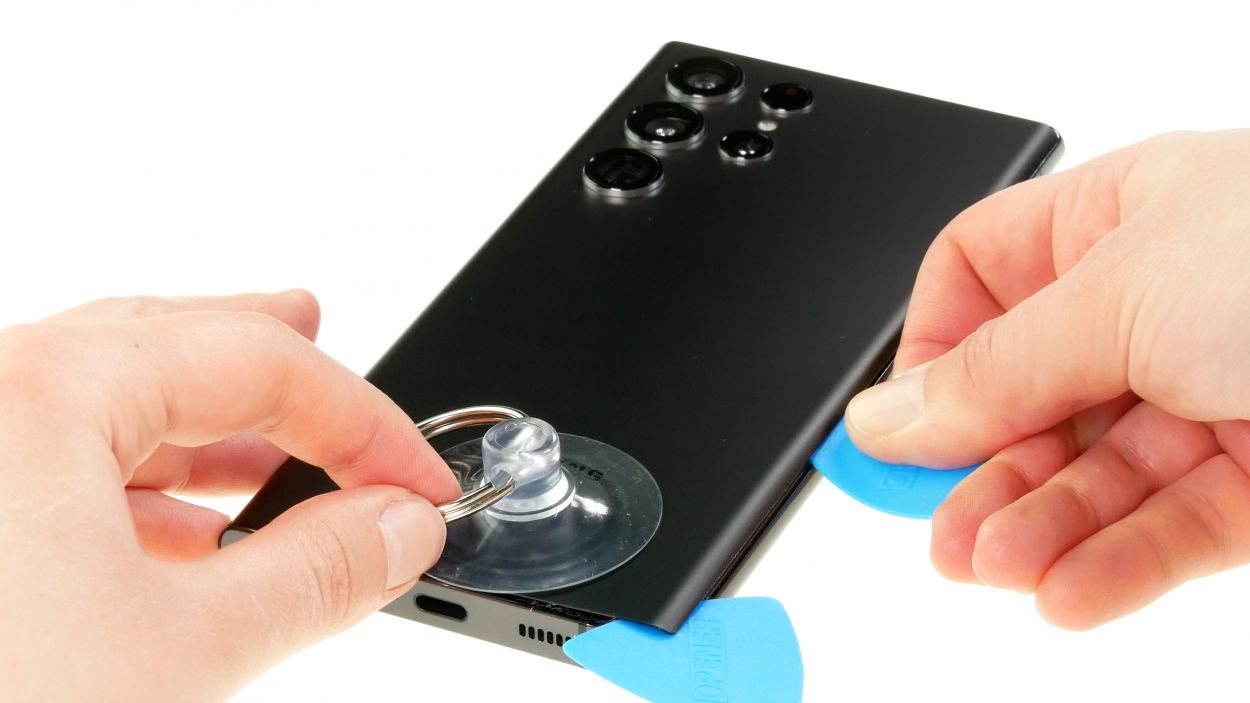
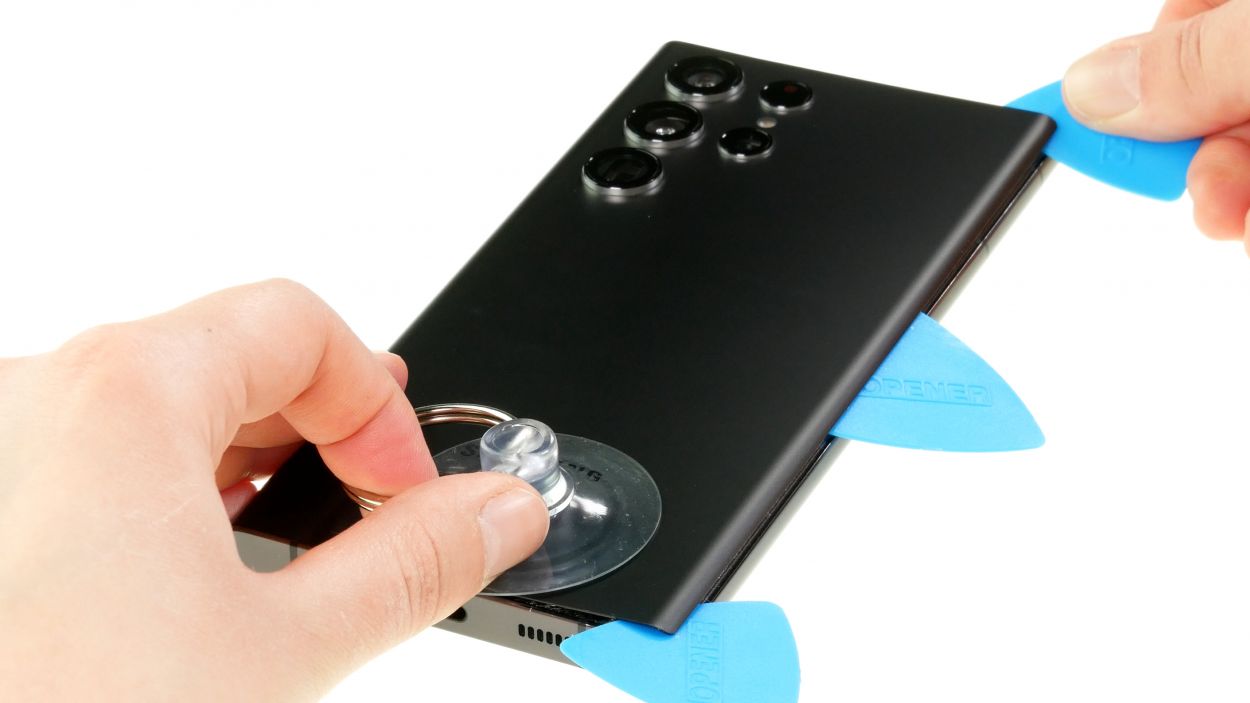
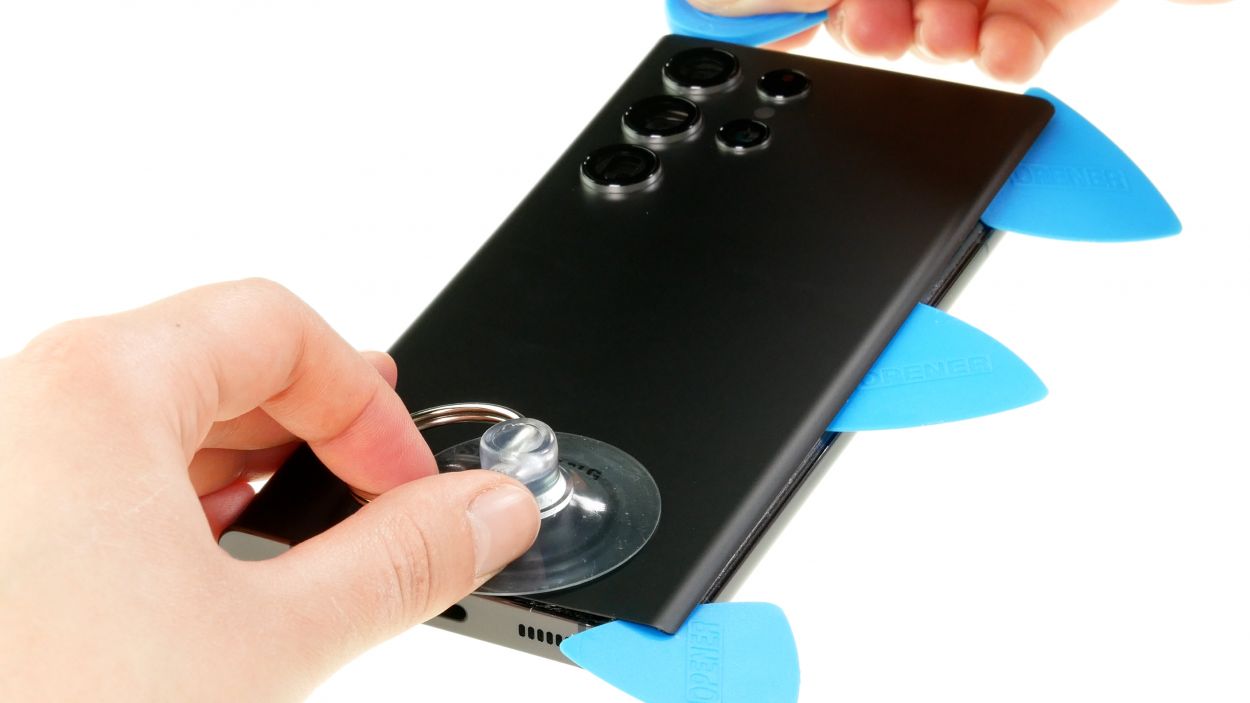

To keep your camera module safe and sound, be careful not to poke your tool in too deep. A hard plastic pick is your best buddy for this task!
To keep that back cover from getting all clingy again, slide in those flat plastic picks at regular intervals. It’s like giving your phone a little breathing room!
– Run your trusty tool all the way around the back cover’s edge to gently loosen it bit by bit. You’re doing great!
– Once it’s free, set that back cover aside like a pro.
Tools Used
- heat gun to heat parts that are glued on so they’re easier to remove.
In most cases, you can also use a hairdryer.” rel=”noopener”>Heat gun - Pick Set
- Flat Picks
Step 6


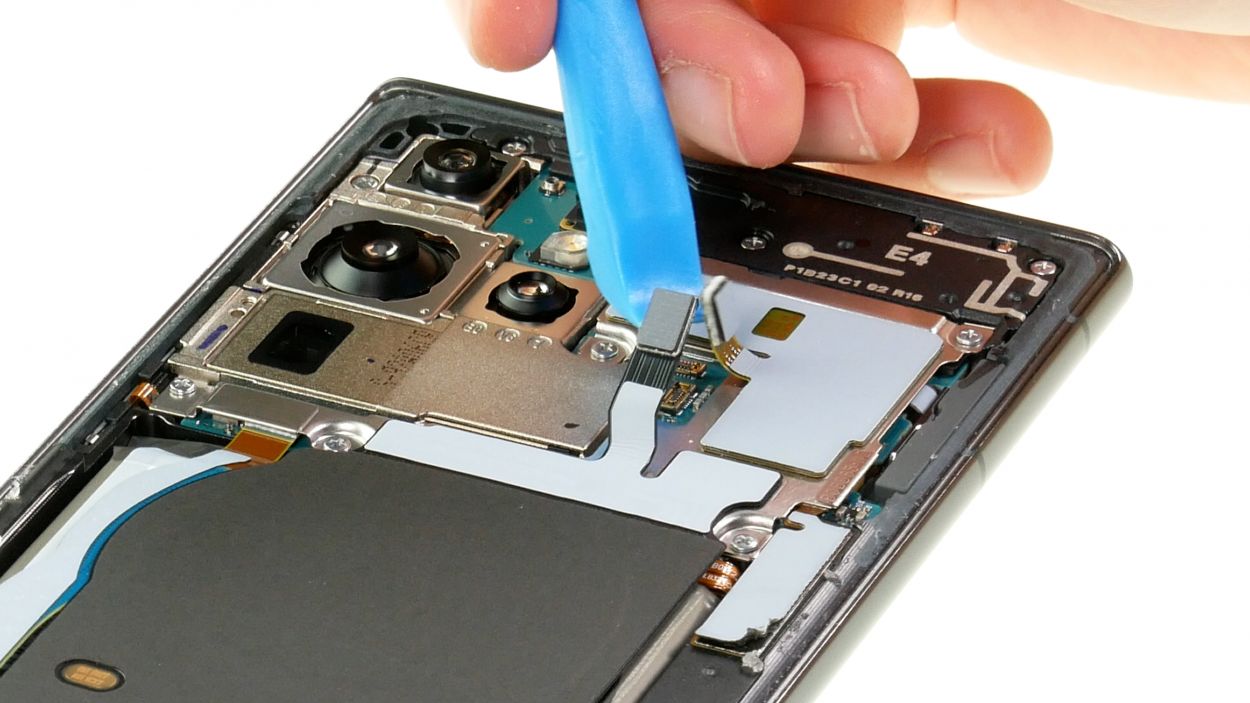
The charging coil has its lower end stuck down with some adhesive. The upper end is covered by a metal plate that’s secured to the motherboard with screws. Oh, and don’t forget, the NFC antenna is built right into that cover too!
– Gently wiggle the connectors of the charging coil and NFC antenna away from the board using a spudger. You’ve got this!
Tools Used
Step 7


5 × 3.3 mm Phillips
To keep all your disassembled goodies and screws in check, we suggest snagging a screw storage solution, like our nifty magnetic pad. It’s the perfect way to keep everything safe and sound while you work your magic!
– Unscrew the five Phillips screws that hold the metal cover snug on the board. You’re on the right track!
– Gently lift the cover upwards and peel off the lower, glued end of the charging coil from the speaker. Keep it up!
Step 8


To keep things safe and sound during your repair adventure, always unplug that battery first thing! It’s your best defense against any surprise short circuits.
– Gently wiggle the orange battery connector free from the motherboard using a spudger. You’ve got this!
Tools Used
Step 9
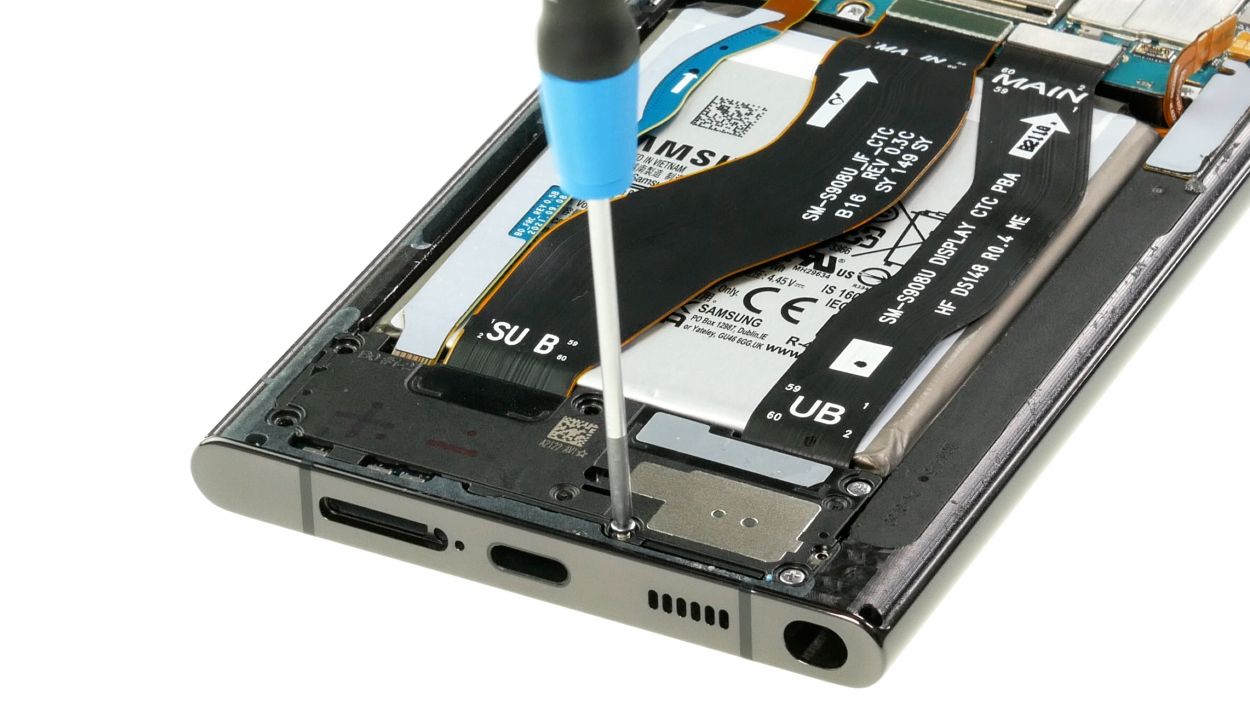

6 × 3.3. mm Phillips
Look for a little arrow and a notch on the component – they’re your best buddies for figuring out where to place your tool. Easy peasy!
– Unscrew the six Phillips screws that are holding the speaker snugly in place. You’re making progress!
– Gently use a spudger to pry the speaker out of its cozy spot and set it aside. Nice job!
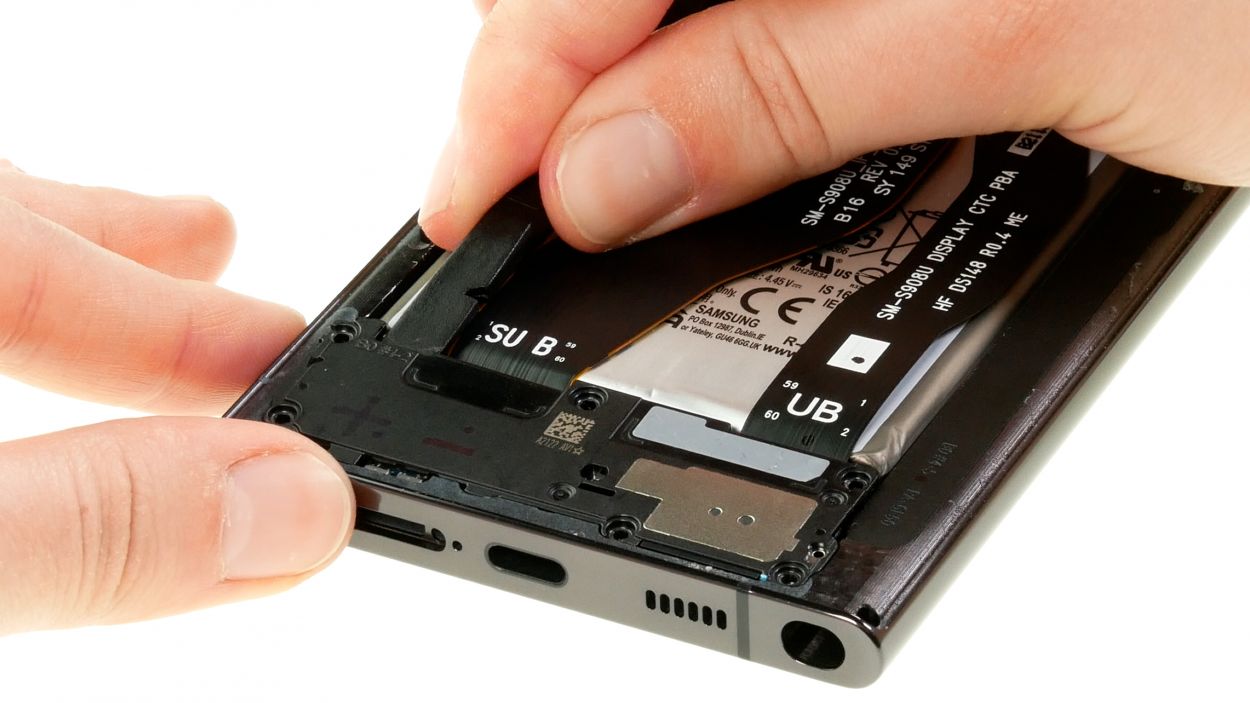
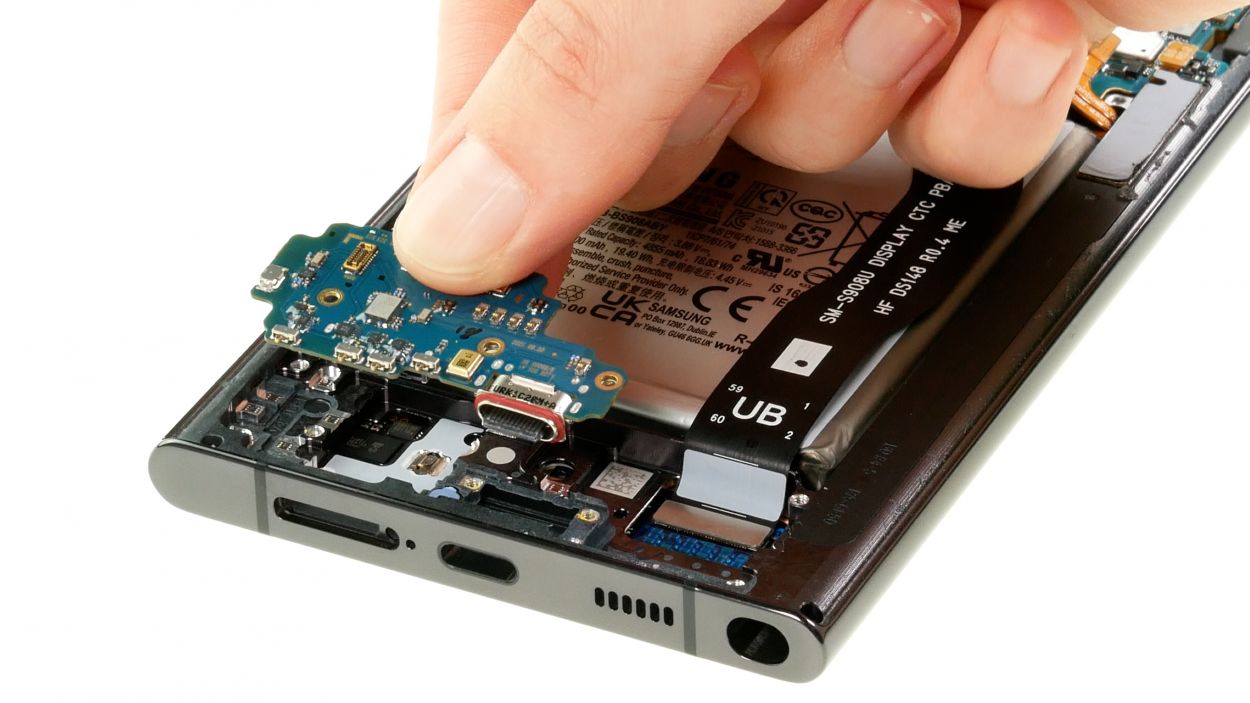
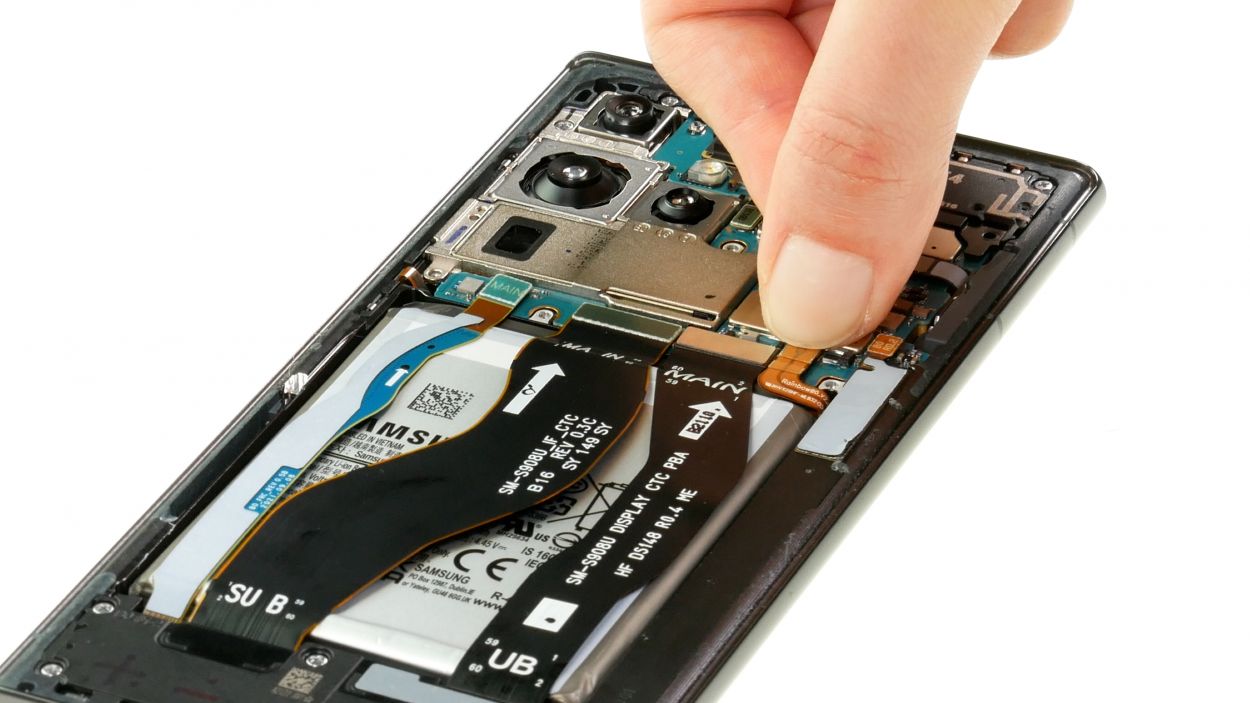
Step 10


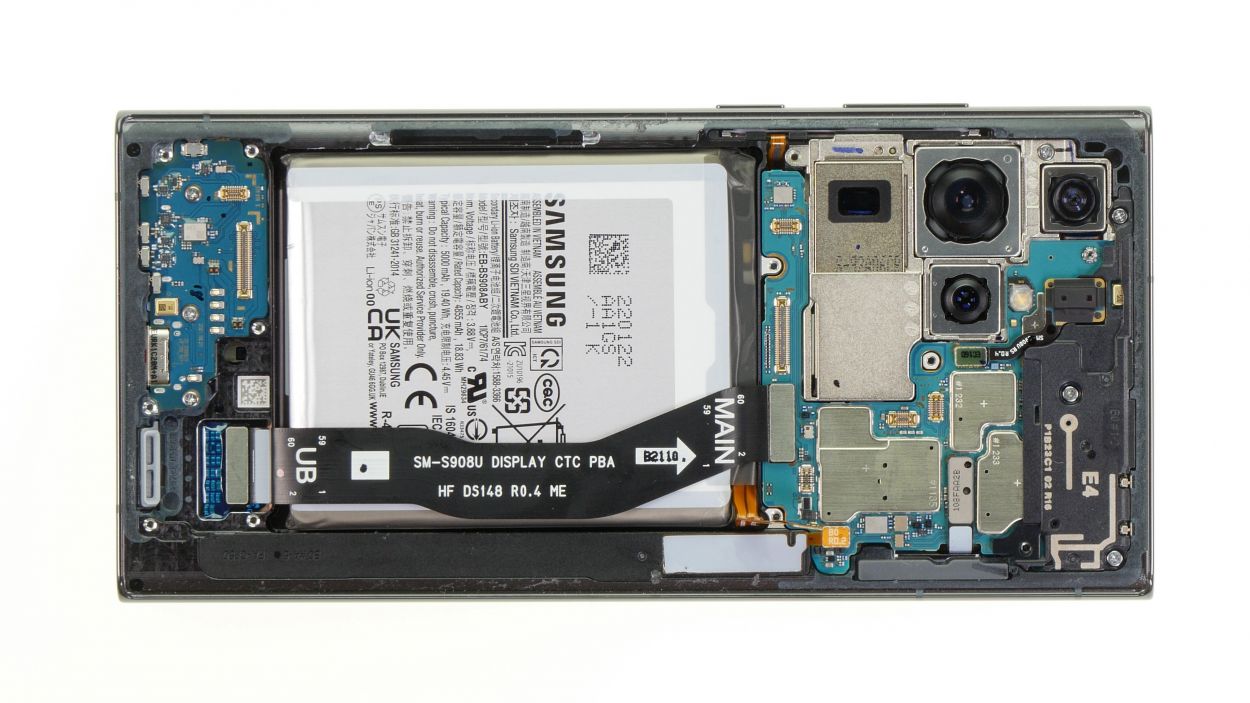
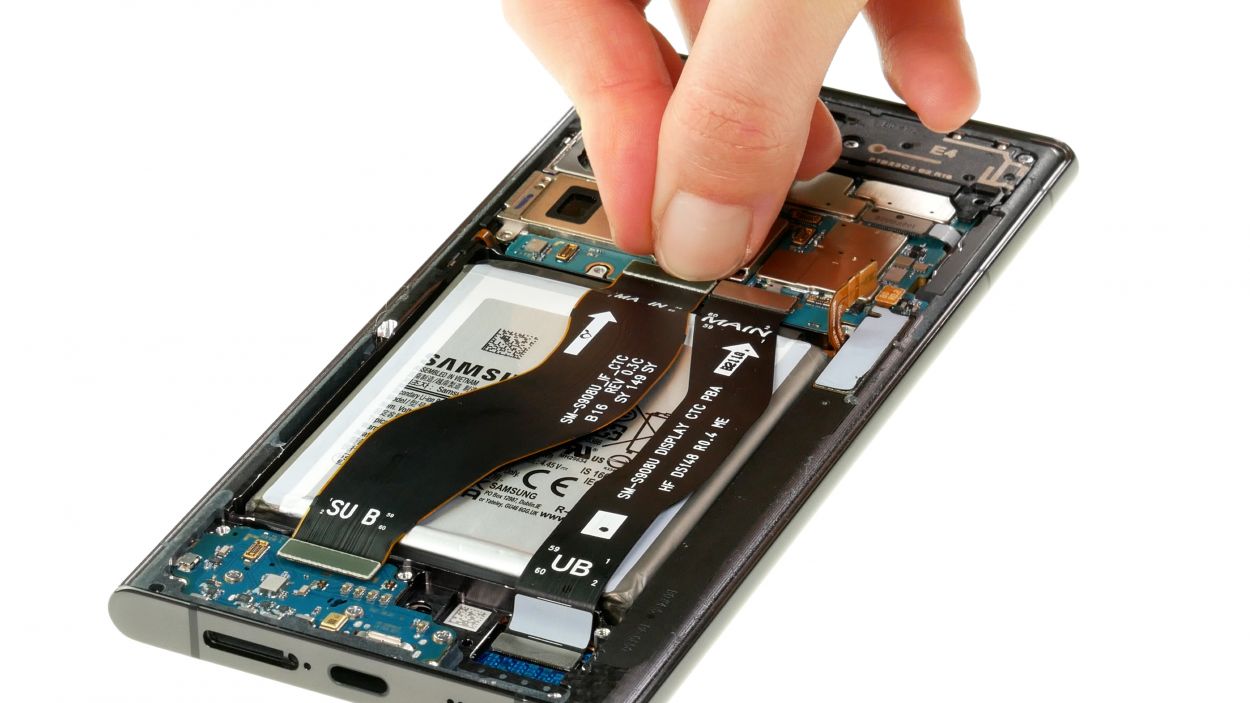
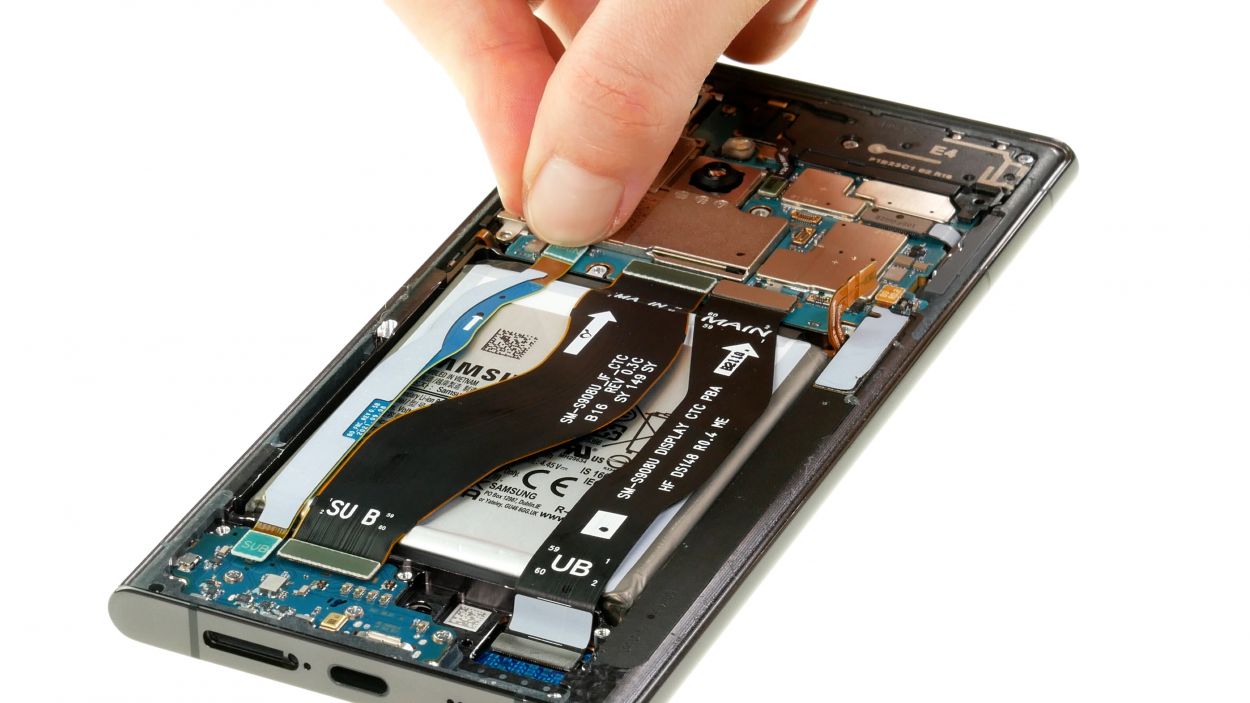
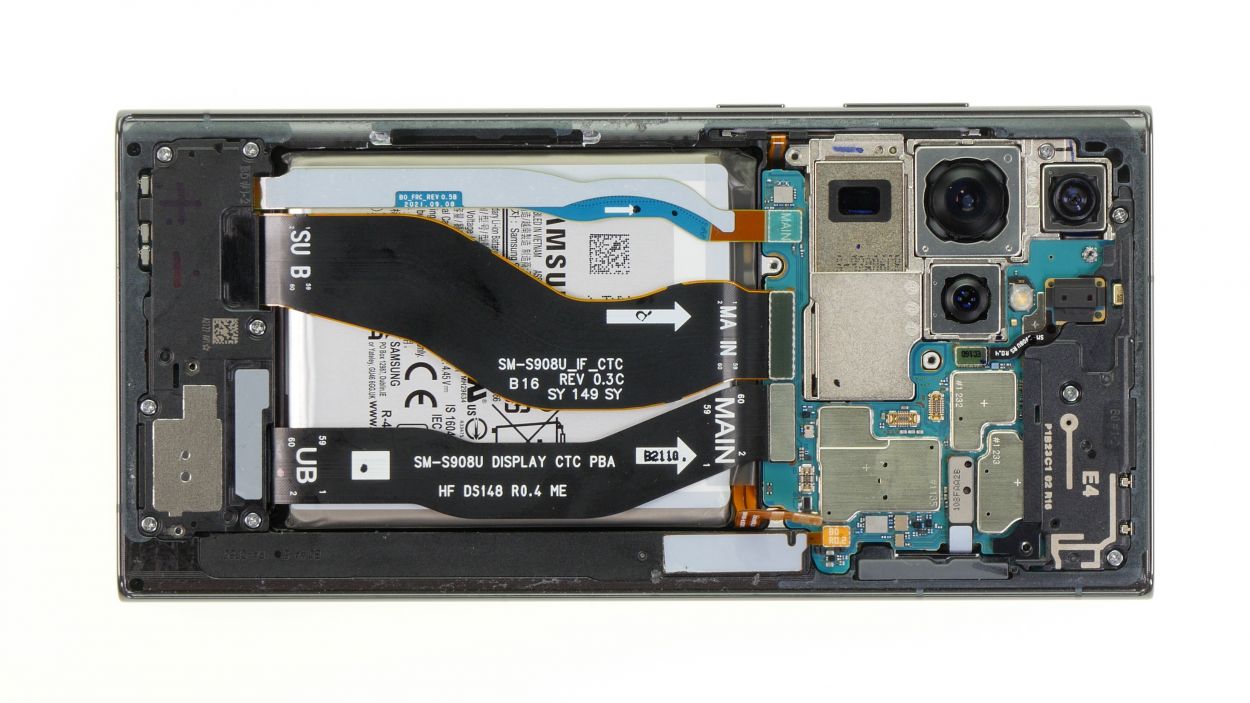
– Using your trusty spudger, gently pry apart the two connecting cables from the motherboard and the USB board. You’re doing fantastic!
– Once you’ve got those cables disconnected, just set them aside and keep up the great work!
Tools Used
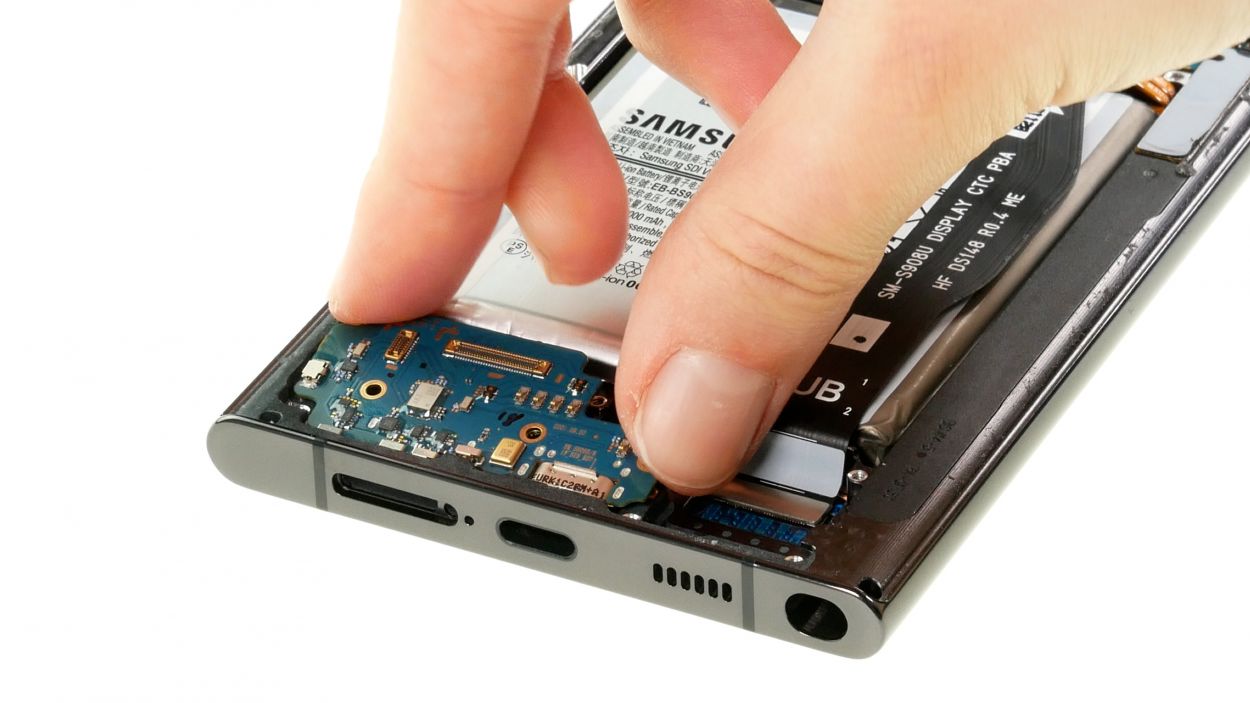
Step 11

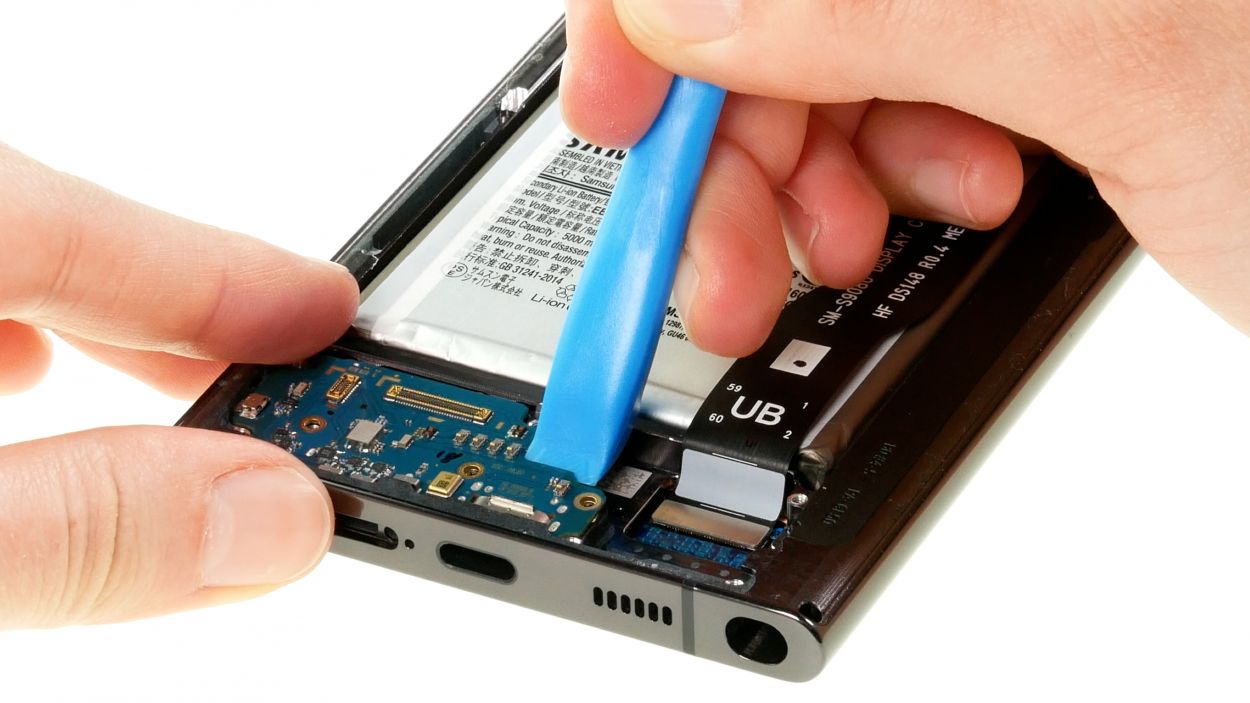
3 × 3.3 mm Phillips
– Unscrew the three Phillips screws holding the USB board in place. You’re doing awesome!
– Now, gently lift that board out of the device like a pro.
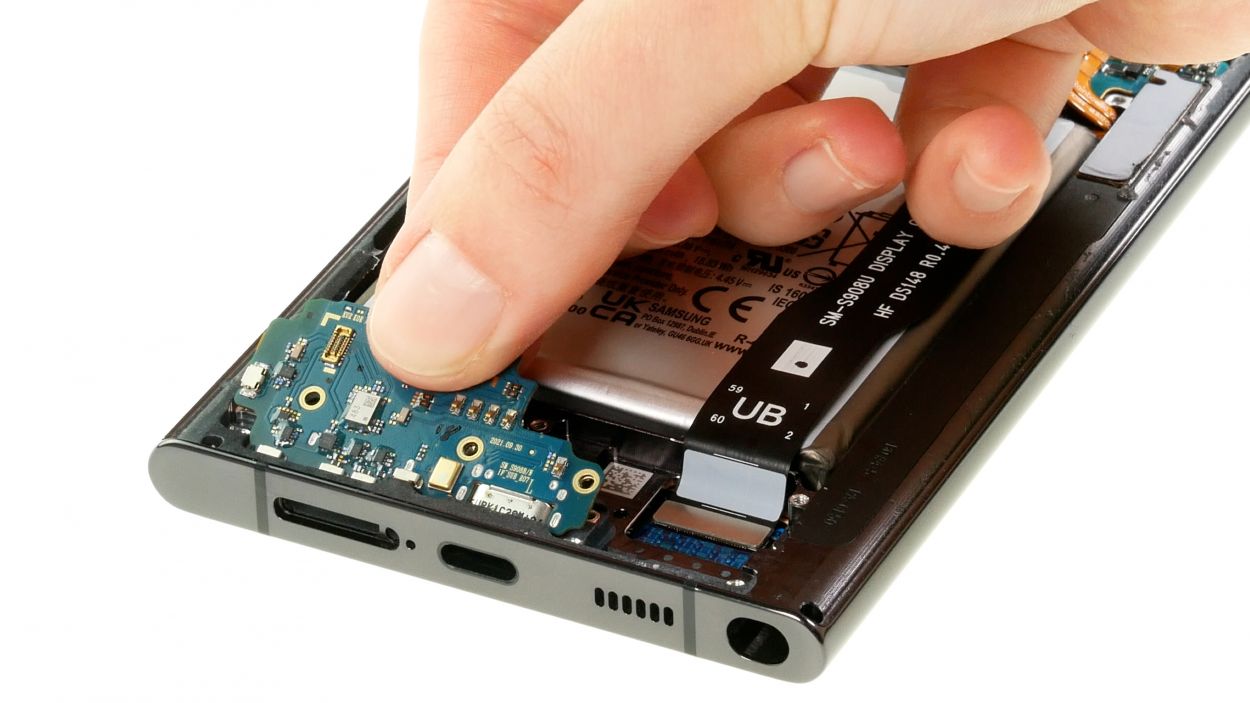
Step 12
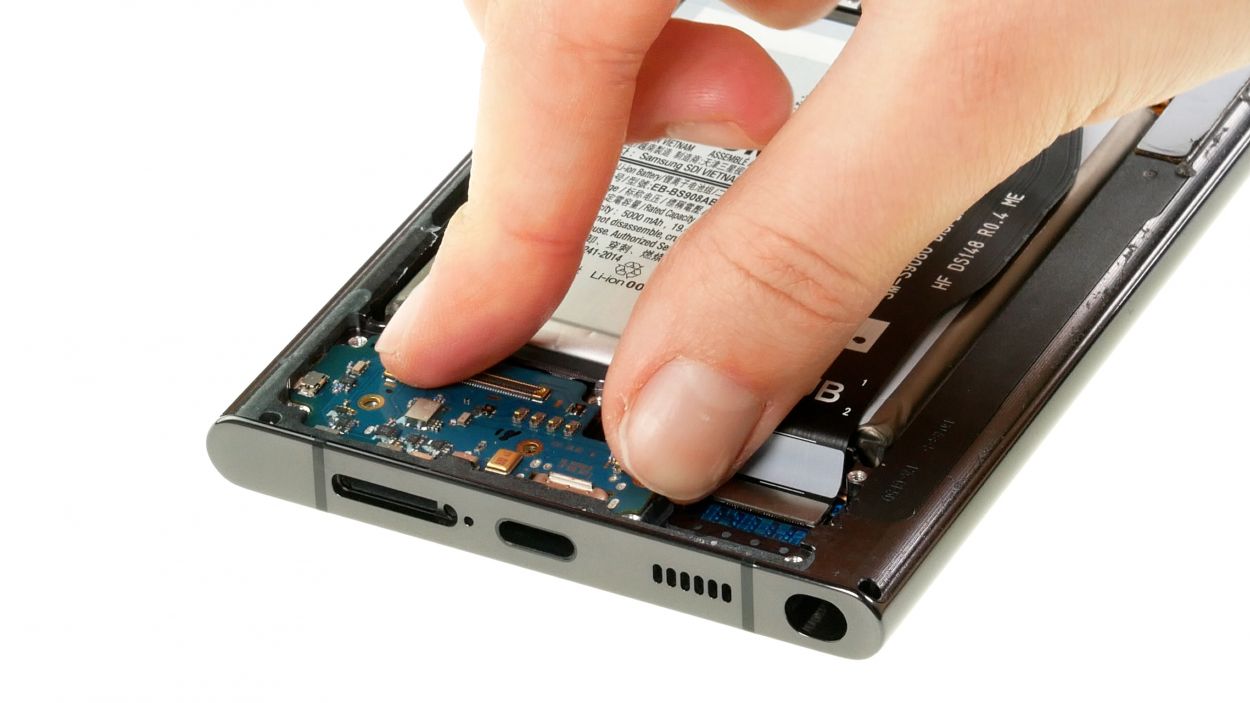
3 × 3.3 mm Phillips
When you’re sliding in that new USB board, just double-check that the charging jack is snugly fit into the edge of the case. You got this!
– Slide the shiny new USB board right into the screen unit, making sure it fits snugly!
– Secure it in place with those three trusty Phillips screws. You’re nailing it!
Tools Used
Step 13
Take it easy when connecting those cables! A gentle touch is all you need—no Hulk strength required. A little mishap with a connector could mean a big problem for your whole device.
The labels on those cables are your trusty guides to help you line everything up perfectly inside the device!
– Carefully line up those two connecting cables in the device, one after the other, and then snap their connectors onto the USB and motherboard. You’ve got this!
Step 14


6 × 3.3 mm Phillips
Ensure the speaker is perfectly level all around. Those plastic lugs need to snugly fit into the edge of the case like they were meant to be there!
– Carefully place the speaker back in its cozy spot, just like it was before!
– Secure it with those six Phillips screws, and you’re all set!
Tools Used
Step 15
To keep things smooth and sparkly during your repair journey, try to connect that battery as late as you can. It’s your secret weapon against any sneaky short circuits!
– Reconnect the battery by carefully pressing its connector onto the motherboard. You’re doing great!
Step 16


5 × 3.3 mm Phillips
– Carefully position the charging coil over the motherboard, aligning it with the screw holes in the metal cover. You’ve got this!
– Give that glued end a firm press to make sure it’s snug.
– Secure the cover by fastening it down with those five Phillips screws. You’re almost there!
Tools Used
Step 17


– Reconnect the NFC antenna and charging coil by giving their connectors a gentle press onto the motherboard. You’ve got this!
Step 18
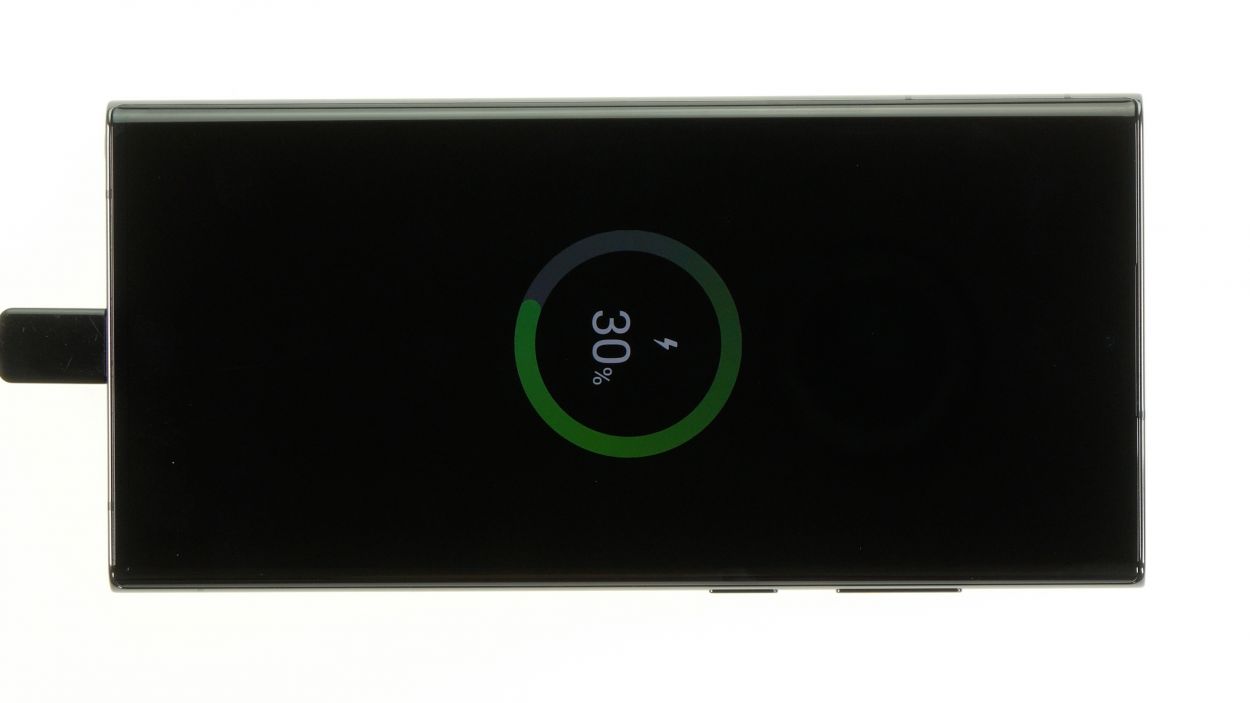
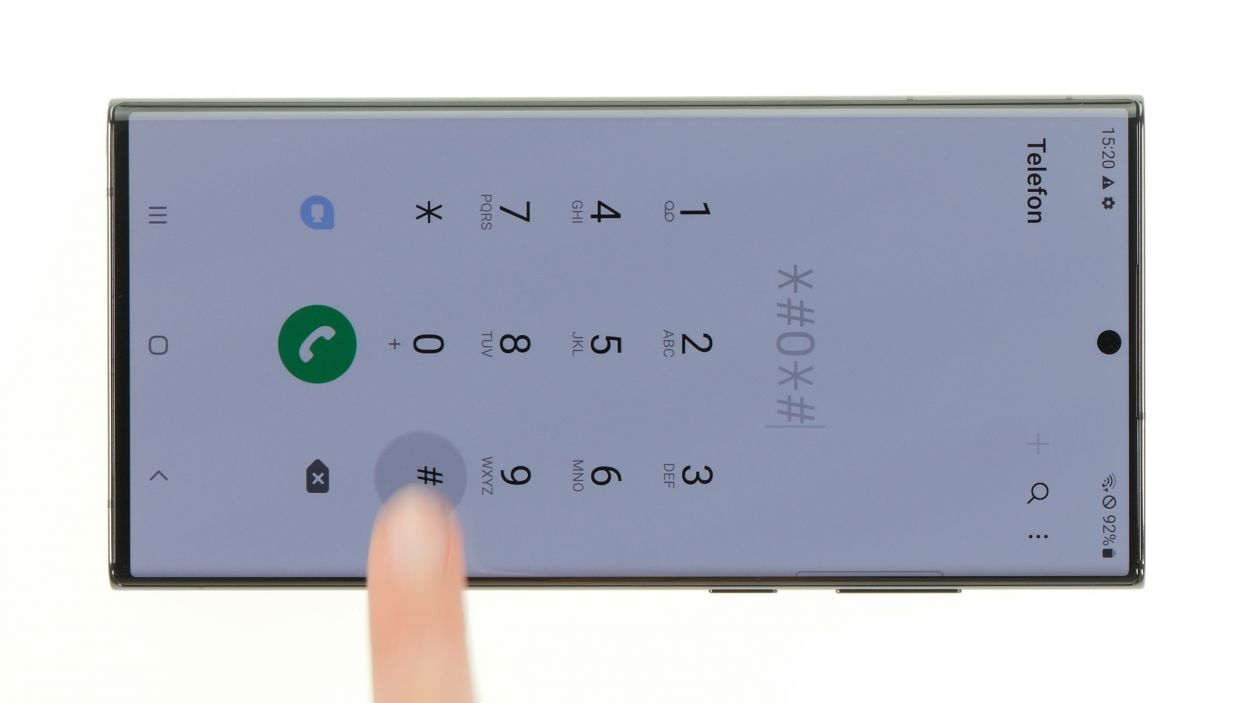
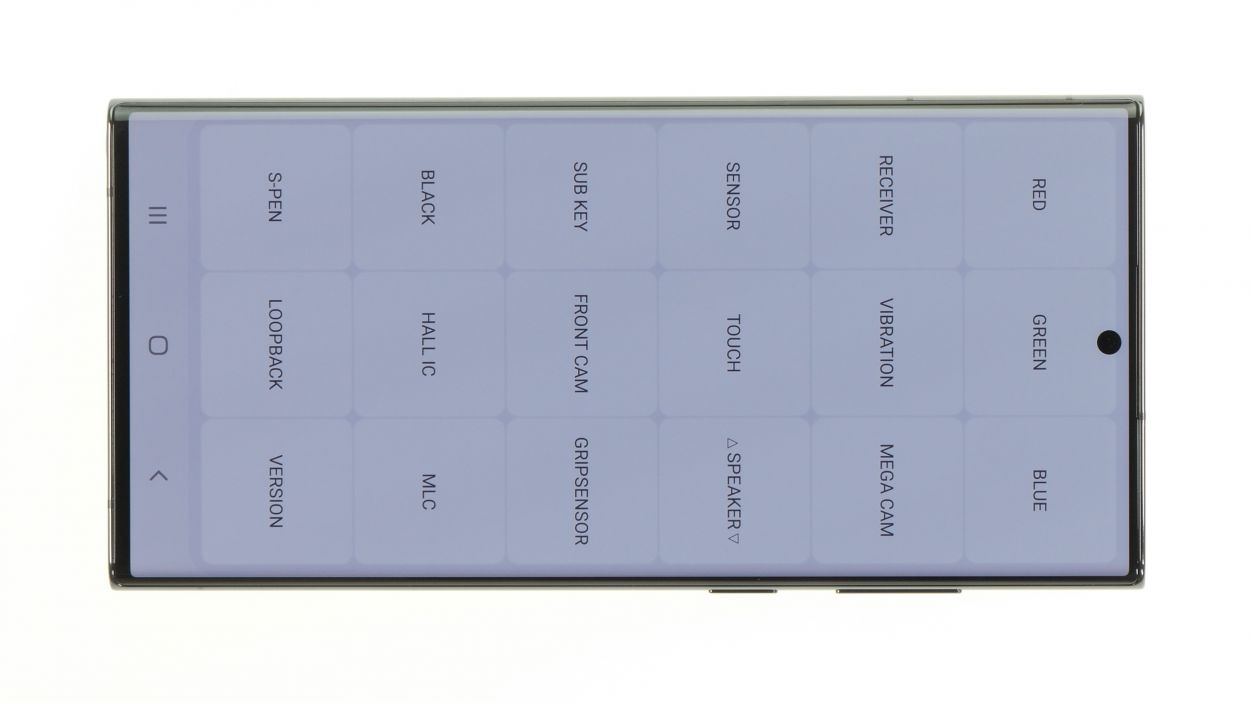
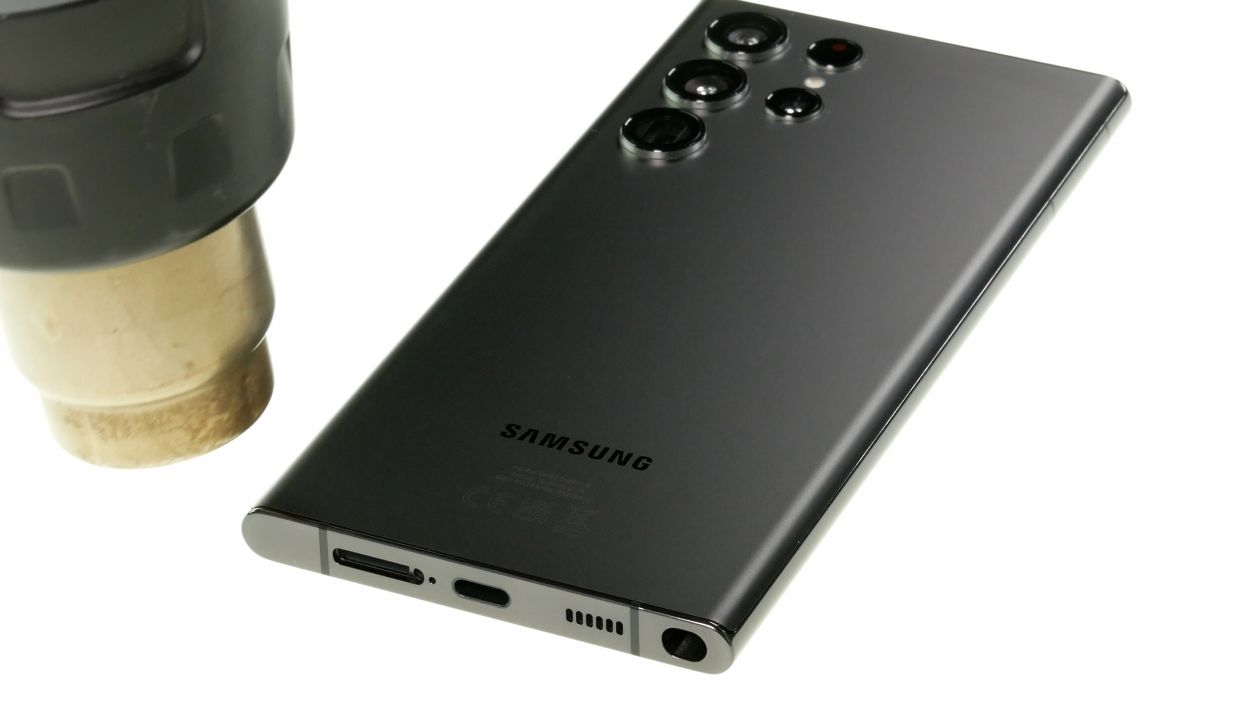
At this stage, it’s time to give that new USB board a spin! Test it out along with other basic functions. Don’t forget to check off everything on our handy checklist and dive into the internal Samsung test menu by dialing *#0*#. You got this!
– Plug your Galaxy into the power supply and see if it’s ready to charge up!
– Check if your device pops up on your PC or Mac like it’s excited to connect.
Step 19


– Line up that fresh adhesive frame with the back cover. Those nifty cutouts in the film are here to guide you along!
– Peel away the carrier film from the bottom of the adhesive frame and press it firmly onto the edge of the back cover. You’re on the right track!
– Now, gently remove the remaining protective film from the top of the adhesive frame. Almost there!
Tools Used
Step 20
For a solid bond, give that back cover a little extra love with some hot air along the edges. And hey, if you want to keep it steady, feel free to stack some books on top for a few minutes. You’ve got this!
– Wrap up your Galaxy S22 Ultra repair by giving that back cover a gentle press back onto the screen unit. You’ve got this!
Tools Used
- heat gun to heat parts that are glued on so they’re easier to remove.
In most cases, you can also use a hairdryer.” rel=”noopener”>Heat gun