Step-by-Step DIY Guide to Replace Samsung Galaxy S21 5G Speaker
Duration: 30 min.
Steps: 20 Steps
Hey there! Just a heads up: once you crack open your device, that nifty IP certification (your shield against dust and water) will be waving goodbye. Keep that in mind while you work your magic!
Get ready to crank up the volume on your S21 5G by swapping out the speaker! Our easy-to-follow photo guide will walk you through the process step by step, making it a breeze to bring back that glorious sound. If you need help, you can always schedule a repair.
Step 1
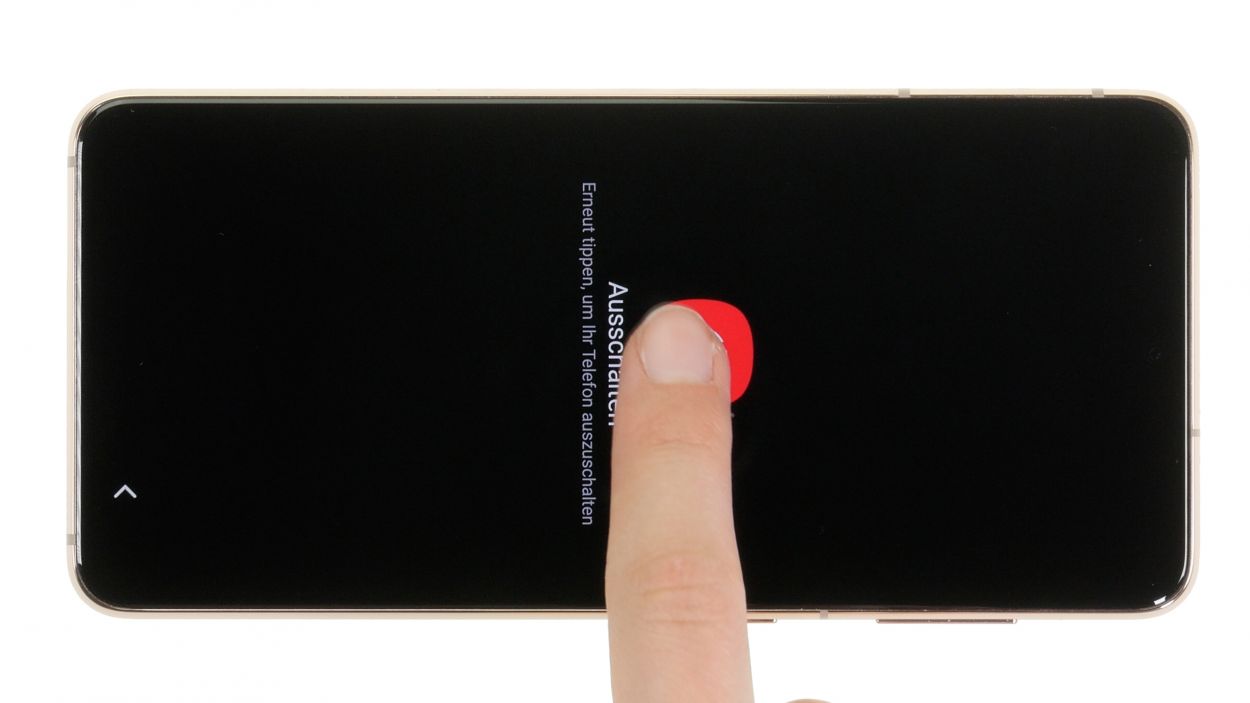
Before diving into the repair of your Galaxy S21 5G, take a moment to run through our handy checklist to test its basic functions. This way, you can easily see if your repairs hit the mark afterward. Let’s get started!
– Give that side and volume down button a nice long press together for a few seconds! You got this!
– Once the menu pops up, tap on Power off and confirm with your unlock code. Easy peasy!
Step 2
– Warm up the edge of the back cover by gently gliding your hot air tool along it.
Watch out for those sizzling fingers! Heat the back cover just enough so you can still give it a friendly tap. Keep it cool, and if you need help, you can always schedule a repair.
The back cover is stuck on there pretty tight with some serious adhesive. So, before you dive in, give it a good warm-up! Grab your hot air device—whether it’s a heat gun or your trusty hair dryer—and let’s get that cover nice and toasty!
Tools Used
- heat gun to heat parts that are glued on so they’re easier to remove.
In most cases, you can also use a hairdryer.” rel=”noopener”>Heat gun
Step 3
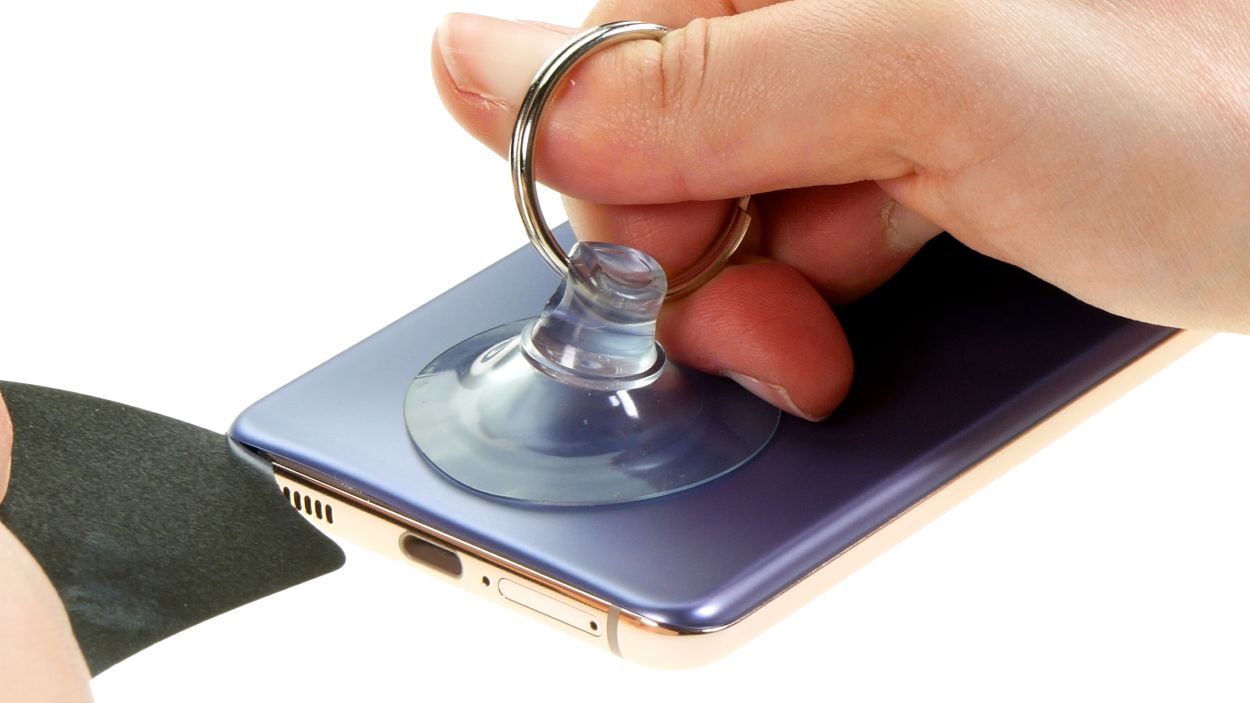
To create a snug little space between the back cover and the display unit, grab yourself a flat and stable tool. We suggest the iFlex for this task, as its super sharp edges make it a breeze to slide in!
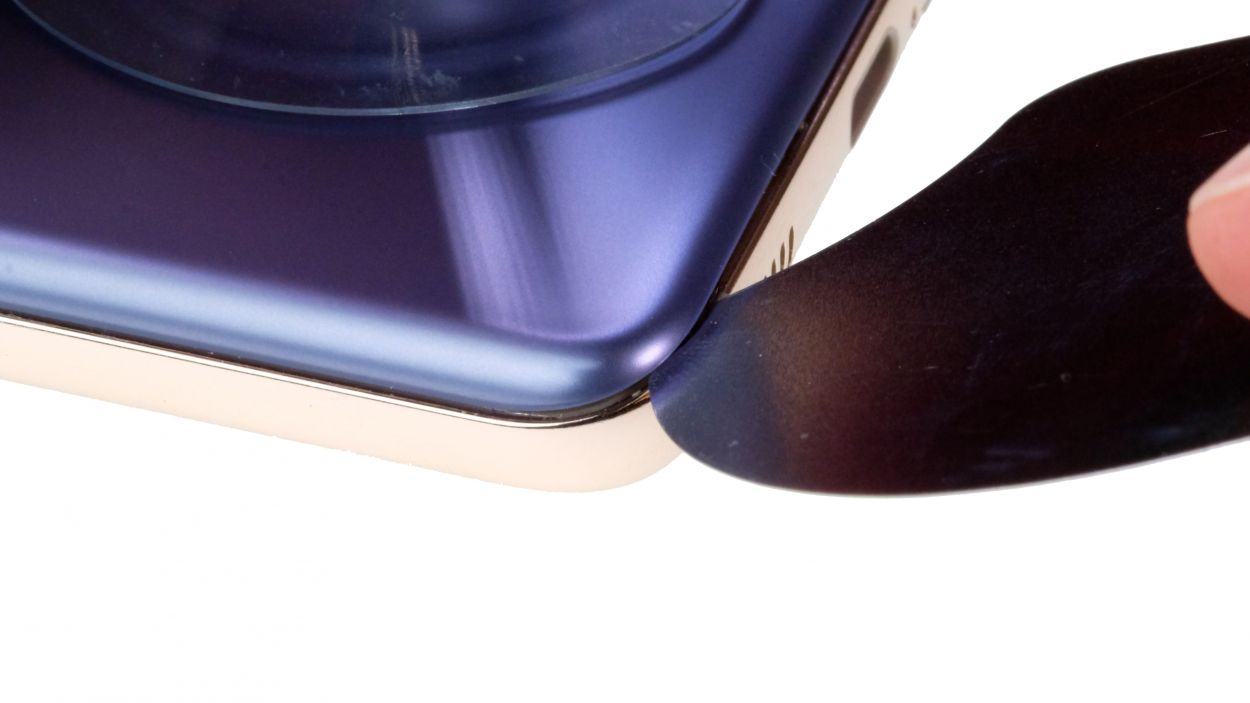
– Grab a suction cup and stick it to the bottom edge of the back cover, then gently pull it up. At the same time, slide the iFlex tool between the display unit and the back cover to help separate them.
Tools Used
- screen and the frame. The practical iFlex is made of stainless steel and sits comfortably in the hand. This makes it the perfect assistant for every smartphone repair.” rel=”noopener”>iFlex Opening Tool
- VAKUPLASTIC Suction Cup
Step 4
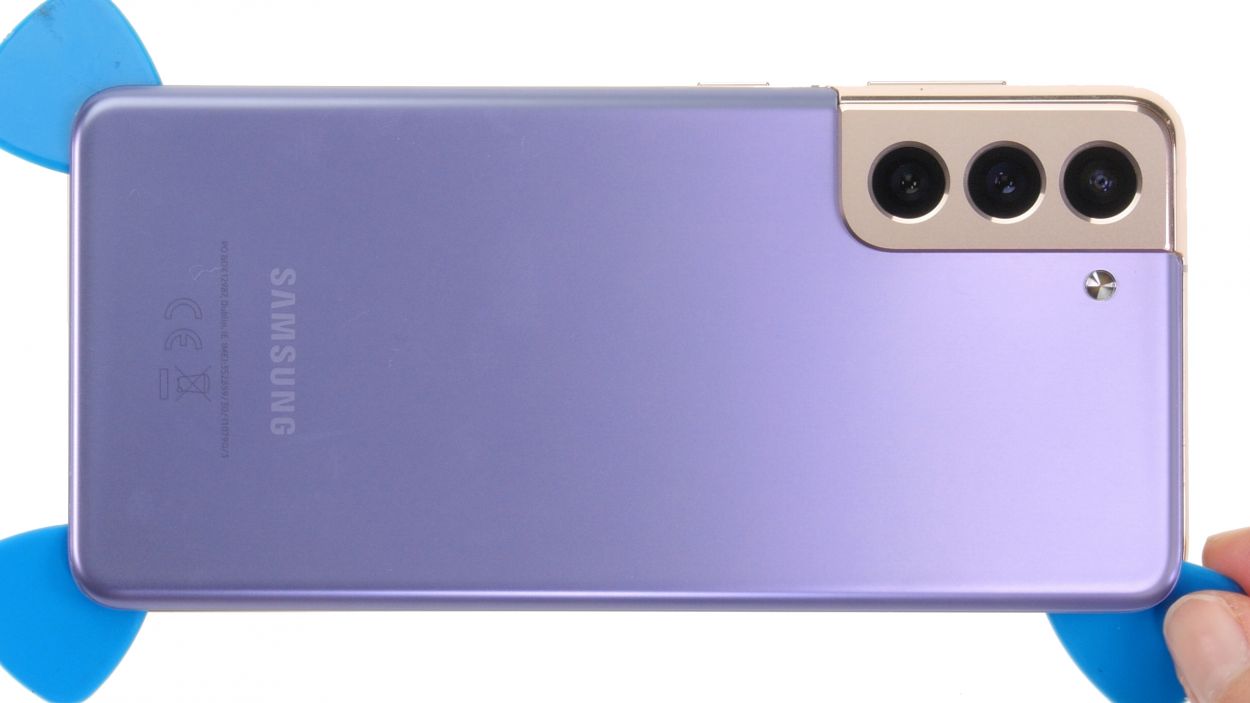
– Run the tool all the way around the back cover’s edge to gently loosen it piece by piece. You’ve got this!
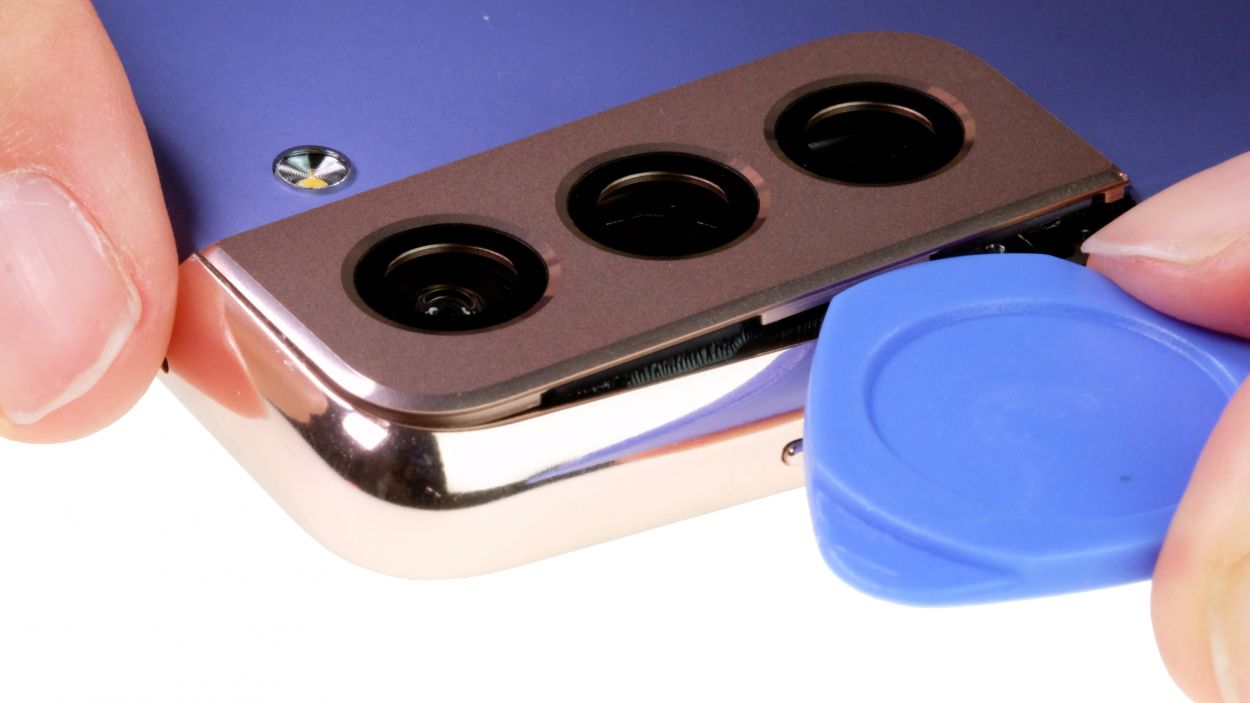
– Slip flat picks under the back cover at regular intervals to keep that pesky glue from bonding again. Keep it cool!
Hey there! Just a quick heads-up: when you’re working on that camera module, be gentle and don’t go too deep with your tool. We suggest using a hard plastic pick here—it’s designed to keep you from going overboard. Happy repairing!
To keep the edges of your device safe from the sharpness of the iFlex, it’s a smart move to switch to a plastic tool like the iPlastix as soon as you can. Your device will thank you!
Tools Used
- heat gun to heat parts that are glued on so they’re easier to remove.
In most cases, you can also use a hairdryer.” rel=”noopener”>Heat gun - Pick Set
- Flat Picks
- iPlastix Opening Tool
- VAKUPLASTIC Suction Cup
Step 5
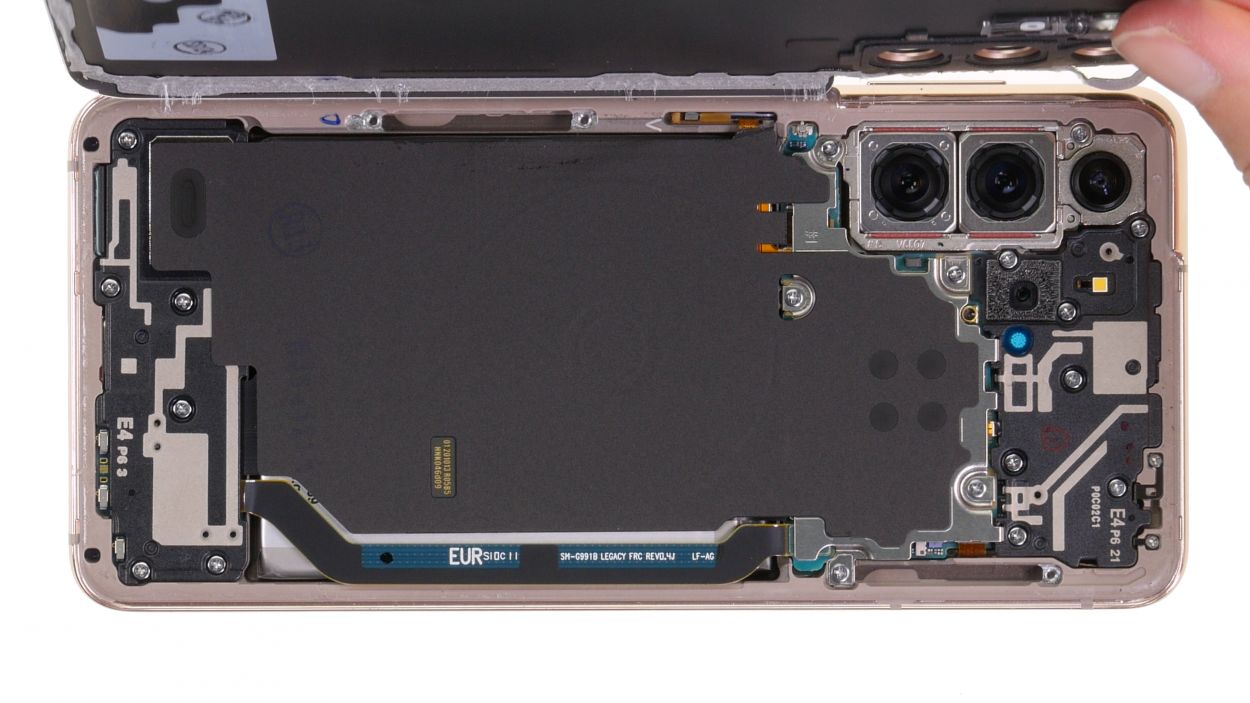
– Once you’ve successfully popped off the back cover, it’s time to say goodbye to all those plastic picks—remove them with care!
– Next, unfold the cover and set it aside for now. You’ve got this!
Step 6
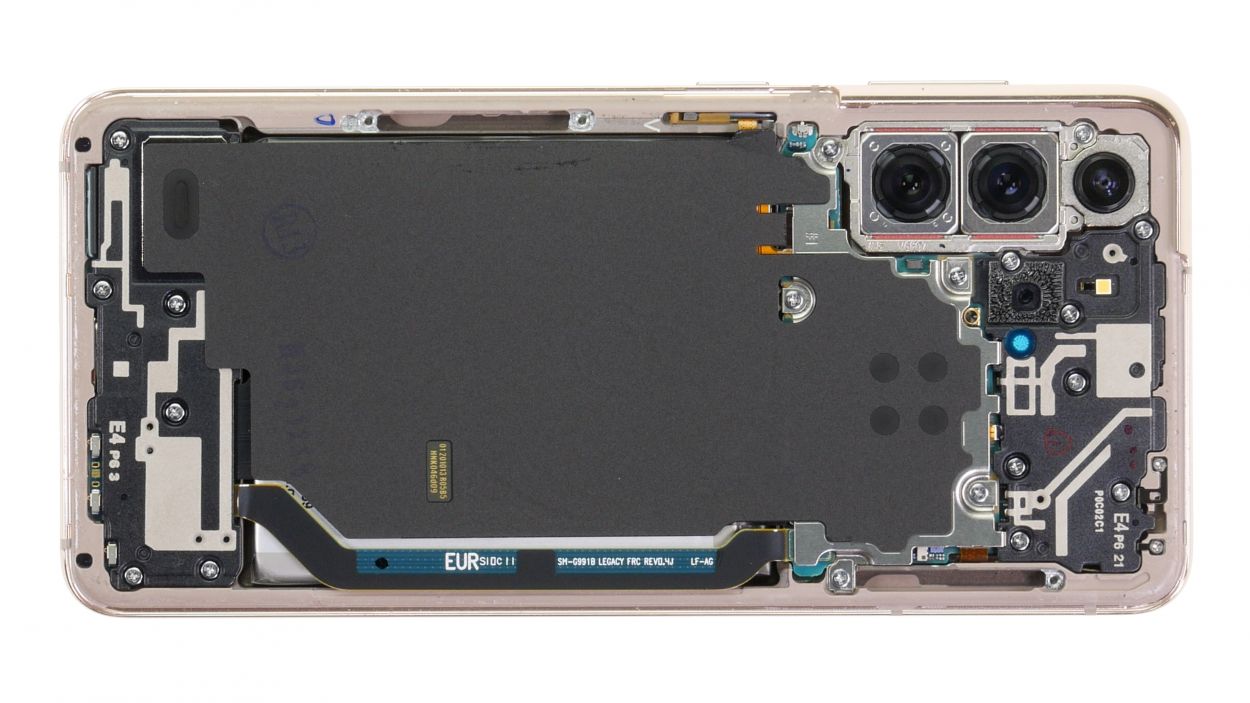
5 × 4.9 mm Phillips
Keep your screws organized during the repair to prevent any disappearing acts! An old sewing box works wonders for this. And if you want to take it up a notch, our nifty magnetic pad ensures nothing slides away. You’ve got this!
– Gently unscrew the five Phillips screws holding the charging coil cover in place.
– Once they’re free, feel free to place them on your trusty magnetic pad.
Step 7
Don’t forget to unplug that battery connector ASAP to keep any pesky short circuits at bay!
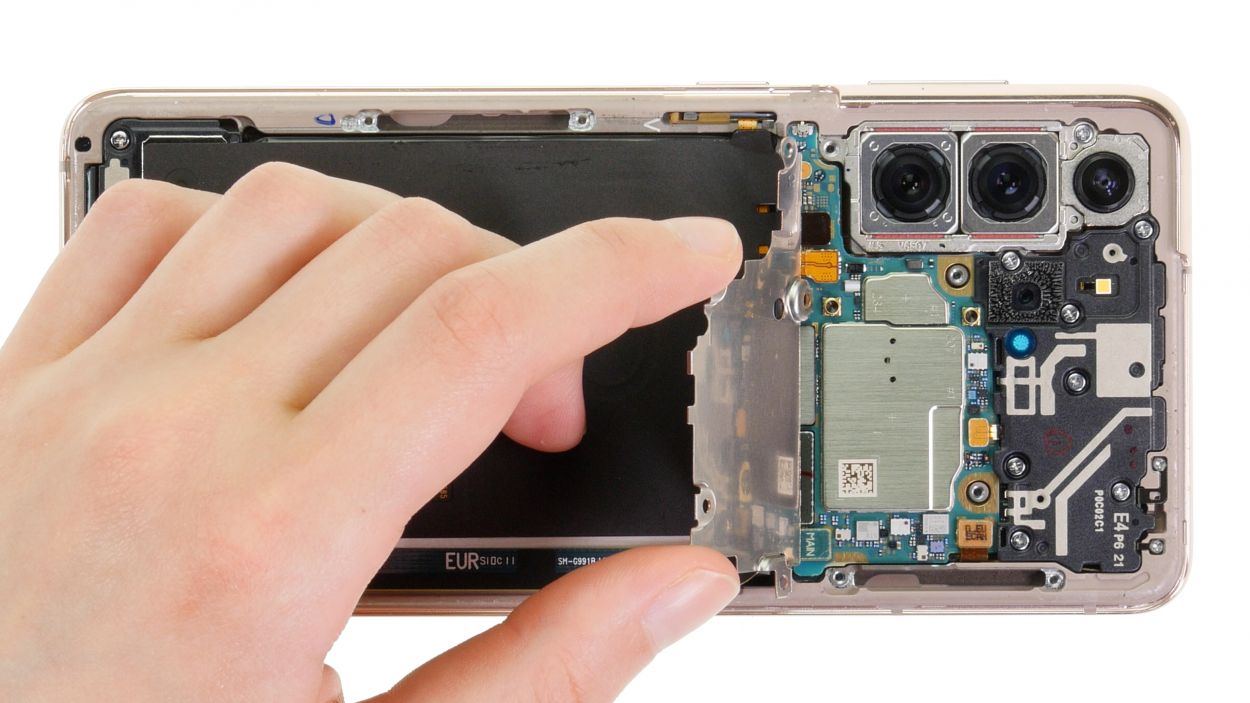
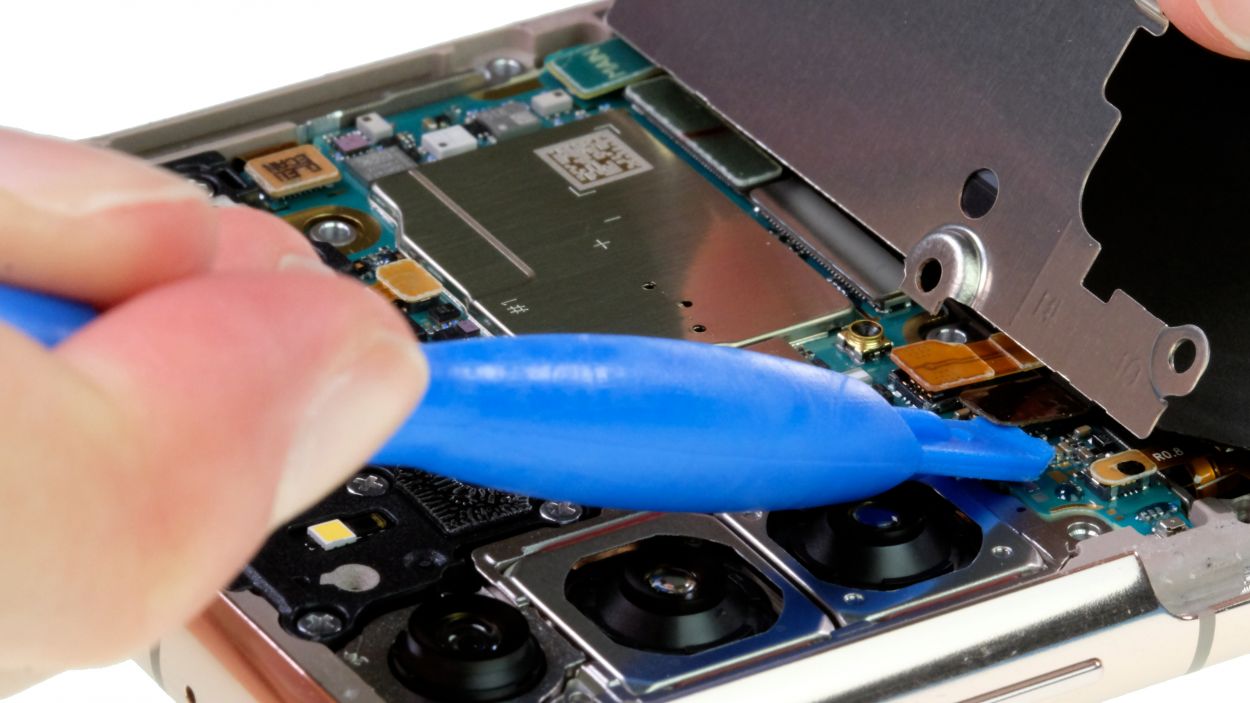
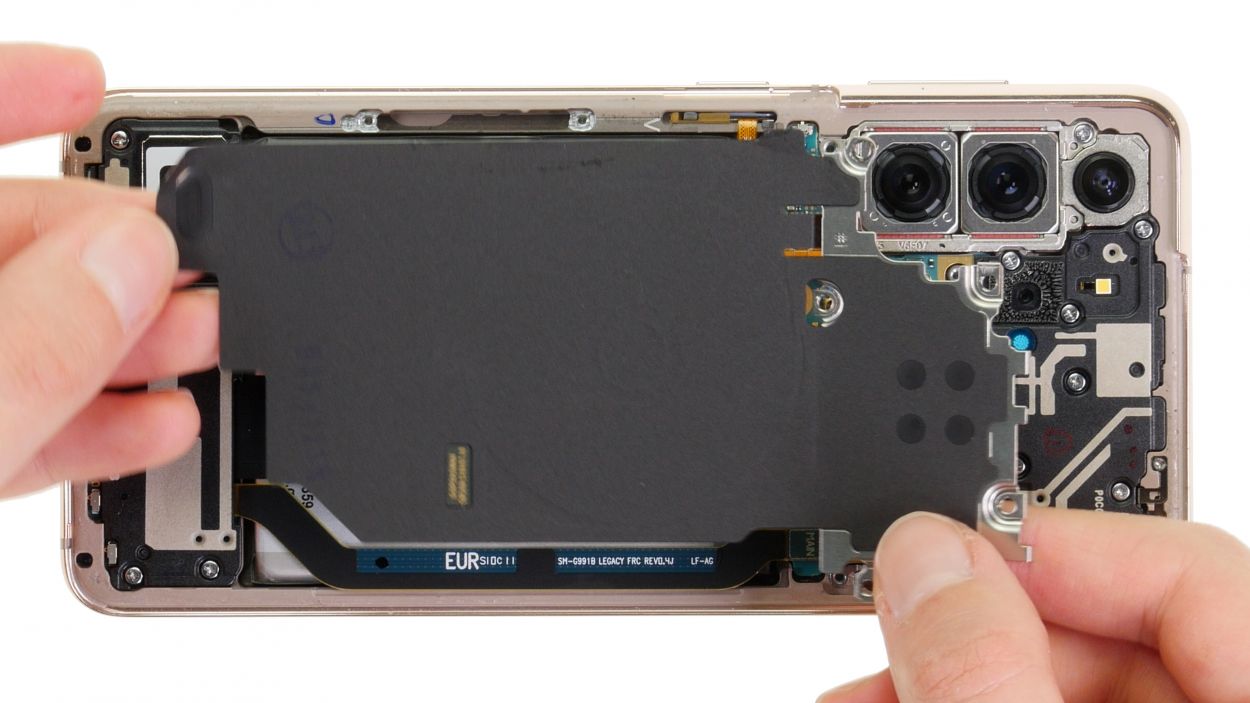
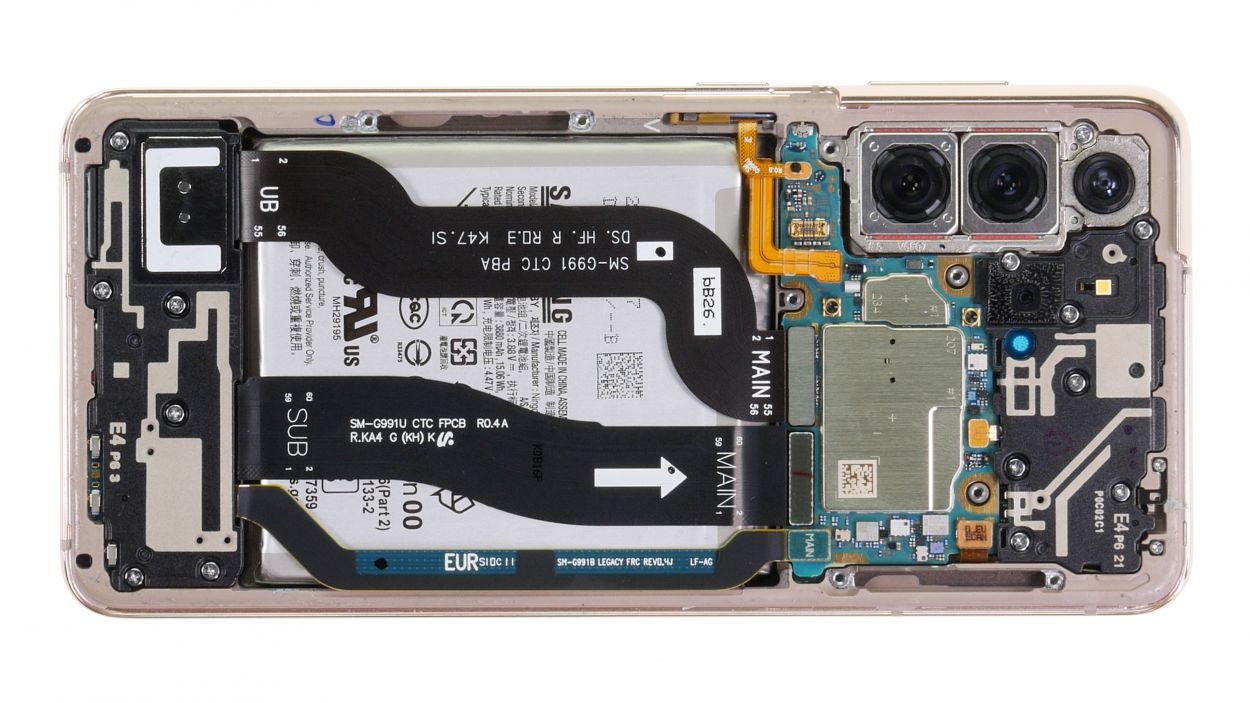
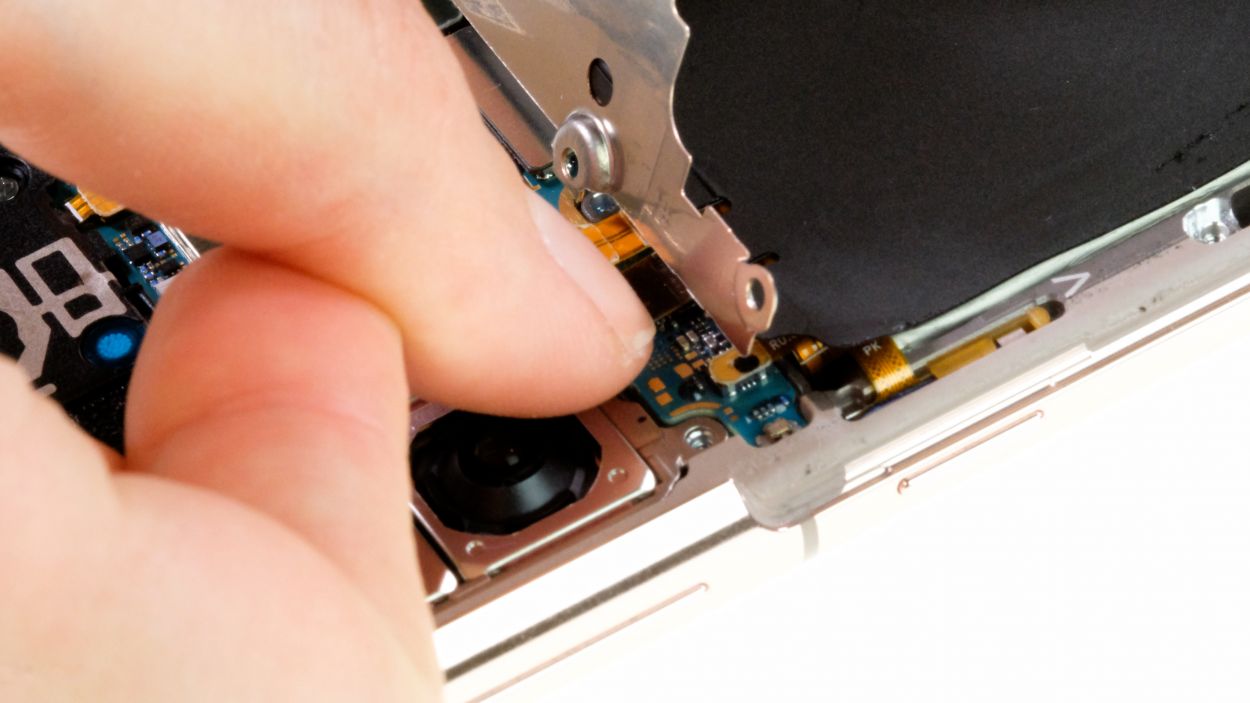
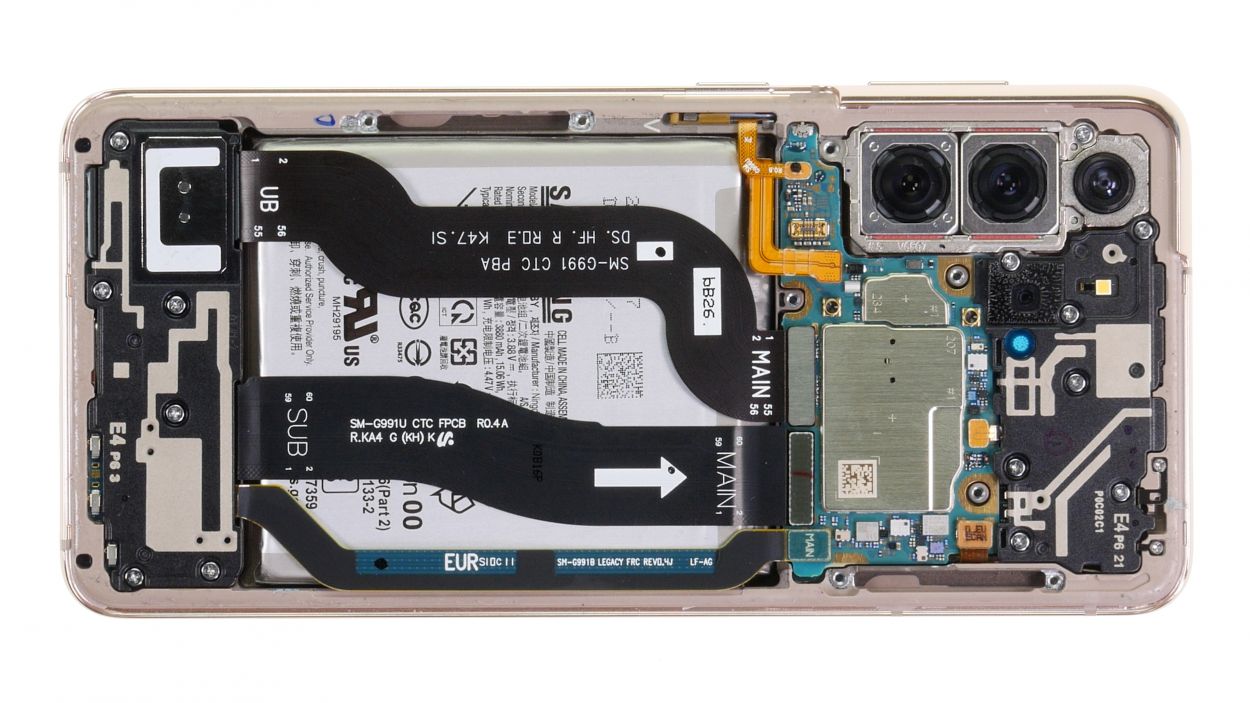
– Gently lift the metal cover of the NFC antenna to reveal its secrets.
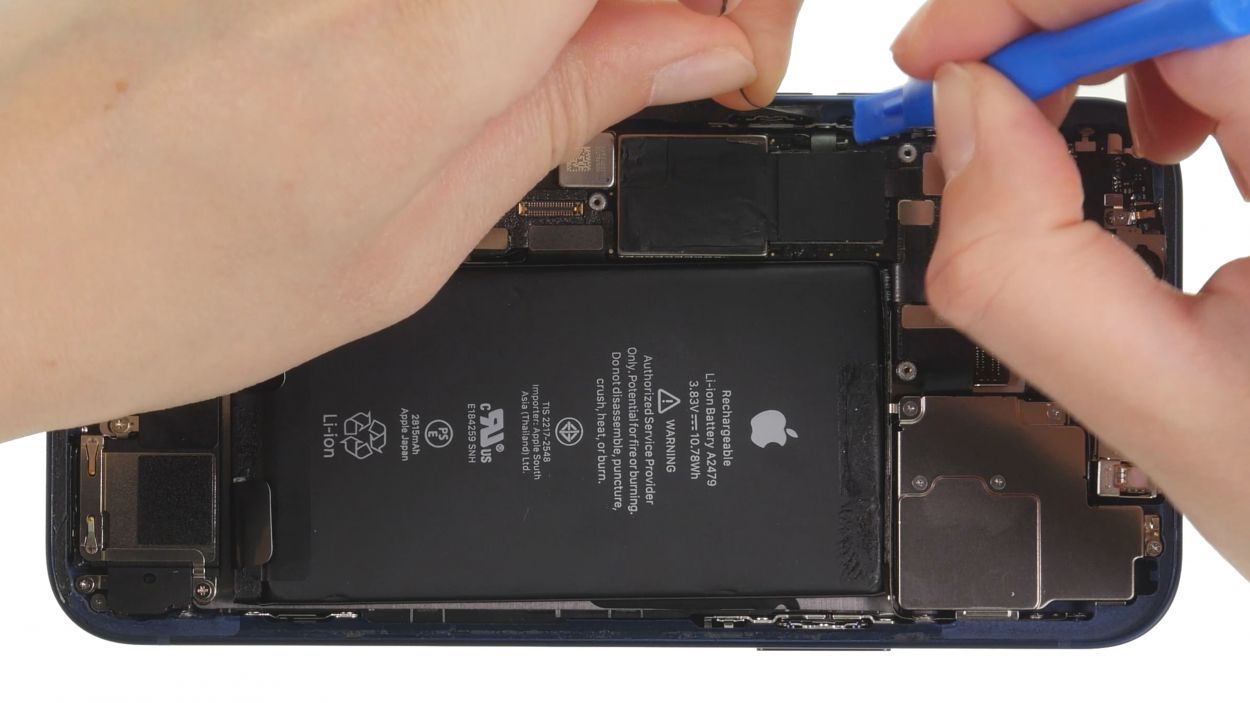
– Carefully use a plastic lever tool, like a spudger, to pop the orange battery connector free from the motherboard. It’s like giving your device a little nudge to help it out!
Tools Used
Step 8
– Next, gently pry off the black connector of the charging coil from the circuit board using a spudger. Take your time and be careful – you’ve got this!
Tools Used
Step 9
The bottom part of the charging coil has a bit of glue on it. Just a little sticky situation, but no worries! You’ve got this!
– After you’ve successfully disconnected the connectors, gently wiggle and lift off the charging coil. You’re doing great!
Step 10
6 × 4.9 mm Phillips
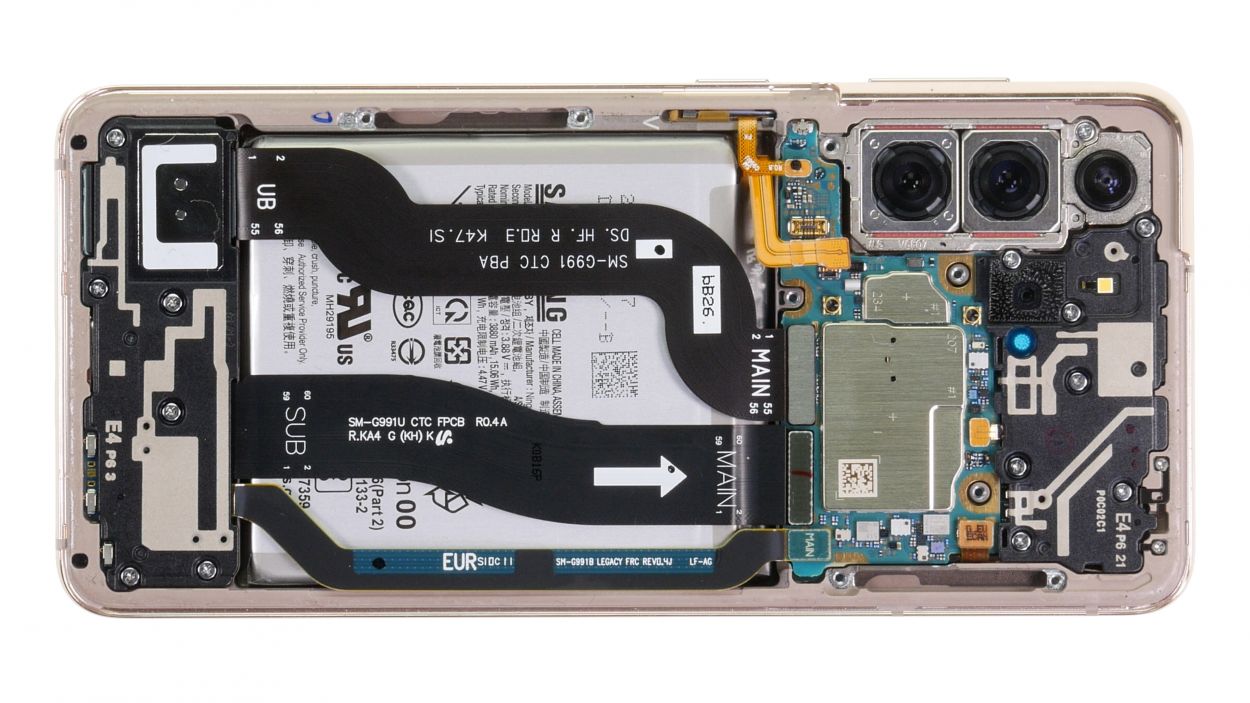
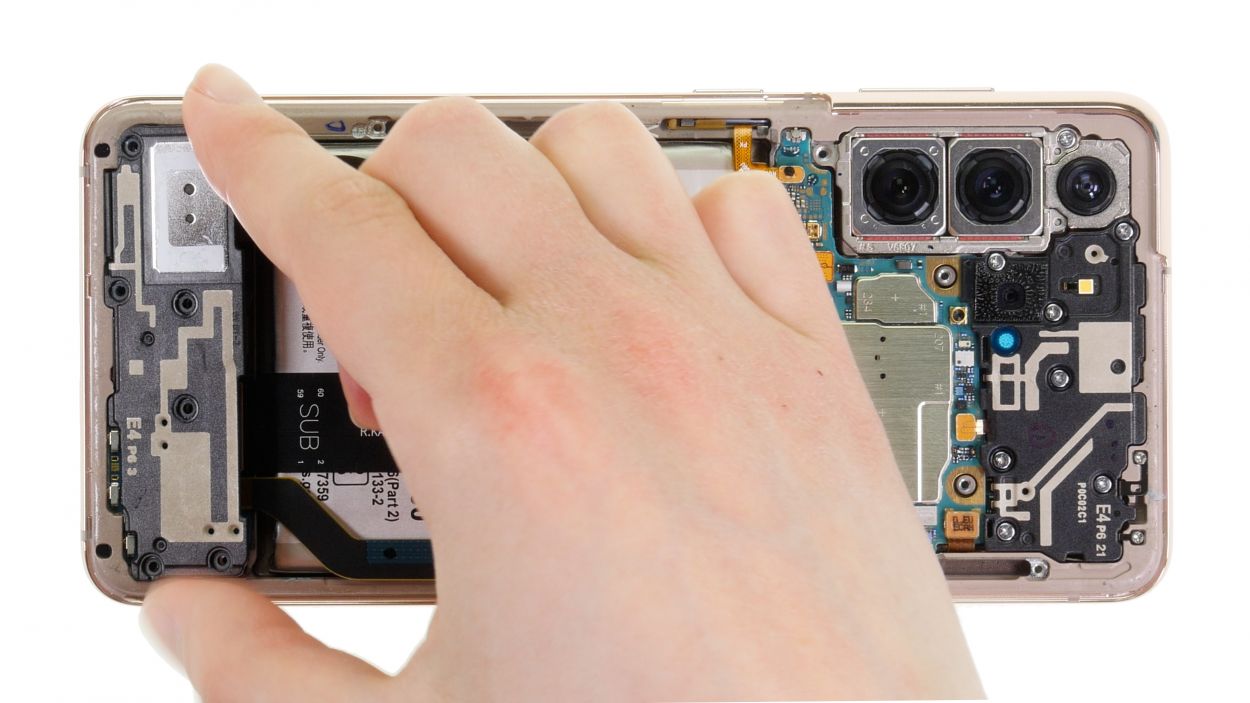
– Unscrew those six Phillips screws from the speaker module, and let them go! They deserve a little break.
– Now, give them a cozy spot on the magnetic pad so they don’t wander off.
Step 11
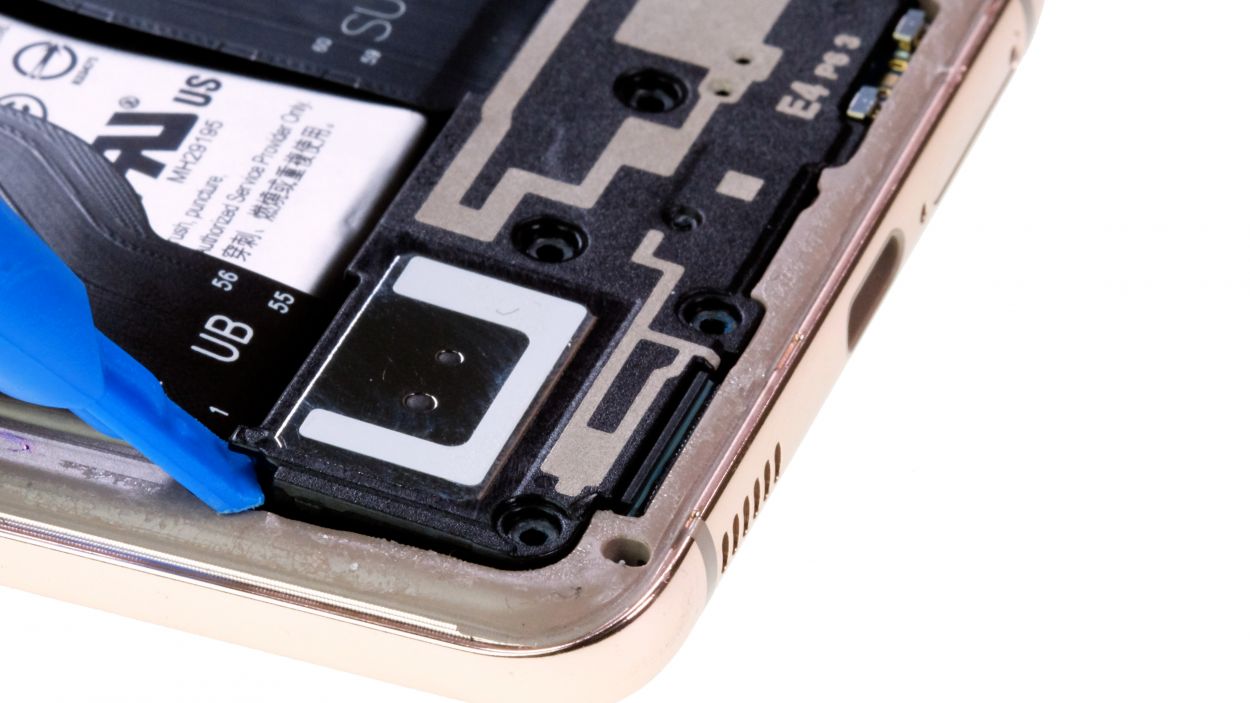
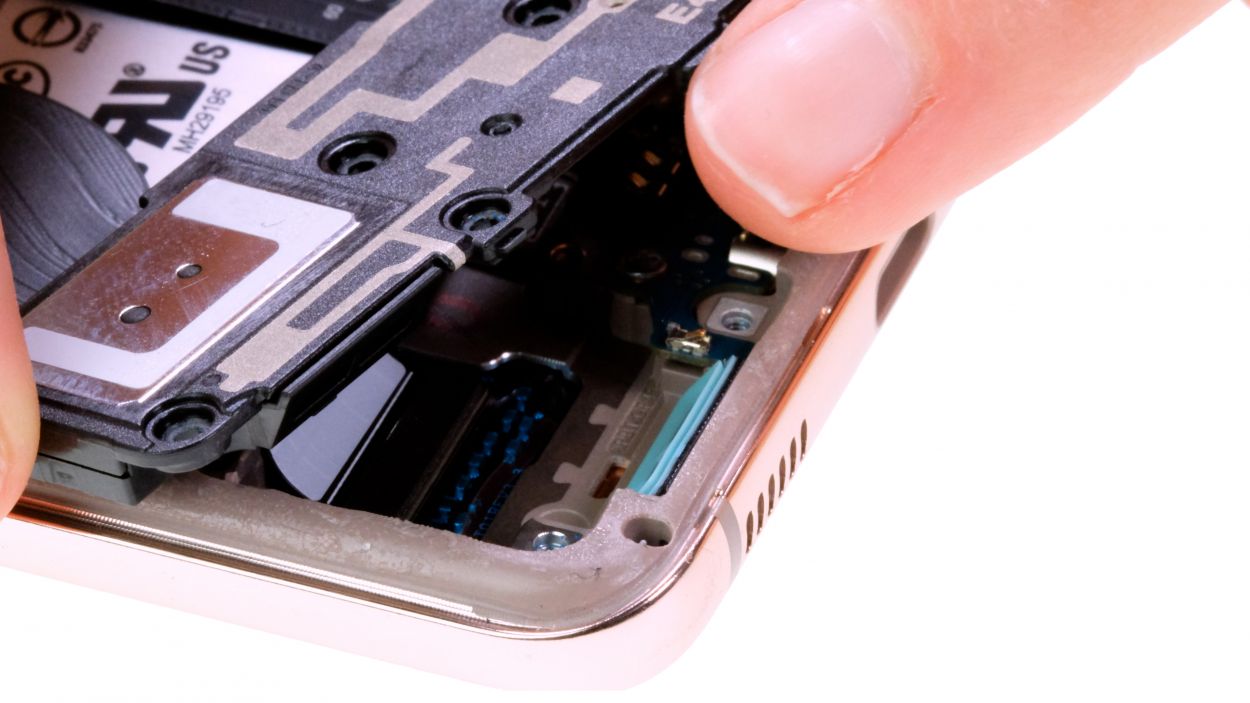
Look up in the upper left corner for a nifty little arrow that will guide you on where to position your tool. You’ve got this!
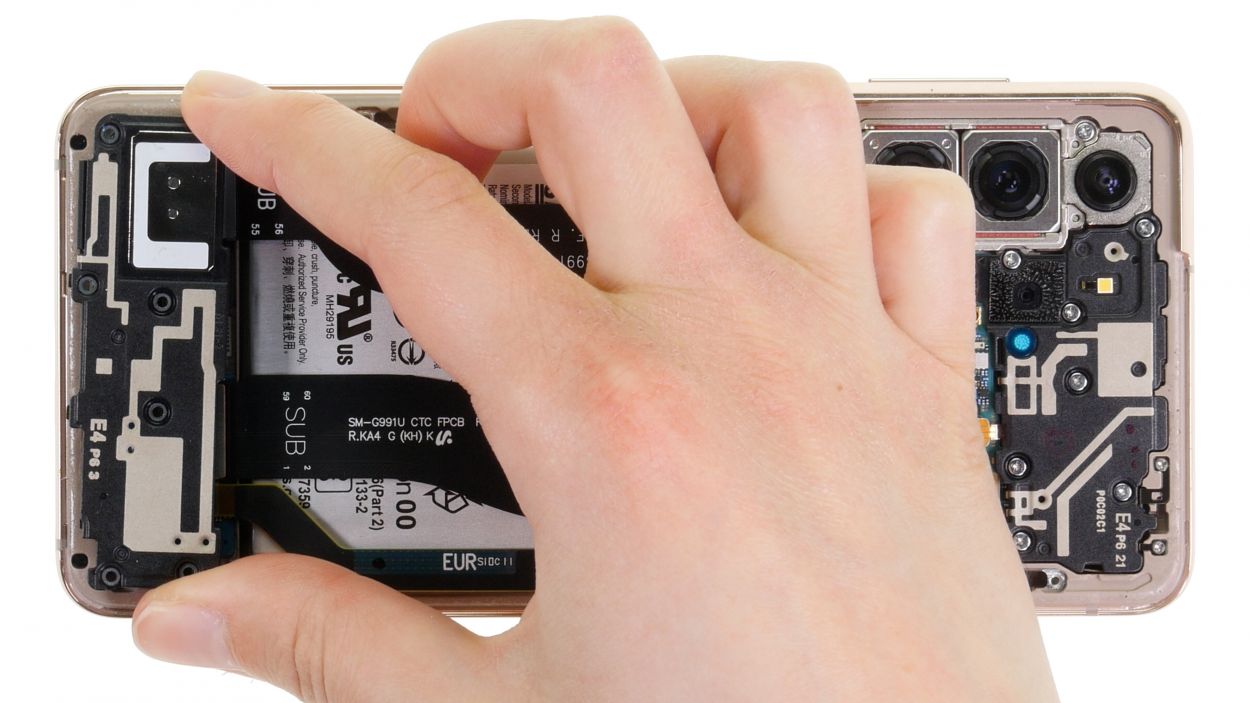
– Gently pop the speaker module out of its cozy spot and set it aside for now.
Tools Used
Step 12
– Carefully place the new speaker into the display unit, making sure it’s snug and secure.
Tools Used
Step 13
6 × 4.9 mm Phillips
When you’re putting those components back together, keep an eye on those screws! Mixing them up could lead to a long screw in a not-so-great spot, and that could mean trouble for your display. Stay sharp and happy repairing!
– Secure the speaker module with six Phillips screws to keep it snug and happy.
Tools Used
Step 14
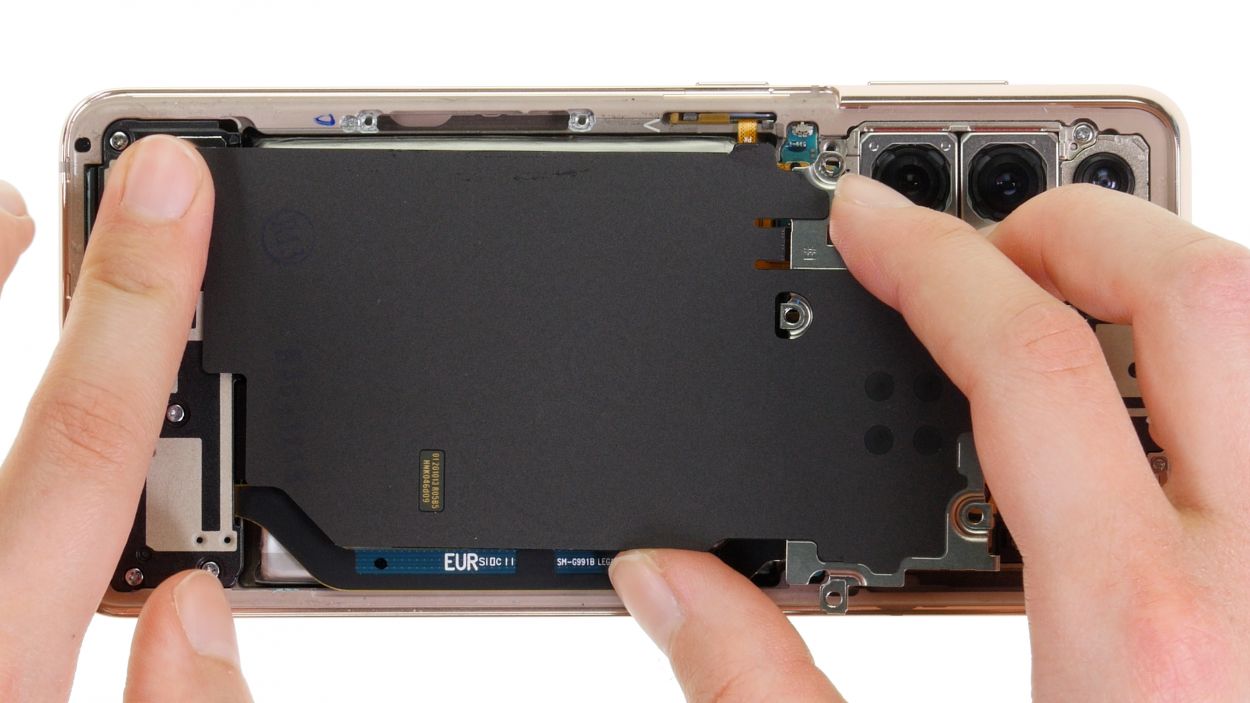
– Gently nudge that NFC antenna back into its cozy spot in the screen unit and give its back end a little press to help the glue stick like it’s meant to. You’re doing great!
Step 15
– Gently lift the metal cover of the charging coil to connect its black connector hidden beneath. You’re almost there!
Step 16
Remember, always connect the battery connector last! It’s like the grand finale of your repair—keeping those pesky short circuits at bay!
– Now it’s time to reconnect that cheerful orange battery connector back to the motherboard!
Step 17
5 × 4.9 mm Phillips
– After you’ve reconnected the battery and the charging coil, it’s time to give that metal cover a nice snug fit by screwing it back on.
Tools Used
Step 18
If things aren’t quite right during testing, take a moment to ensure that everything is snug and securely hooked up. A little TLC can go a long way!
– Fire up your Galaxy S21 and get ready to roll!
– Dial in the Samsung test menu with *#0*# in your phone app.
– Give that brand new speaker a whirl and see how it sounds!
– Check out the other components using the test menu. If you need a little extra guidance, our handy checklist is here for you!
Step 19
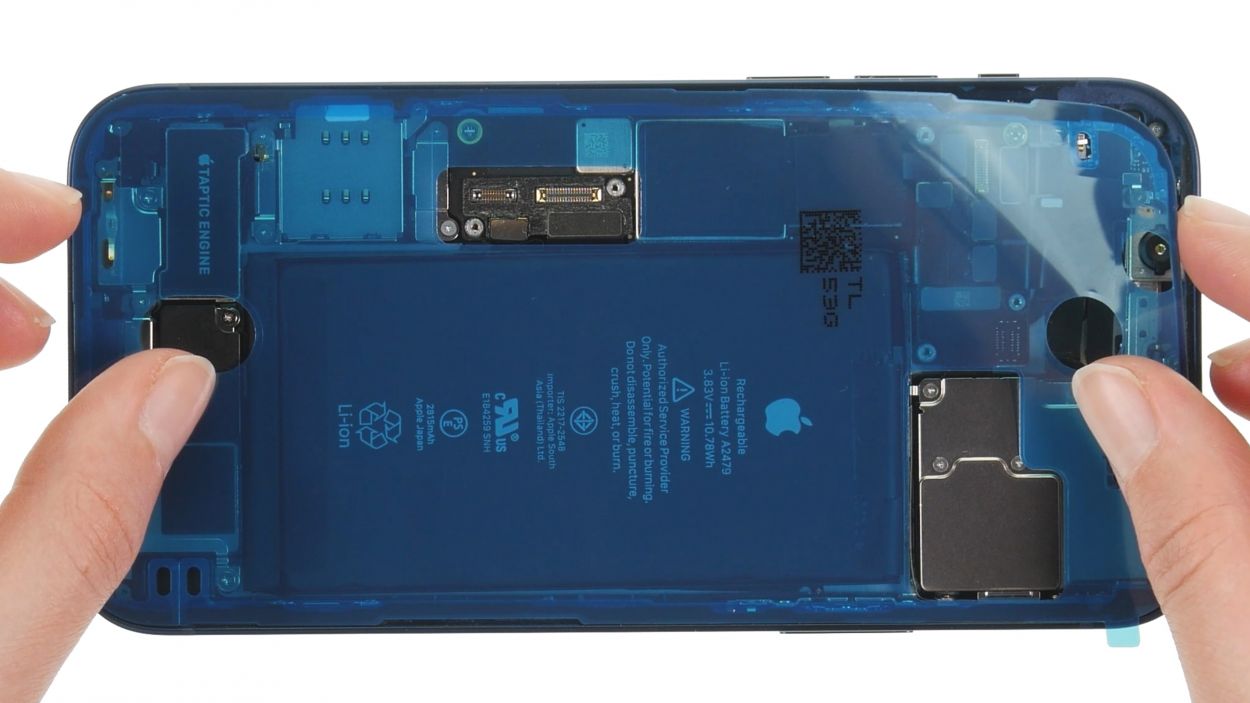
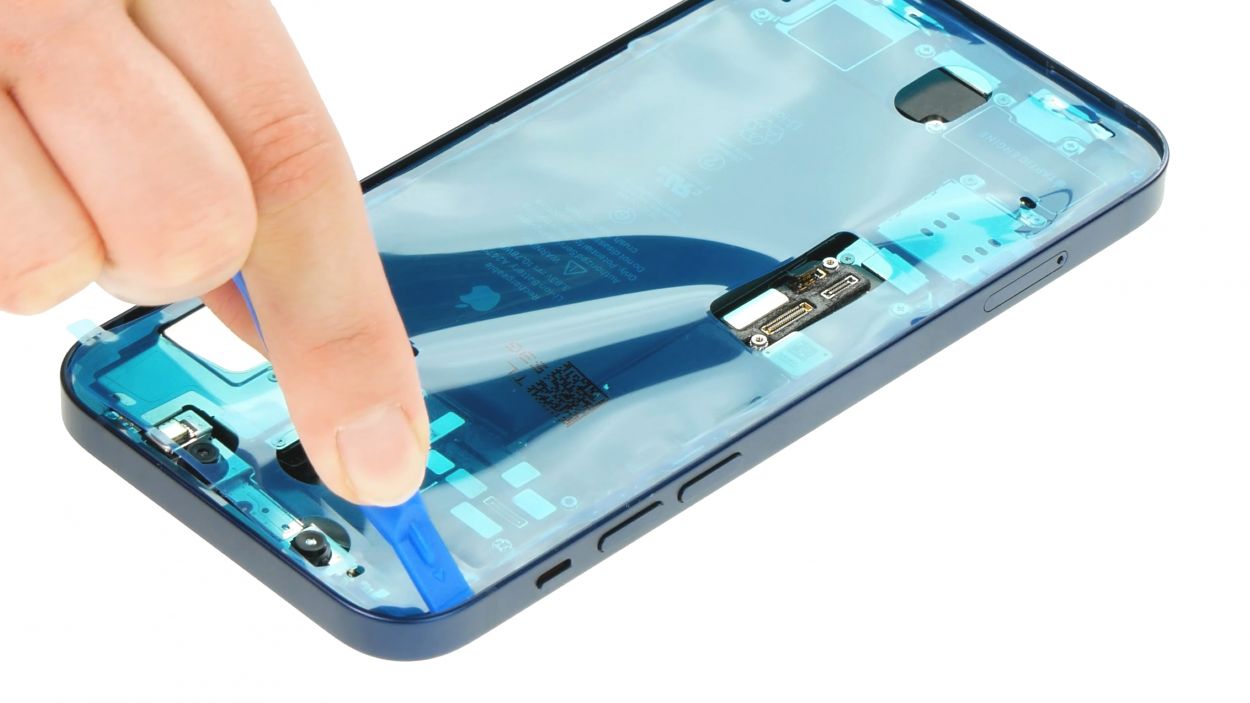
Adding a new adhesive frame is totally up to you! If your current one is looking good and sticking like a champ, there’s no need to swap it out. But if it’s showing signs of wear or isn’t holding on as it should, we suggest going ahead and putting in a fresh adhesive frame. Remember, a little extra stickiness can go a long way!
– Check out our YouTube video for a step-by-step guide on how to expertly apply a new adhesive frame. You’ll be a pro in no time!
Tools Used
Step 20
– Wrap up your Galaxy S21 5G repair by gently pressing the back cover back onto the display unit. You’re almost there!
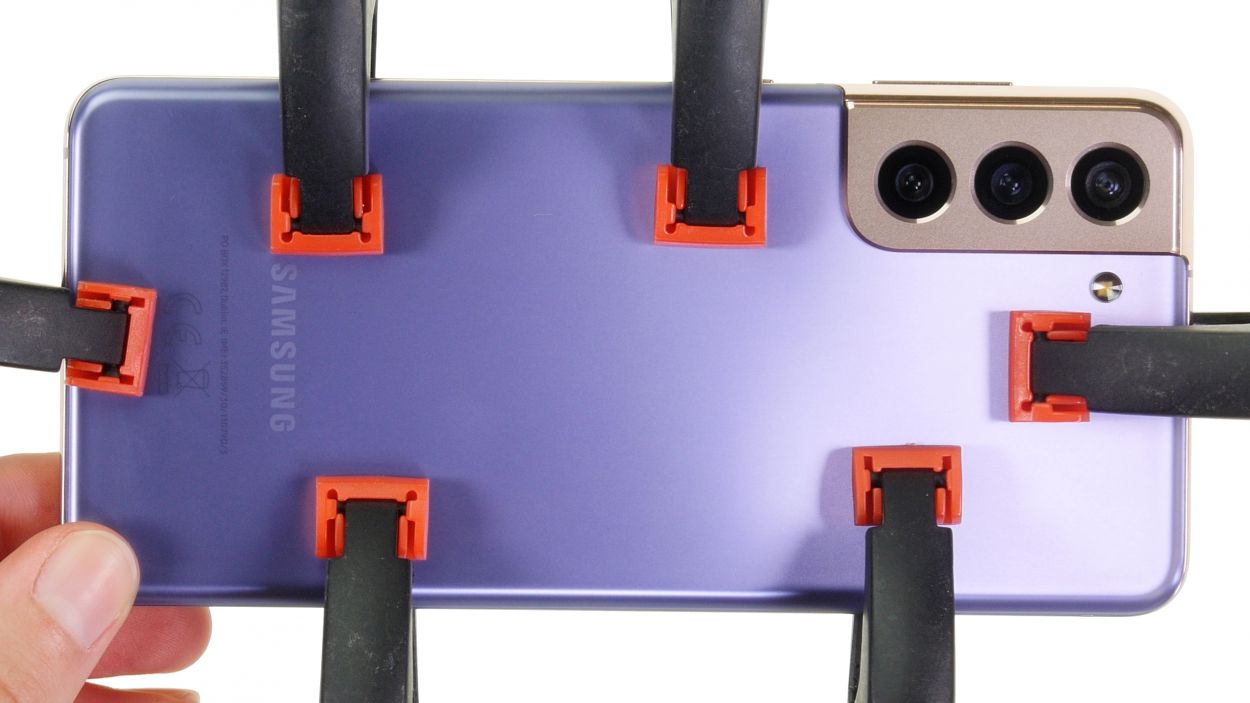
Give that back cover a little extra love! Run some hot air along the edge to help the glue stick like it means it. If you want to keep things cozy, try stacking some books on your device for a few minutes or give it a gentle clamp, just like we show you in our example. Remember, if you need help, you can always schedule a repair.

