
Step-by-Step Google Pixel Watch Screen Replacement Guide
Duration: 45 minutes
Steps: 25 Steps
Hey there! Before you dive in, make sure your battery is drained to under 25%—it’s just a safer way to roll when cracking open your device.
Follow this guide to swap out your cracked, broken, or unresponsive screen on your Pixel Watch. Just a heads-up: To get to the screen cable, you’ll need to take out the battery. If the battery gets even a tiny bit squished during this process, it could be a fire risk and will need replacing. For your safety, make sure to discharge the battery below 25% before you start taking things apart. This lowers the risk of fire if the battery gets damaged. If your battery is swollen, take extra care. You’ll need some replacement adhesive to stick the screen back on when you’re done. Keep in mind that water resistance will depend on how perfectly you reapply the adhesive, and your device will lose its IP rating. Note: This guide was put together using a GBZ4S LTE model. If you have the non-LTE version, you can still follow along, but there might be a few small visual differences.
Step 1


Before diving into the repair, make sure to power down your watch and remove it from the charger. Safety first!
– Time to set those bands free! Press the band release button, then slide the band over the button while gently pulling it away from the watch. Easy peasy!
– Now, let’s get the other band off. Just repeat the same steps: press the button, slide, and pull. You got this!
Step 2

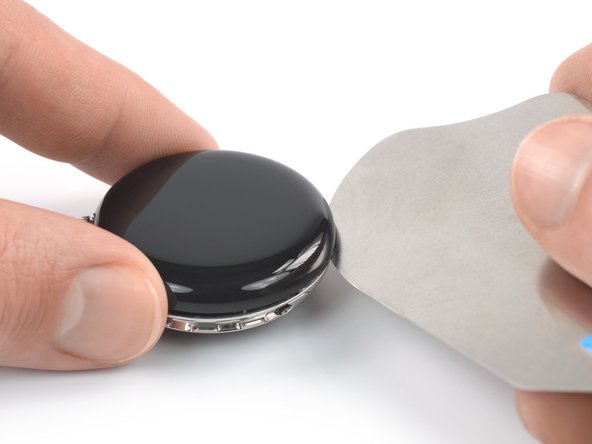
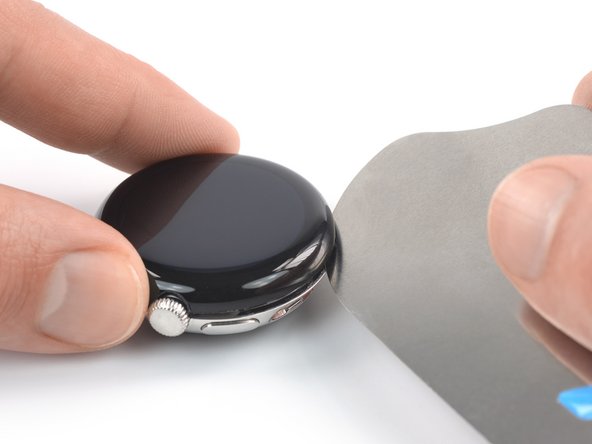
You can also use a hair dryer, heat gun, or hot plate, but don’t get too wild with the heat—the screen and internal battery could both end up fried. Handle with care!


Step 3


Step 5
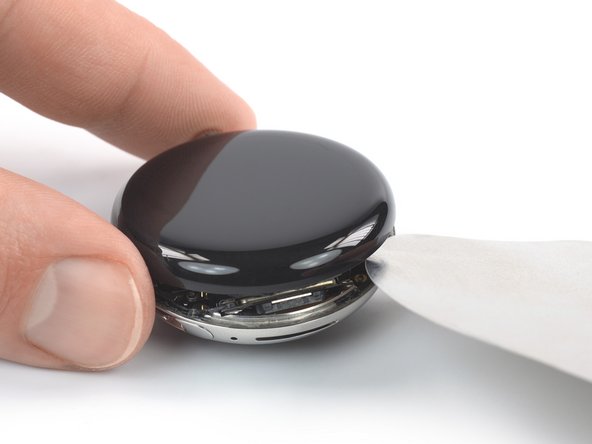

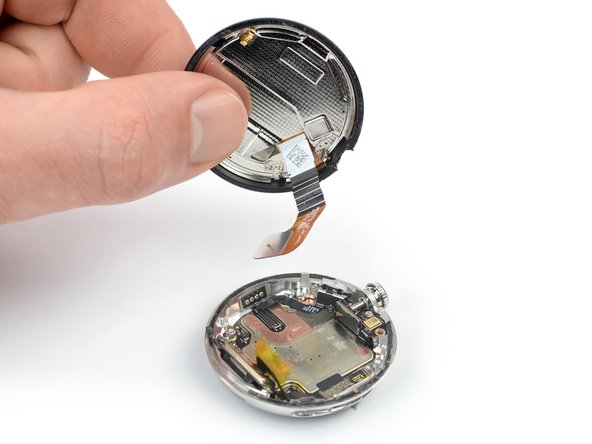
Hold on there, tiger! The screen’s still tethered to the mothership by a super sensitive cable. Don’t go yanking it off just yet!
– Gently remove that iFlex and slide it back in under the screen, over to the right side, near the speaker grille.
– Give the iFlex a little twist to get the screen to pop up. If you need help, you can always schedule a repair
Step 6
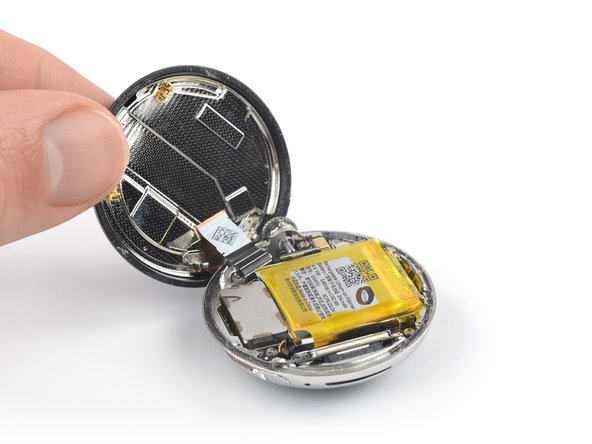


– Swing the screen open so it’s standing tall.
– When putting it all back together, now’s a great time to power up your device and see if everything’s working before you seal it. Remember to turn it completely off before you get back to work! If you need help, you can always schedule a repair
Step 7

As you tackle this repair, keep an eye on each screw and make sure it finds its way back to its original home.
– Grab your trusty Torx T2 screwdriver and unscrew the 2.1 mm-long screw holding the speaker bracket in place. Easy peasy!


Step 9


To reconnect those connectors, first get them lined up just right. Gently press down on one side until you hear that satisfying click, then do the same on the other side. Avoid pushing down in the middle—it’s a no-go zone! If the connector gets misaligned, you might bend the pins, and nobody wants that kind of trouble.
– Grab a spudger and gently pop up the vibration motor’s press connector—it’s like unplugging a tiny Lego piece. Take it slow and steady!
Tools Used


Step 11

– Grab your trusty Torx T2 screwdriver and unscrew the two screws holding the vibration motor in place:
– A 1.8mm-long screw
– A 2.8mm-long screw

Step 13


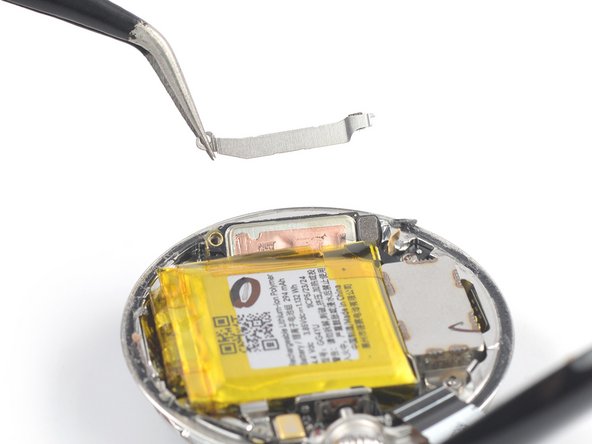
– Take out the vibration motor with care!
Step 14

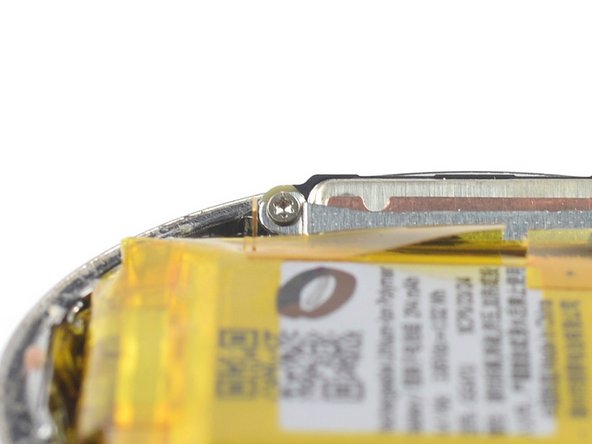
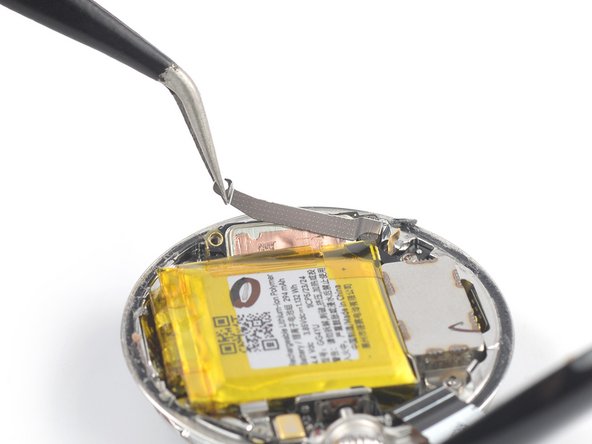
– Grab your trusty Torx T2 screwdriver and show those two 3 mm-long screws securing the battery bracket who’s boss! Gently remove them.


Step 17

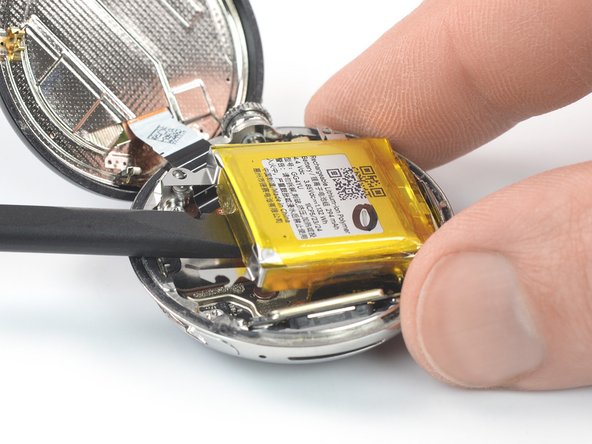
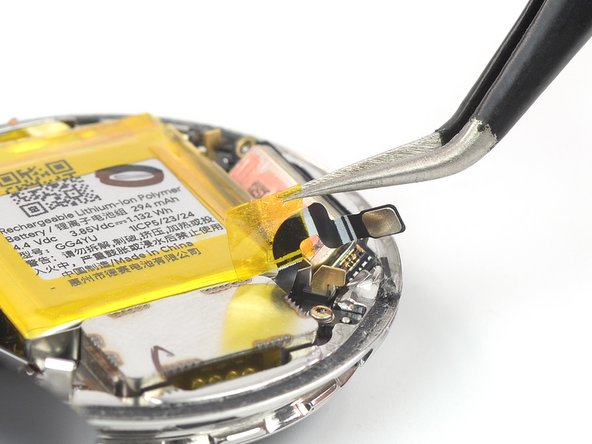
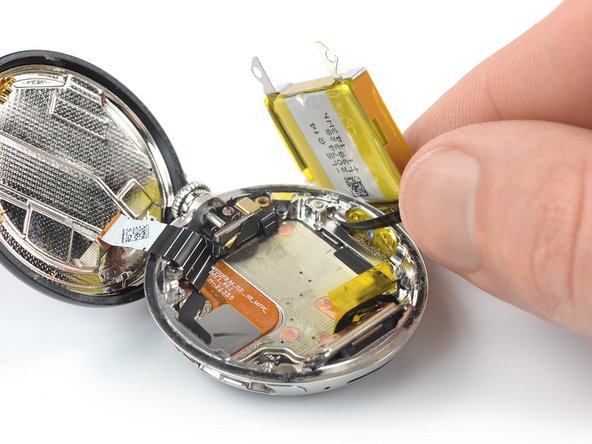
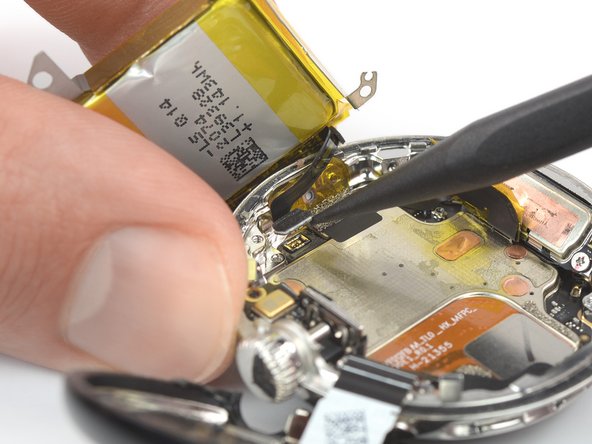
Be careful not to fully remove the battery just yet, since it’s still hooked up to the watch assembly via a pretty fragile cable.


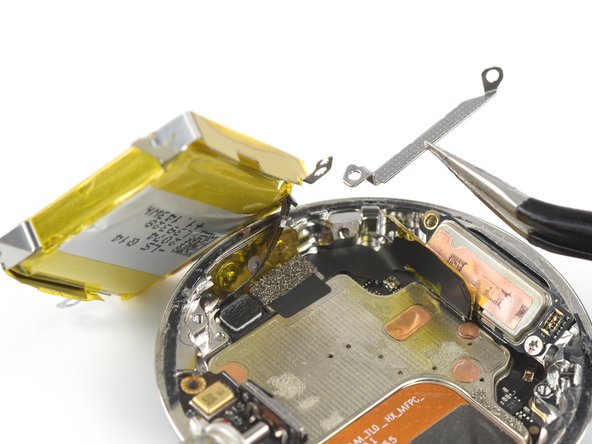
Step 19
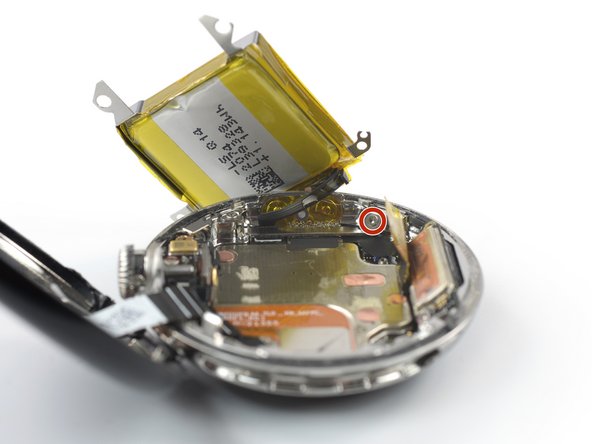

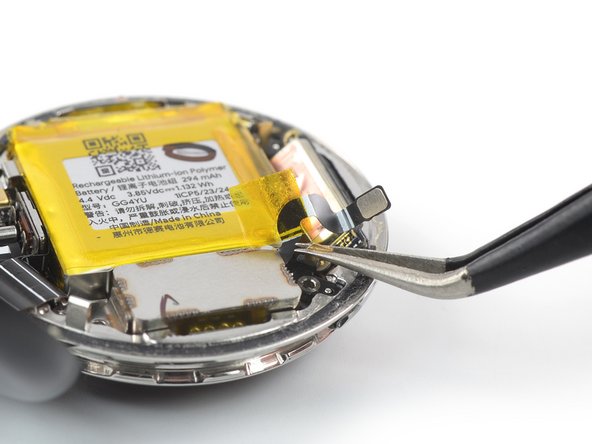
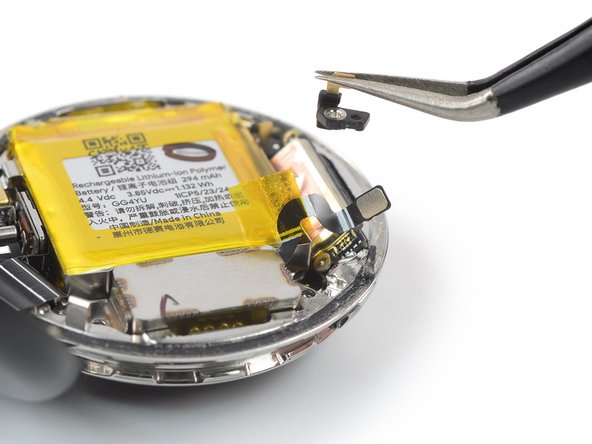
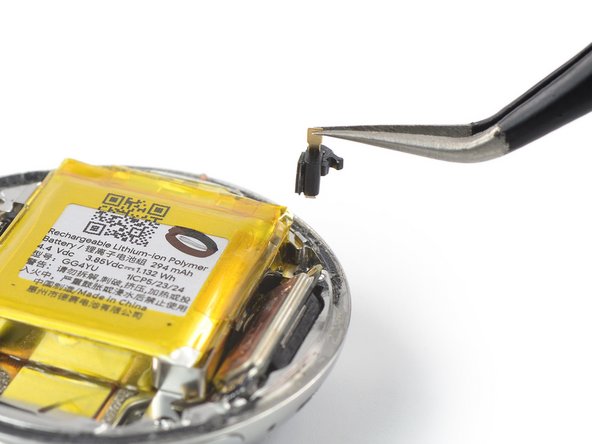
– Grab your trusty Torx T2 screwdriver and let’s get those two 1.5 mm-long screws outta there! They’re holding the battery connector bracket in place, so give them a gentle twist and watch them come free.


Step 23
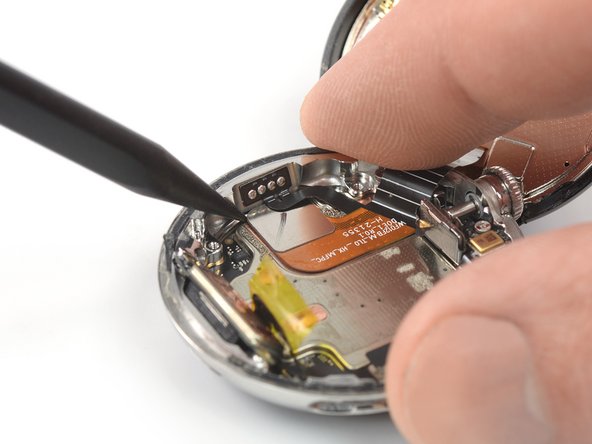

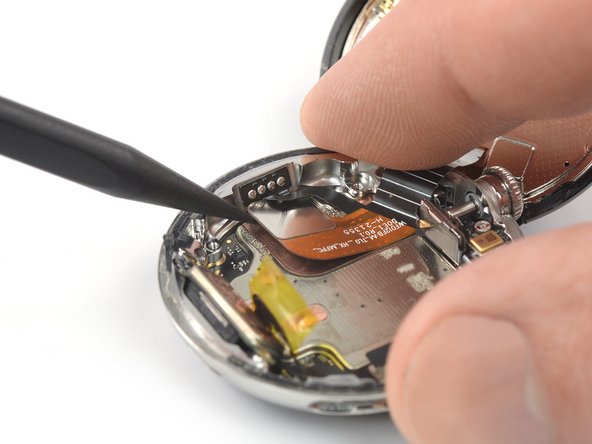
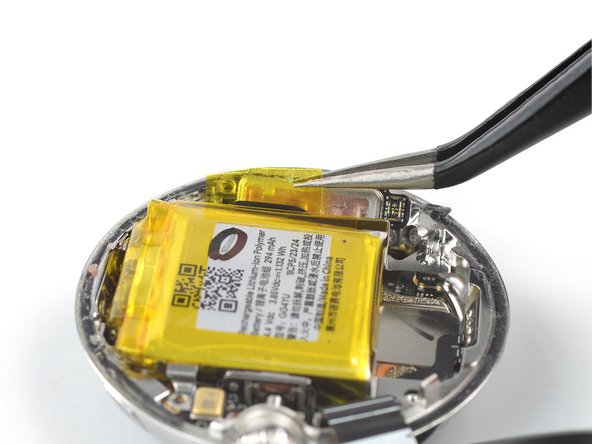
Take care not to pull or stretch the test port cable while you work through these steps. You’ve got this!
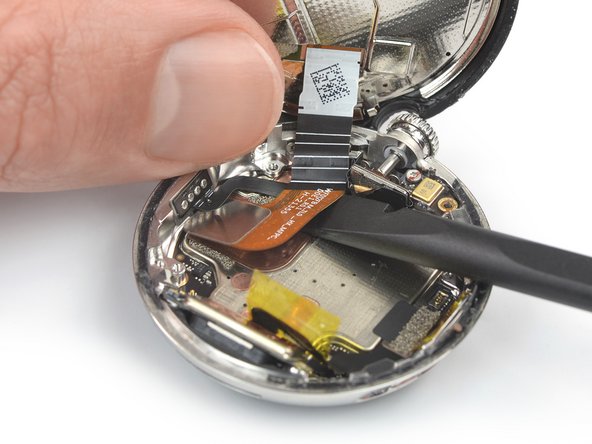
– Heads up: The screen assembly cable is hanging out underneath the test port cable—sneaky, right?
– Grab your trusty spudger and gently pop that screen assembly connector straight up from its socket with a little upward pry. Easy does it!
Tools Used

Step 25


– Time to put your device back together! Just follow these steps in reverse and you’ll be golden.
– If you just popped in a new battery, give it a little love by calibrating it after you finish up here for the best performance.
– Got some e-waste? Make sure to drop it off at an R2 or e-Stewards certified recycler. Let’s keep our planet happy!
– Things didn’t go as smoothly as planned? No worries! Try some basic troubleshooting or reach out to our Answers community for a helping hand.
– If you didn’t quite finish this guide, that’s okay! Just hit cancel.
– Remember, if you need help, you can always schedule a repair.
Success!
