Step-by-Step Guide: How to Replace a Clicking Mid 2009 MacBook Pro Laptop Trackpad
Repairing a Trackpad that Clicks but Won’t Register on a Mid 2009 MacBook Pro 13″ Unibody
Is your MacBook Pro’s trackpad clicking but not registering? Don’t worry, we’ve got you covered In this tutorial, we’ll guide you through the process of repairing your trackpad. Before we begin, make sure to schedule a repair with Salvation Repair, your trusted repair service provider.
Step 1: Remove the Lower Case
To access the trackpad, we need to remove the lower case of your MacBook Pro. Start by removing the following screws:
- Seven 3 mm Phillips screws
- Three 13.5 mm Phillips screws
Slightly lift the lower case and push it toward the rear of the computer to free the mounting tabs.
Step 2: Remove the Battery
Next, we need to remove the battery to access the trackpad connector. Remove the following tri-point screws:
- One 5.5 mm tri-point screw
- One 13.5 mm tri-point screw
 battery screws”>
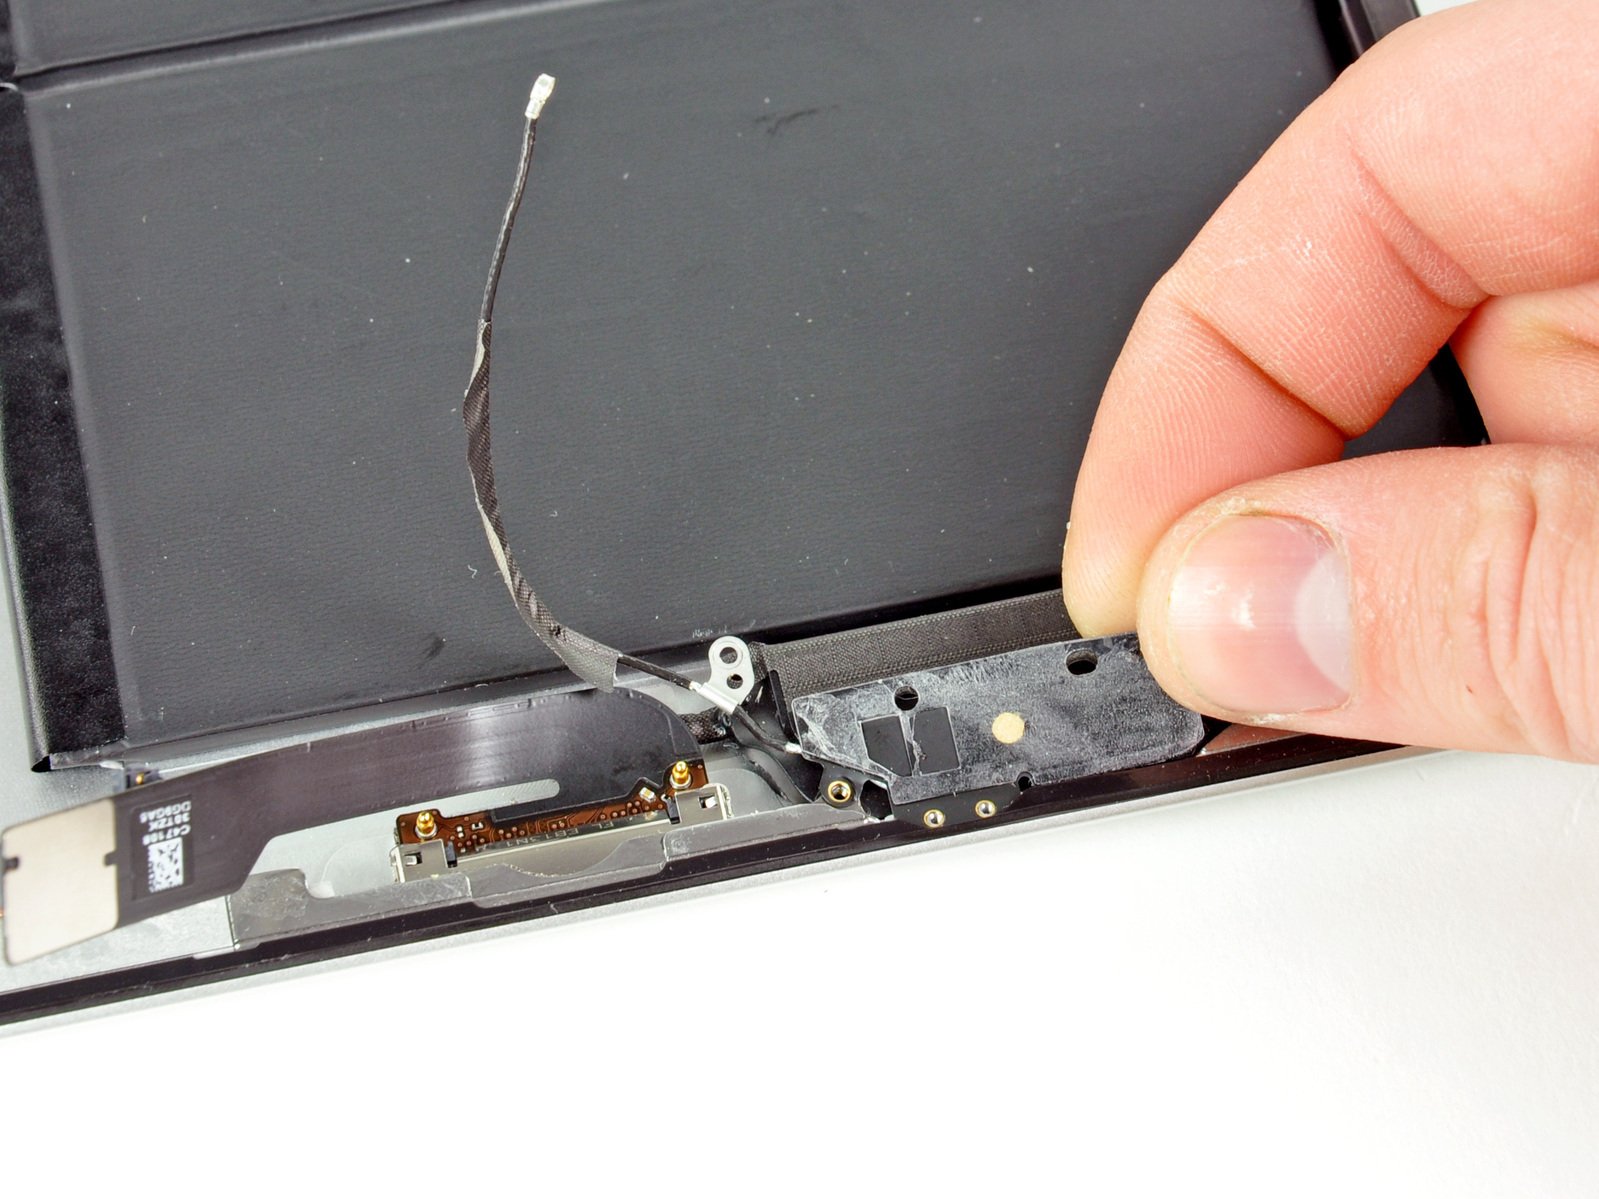
Use the flat end of a spudger to lift the battery connector up out of its socket on the logic board. Lift the battery out of the upper case.
Step 3: Disconnect the Trackpad Connector
Use the flat end of a spudger to carefully pry the trackpad connector up from its socket on the logic board.
 trackpad connector”>
Step 4: Remove the Trackpad
Open your MacBook Pro and set it on a table as shown. While holding the edge of the trackpad closest to the logic board with one hand, remove the four 1.2 mm Phillips screws highlighted in red.
 trackpad screws”>
Carefully push the trackpad connector and cable down through the slot cut into the upper case. It may be necessary to use a spudger to help get the trackpad connector past the edge of the logic board.
Step 5: Clean the Contact Switch
Using a small X-Acto knife or pin, carefully lift the tape. Peel it back to lift the top of the contact switch.
Use a Q-tip with a small amount of Isopropyl Alcohol (91%) to wipe both the top and bottom of the contact. Place the tape back down and rub it with your fingernail or a