Step-by-Step Guide: Nintendo Switch OLED Motherboard Replacement
Duration: 45 minutes
Steps: 10 Steps
Get ready to swap out the motherboard in your Nintendo Switch OLED dock! While the dock is equipped with JIS screws, a Phillips screwdriver will do the trick if you’re in a bind. Just be sure to handle those screws with care to avoid stripping them. Our Phillips bits are made to work seamlessly with JIS-style screws. Before diving into the repair, don’t forget to unplug all cables from your dock. If you need help, you can always schedule a repair.
Step 1


– Gently use your fingers to pry the rear cover off the frame, releasing those sneaky plastic clips.
– Now, just lift off the rear cover and you’re all set!
Step 2


– Grab your trusty Y0 screwdriver and get to work loosening that 7.5 mm screw holding the baseplate to the frame. You’ve got this!
Step 3


– Slide your opening tool between the frame and the plastic screw cover at the bottom-left corner.
– Gently pry up the screw cover with the tool to detach it from the frame.
– Lift off the screw cover.
Step 4


– Grab your Y0 screwdriver and get ready to tackle those screws holding the midframe to the frame—you’re about to show this device who’s boss!
– There are seven screws in total:
– Four 3.9 mm screws
– Three 7.5 mm screws
– One 3.9 mm screw
Step 5


– Gently pry off the midframe from the main frame using your fingers. You’ve got this!
Step 6


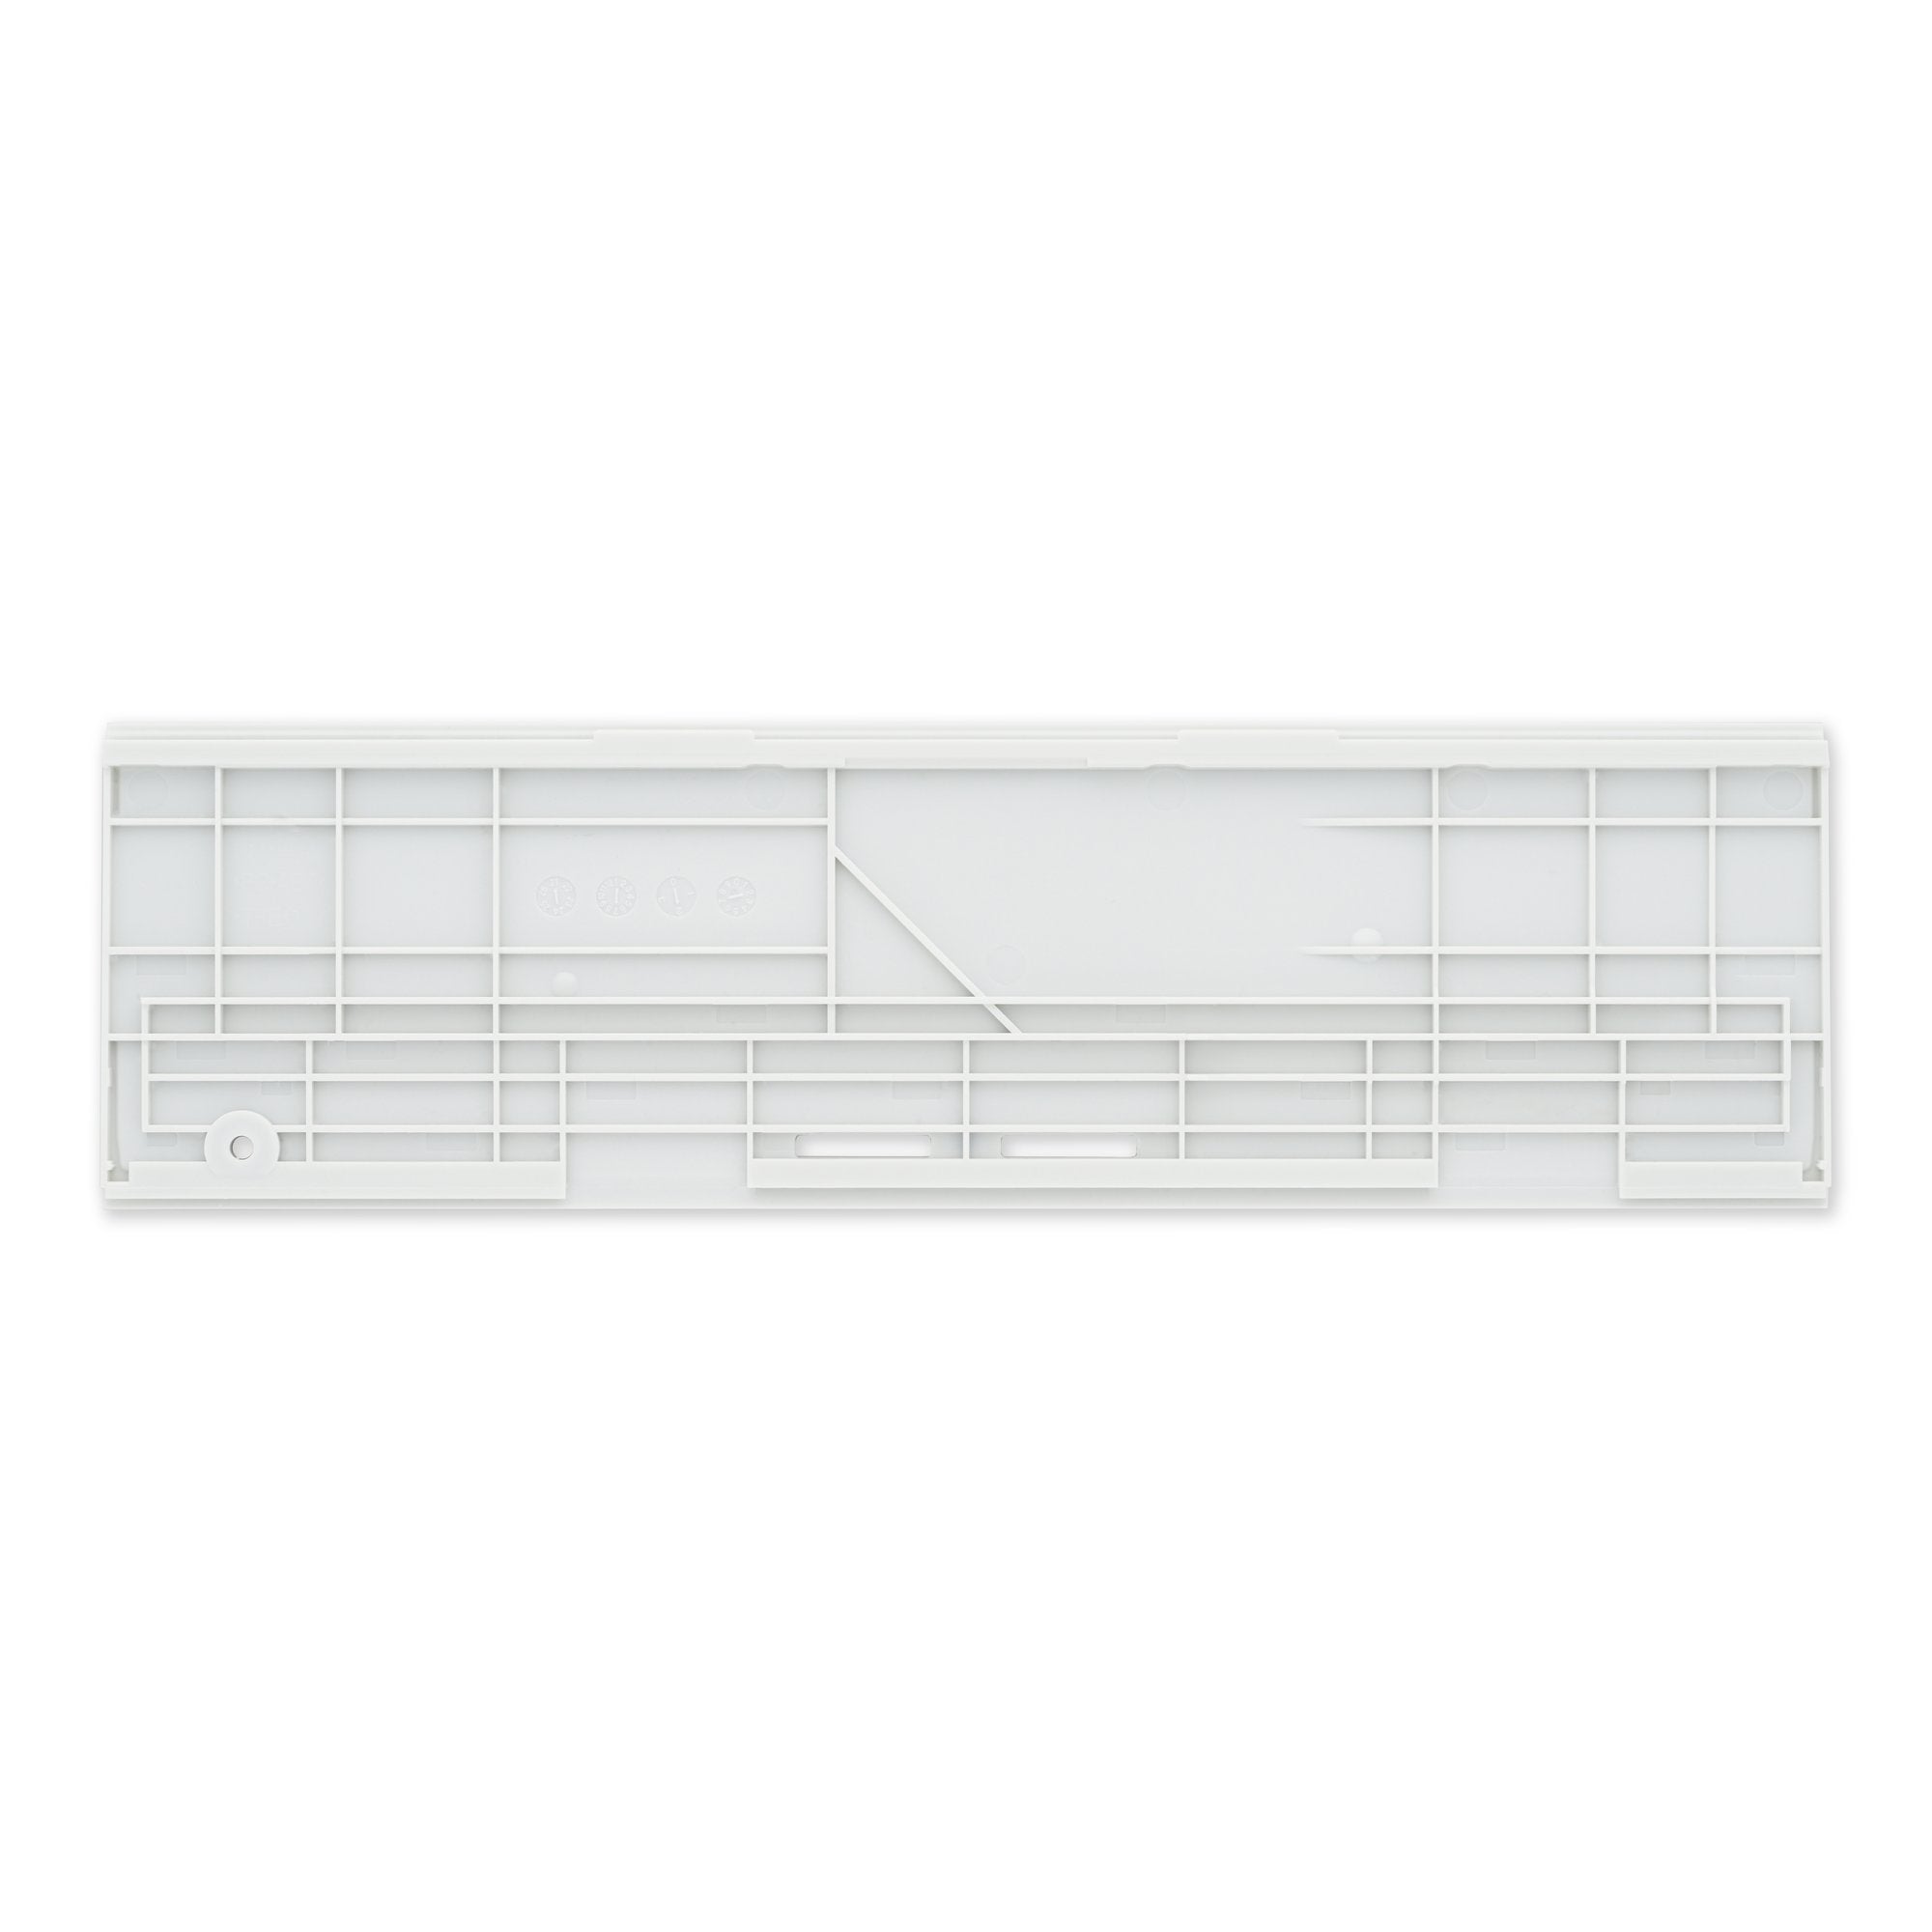
– Gently use your fingers to pry the baseplate away from the frame and release it from the clips holding it in place.
– Carefully remove the baseplate.
Step 7


– Gently use the flat end of a spudger to pop up the little locking flap on the ZIF connector for the motherboard cable. You’ve got this!
Tools Used

Step 8


– Gently grip the cable with a pair of tweezers and carefully slide it out of its connector. If you’re feeling stuck, don’t worry – it’s easier than it looks!
Step 9
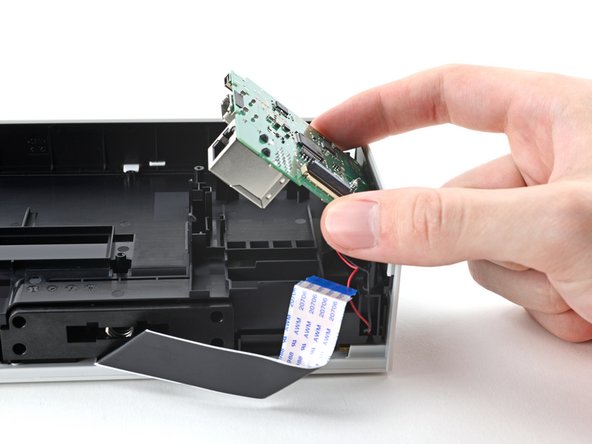


Hold up! Don’t yank that motherboard just yet—it’s still hanging on to the frame via a JST cable.
– Gently nudge those plastic release tabs with your finger to free the motherboard from its cozy little home.
– Carefully lift the motherboard up and away from the frame, like you’re giving it a little vacation.
– Take a moment to let the motherboard relax by the frame before diving into the next step.
Step 10


– To put your device back together, just follow these steps in reverse.
– Having trouble? Try some basic troubleshooting, or head to our Nintendo Switch OLED Answers community for help.
– Before installing, compare your new part to the original one—you might need to transfer some components or remove adhesive backings.
– If you need help, you can always schedule a repair.
Success!