Step-by-Step Guide: Nintendo Switch OLED USB-C Replacement
Duration: 45 minutes
Steps: 14 Steps
Ready to swap out the USB-C assembly on your Nintendo Switch OLED dock? Let’s dive in! This dock uses JIS screws, but no worries—you can totally grab a Phillips screwdriver if that’s what you’ve got. Just take it slow and easy to avoid stripping those screws. Oh, and before you get started, unplug all the cables from your dock. Safety first!
Step 1


– Give that rear cover a gentle tug with your fingers to pop it away from the frame and free those pesky plastic clips.
– Now, go ahead and take off the rear cover!
Step 2


– Let’s get started by using a Y0 screwdriver to carefully remove the 7.5 mm-long screw that’s holding the baseplate in place. This is the first step in freeing up the baseplate from the frame, and we’re making great progress already!
Step 3


– Wedge an opening tool between the frame and the plastic screw cover at the bottom-left corner.
– Use the opening tool to pop up the screw cover from the frame.
– Lift off the screw cover.
Step 4


– Grab your trusty Y0 screwdriver and unscrew the seven fasteners holding the midframe and the frame together:
– Four of them are 3.9 mm screws.
– Three are the longer 7.5 mm screws.
– And one last 3.9 mm screw to complete the set!
Step 5


– Gently pop off the midframe from the frame using your fingers—it’s like peeling the lid off your favorite snack!
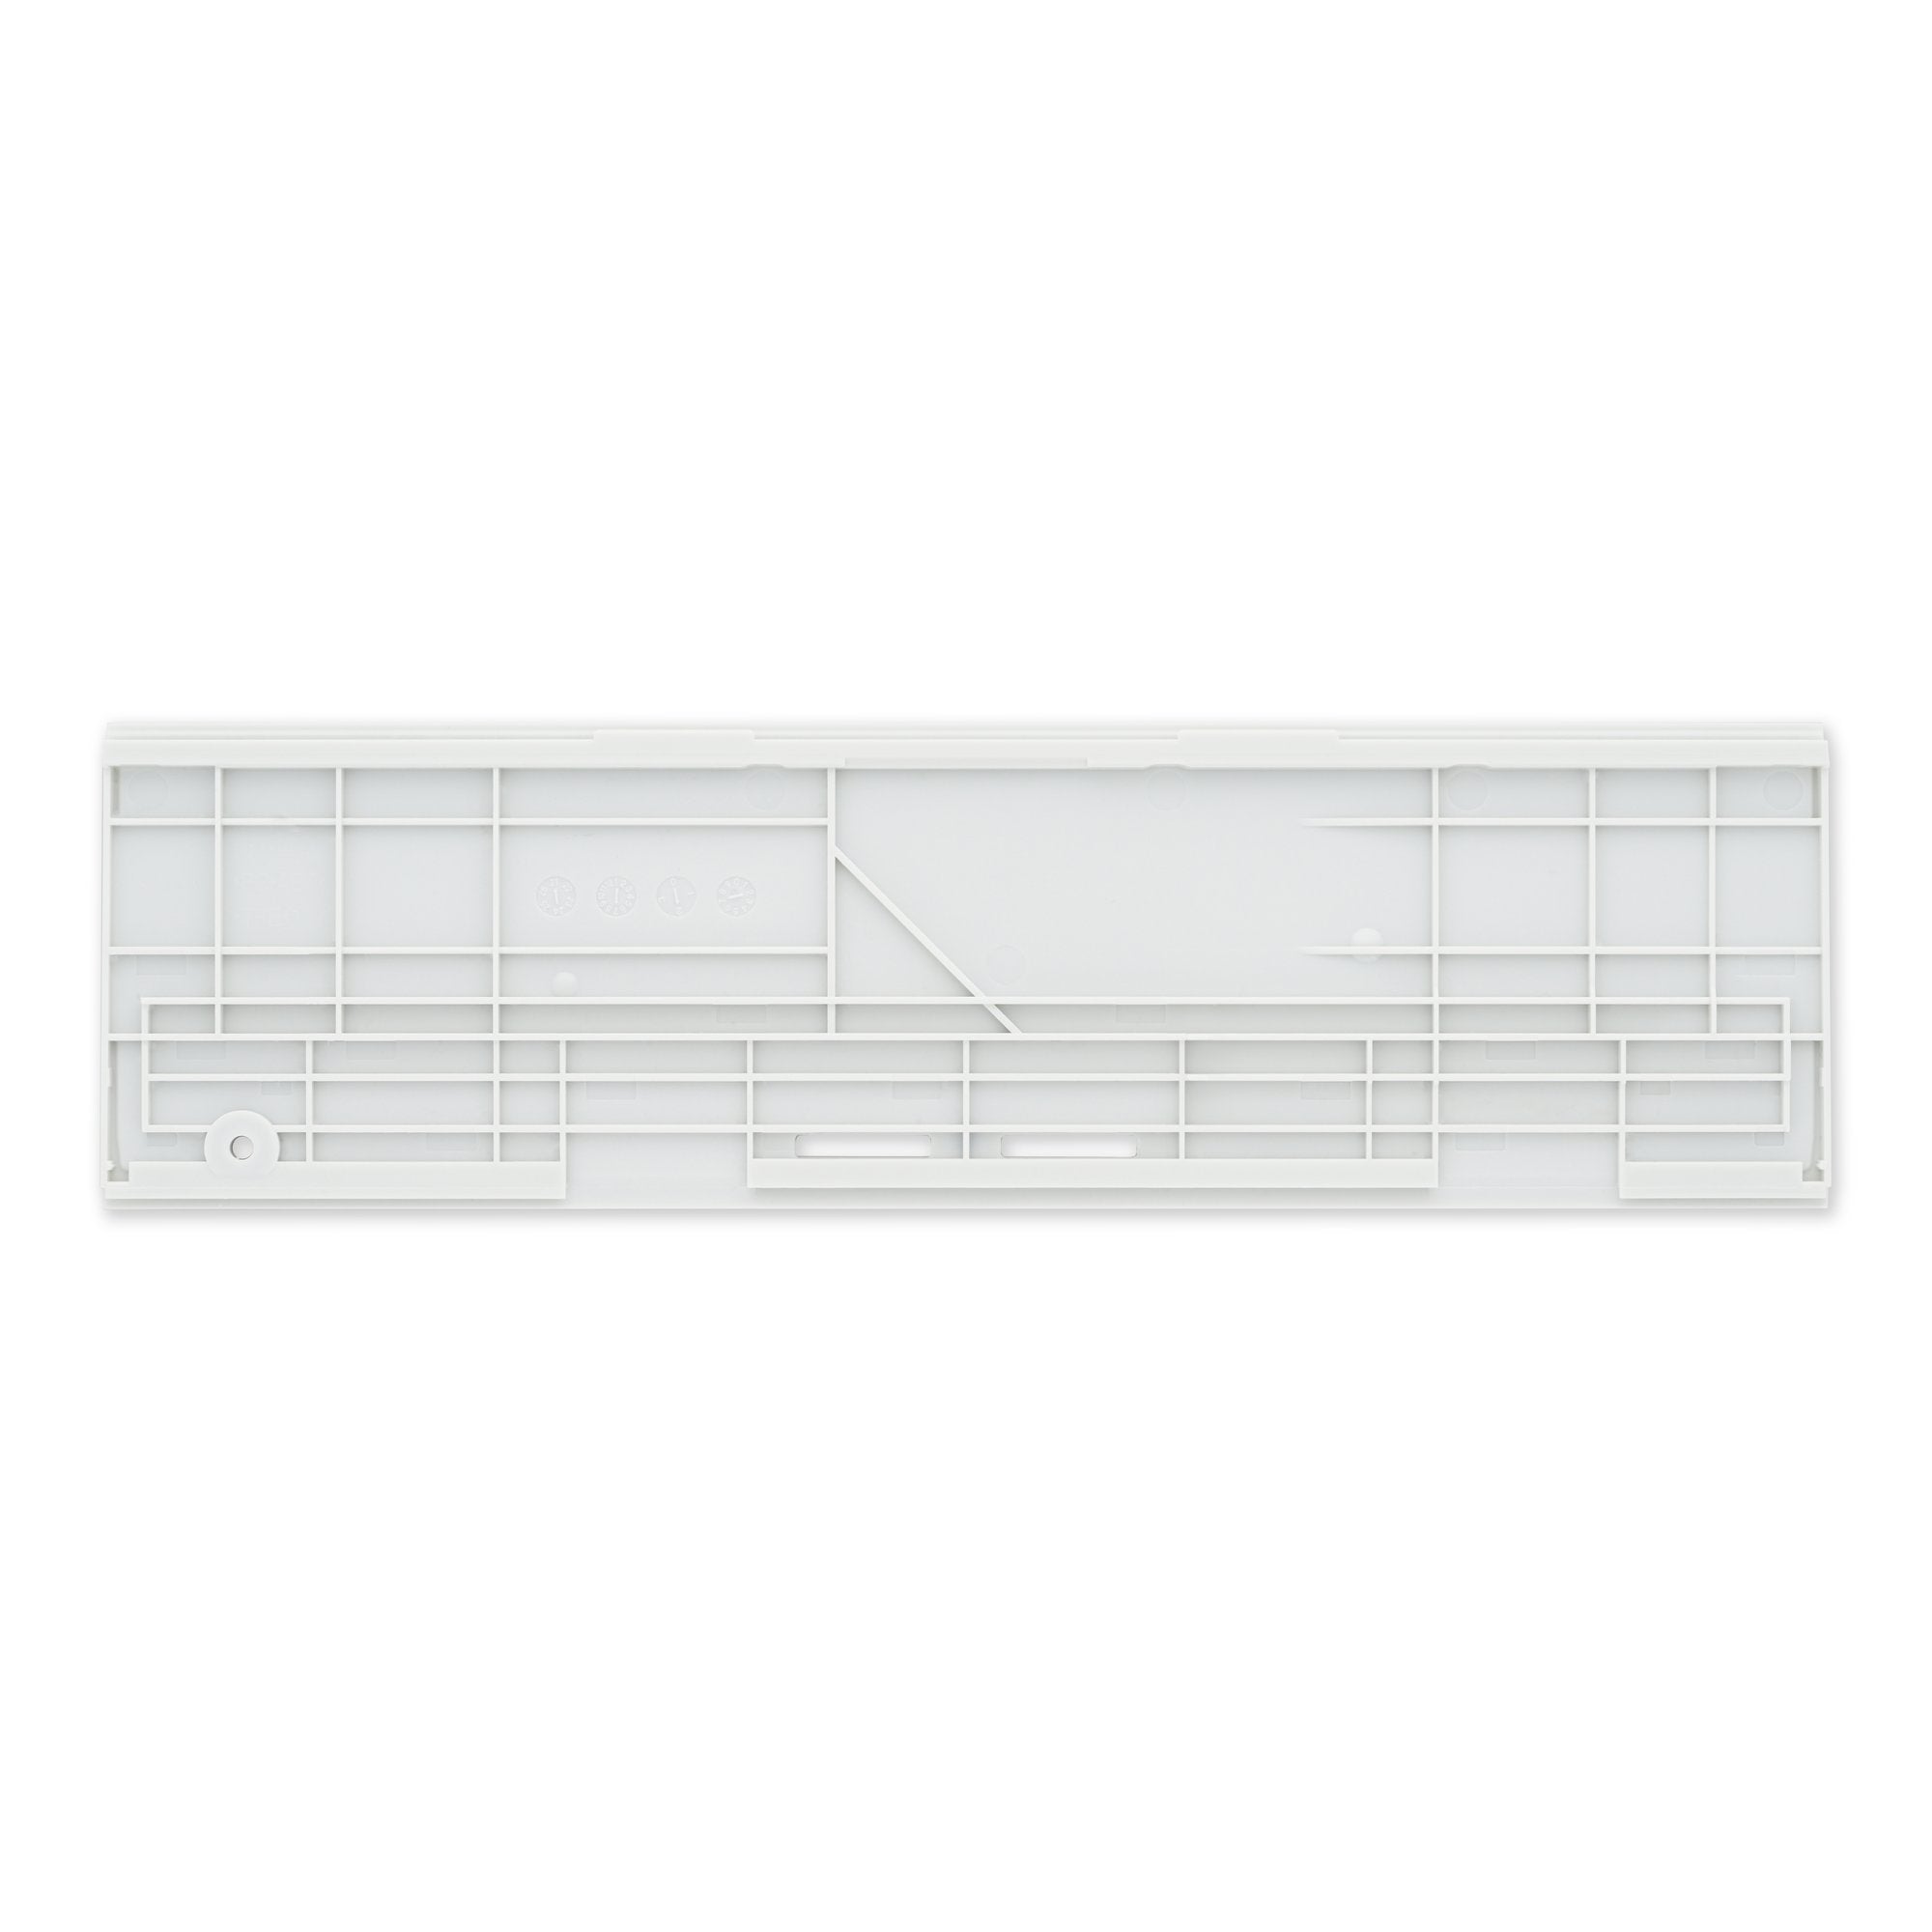
Step 6


– Give the baseplate a gentle tug with your fingers to pop it free from the frame and let go of those pesky plastic clips.
– Now, say goodbye to the baseplate as you remove it completely.
Step 7


– Gently slide the flat end of your trusty spudger under the tiny locking flap on the motherboard cable’s ZIF connector and lift it up like you’re revealing a secret compartment!
Tools Used

Step 8


– Grab your trusty tweezers and gently nudge the cable out of its connector—steady hands win the game!
Step 9
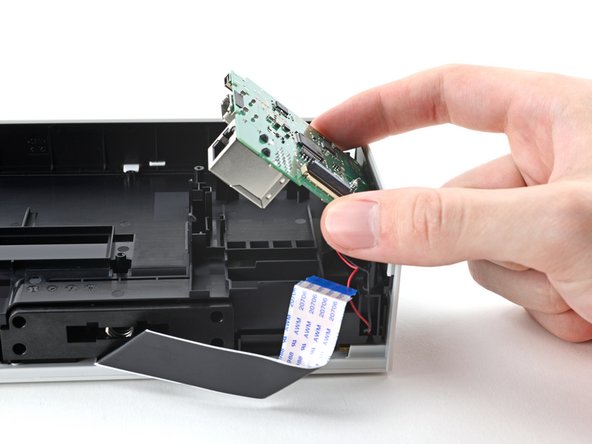


Hold up! Don’t yank the motherboard out just yet—it’s still hanging on to the frame thanks to a sneaky little JST cable.
– Gently tug on the plastic release tabs holding the motherboard in place with your finger.
– Carefully lift the motherboard away from the frame to remove it.
– Rest the motherboard against the frame for now, and get ready to move on to the next step.
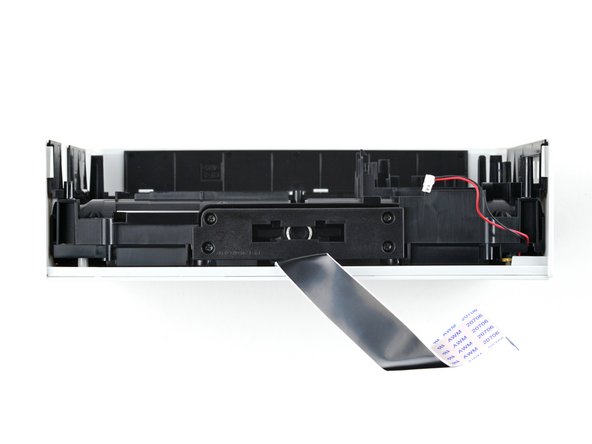
Step 10


– Grab some blunt tweezers or just use your fingers, and gently wiggle out the LED’s JST connector from its socket. Easy does it!
Step 11

– Grab your trusty Phillips screwdriver and take out the four 6.9 mm screws holding the USB-C assembly to the frame. You’ve got this—let’s keep it moving!
Step 12


– Gently lift off the top section of the assembly with care.
Step 13


If you took apart the dock in a unique way, those sneaky springs might still be hanging on to the top part of the assembly.
– Take out the two springs. Simple as that!
Step 14


– Time to put everything back together! Just follow the steps in reverse order and you’re good to go.
– Before installing the new part, take a moment to compare it with the old one. You might need to move over some parts or peel off any adhesive from the new piece.
– If things didn’t quite go as planned, no worries! A bit of troubleshooting might do the trick, or you can always reach out to our Nintendo Switch OLED Answers community for some extra guidance.
– If you’re stuck or need some expert help, don’t hesitate to schedule a repair.
Success!