Step-by-Step Guide: Samsung Galaxy Tab 3 7.0 Motherboard Replacement
Duration: 45 minutes
Steps: 6 Steps
Step 1
– Using a plastic opening tool, carefully slide the prying end between the glass digitizer and the shiny silver frame from the front of your device. Take your time and be gentle—you’re doing great!
Step 2
– Work your way around the face of the device, slowly and carefully, like a surgeon with a spudger. Those little plastic clips should start releasing – if not, apply some gentle outward pressure until you hear them delightfully pop off. If you need help, you can always schedule a repair
Step 3
– Alright, let’s kick off the battery removal! Grab your trusty screwdriver and take out those four designated screws.
– Once those screws are out of the way, it’s time to get that battery connector loose! Use the tip of your screwdriver or a pair of tweezers to gently pull the connector straight up. It should pop right out!
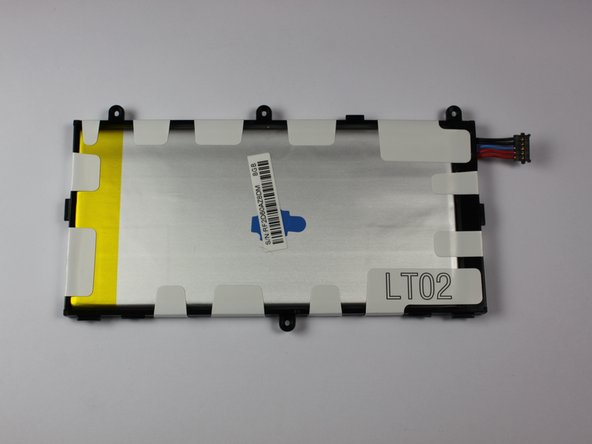
– With the battery now freed, it should look just like in the third picture. You’re doing great!
Step 5
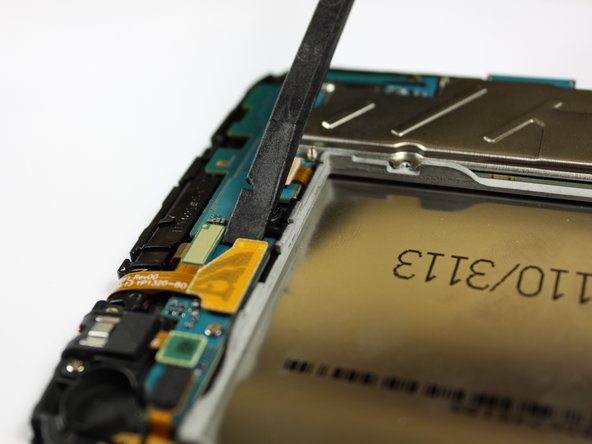
– Alright, let’s get this motherboard outta here! First, unclip all those connections holding it down, like shown in the first pic. You got this!
– Grab your trusty spudger, tweezers, or a plastic opening tool and gently wiggle those connections up and out of their ports. Easy peasy!
– Once you’ve disconnected everything, the back of your device should look just like the third picture. Looking good! If you need help, you can always schedule a repair
Tools Used
Step 6
– Now that all the connections are safely disconnected, it’s time to take out those screws you see in the first two pictures. No need to rush, just take your time and make sure they’re all out!
– Once you’ve got all the screws removed, the motherboard is ready to come out. Swap it with a shiny new one, and you’re all set!
Success!


