Step-by-Step Guide: TicWatch E3 Screen Replacement
Duration: 45 minutes
Steps: 20 Steps
Ready to bring your TicWatch E3 back to life with a fresh screen? Let’s get started! Keep in mind, you’ll need some replacement adhesive to seal things up when putting it back together. Your watch will work like a charm again, but just a heads-up—it won’t have that IP (Ingress Protection) rating anymore. Let’s make it happen!
Step 1


– First things first, let’s give your watch a little break from its charger and power it down. It’s like giving it a mini vacation!
– Next up, gently take off the watch band. We want to make sure we’re all set for the repair ahead!
Step 2

A hair dryer, heat gun, or hot plate can work wonders, but make sure you don’t overdo it and turn your device into toast!
– Warm up a heated iOpener and place it on the back of the watch for 5 minutes to help release that sticky adhesive hiding underneath.


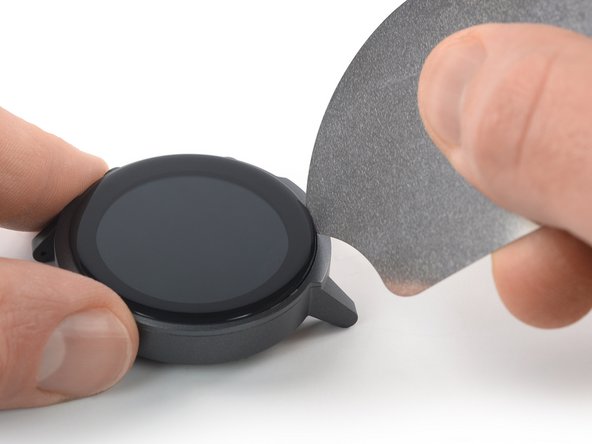
Step 3


– Slide an opening pick into the gap between the watch frame and the top edge of the back cover.
– Give the opening pick a gentle push to create a space between the back cover and the watch frame.
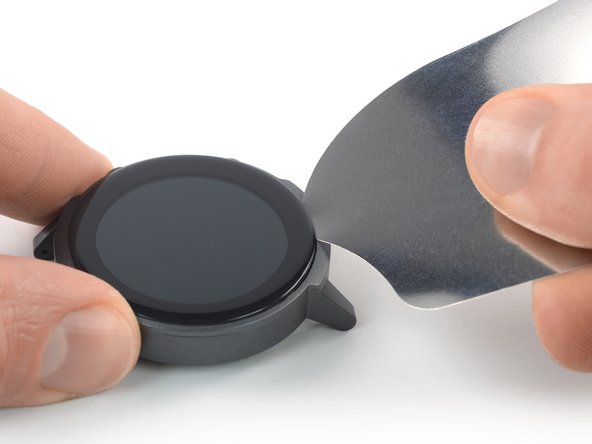
Step 4


Hold your horses! Don’t go yanking off that back cover just yet—it’s still hanging out with the motherboard.
– Give the opening pick a little twist to create a bigger gap between the back cover assembly and the watch frame.
– Gently pry upwards to free the back cover assembly.
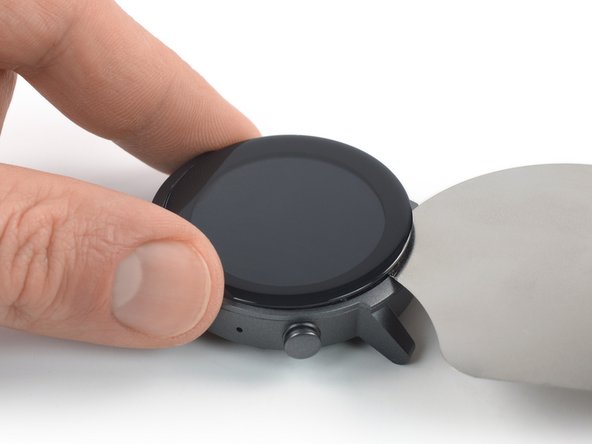
Step 5


Watch out for those sensor and battery cables – keep ’em safe and sound!
– Gently lift the bottom edge of the back cover assembly to ensure it’s no longer stuck to the watch frame. You’ve got this!
Step 6


– Take hold of the back cover assembly and gently bring it upright, letting it chill right beside the watch housing.
Step 7


To re-attach those connectors, give it a gentle nudge! Start by aligning one side and press down until you hear that satisfying click. Then, do the same on the other side. Just a friendly tip: avoid pressing down in the middle. If things get a bit wonky and the connector is misaligned, those little pins can bend, and we definitely don’t want that!
– Grab your trusty spudger and gently pry the battery cable connector straight up from its socket to disconnect it. You got this!
Tools Used


Step 12


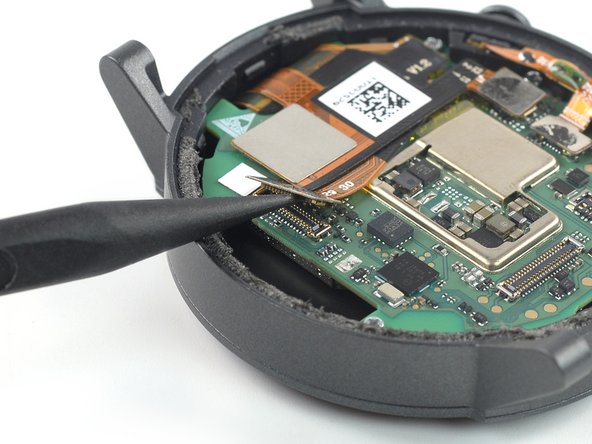
– Gently wiggle an opening pick under the display cable to loosen it up from the motherboard. Take your time—no need to rush!
– Flip that display cable up into a nice upright position using your trusty opening pick. Keep it smooth and steady!
Step 13

– Grab your trusty Phillips screwdriver and take out those four 4.1 mm screws that are holding the motherboard. Let’s get that motherboard free!
Step 14
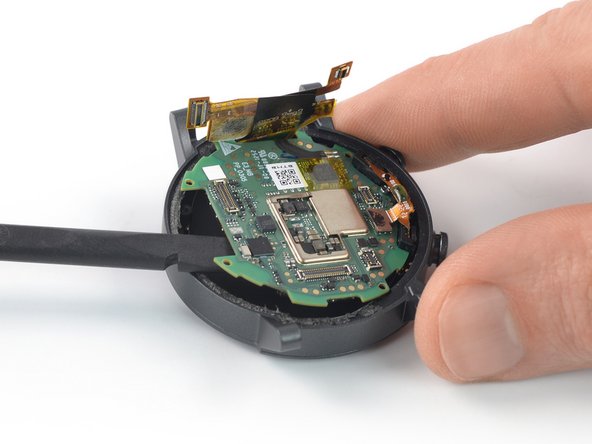

– Slide a spudger under the edge of the motherboard opposite the watch buttons.
– Gently pry up to free the motherboard.
Tools Used
Step 15


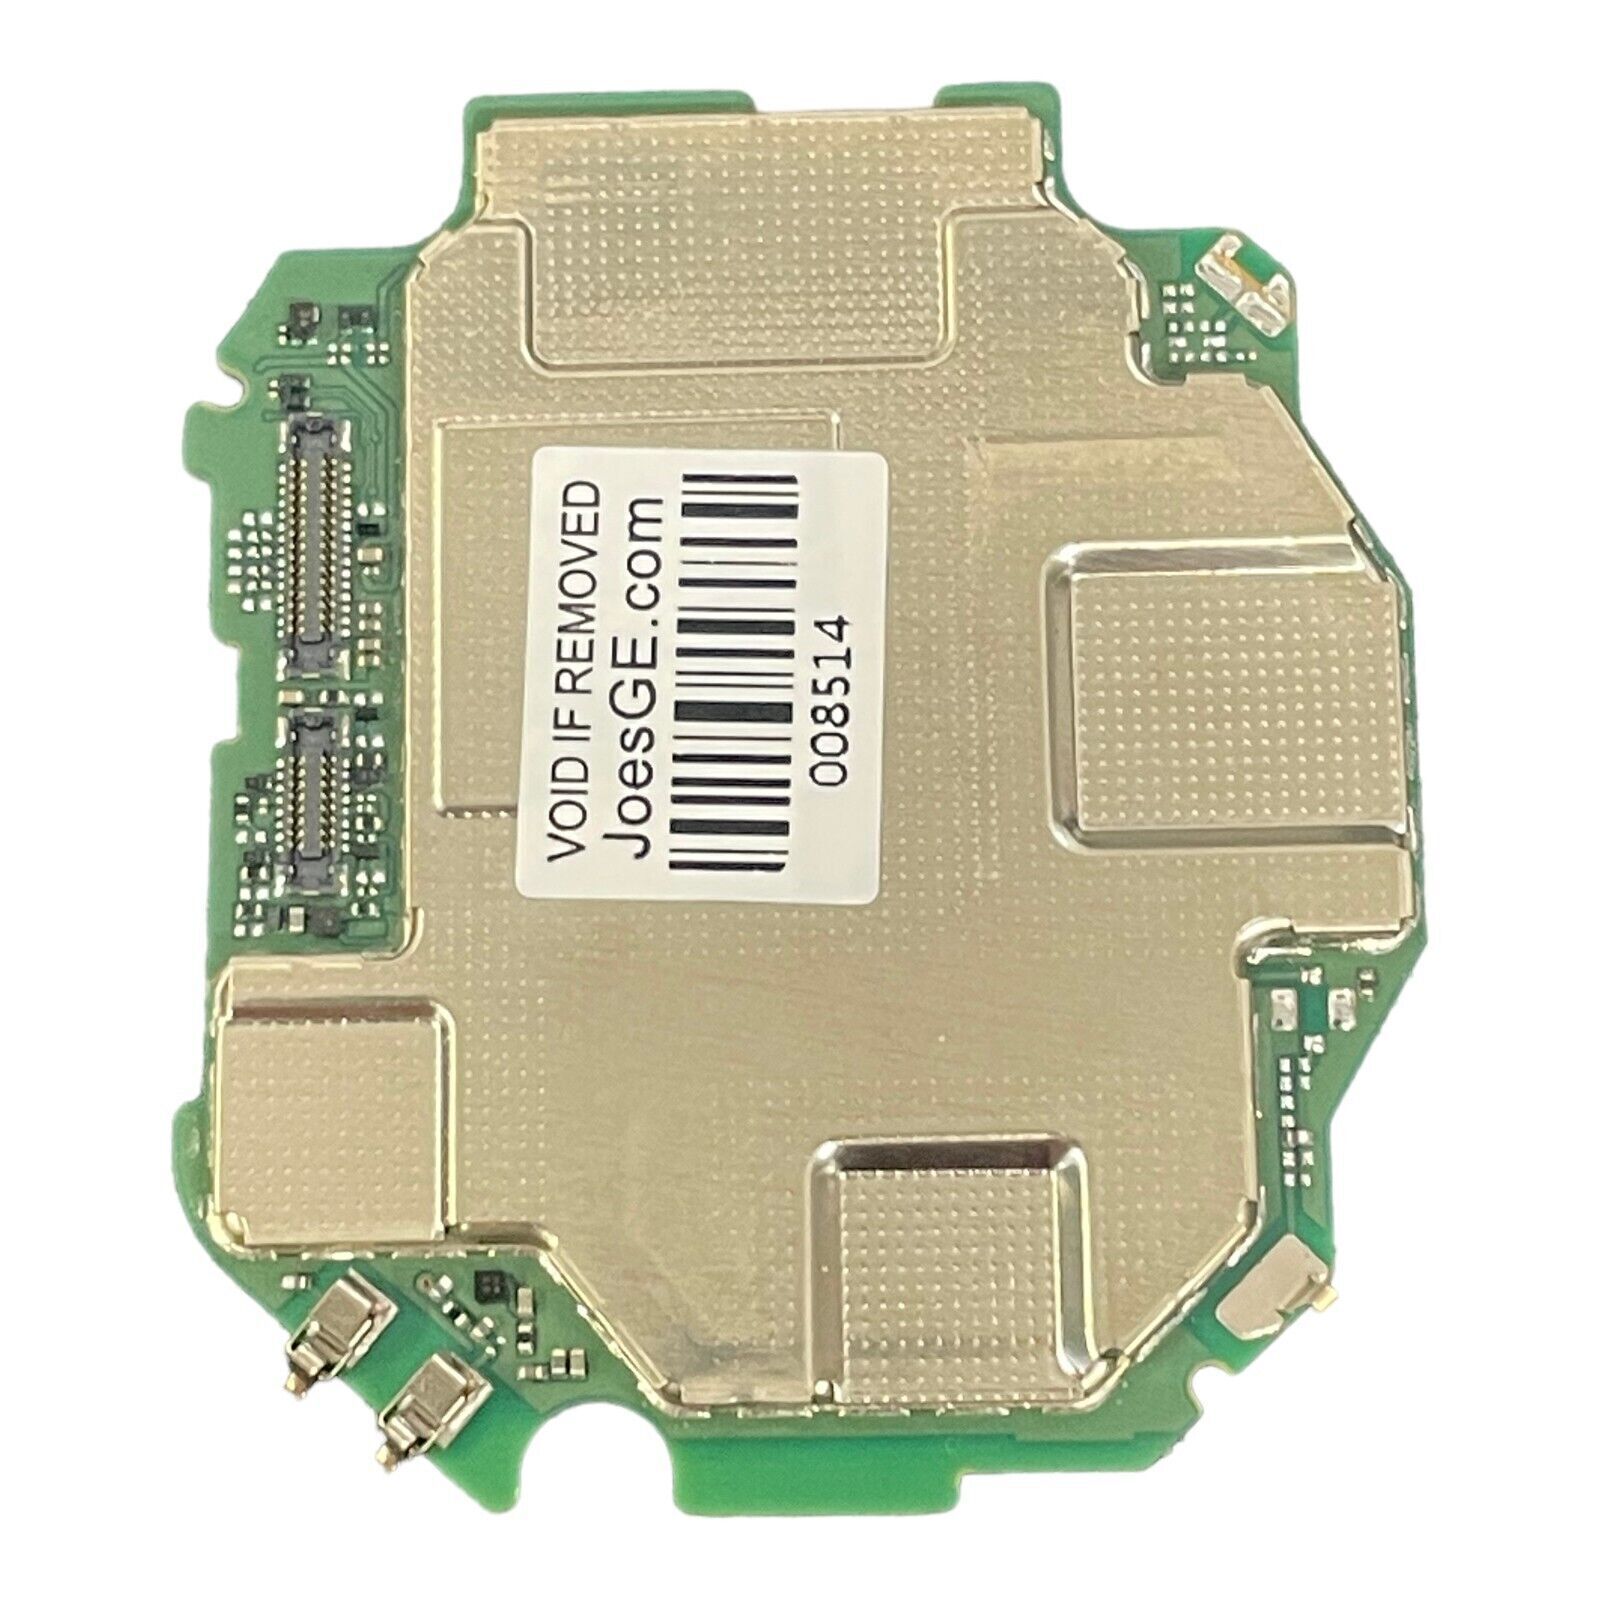
– Grab some tweezers and gently lift out the motherboard—nice and easy now, you’ve got this!


Step 20


– Time to put everything back together! Follow these steps in reverse to reassemble your device. Take a closer look at the new replacement part and make sure to transfer any remaining components or remove adhesive backings before installing it.
– Now, let’s get your device back in working order. Simply follow these instructions in reverse.
– When reassembling, apply new adhesive where needed after giving the area a good cleaning with some isopropyl alcohol (>90%).
– Remember to responsibly recycle your e-waste with an R2 or e-Stewards certified recycler.
– If things didn’t quite go as planned, don’t worry! Try some basic troubleshooting or visit our support community for help. If you need help, you can always schedule a repair.
– If you decided not to complete this guide, that’s okay! You can always come back to it later.
– You did it! You’ve completed this repair guide. If you need help with anything else, you can always schedule a repair.
Success!