Step-by-Step Guide to Replace ASUS PadFone X Vibration Motor
Duration: 45 minutes
Steps: 5 Steps
Alright, let’s get things rolling! First up, we’ll pop off the back cover, then say goodbye to the secondary back panel. Once we’ve done that and can see the motherboard shining through, we’ll have easy access to the vibration motor, ready for a smooth replacement!
Step 1
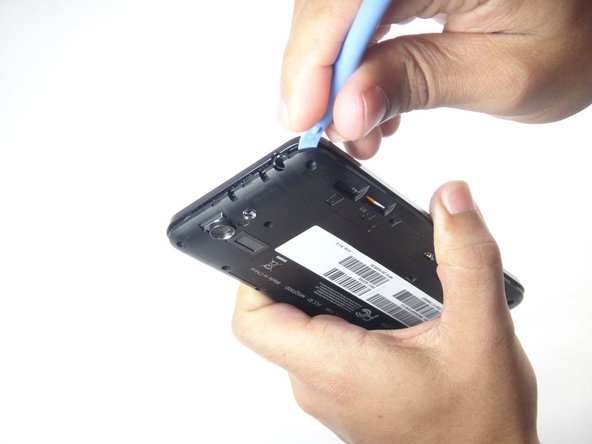
– Grab that nifty blue plastic opening tool and slide the tip right into the gap between the back cover and the phone. Give it a gentle nudge upwards!
– Keep the momentum going as you work your way around the phone, loosening the back cover until it’s ready to come off.
Step 2
– Whip out your Torx T5 bit and unscrew those thirteen 3.6 mm screws like a pro!
Step 3
– Grab that trusty blue plastic opener and slide its tip into the seam between the mid-frame and the phone. Gently lift it up to start the separation.
– Keep moving around the phone, prying as you go, until the back cover feels loose. Then, carefully remove the mid-frame.
Step 4
– Time to give that vibration motor a little wiggle room! Grab your trusty spudger and gently pry the connector loose from the motherboard. No need to be rough, just a little persuasion will do the trick.
Step 5
The vibration motor is stuck down with some adhesive, so you might need to give it a little extra love to get it out.
– Now you’re ready to put your device back together! Just follow these steps in reverse, and you’ll be good to go.
– If you need help, you can always schedule a repair.
–
Success!


