Step-by-Step Guide to Replace Nintendo 64 Top Cover
Duration: 45 minutes
Steps: 5 Steps
Get ready to tackle the top cover of your Nintendo 64! This guide is here to help you lift that cover off with ease. Let’s dive in and make it happen!
Step 1

– Give that expansion pack cover a little love by gently pushing in the tab and pulling it out. You’ve got this!


Step 3

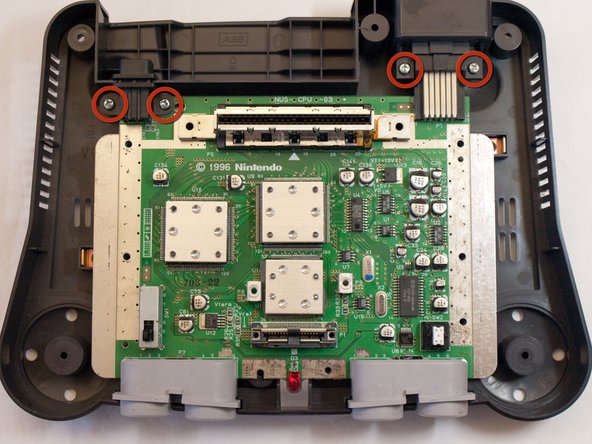
– Unscrew the six screws on the bottom side, just like the example shows, using a gamebit head or screwdriver. You’ve got this!
Step 4

– Pop off the two front feet of the N64. A little push and they should come right off, no sweat.
Step 5

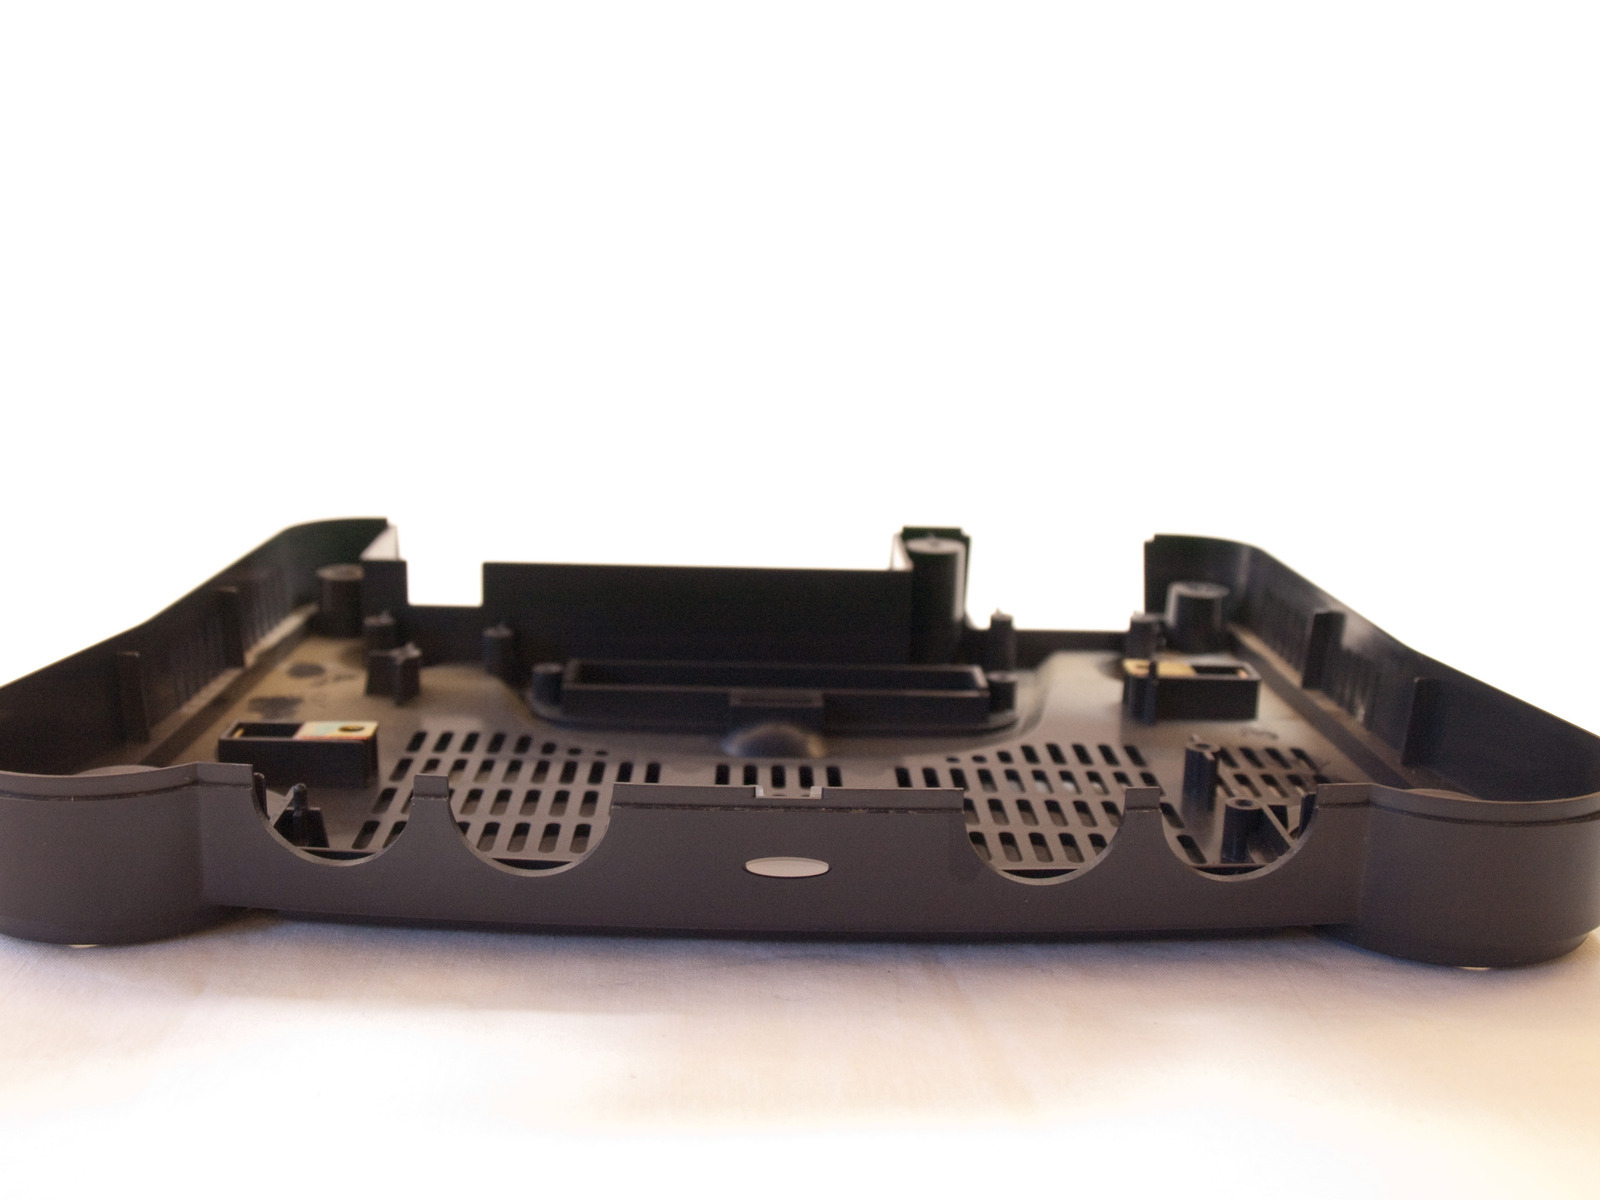
– Flip it so the top side is facing up, then gently lift that top cover off like a pro.
Success!
Ready to put it all back together? Just follow these steps in reverse, and you’re golden!
Not feeling it? No worries, you can always schedule a repair.
You got this—be proud of your work!