Step-by-Step Guide to Replace Samsung Galaxy A41 Battery
Duration: 90 min.
Steps: 15 Steps
Ready to swap out that battery? In our easy-to-follow photo guide, we’ll walk you through the process for your Samsung Galaxy A41. Replacing the battery can be a bit tricky since both the back cover and the battery are glued down pretty well. But don’t worry! With a little heat to loosen up that stubborn glue, you’ll have them off in no time. Have fun with your repair adventure! And remember, if you need a new battery, check out our online store where you can find the original replacement battery for your Galaxy A41, along with the perfect Samsung tool kit. schedule a repair
Step 1
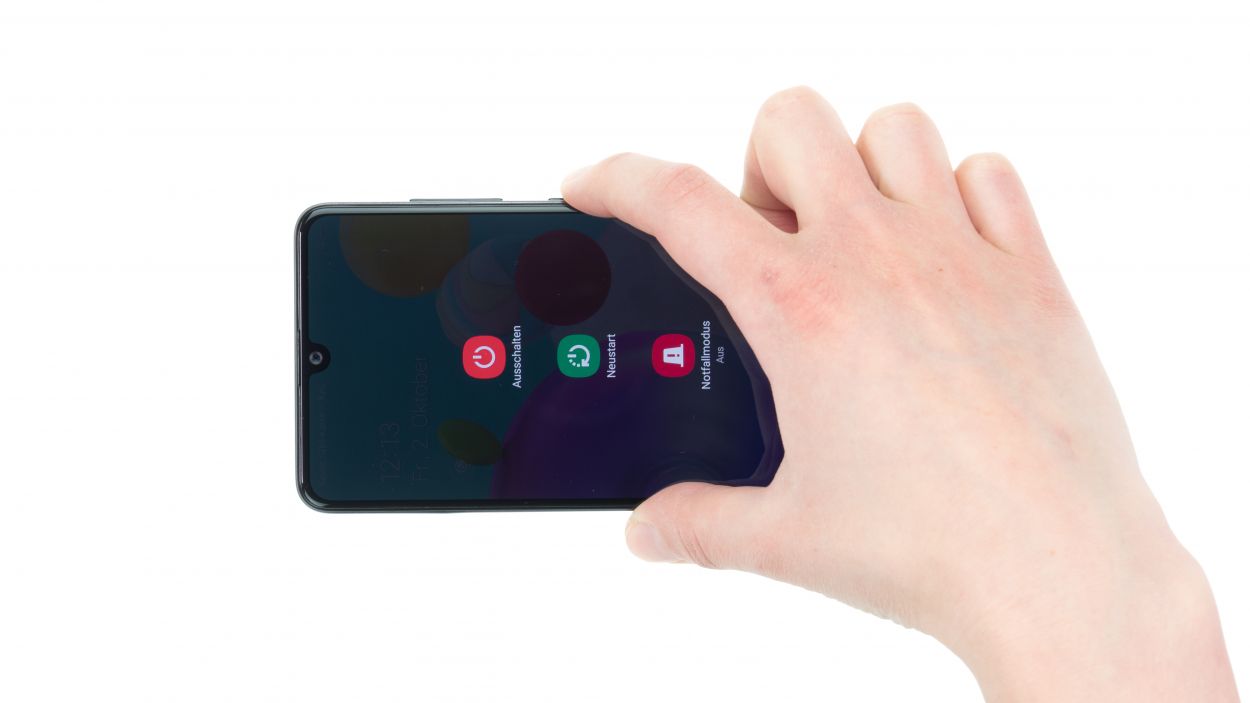
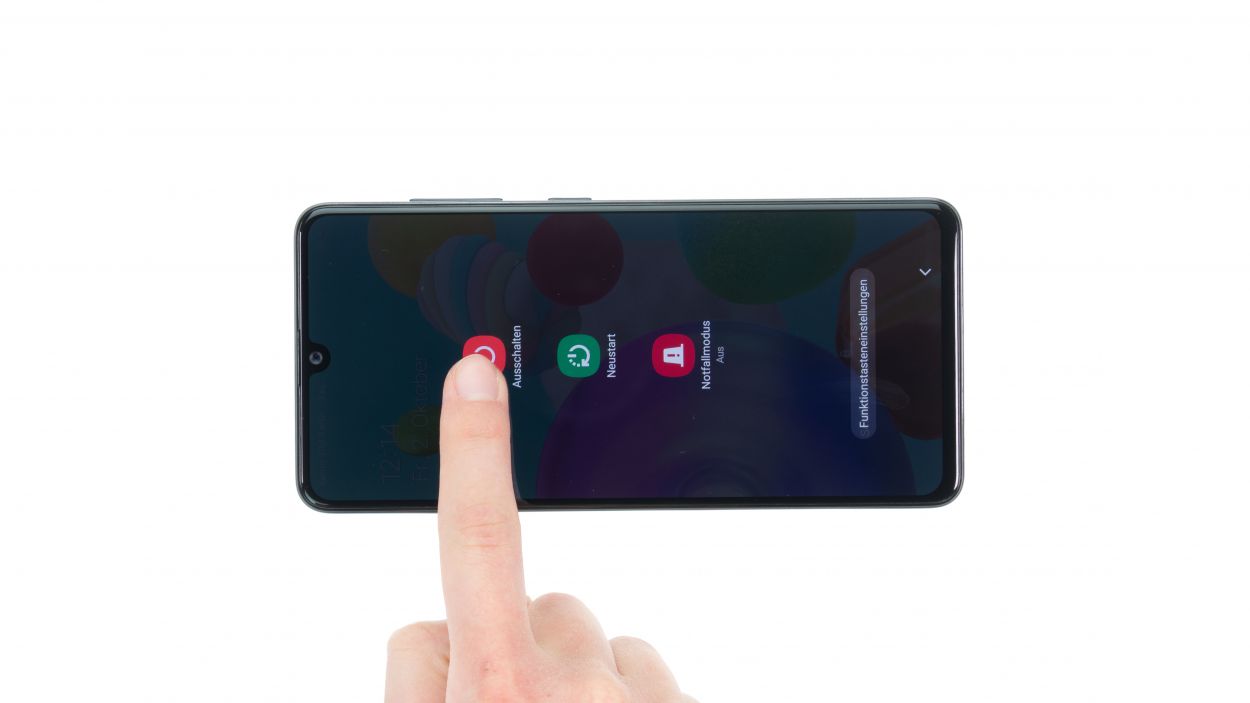
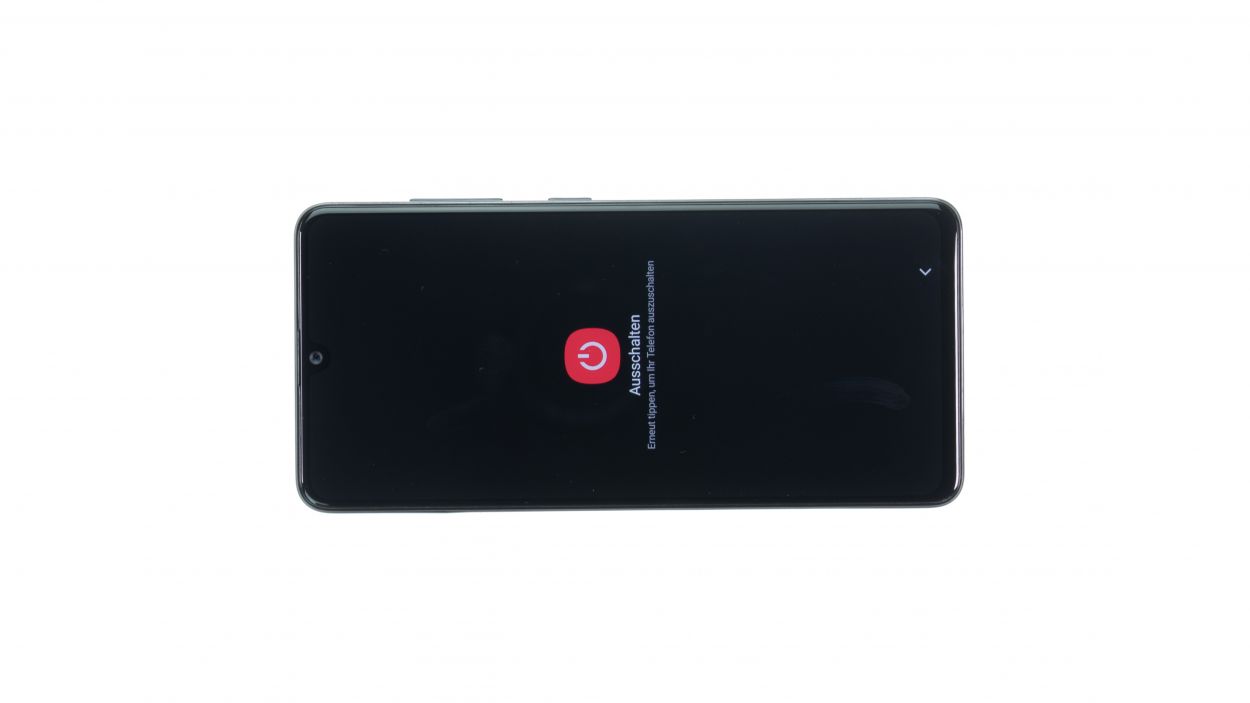
– To kick things off, press and hold the side button and volume down button together for a few seconds. You’ve got this!
– Next, tap on ‘Switch off’ from the menu that pops up. Easy peasy!
– And just like that, your phone will power down completely in just a few seconds. You’re on a roll!
Step 2
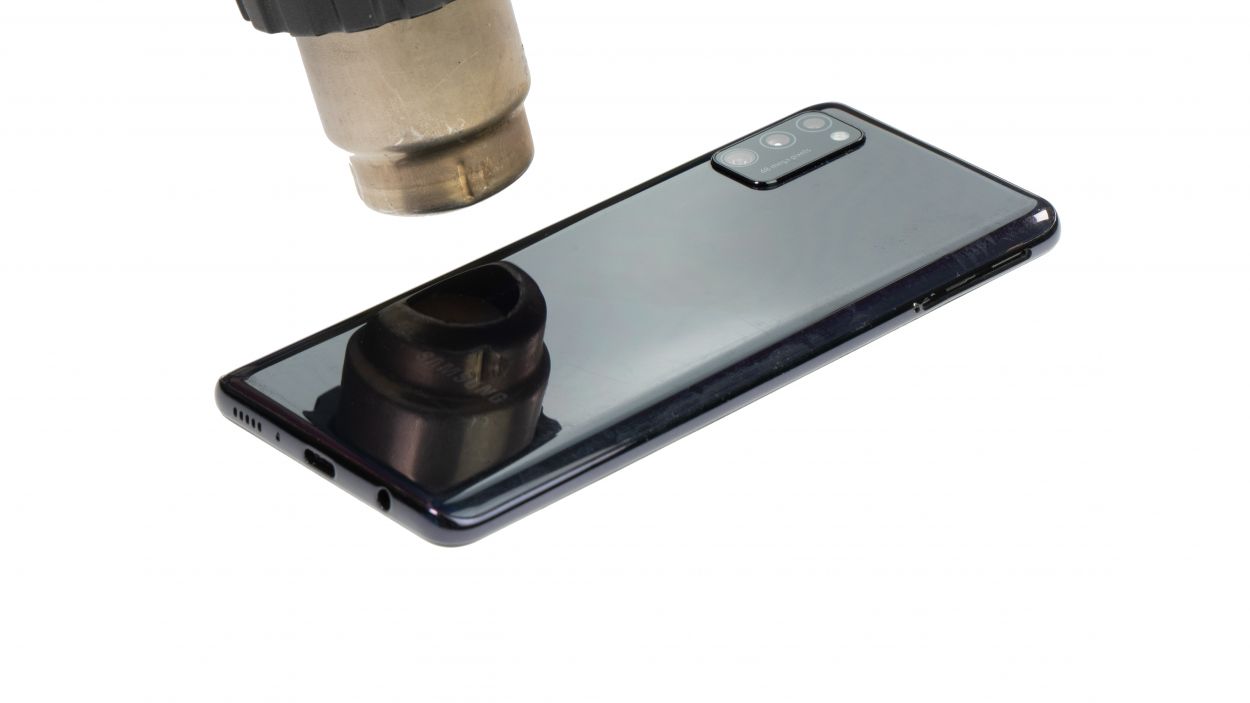
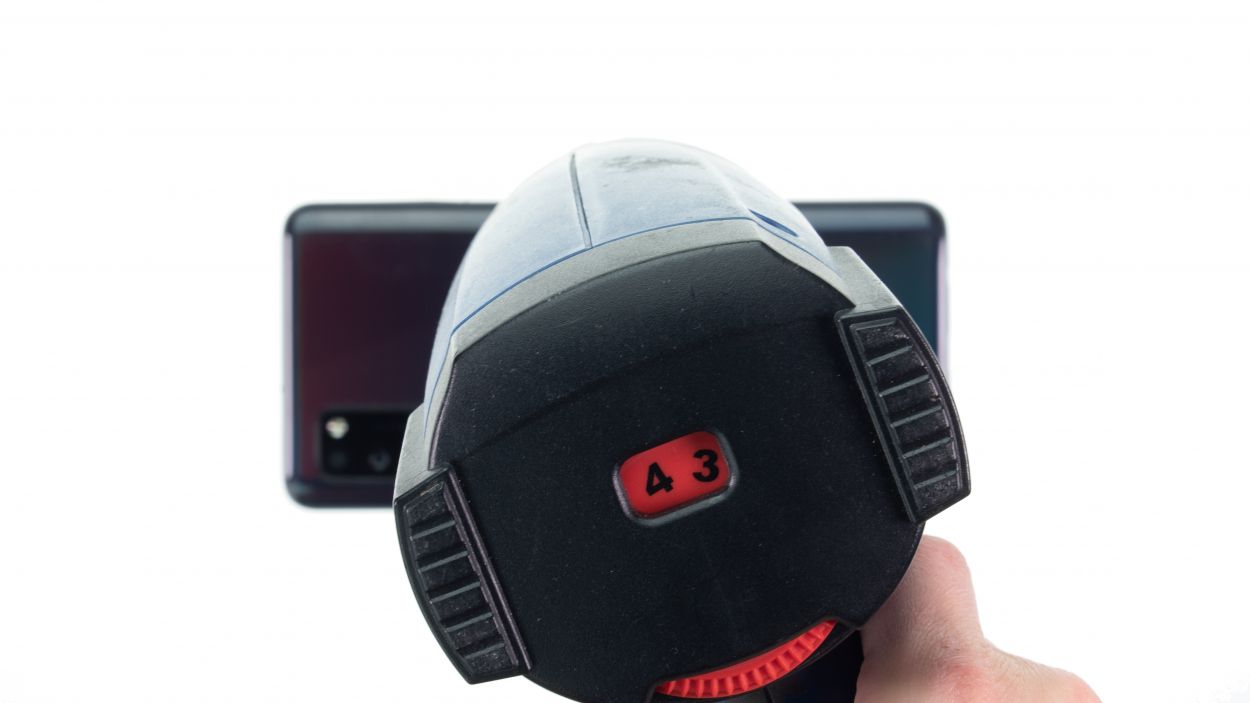
Here’s a nifty tip: Heat the edge of that back cover just enough so it’s warm but still comfy to touch. You don’t want to fry your fingers, right?
– To kick things off, flip your phone over and lay it gently on a soft, clean surface. Treat it like the precious gadget it is!
– Now, grab that hot air device and glide it smoothly along the edge of the back cover. You’re doing great!
Tools Used
- heat gun to heat parts that are glued on so they’re easier to remove.
In most cases, you can also use a hairdryer.” rel=”noopener”>Heat gun
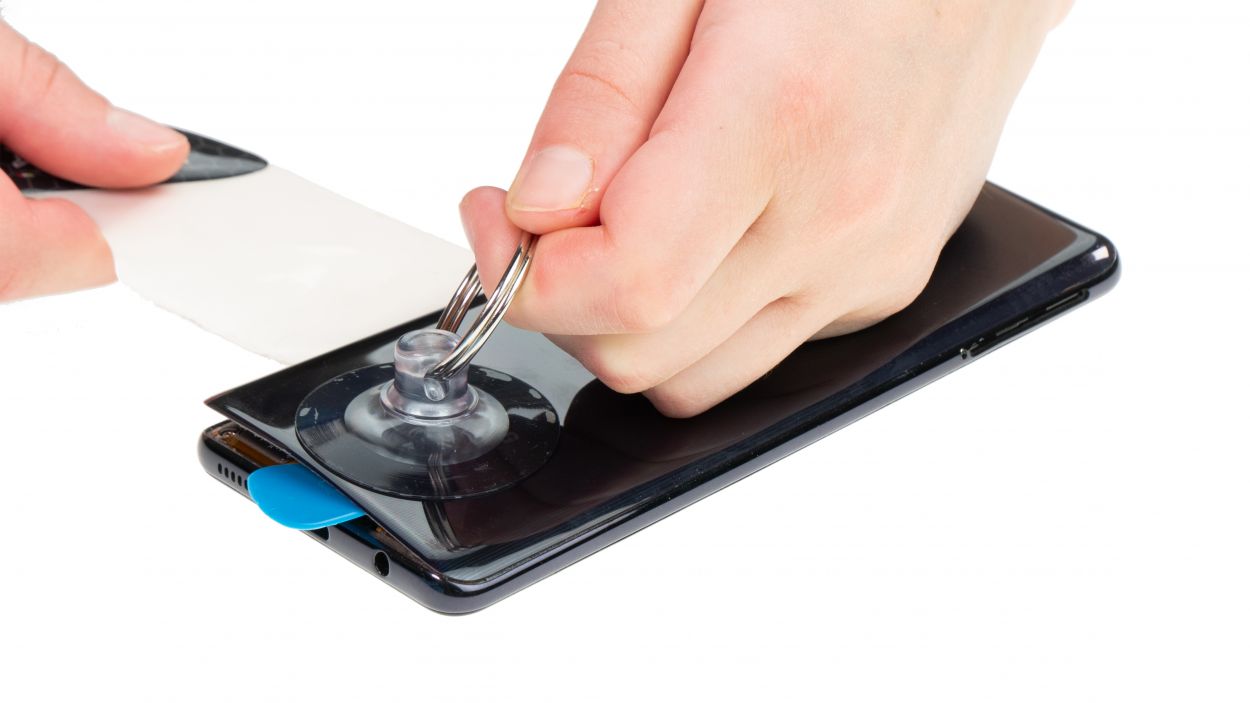
Step 3
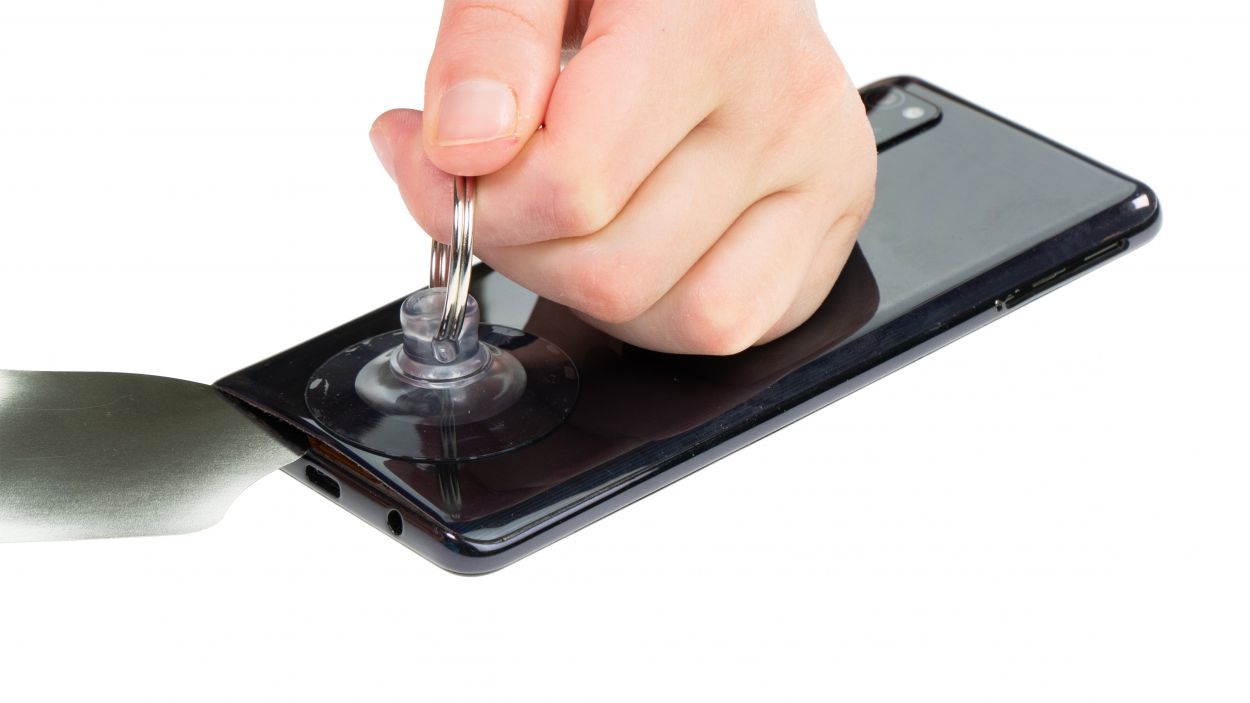
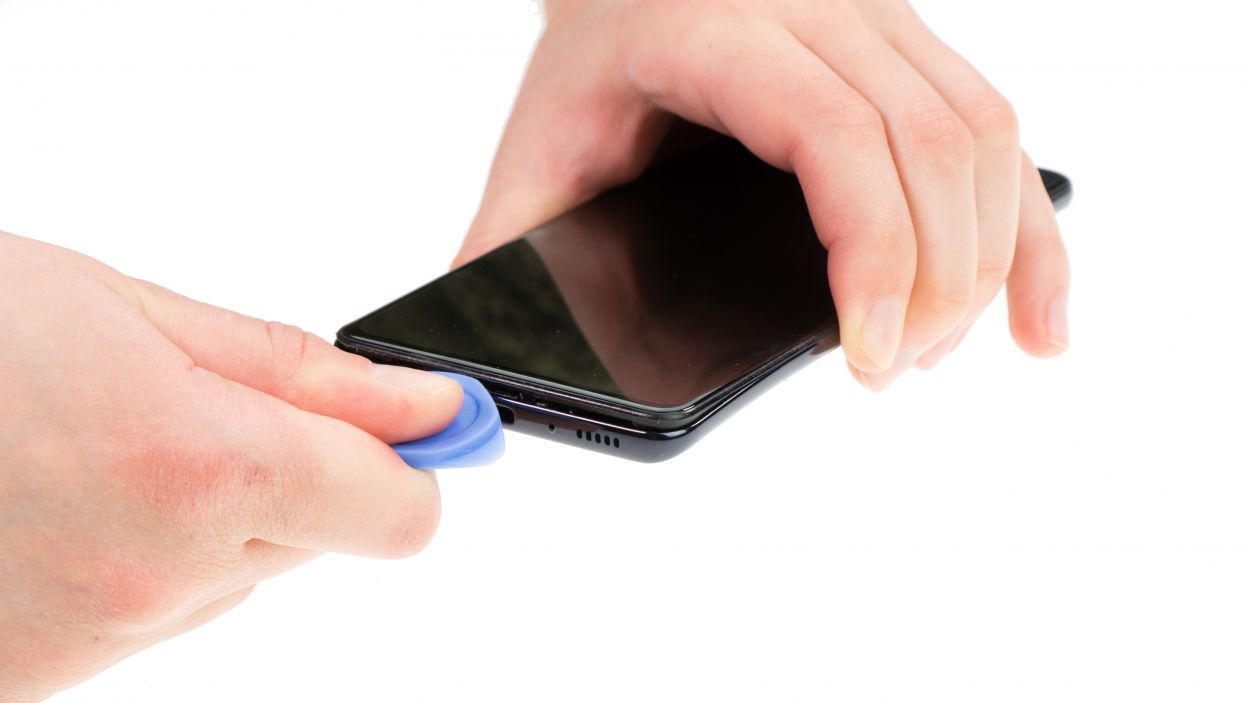
– Start by placing a suction cup at the bottom of the back cover and gently pull upwards to open up a little gap between the back cover and the middle frame.
– While you’re at it, sneak in a flat, sturdy tool to widen that gap. The iFlex is a great choice for this task!
Heads up! The moment you pop open your Galaxy A41, the manufacturer’s warranty takes a little vacation. Keep that in mind as you dive into your repair!
The iFlex is crafted from ultra-thin, sturdy metal and features some sharp edges. To keep your device’s frame looking fresh and scratch-free, we suggest using the iFlex at the start of your adventure and switching to a plastic tool as soon as you can. Happy repairing!
Tools Used
- Flat Picks
- screen and the frame. The practical iFlex is made of stainless steel and sits comfortably in the hand. This makes it the perfect assistant for every smartphone repair.” rel=”noopener”>iFlex Opening Tool
- VAKUPLASTIC Suction Cup
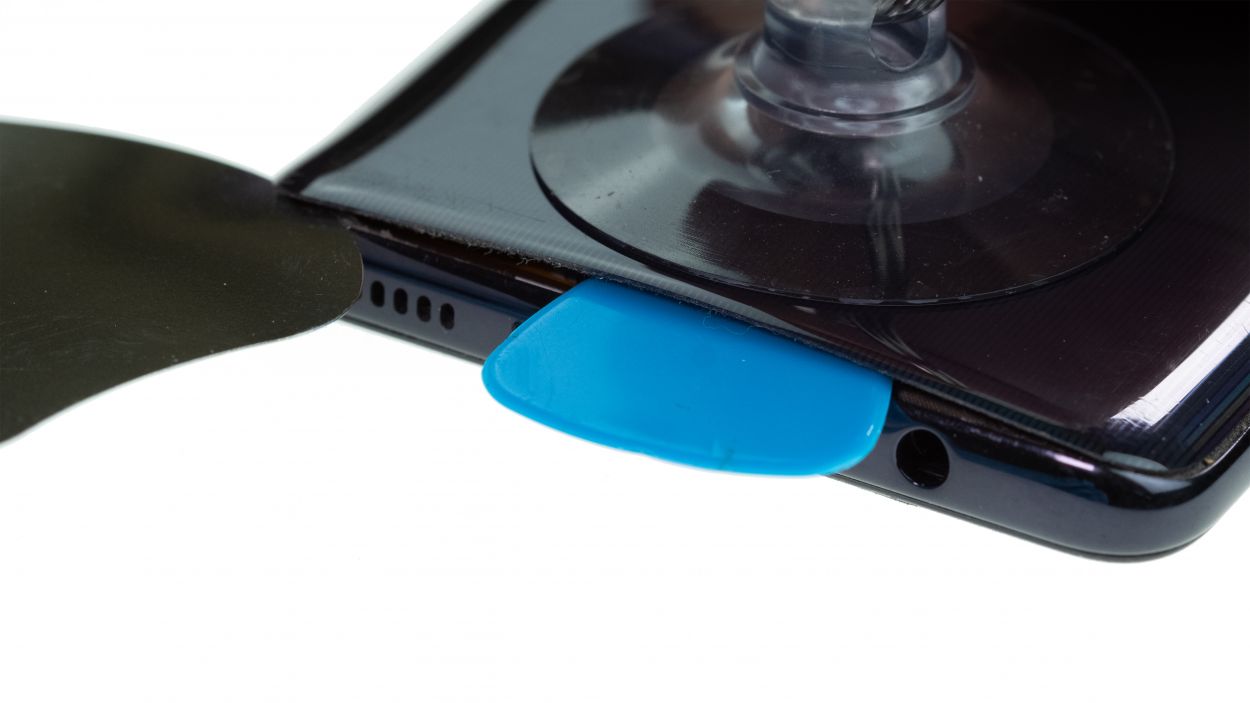
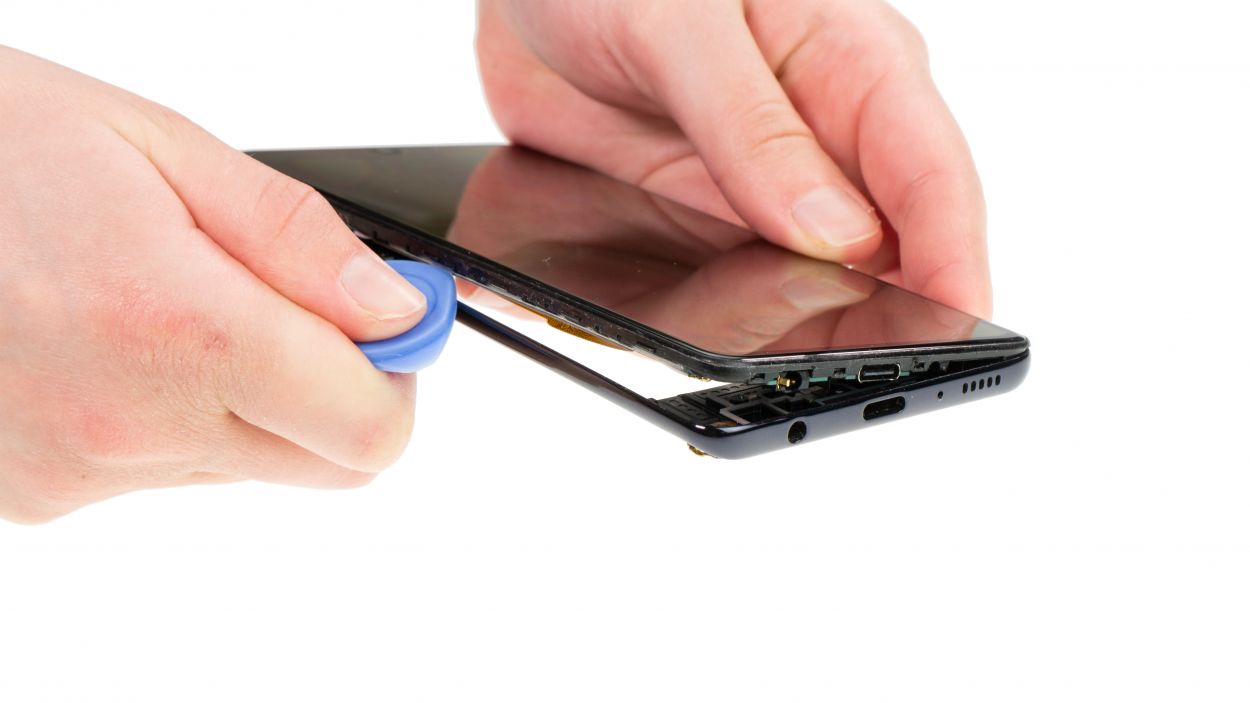
Step 4
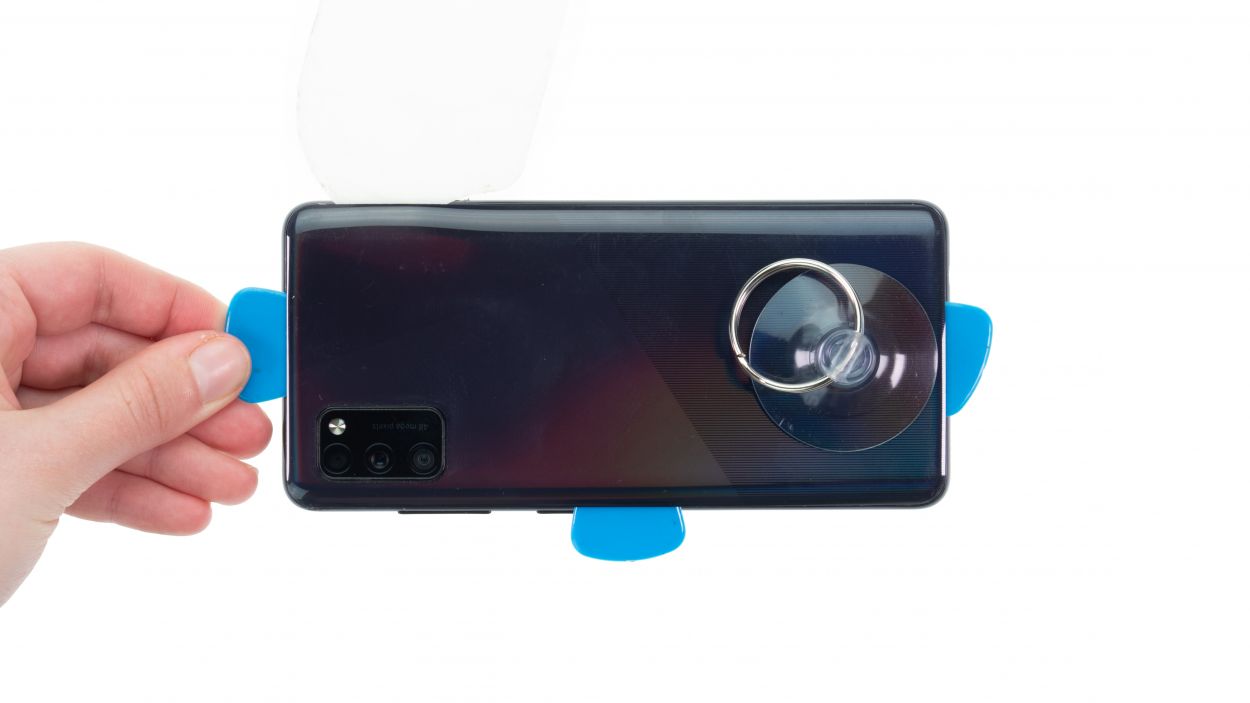
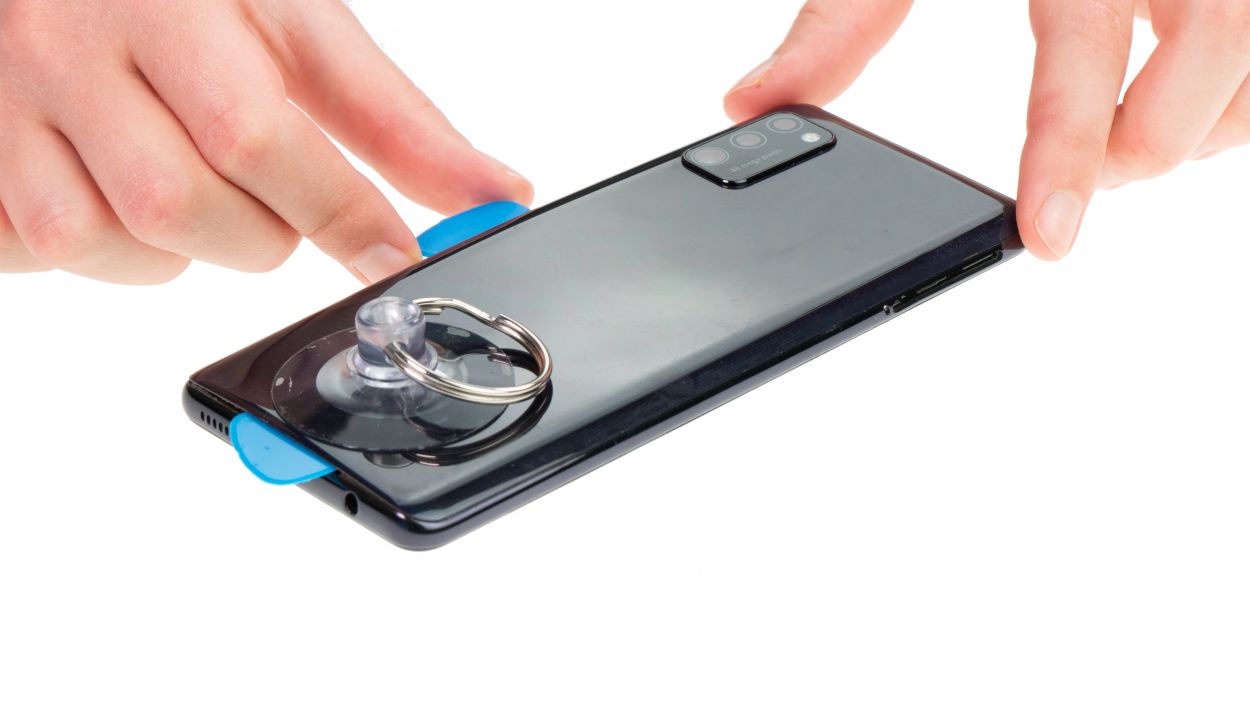
The iPlastix is crafted from lightweight, bendy plastic. Unlike its sharper cousin, the iFlex, this tool is all about smooth sailing with no pointy edges to worry about.
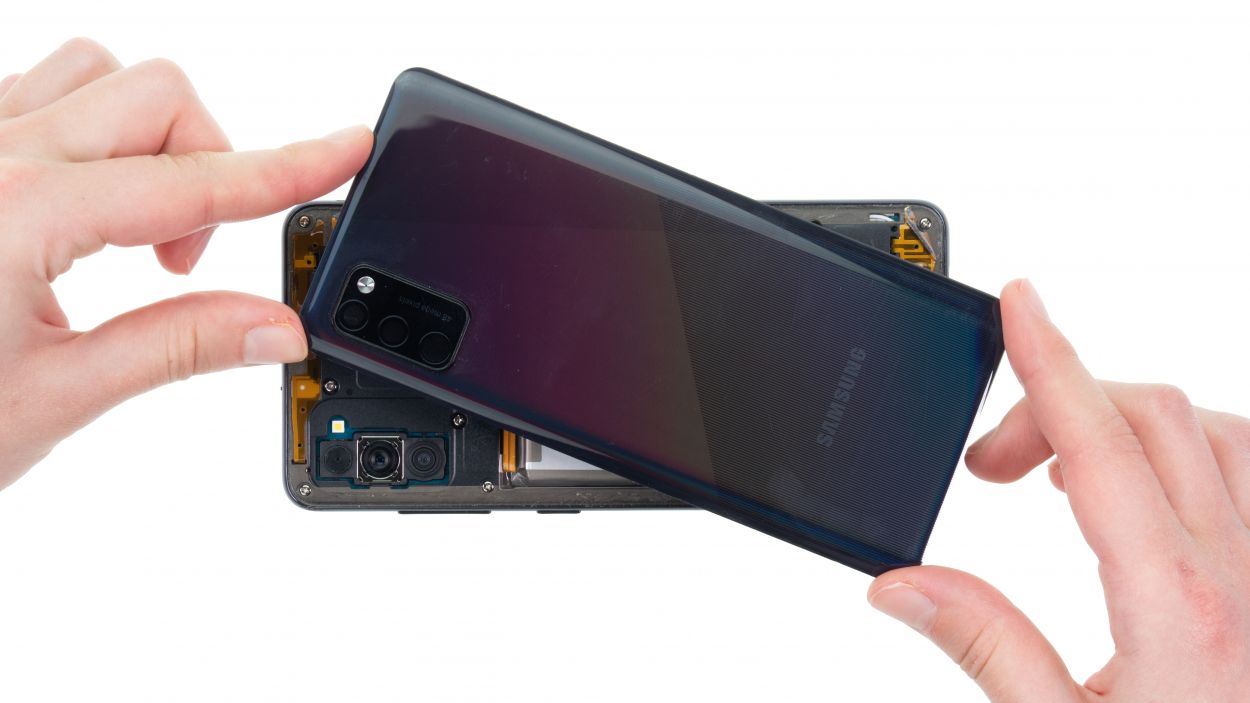
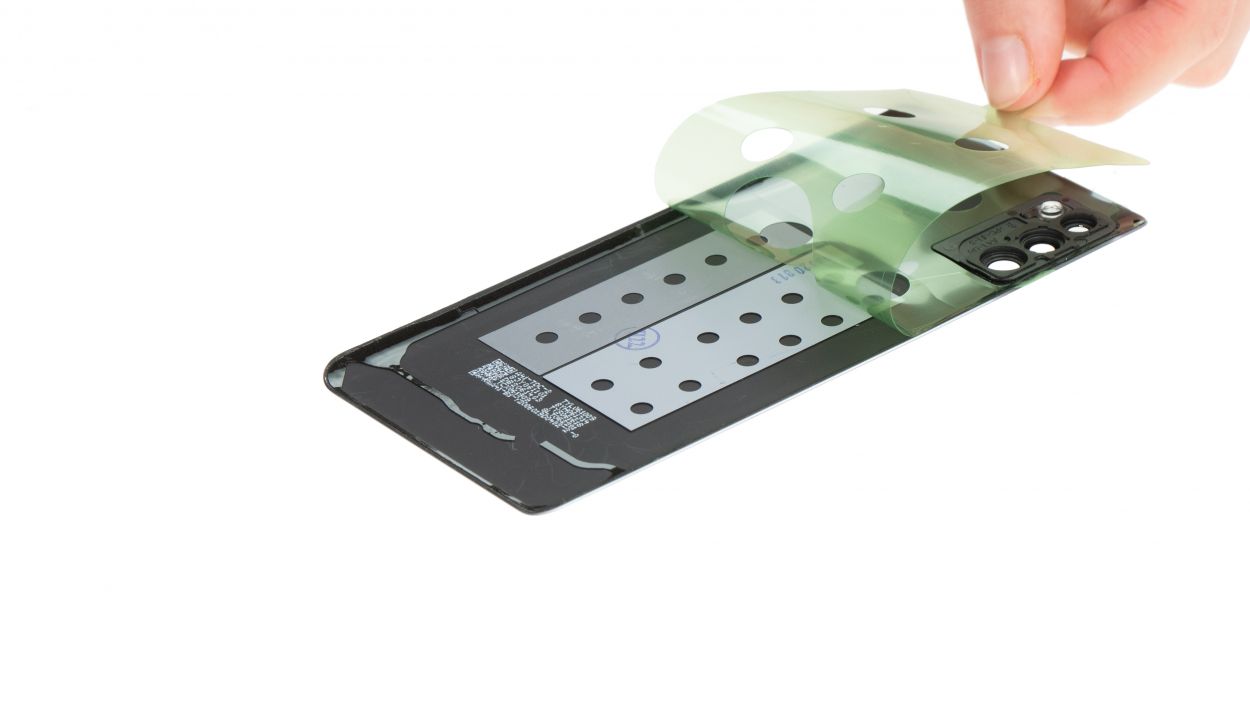
– Gently peel the back cover away from the middle frame, taking it one piece at a time. Use a trusty plastic tool to glide along the edge of that back cover. The iPlastix is your go-to buddy for this task!
Tools Used
Step 5
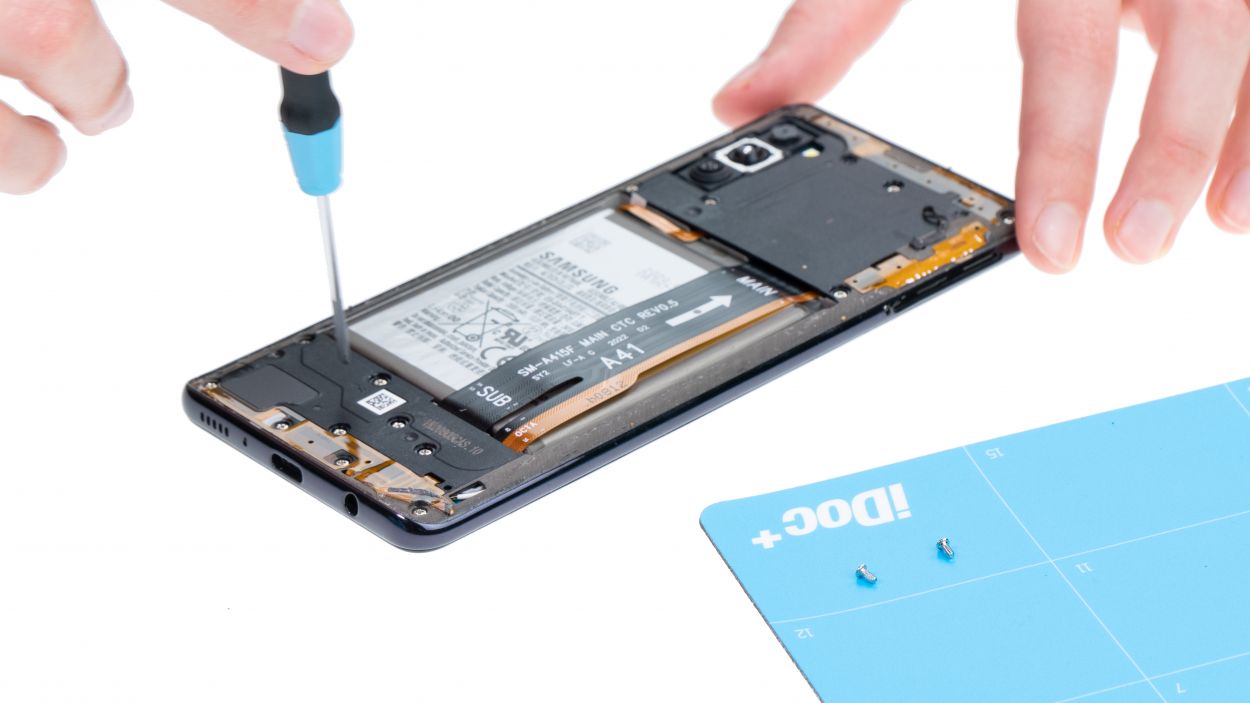
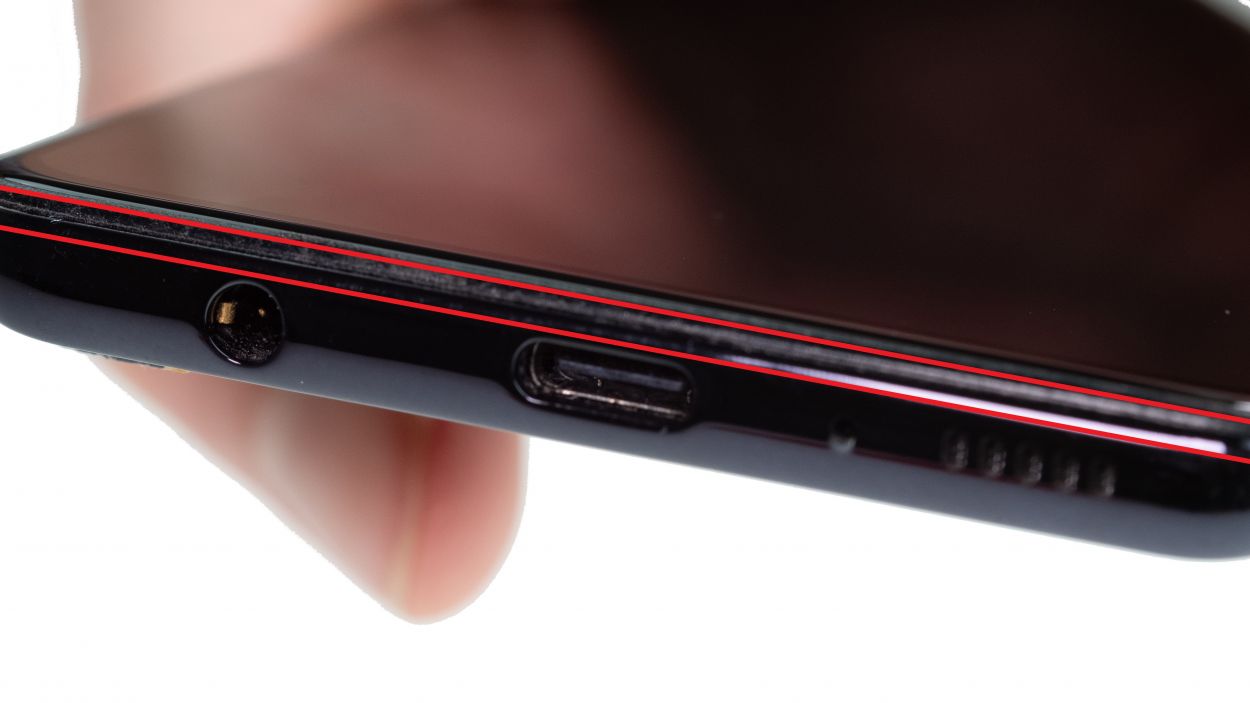
– First up, pop out that SIM tray from the middle frame! Just press into the tiny hole next to it with a sharp little tool. You got this!
– Now, let’s loosen those screws and stash them safely in a screw storage box. A magnetic pad works wonders for keeping track of them!
16 × 3.5 mm Phillips
Just a little heads up! The junction between the middle frame and the screen unit can be a bit sneaky. So, take a moment to inspect it closely before you whip out your tool!
This hard plastic pick is a total champ when it comes to grip! Its clever design, with those pointed, flat corners, makes it super easy to slide right in and get the job done.
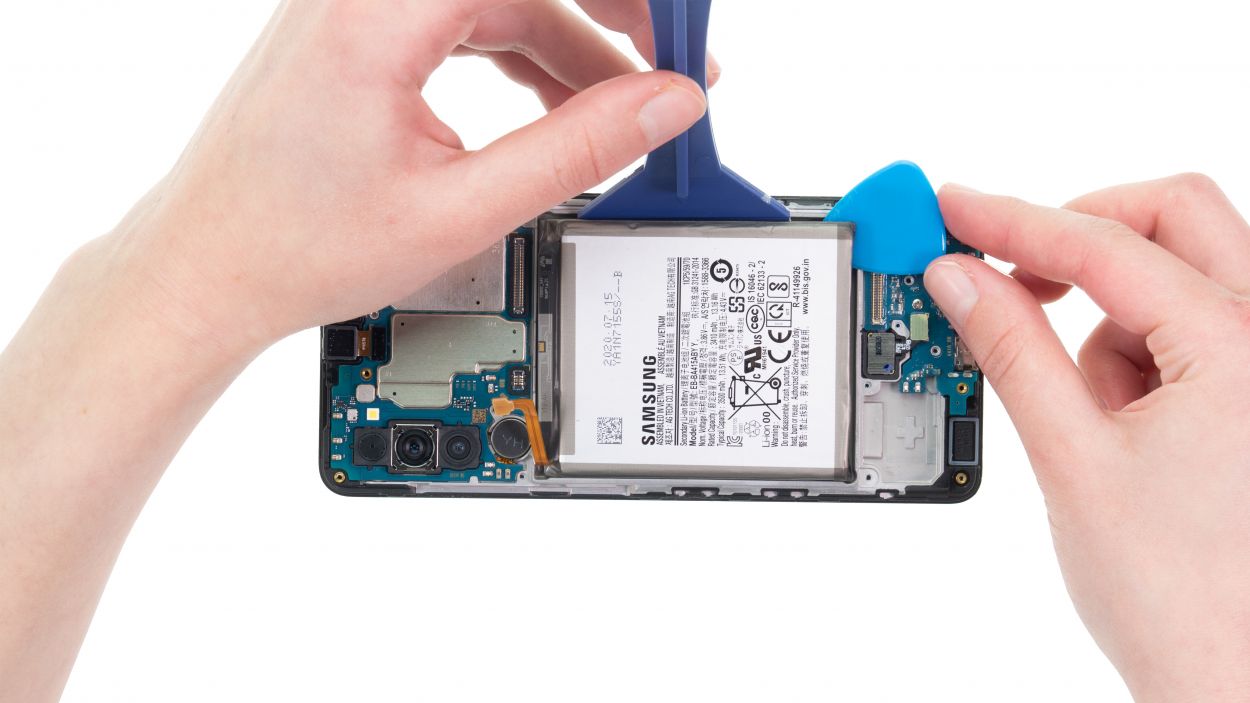
Step 6
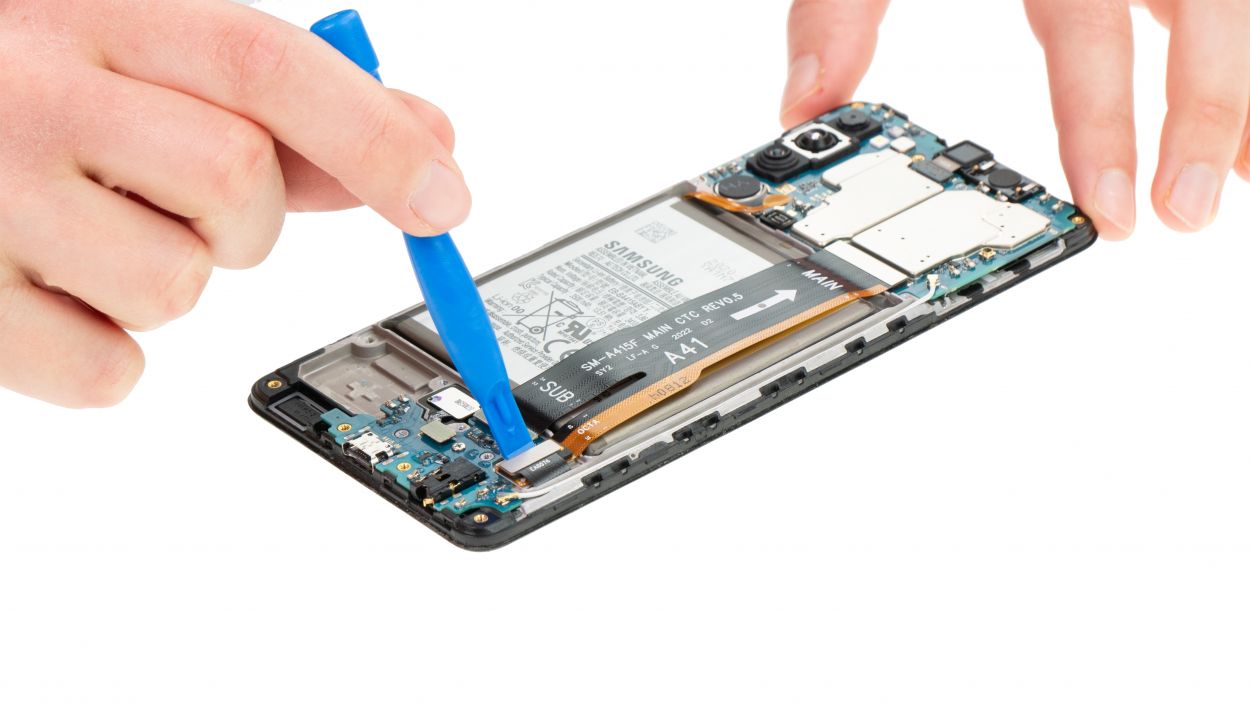
When you’re getting ready to detach that battery connector, remember to kick things off from the side without any tiny components hanging out. It’s like giving your device a little extra TLC to avoid any mishaps!
– Grab a reliable plastic lever tool and slide it gently under the battery connector. Give it a little lift—you’re doing great! A trusty plastic spudger is perfect for this job.
Tools Used
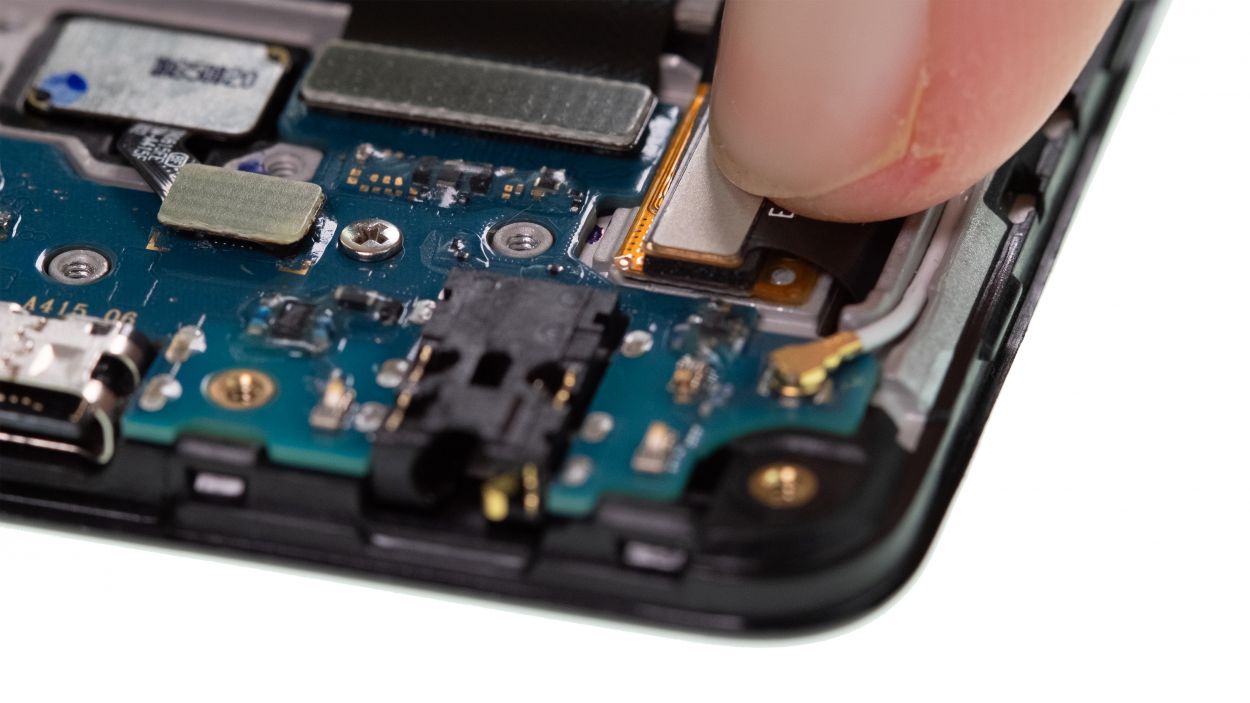
Step 7
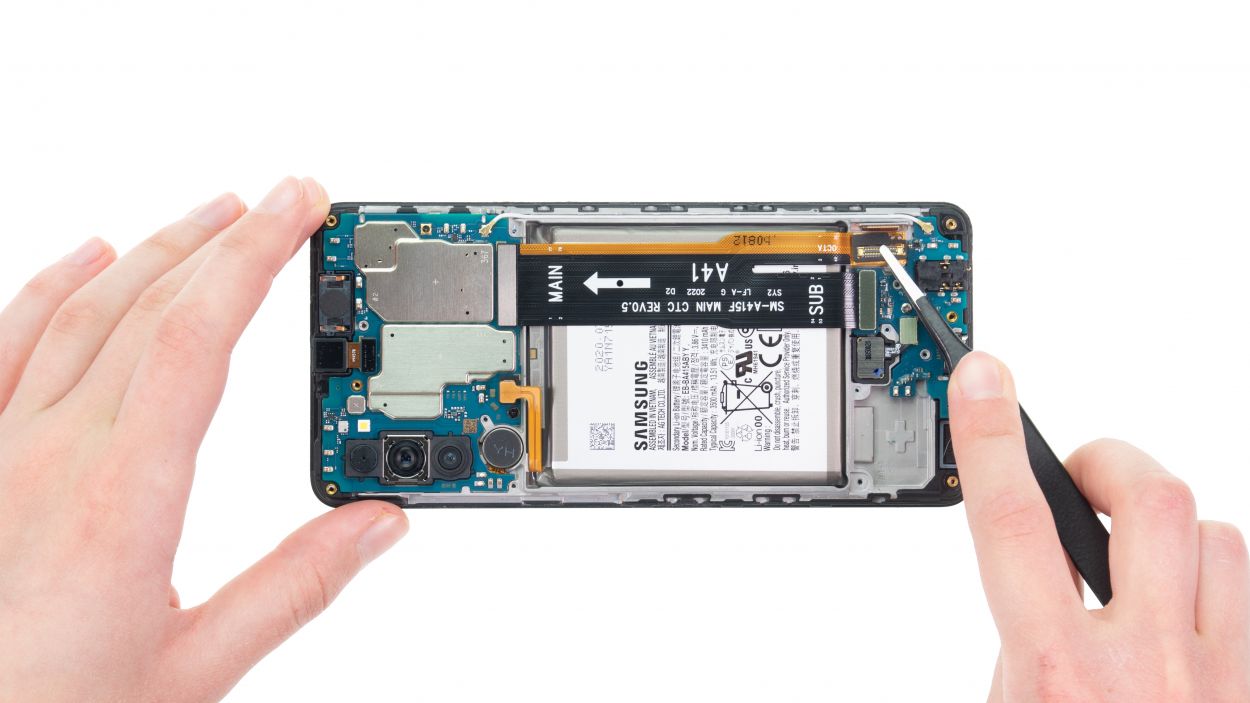
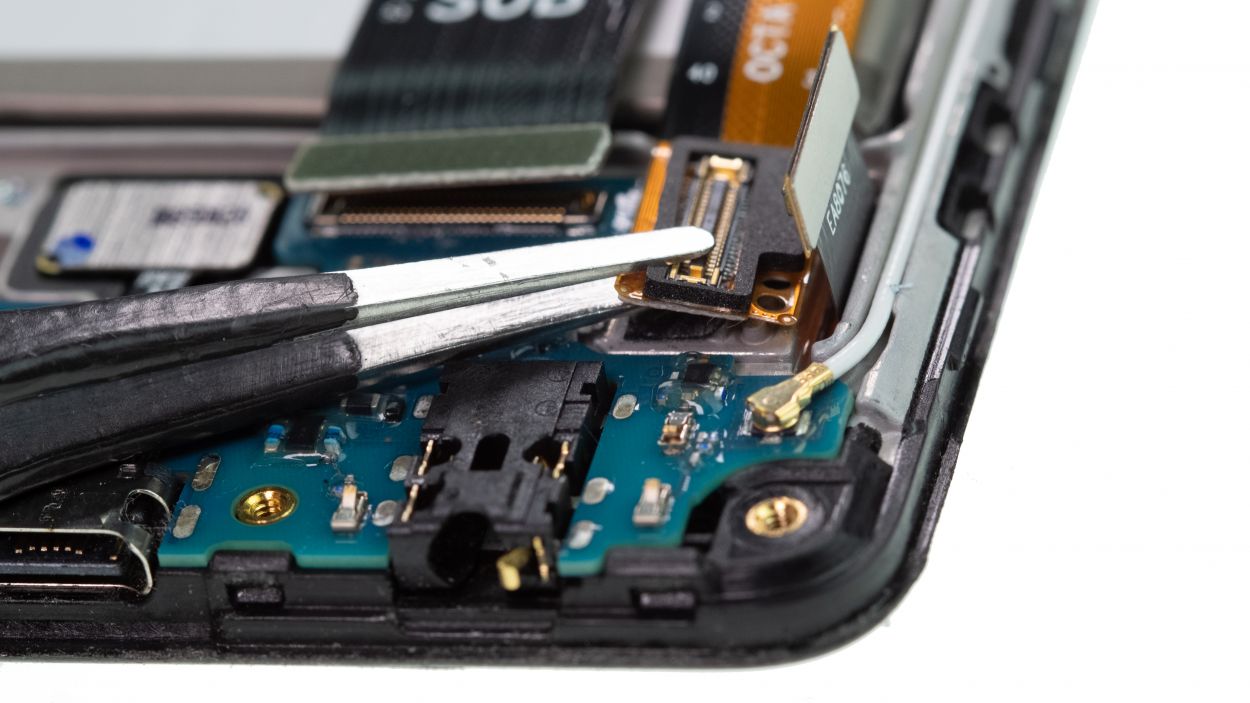
When you’re about to detach that battery connector, remember to kick things off from the side where there aren’t any tiny components hanging out. It’s like giving your device a little extra love to avoid any mishaps!
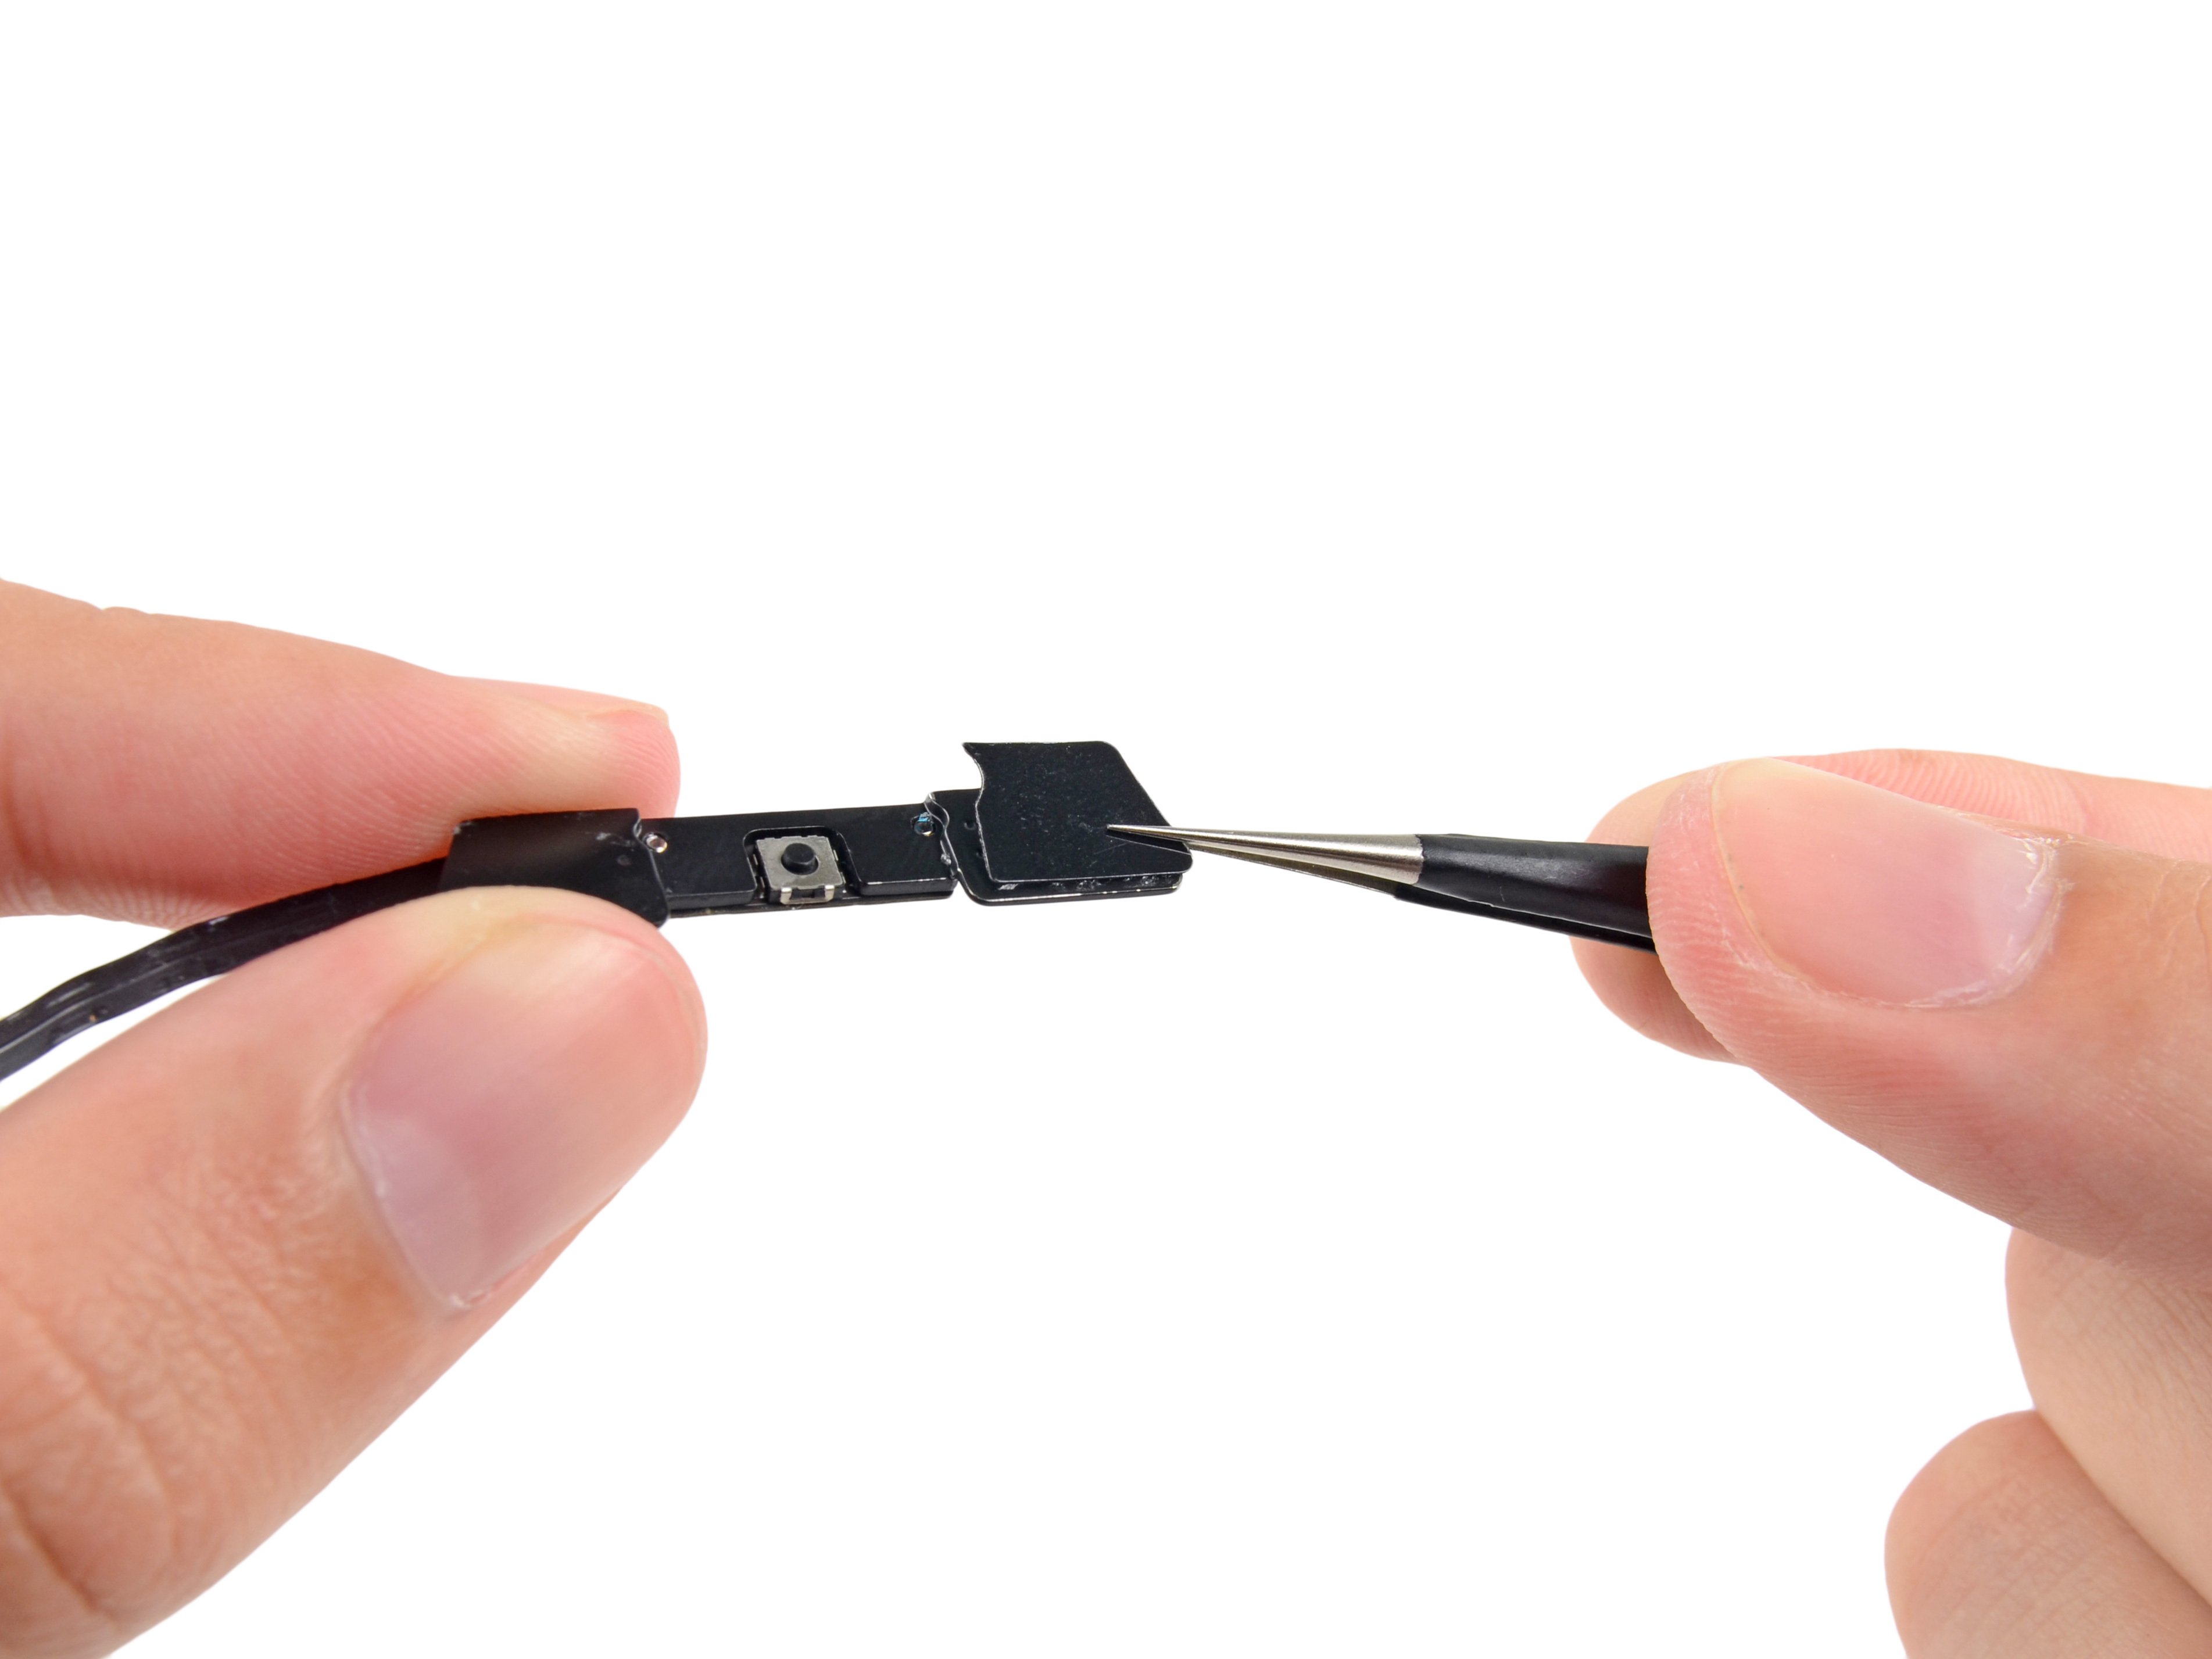
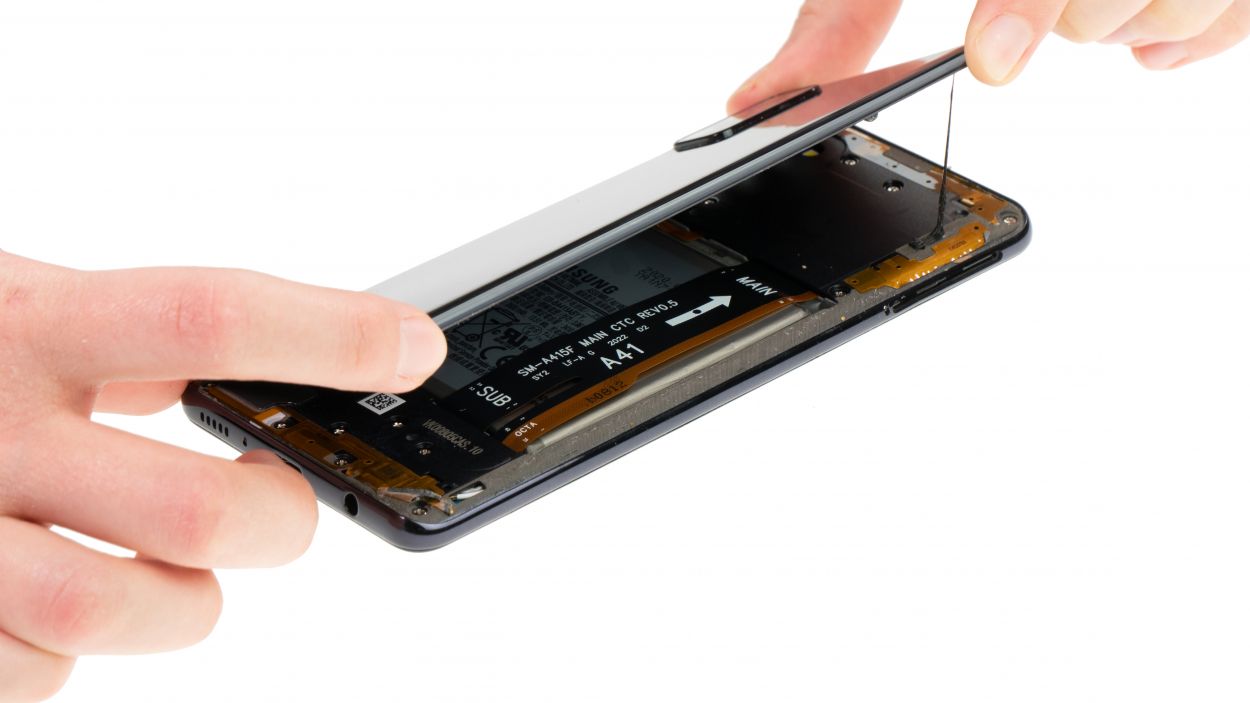
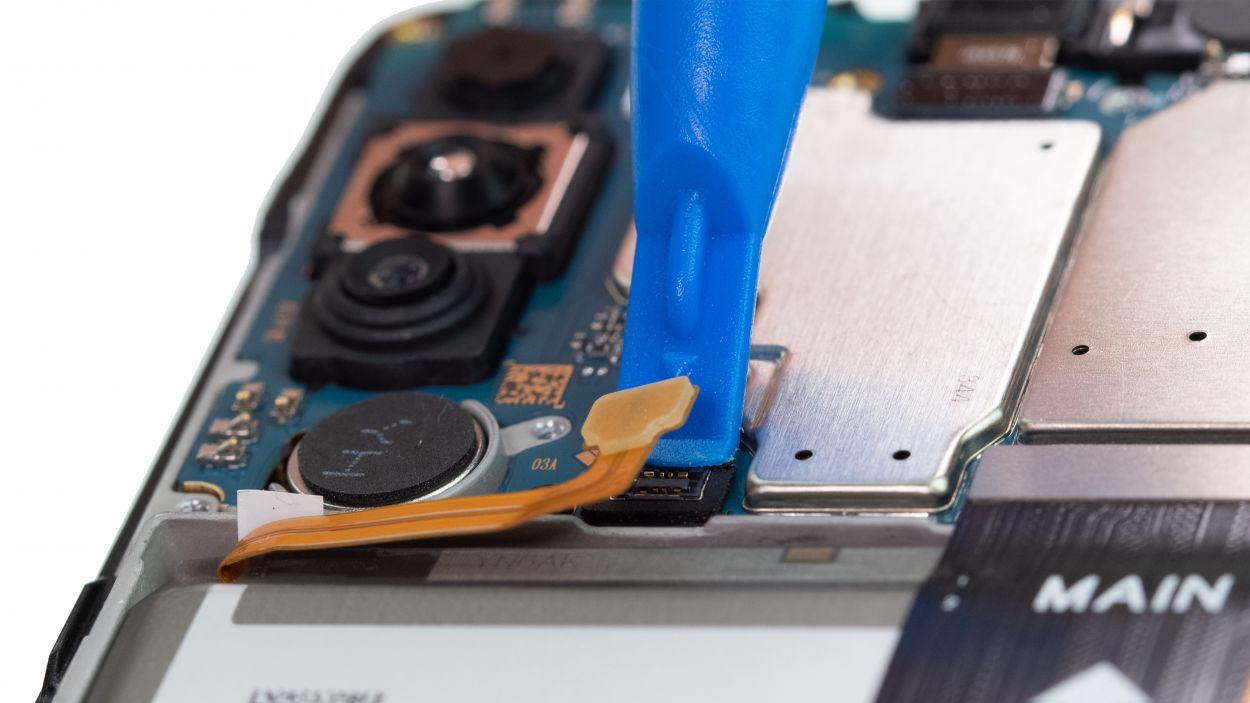
– Begin by gently prying off the screen connector like a pro!
– Next, use a flat, sturdy tool to loosen the glued end of the connector cable. ESD tweezers are a solid choice for this task!
– Now, it’s time to detach the two cable connectors from both the main and USB boards. You’re doing awesome!
– Once you’ve got those connectors off, carefully remove the disconnected cable from your device and set it aside. You’re on the right track!
Tools Used
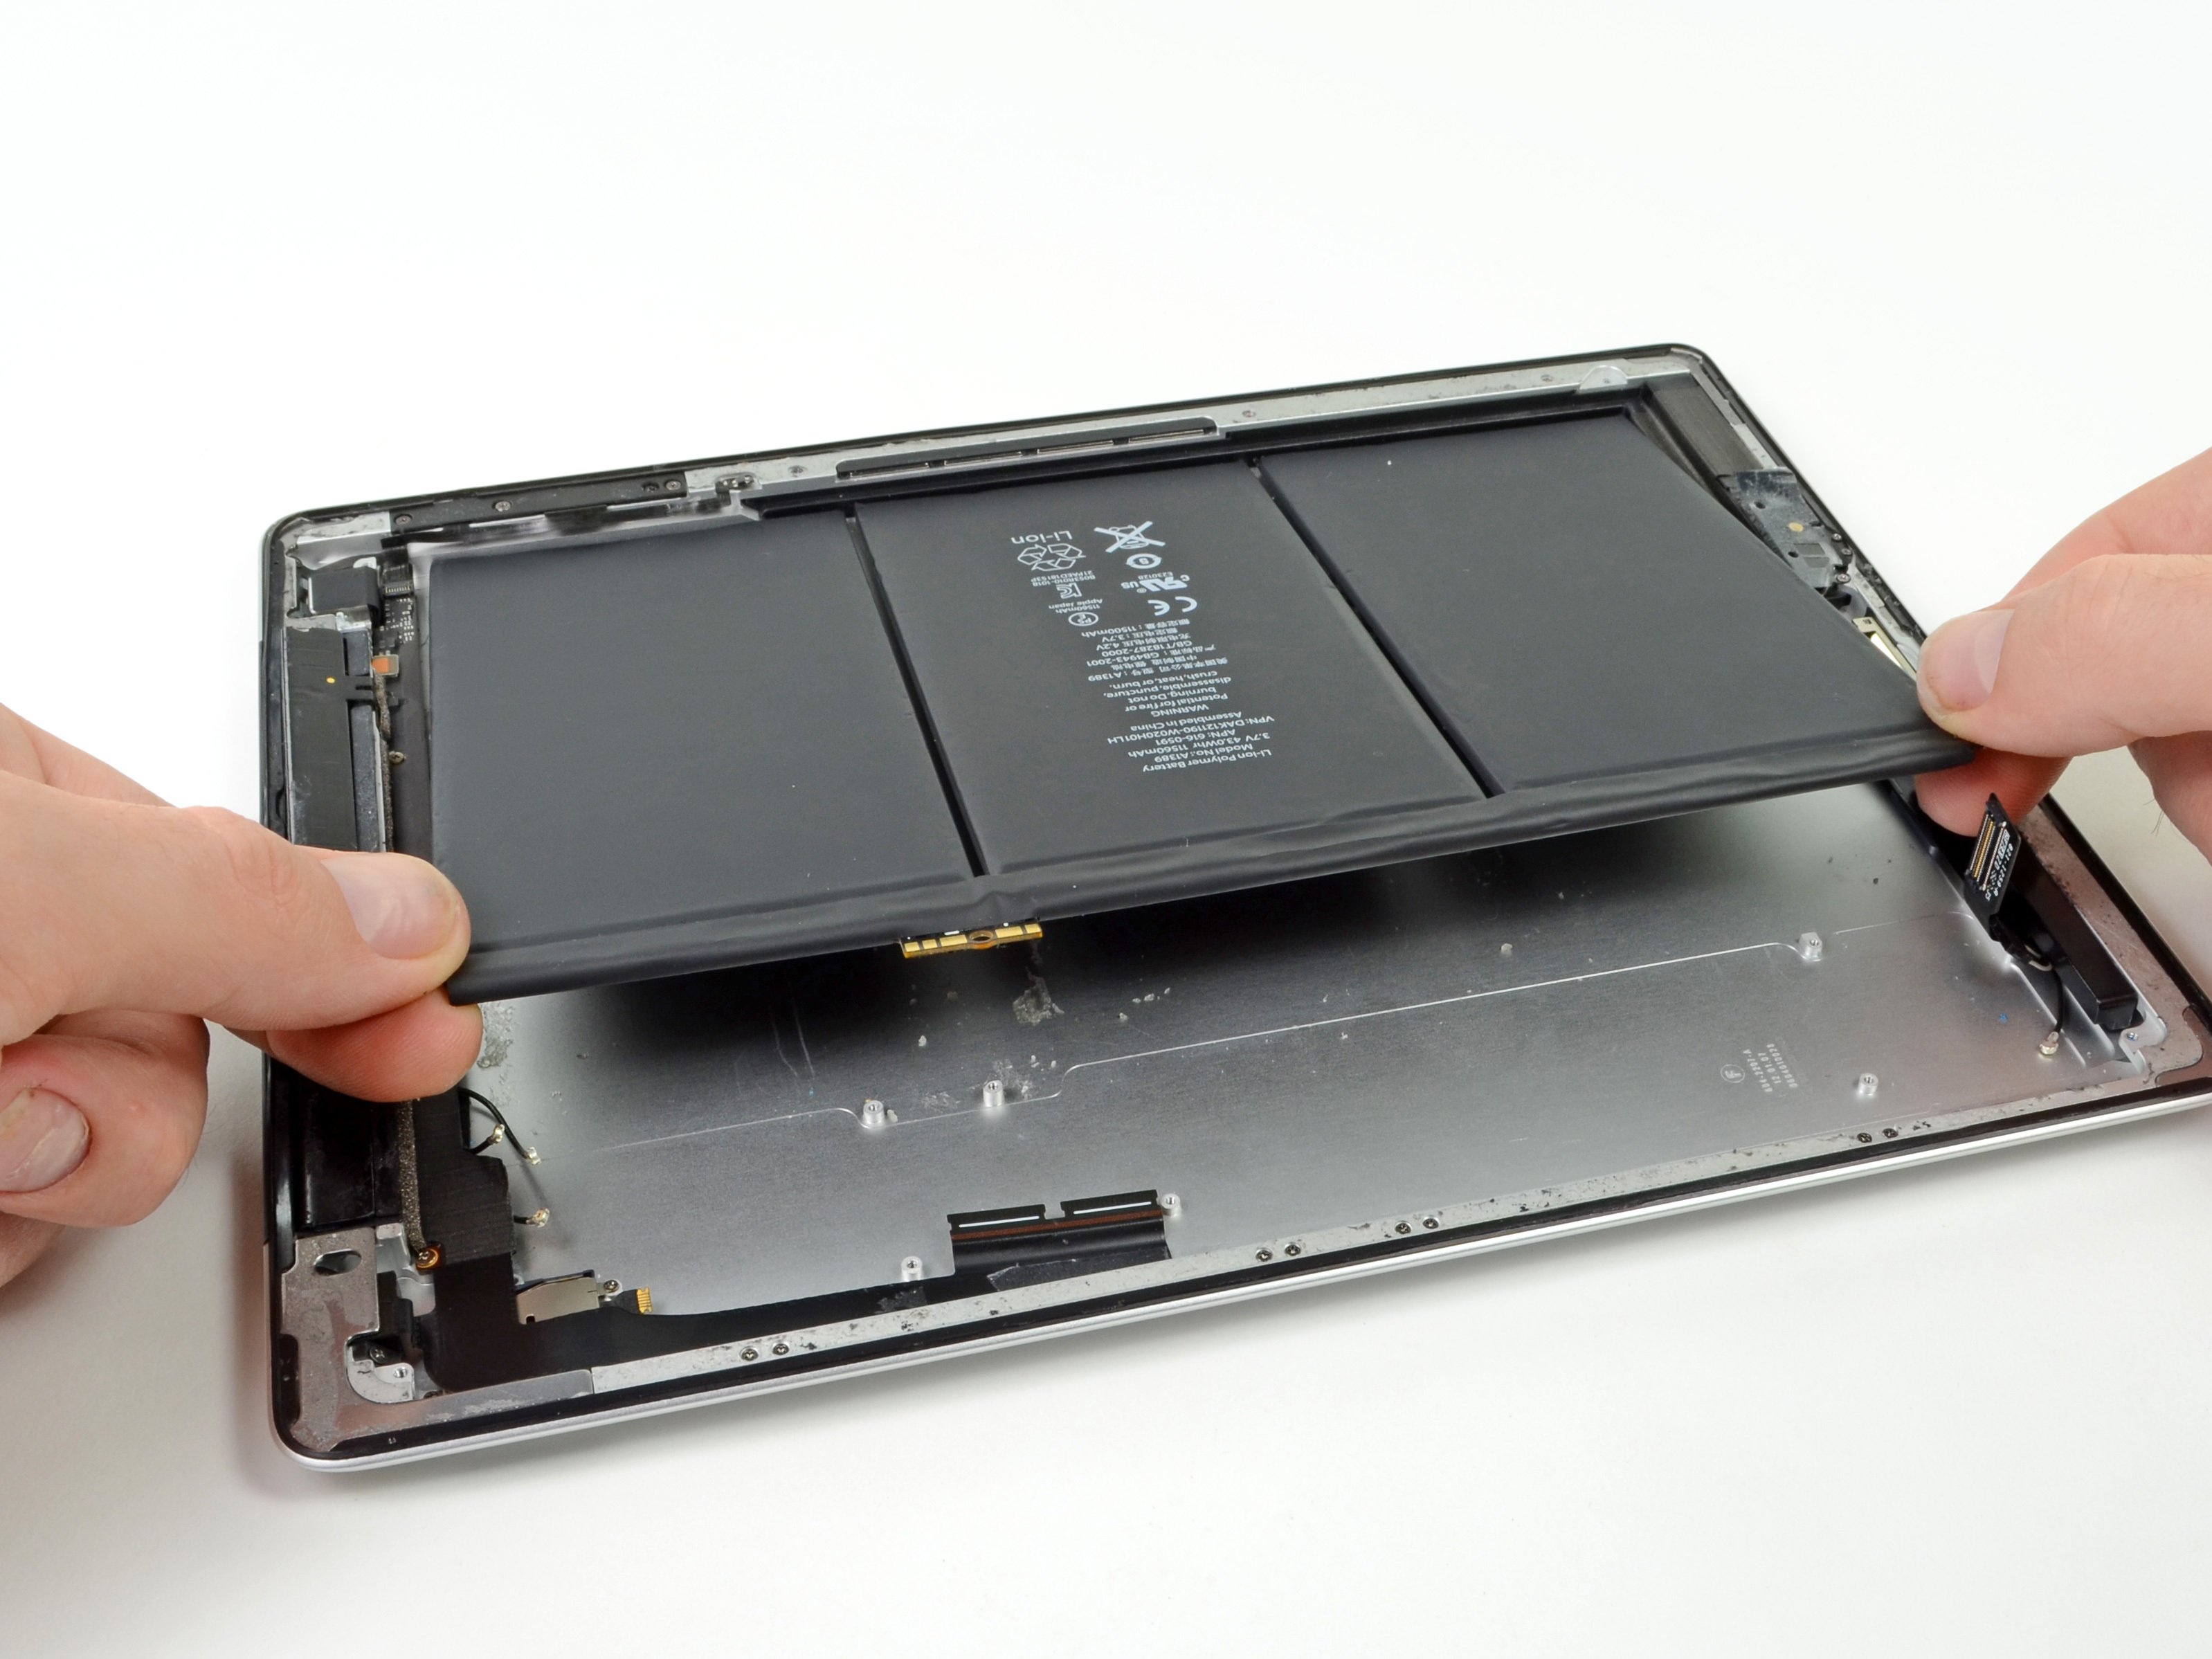
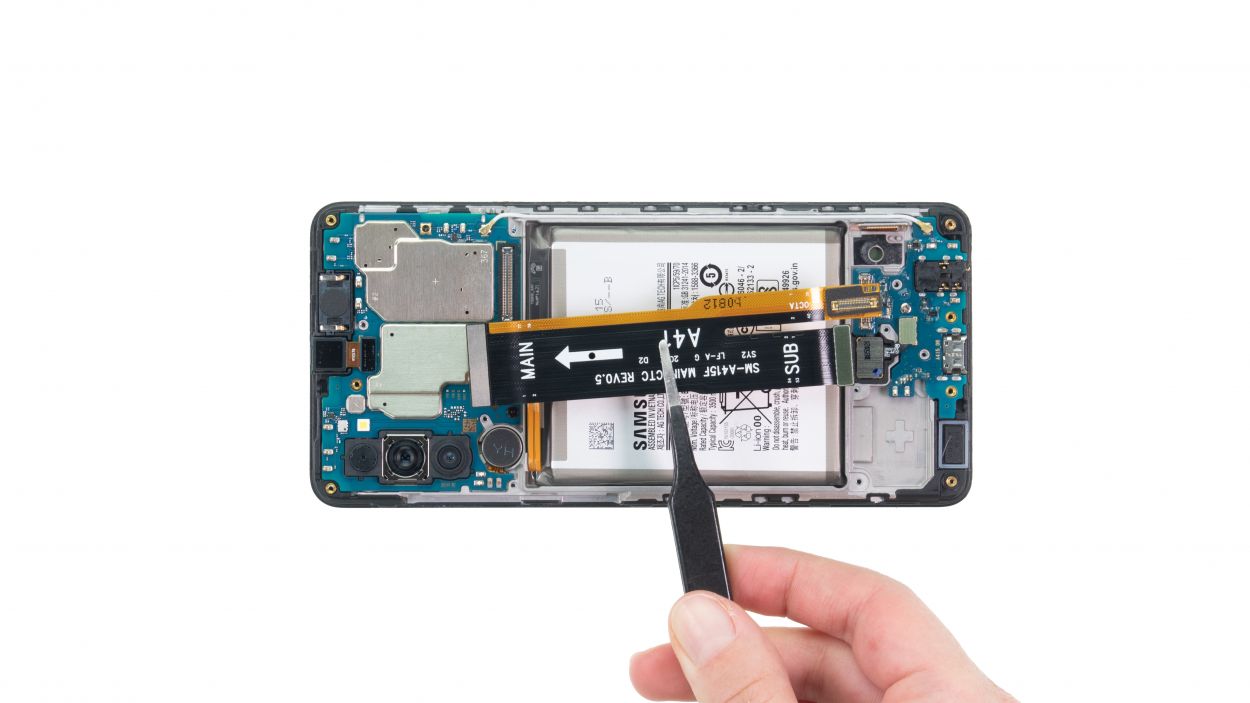
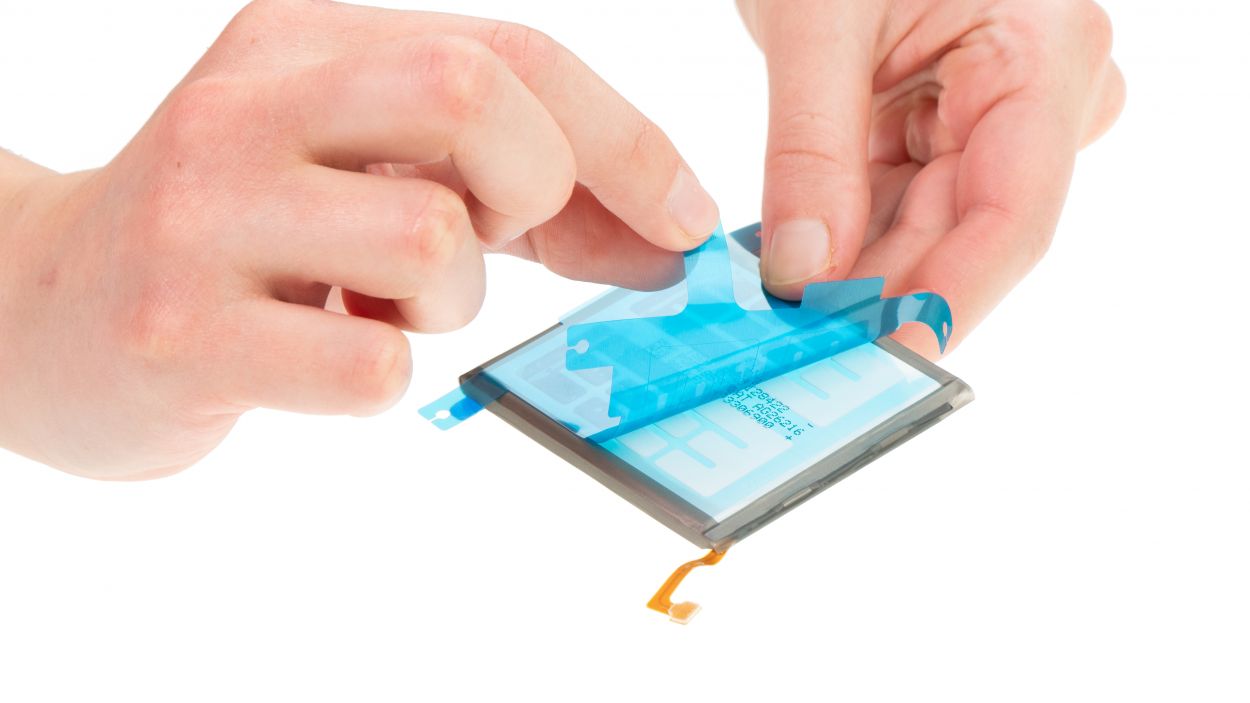
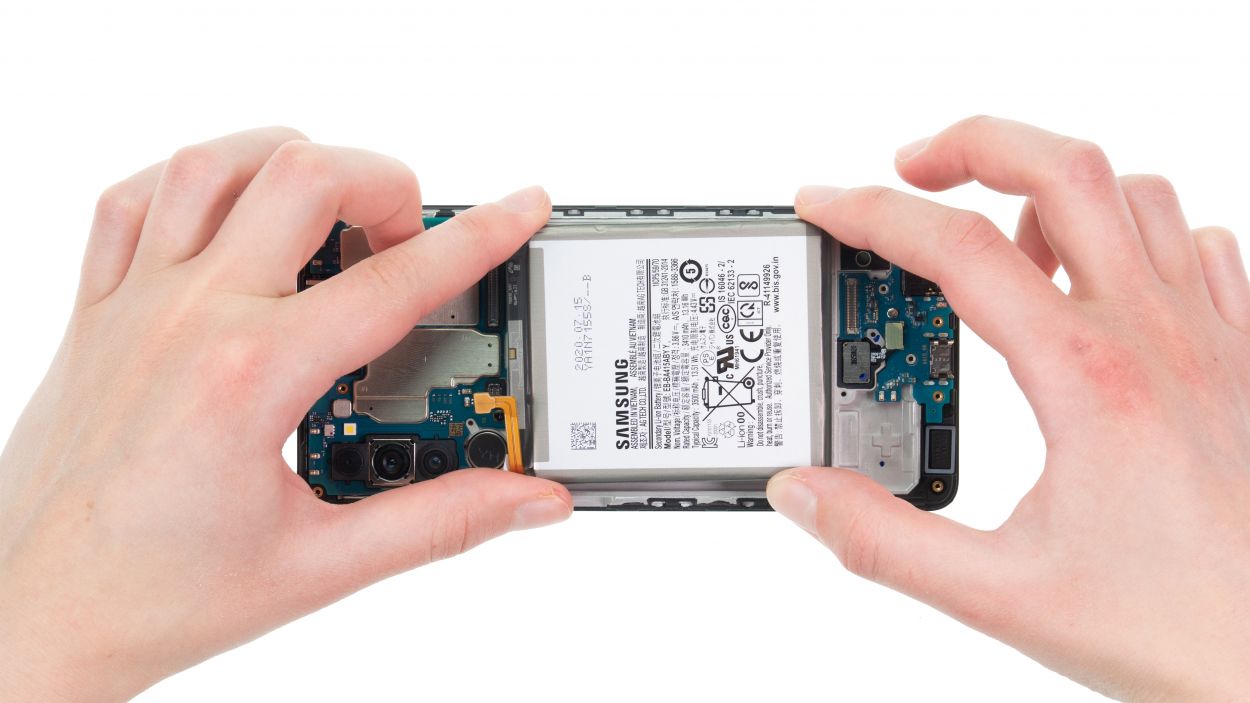
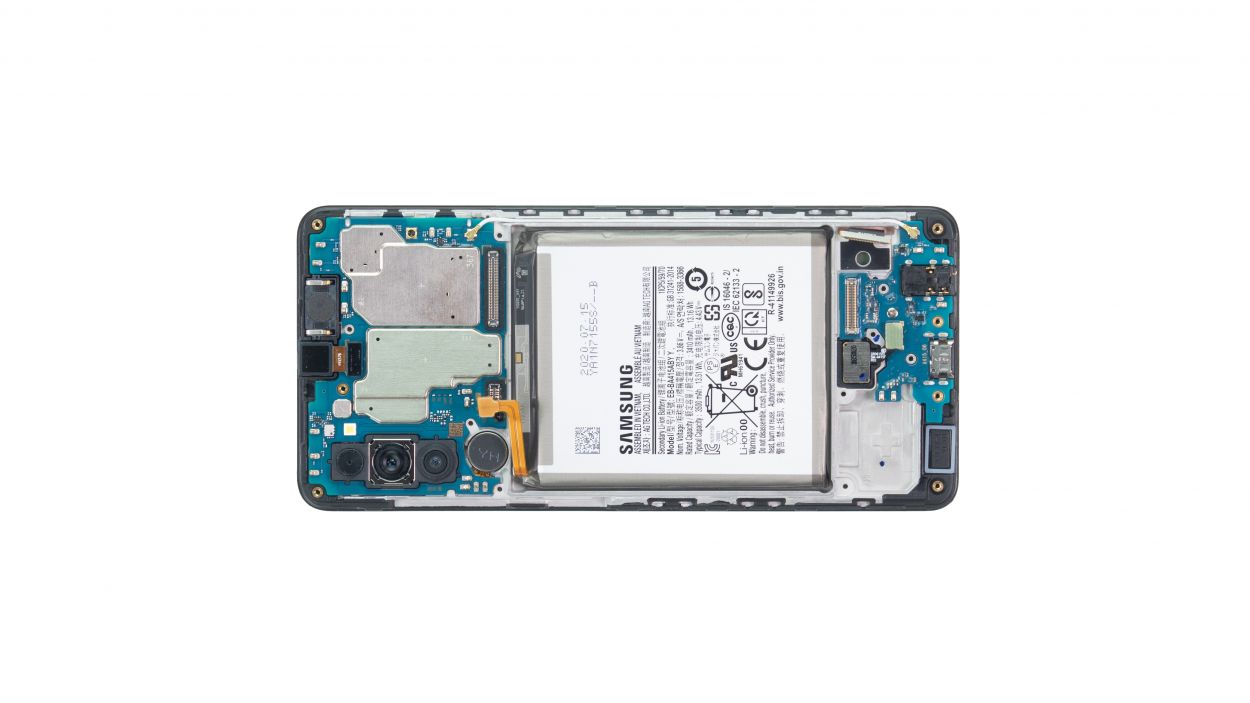
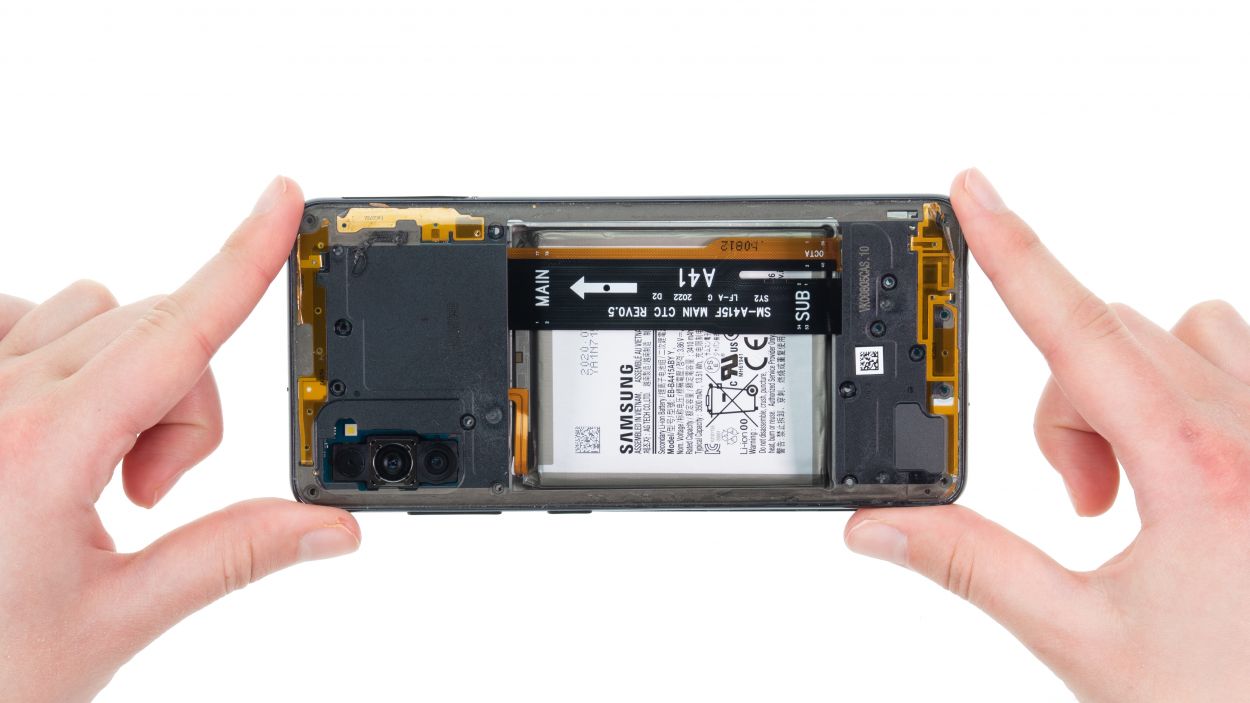
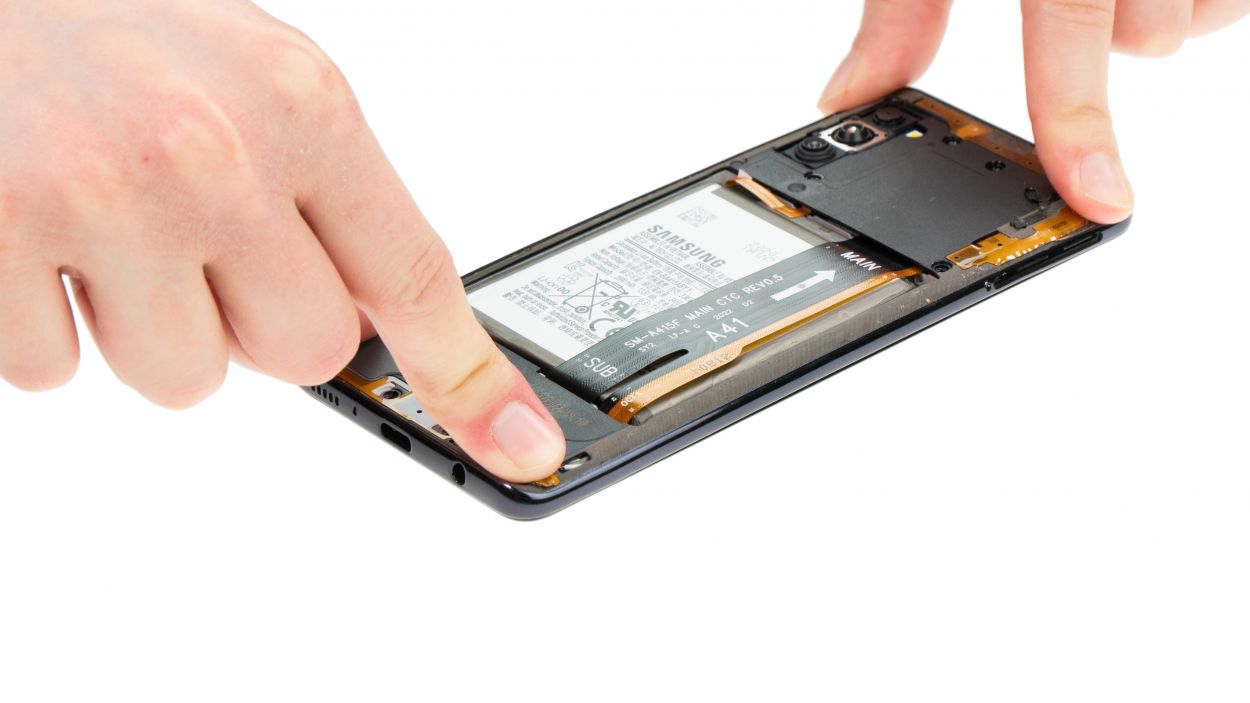
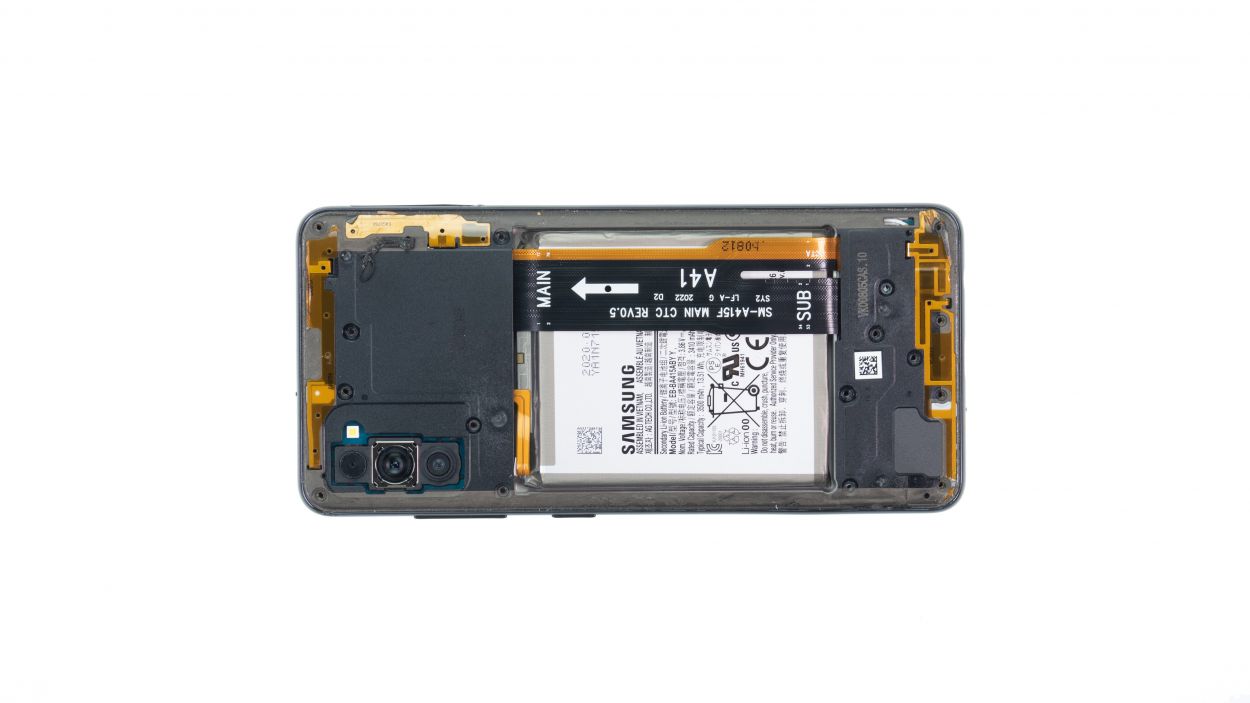
Step 8


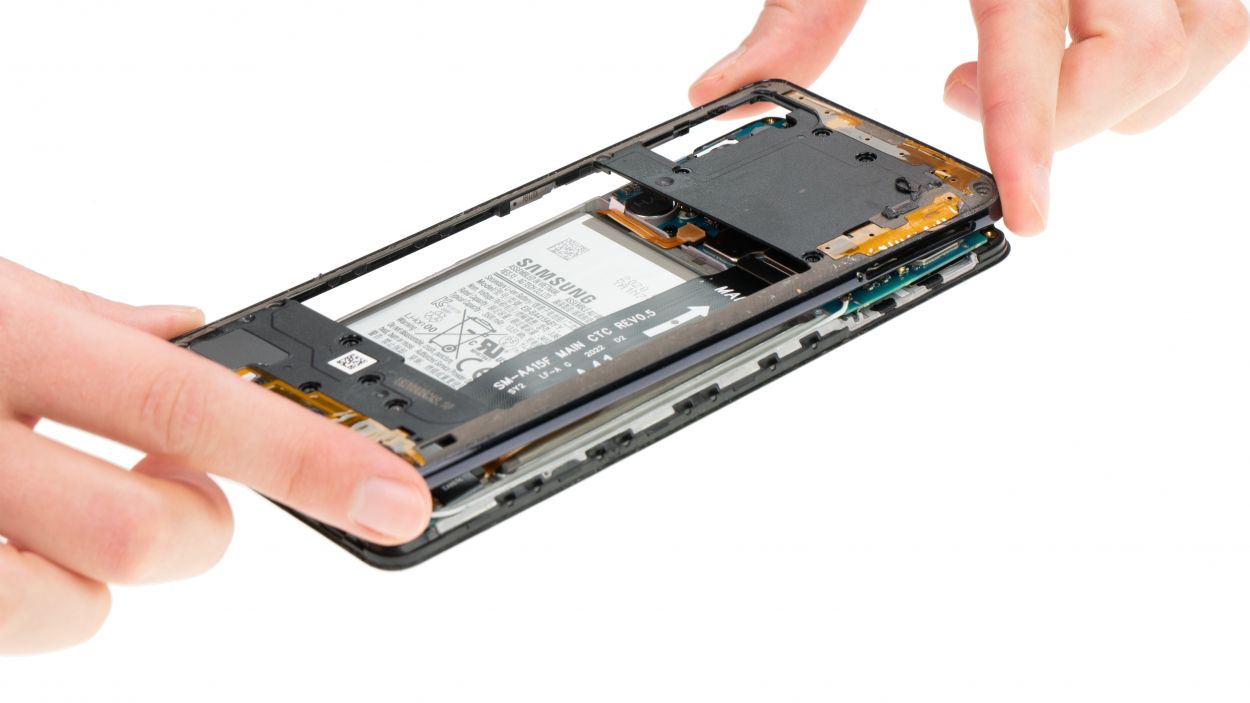
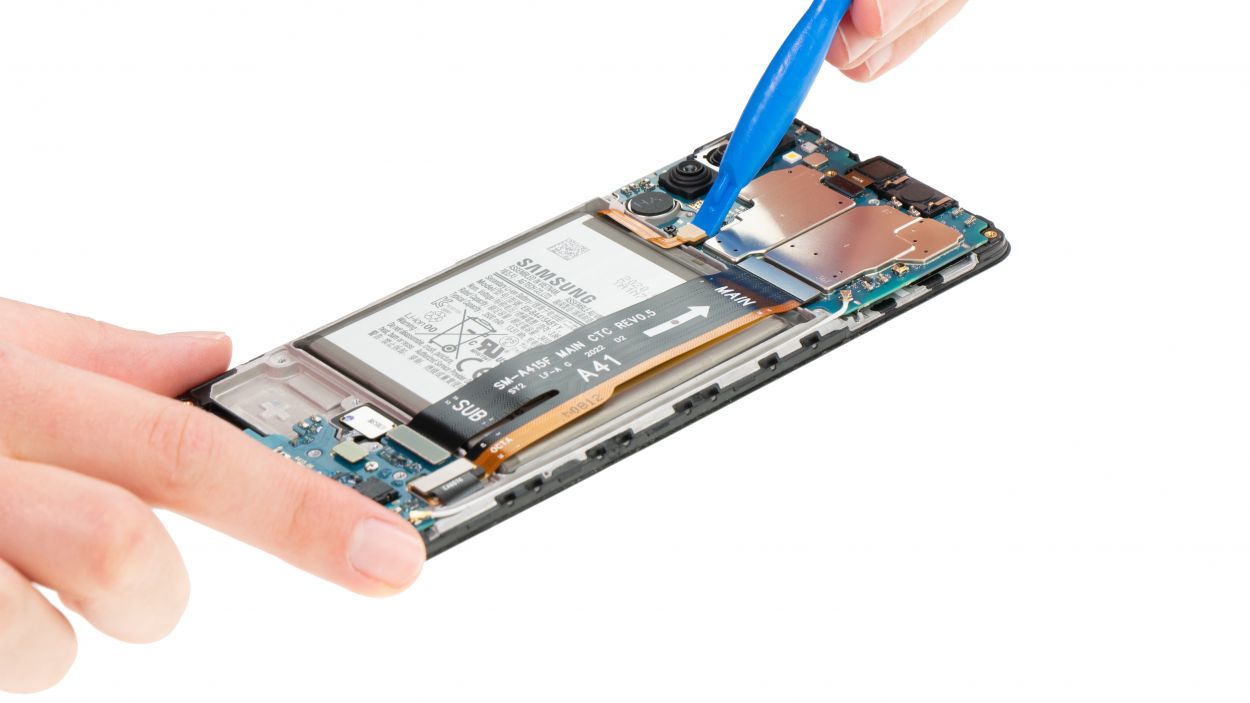
Avoid heating the sensitive battery directly; instead, warm up the side of the screen panel. Your battery will appreciate it!
Once you’ve given that battery a little wiggle, slide a flat tool like the iPlastix underneath it. Keep loosening it like you’re slicing through butter with a knife. You’re doing awesome!
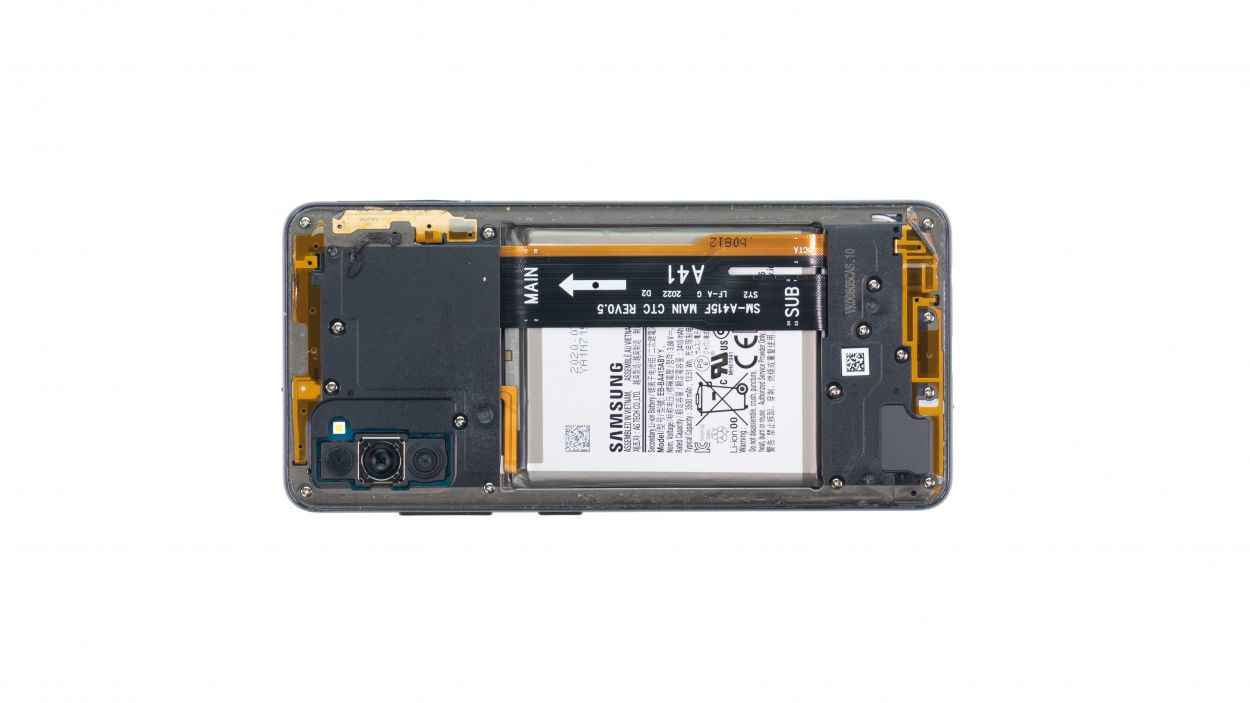
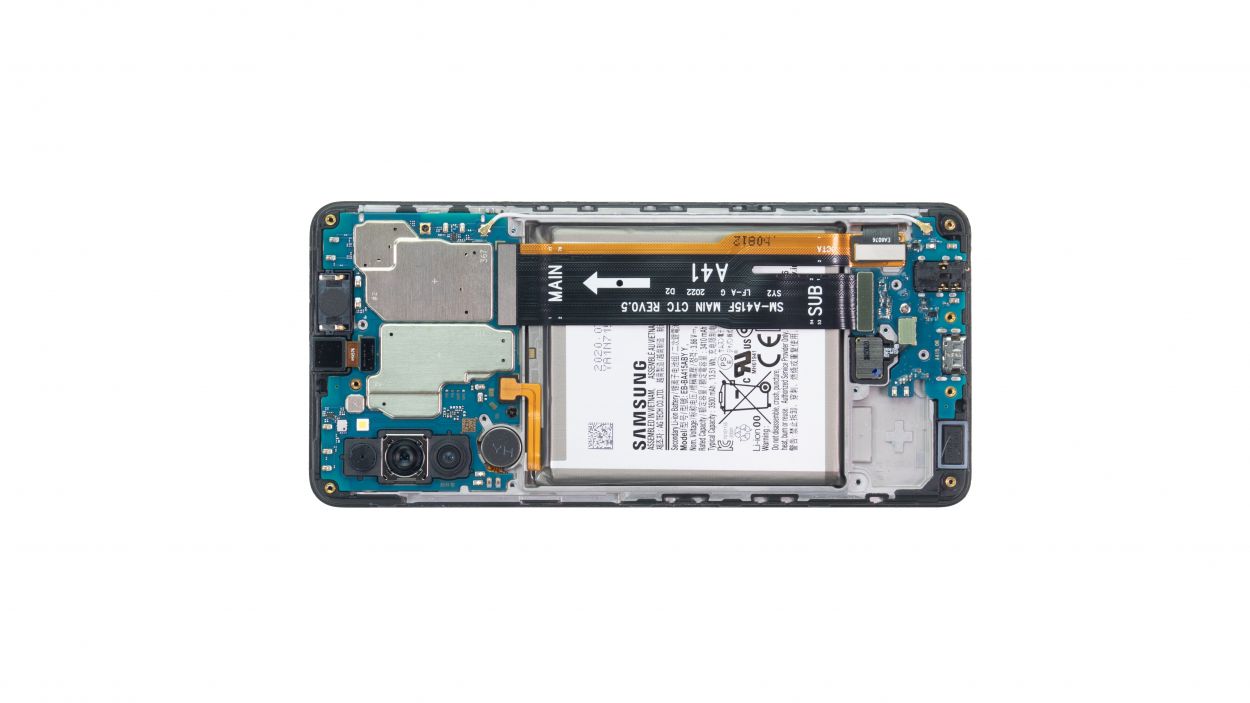
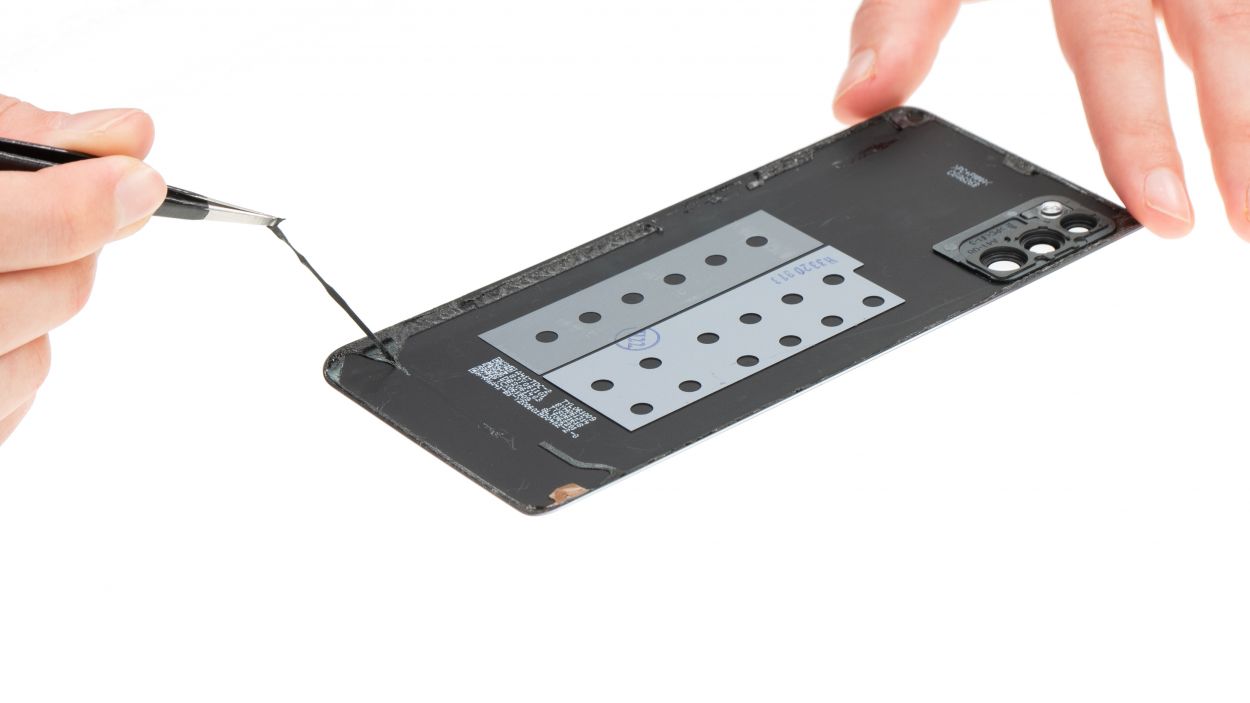
– The battery of the Galaxy A41 is stuck to the screen unit with a hefty amount of adhesive. To set it free, you’ll want to warm up that sticky stuff using a bit of hot air first.
Tools Used
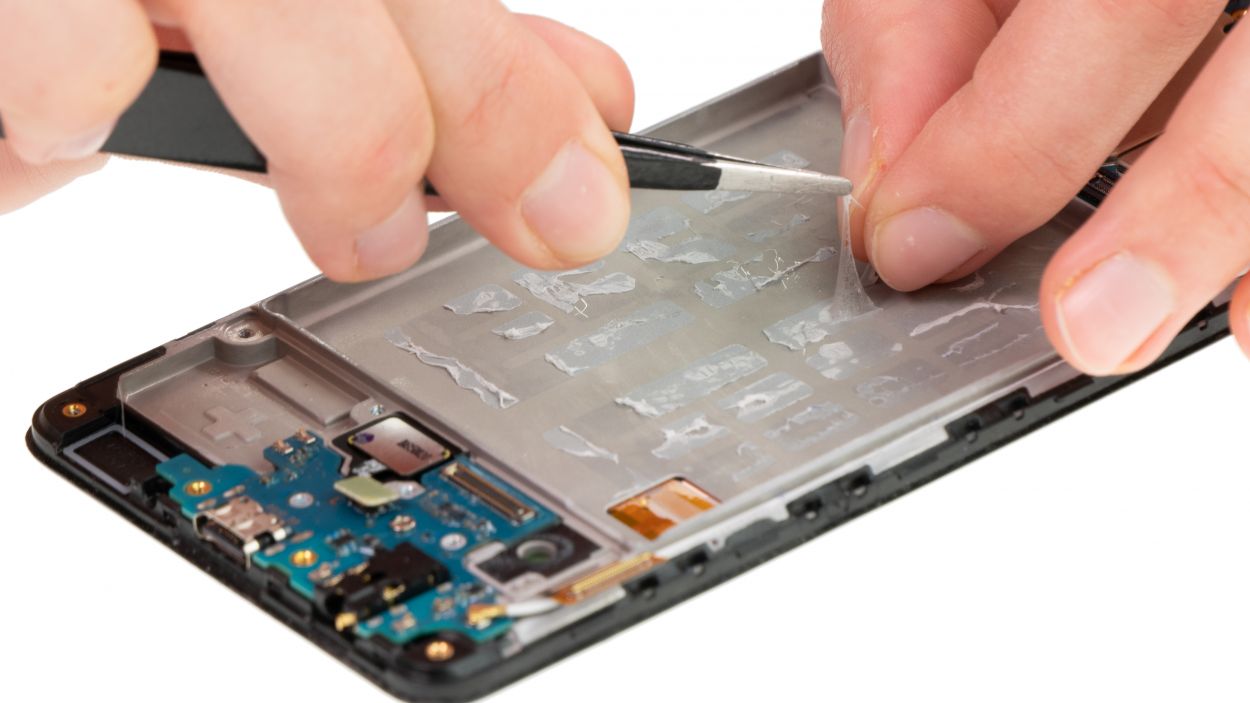

Step 11
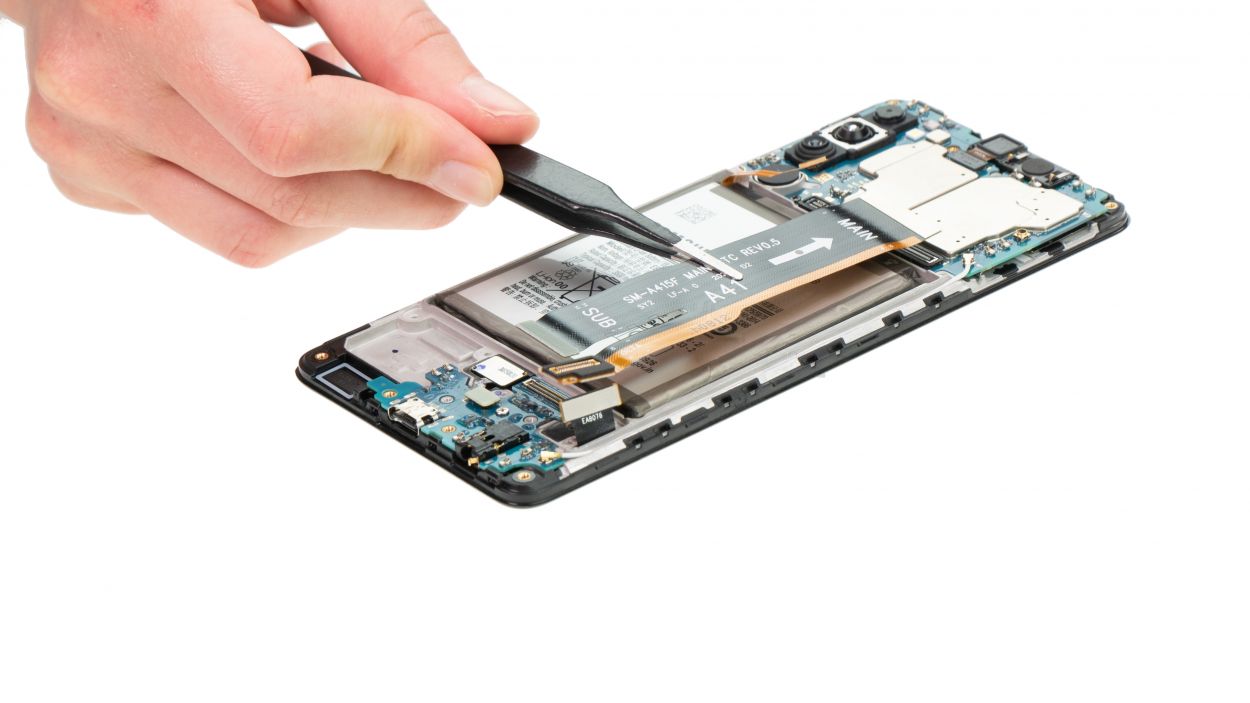
Hey there! When you’re connecting those cables, remember to be gentle. Forcing them can lead to some serious drama with your device. Let’s keep everything in tip-top shape!
– First, make sure to line up that cable just right. The connectors and the cable label are your trusty sidekicks here!
Tools Used
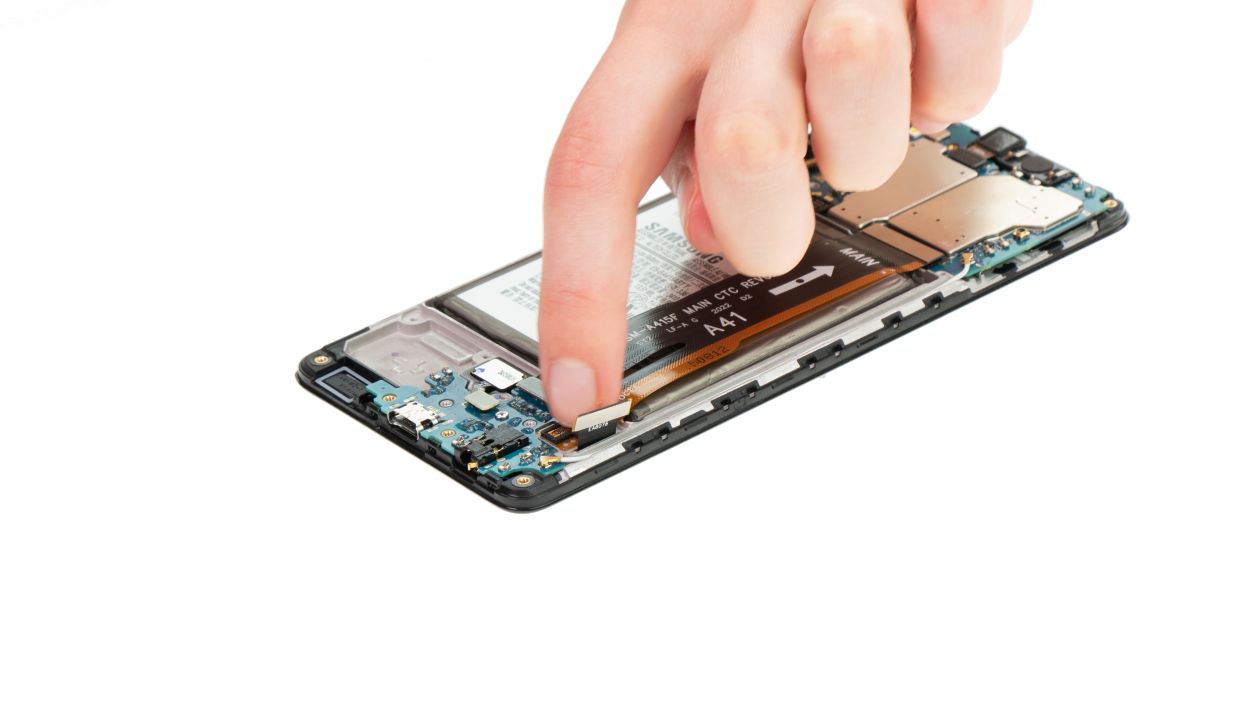
Step 12


Hey there! When you’re attaching those connectors, take it easy. Forcing them can cause some serious trouble with your device. Let’s keep everything in tip-top shape!
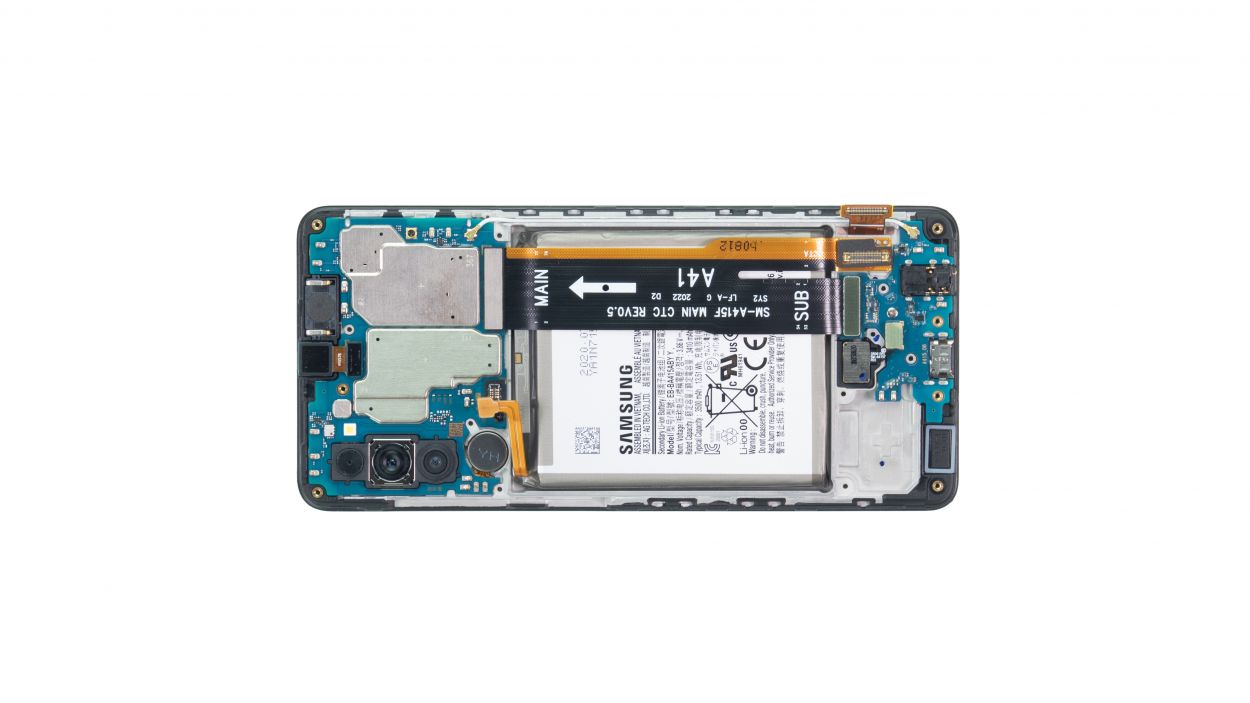
Step 14


– First things first, power up your device and get it ready for action!
– Next, plug in a charging cable to see if that shiny new battery starts charging. Fingers crossed!
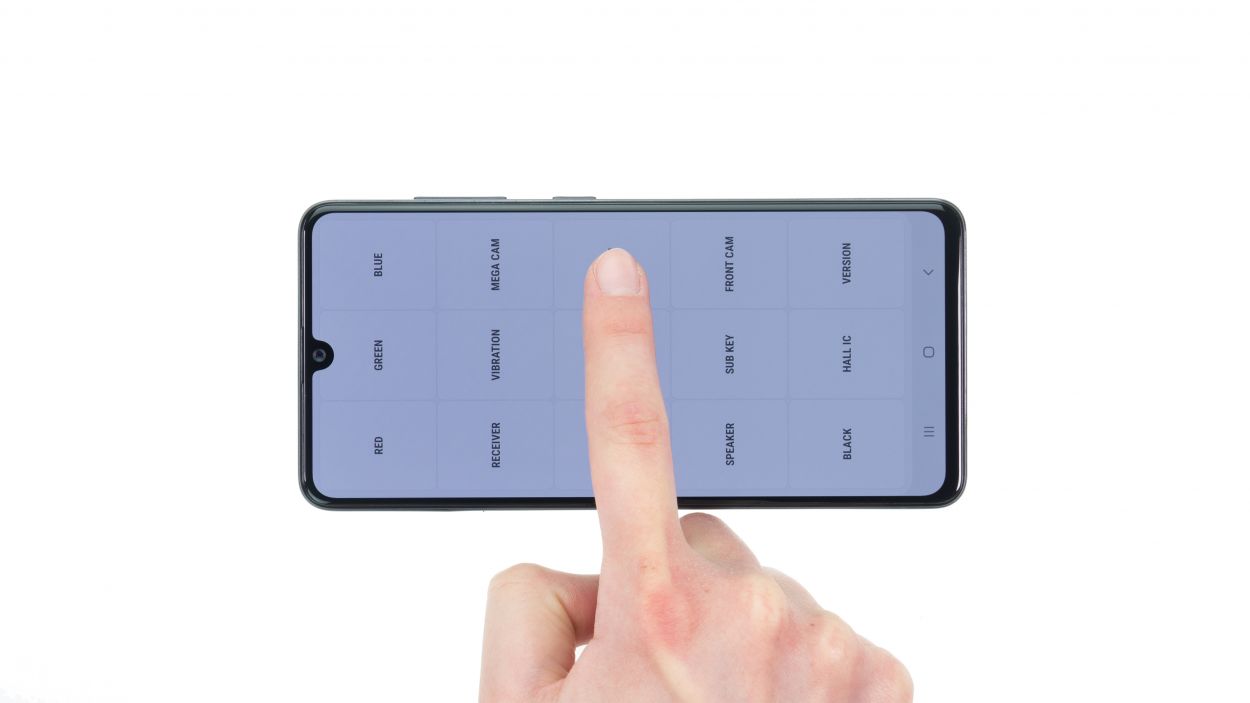
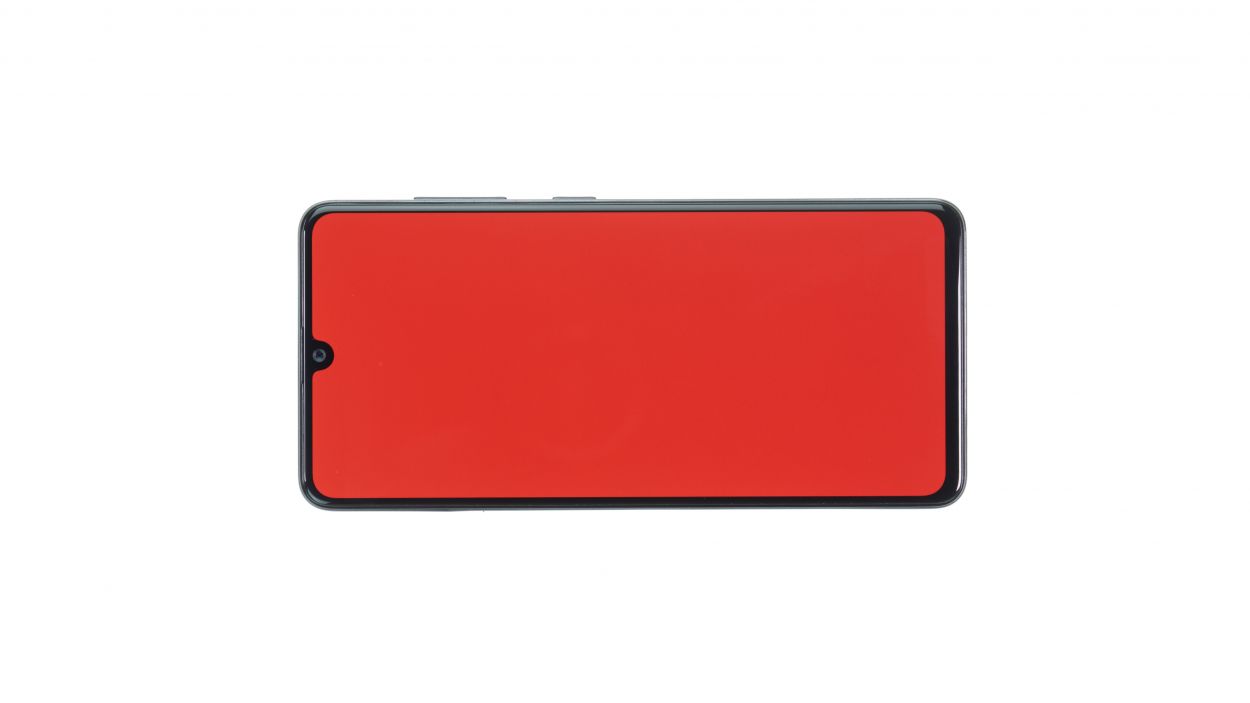
– Once you’ve done that, it’s time to check out the rest of your device’s components. Just dial *#0*# to hop into the Samsung test menu and give everything a little check-up!
Step 15

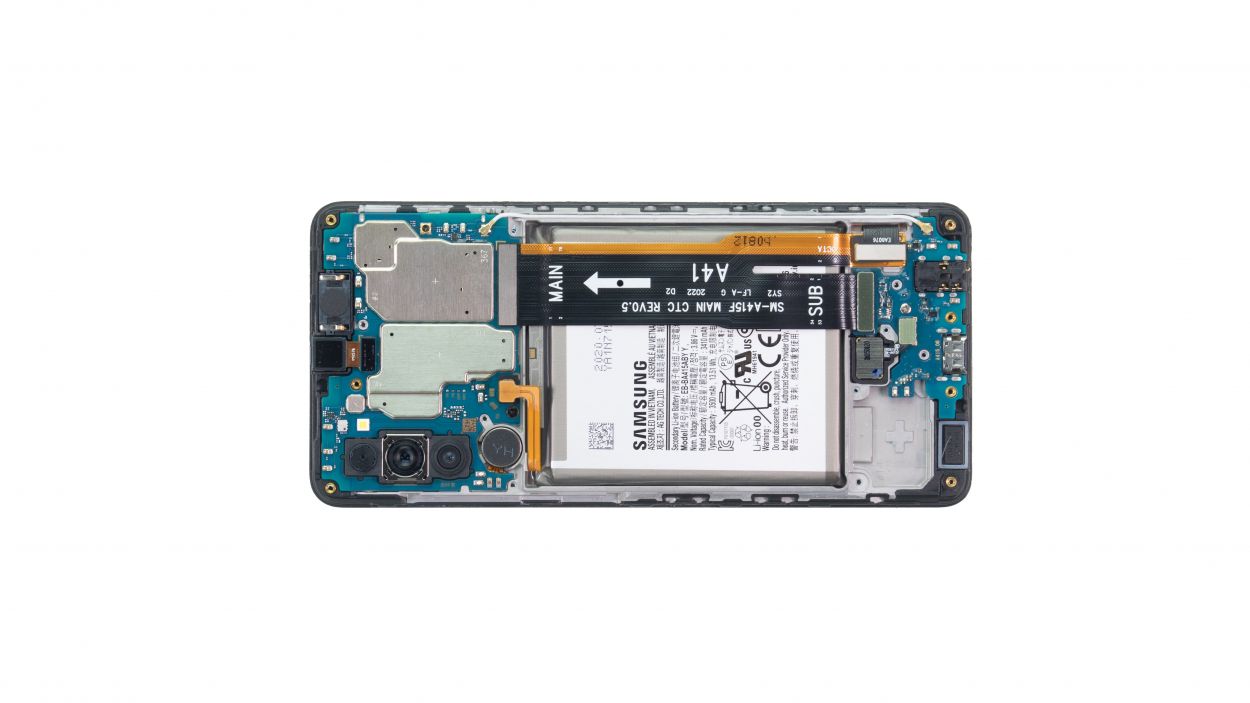
– First, carefully place that back cover right on top of the display unit like a cozy blanket.
– Next, give it a nice, even press all around the edges with your fingers. You’re doing a fantastic job!
– And for the grand finale, warm up that back cover one last time and set something heavy on it for about half an hour. This will help the glue stick like it means it!
Tools Used
- heat gun to heat parts that are glued on so they’re easier to remove.
In most cases, you can also use a hairdryer.” rel=”noopener”>Heat gun - Piergiacomi Tweezers 2a SA ESD