Step-by-Step iPhone SE (2020) Earpiece Replacement Guide
Duration: 30 min.
Steps: 16 Steps
In this photo guide, we’ve got the fix for your sound woes! We’ll walk you through the steps to swap out the faulty earpiece on your iPhone SE (2nd generation) and restore that crisp audio you love. Since the iPhone SE (2nd generation) is pretty much a twin to the iPhone 8, we’ve borrowed some handy photos from the iPhone 8 manual to make things easier for you. Just follow along, and you’ll be working like a pro in no time! If you need any help or have questions, feel free to drop a comment. Happy repairing, and we’d love to hear your thoughts on our guide! To make things even easier, if you’re not up for the challenge, you can always schedule a repair.
Step 1

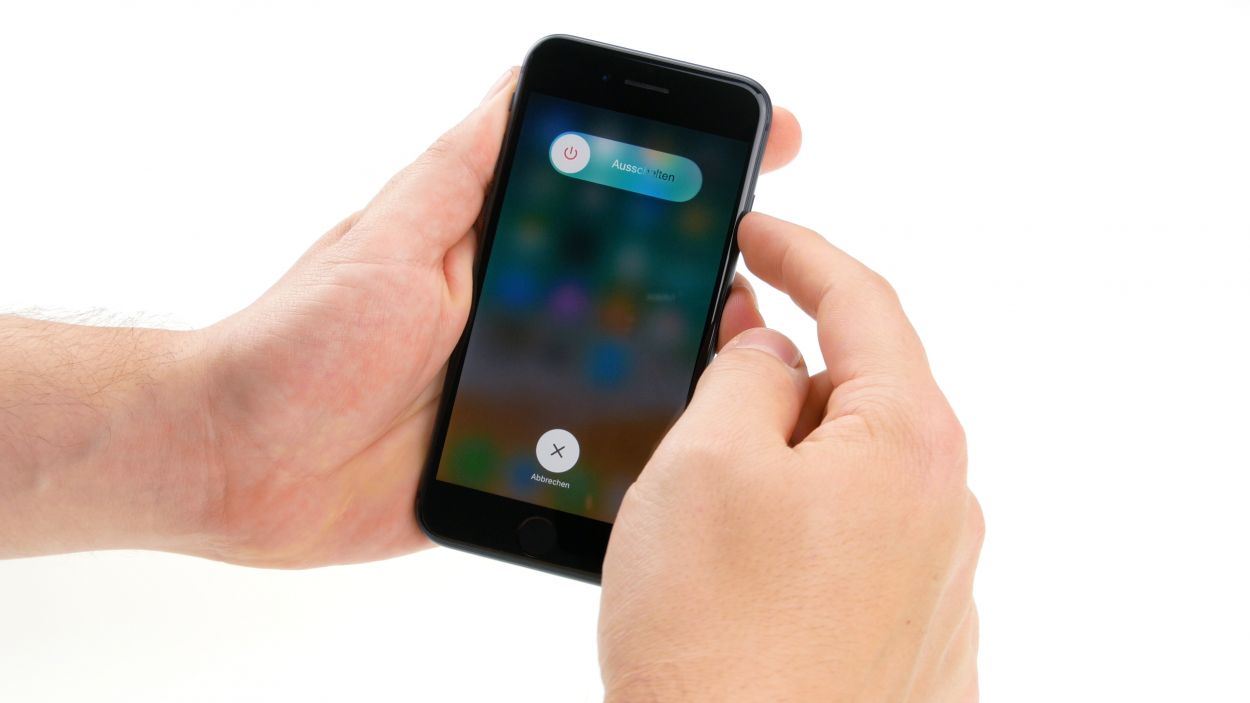
– First things first! Power down your iPhone SE (2nd generation) completely to keep it safe from any mishaps during the repair. Just press and hold that standby button until you see the ‘Power off’ slider pop up.
– Now, give that slider a gentle swipe from left to right. In about ten seconds, your iPhone will be powered off and ready for the next steps!
Step 2
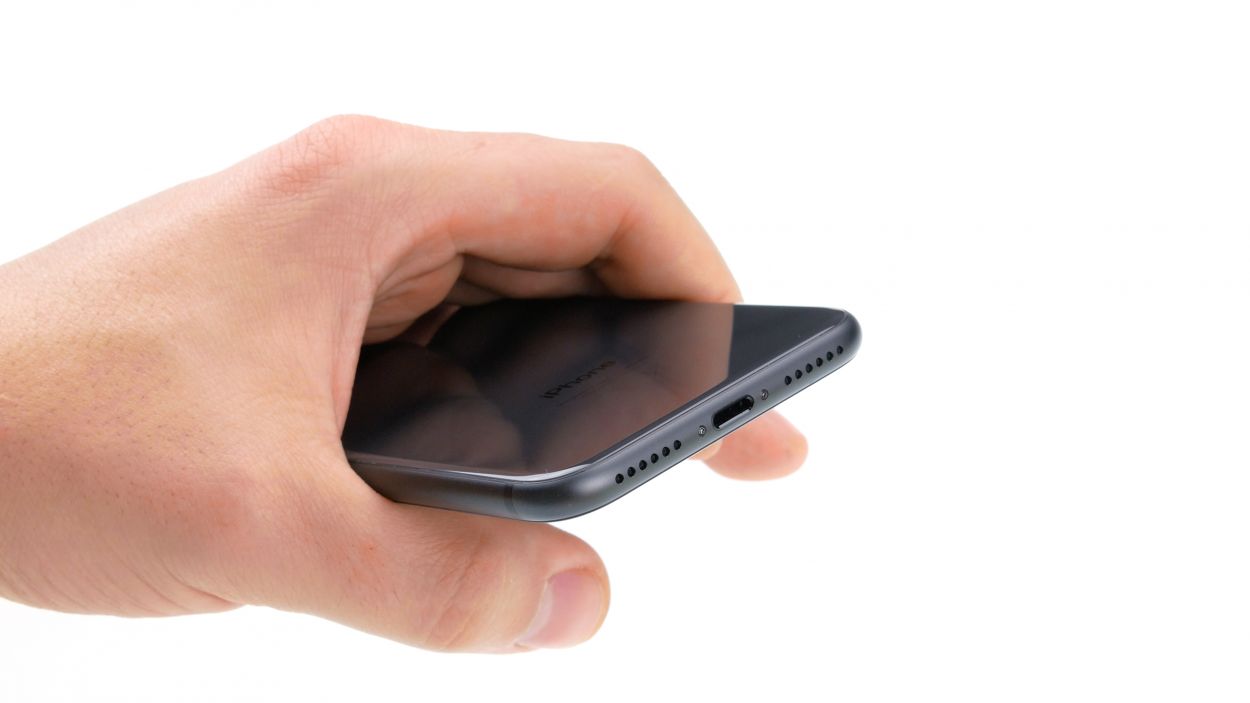
– Time to get those screws out! Grab your trusty Pentalobe screwdriver and remove the two Pentalobe screws flanking the Lightning connector—one on each side. Once you’ve done that, toss those little guys into your screw storage box to keep them safe and sound!
2 × 3.4 mm Pentablobe
To keep track of all those tiny screws and parts you’re about to remove, we suggest using a screw storage box. An old sewing box can work wonders! Plus, we love our nifty magnetic pad, which lets you lay out components just like you found them in your phone. That way, you’ll know exactly where each screw belongs, making reassembly a breeze!
Step 3
When it comes to warming things up, here’s the scoop: your device should be warm enough to work with, but not so hot that you can’t touch it comfortably. Keep it cozy!
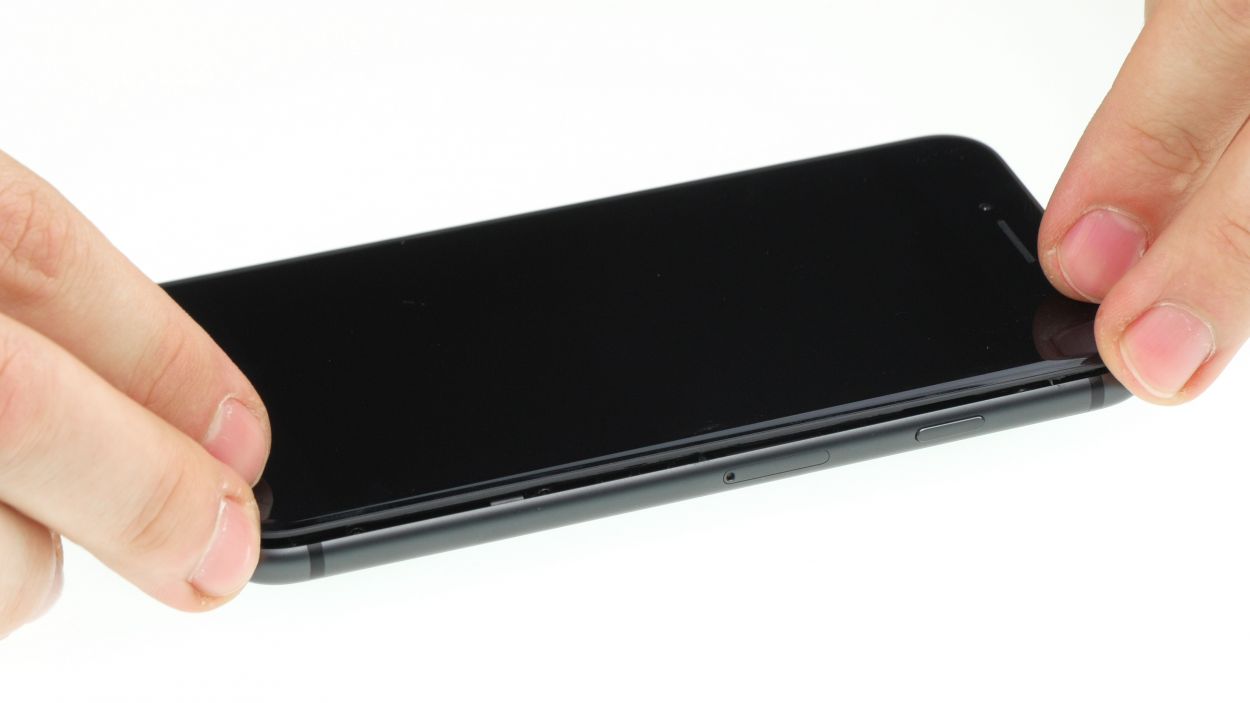
– To kick things off, gently place your iPhone SE on a soft, clean surface. This will help avoid any scratches while you lift the display.
– Since the display is glued down tight, we need to warm it up a bit to make it easier to separate from the case. Grab a heat gun or a hairdryer and wave it evenly around the edge of the display from the outside. A little heat goes a long way!
Tools Used
- heat gun to heat parts that are glued on so they’re easier to remove.
In most cases, you can also use a hairdryer.” rel=”noopener”>Heat gun
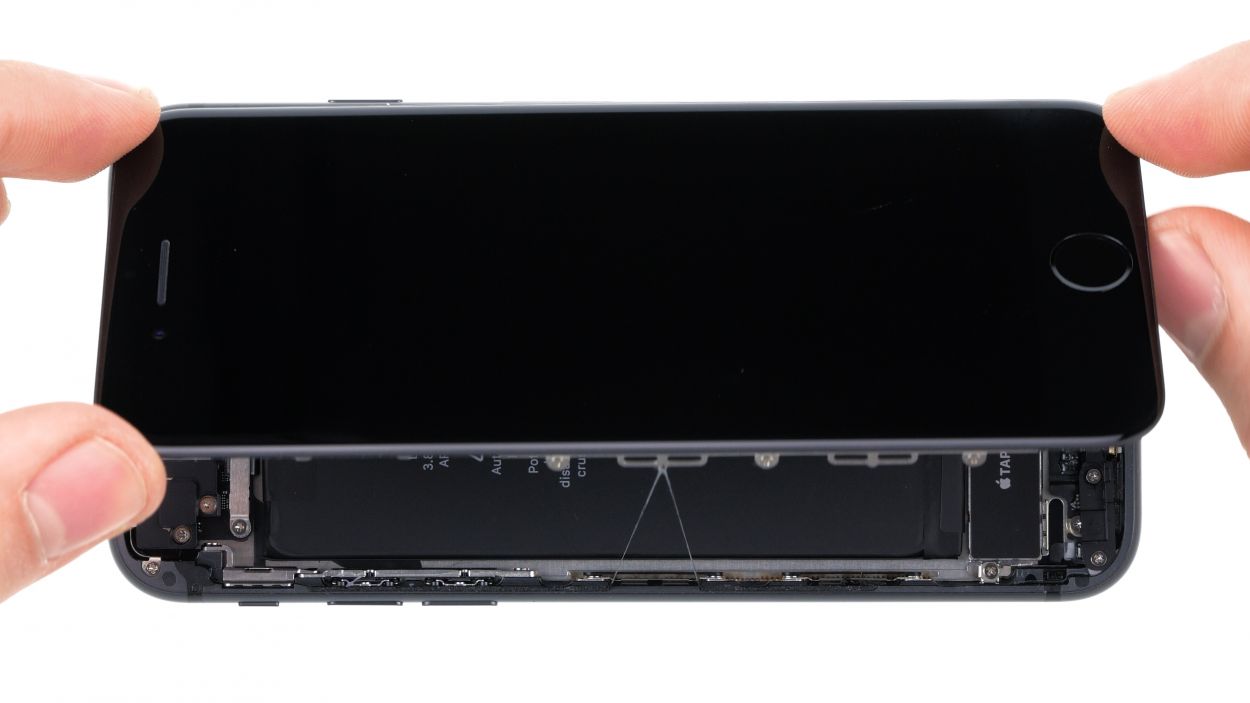
Step 4
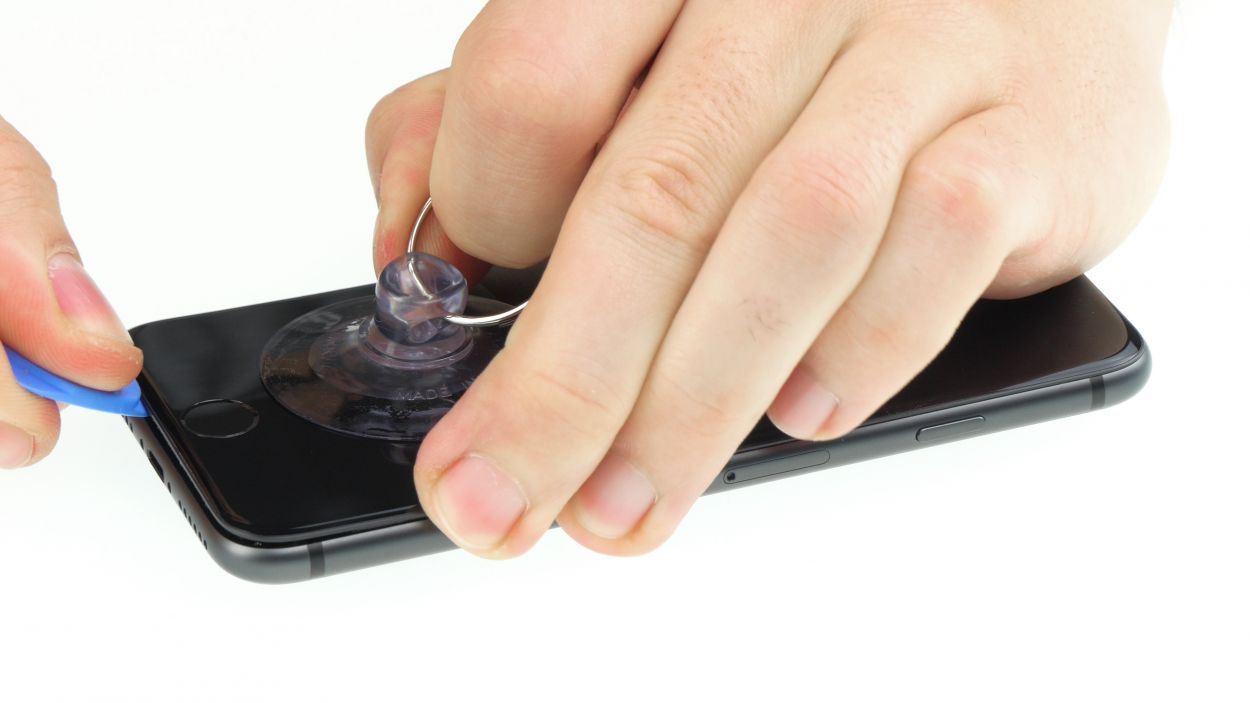

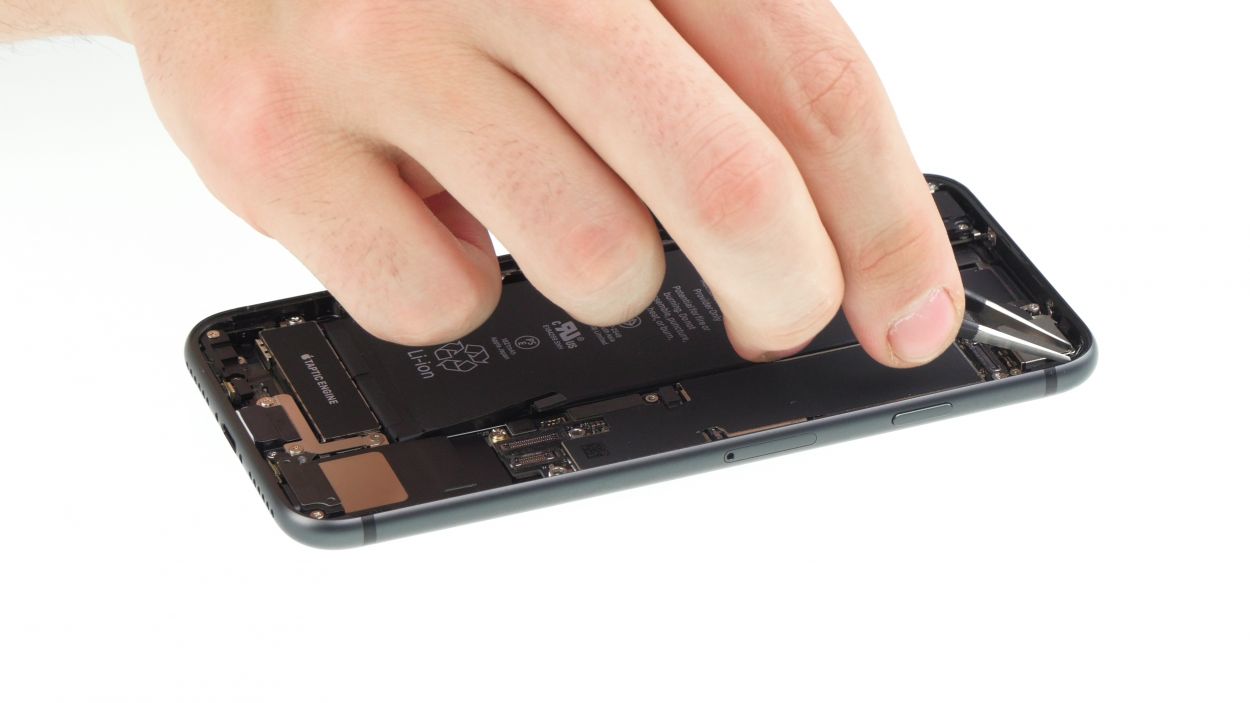
– Stick that suction cup on the display just above the home button and give it a gentle pull upwards. By lifting the display screen, you’ll create a snug little gap between the aluminum and display frames, making the next steps a breeze!
Once you pop open your iPhone SE (2nd generation), the warranty that keeps it safe from dust and splash damage (IP67 rating) takes a little vacation. Handle with care!
Tools Used
Step 5
Keep your display angle under 180° while it’s still connected, or those flex cables might just decide to go on an unexpected adventure and tear!
Step 6


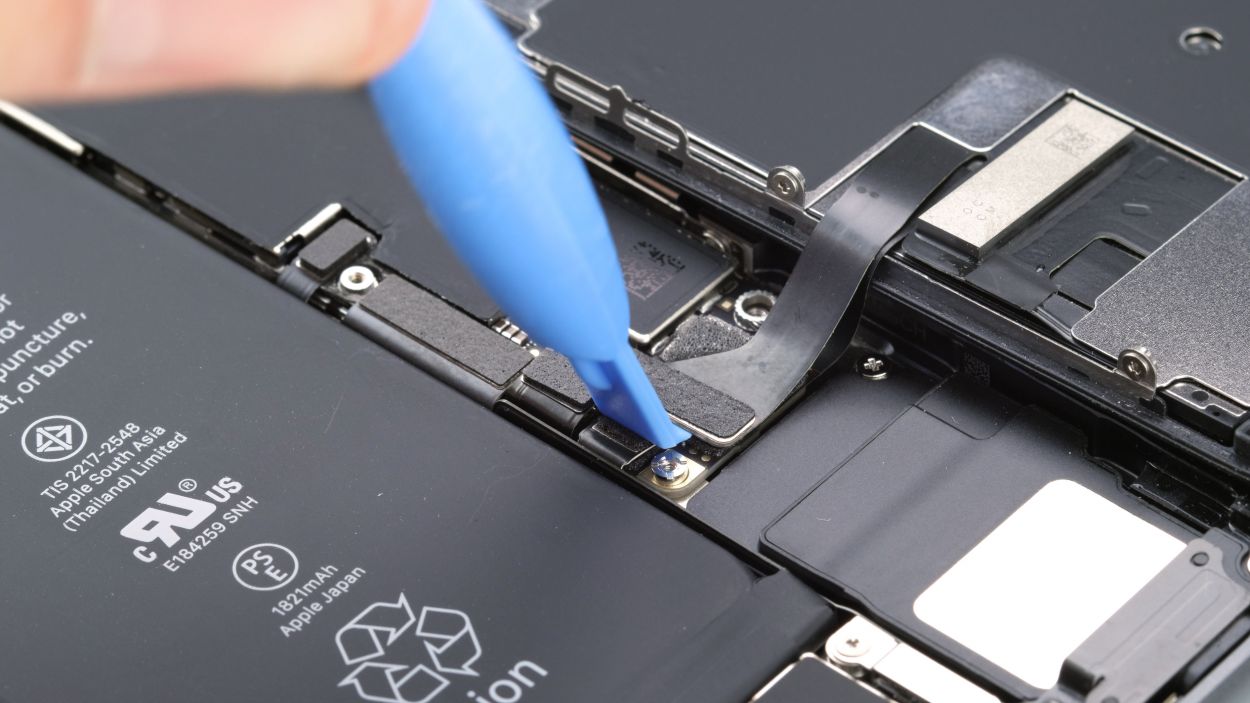
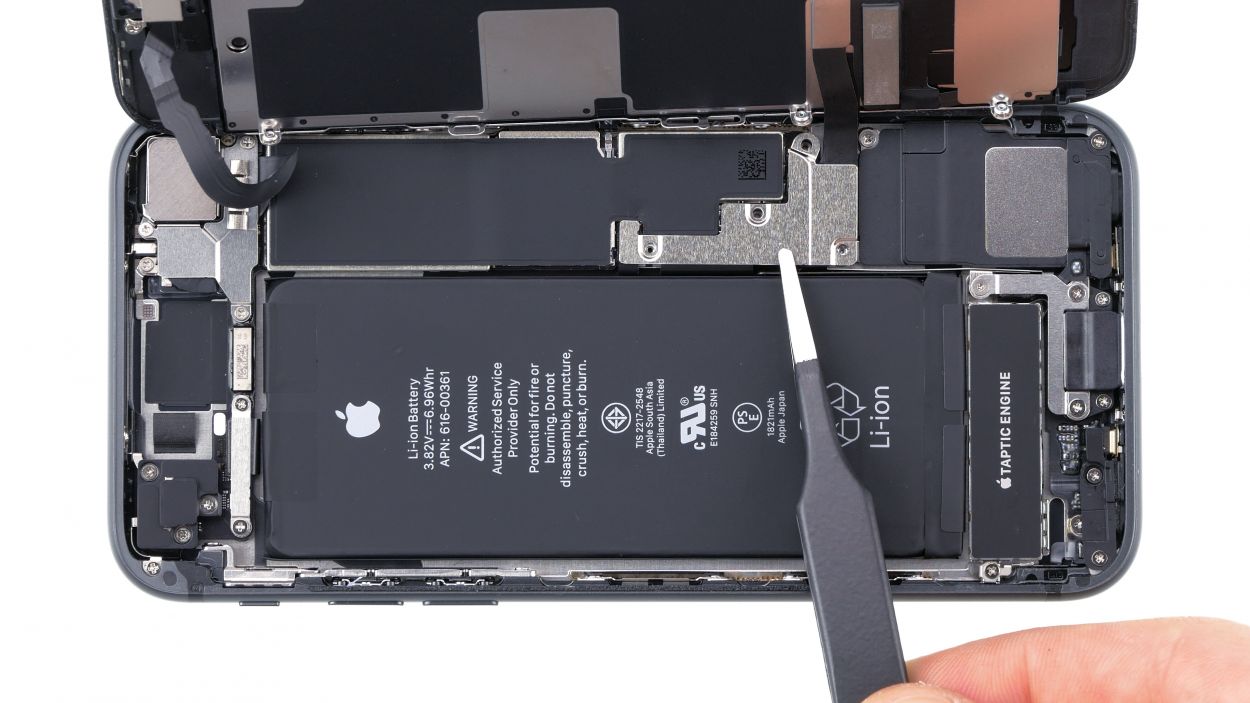
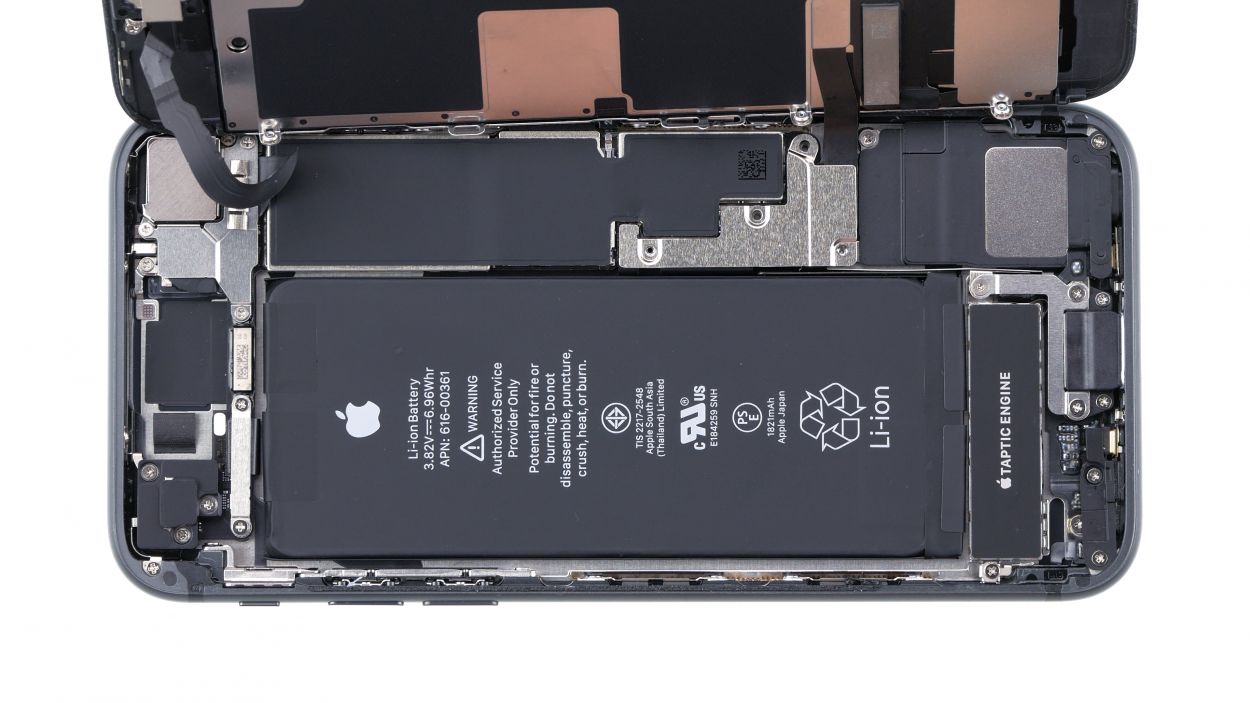
– Grab your Phillips screwdriver and loosen those four screws on the contact cover. Once they’re nice and loose, use your trusty tweezers to carefully lift it out of your device. You’re doing great!
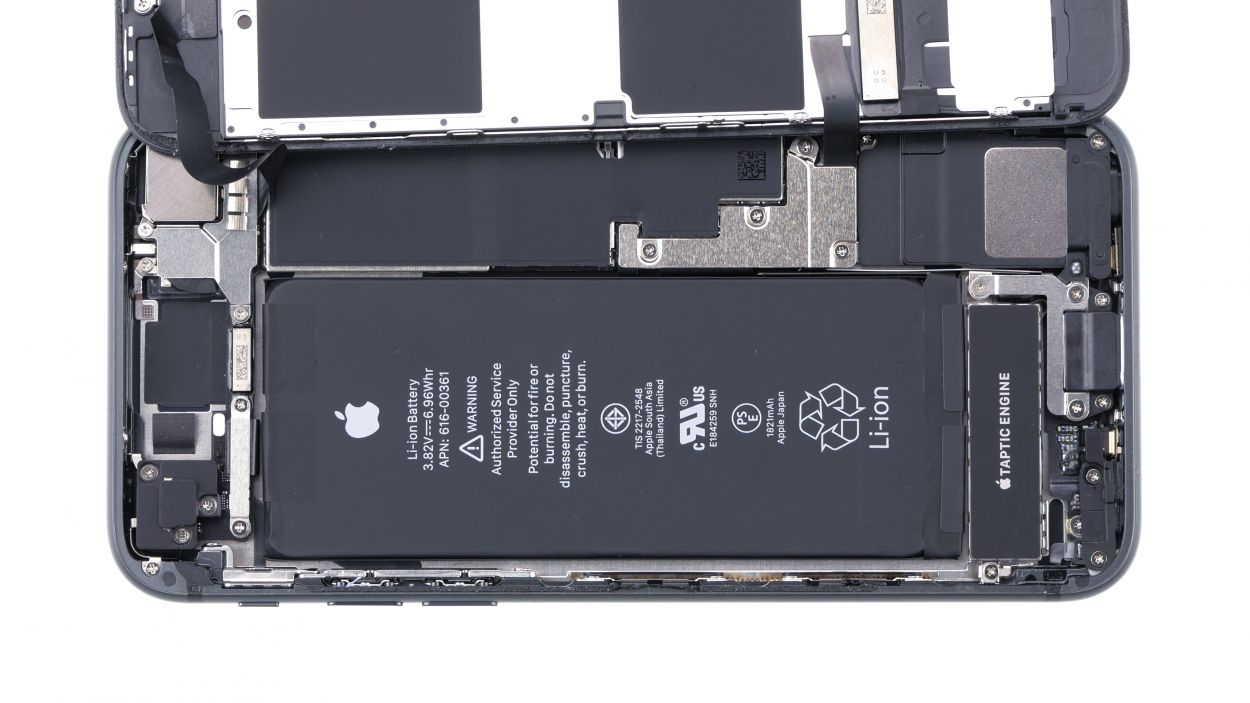
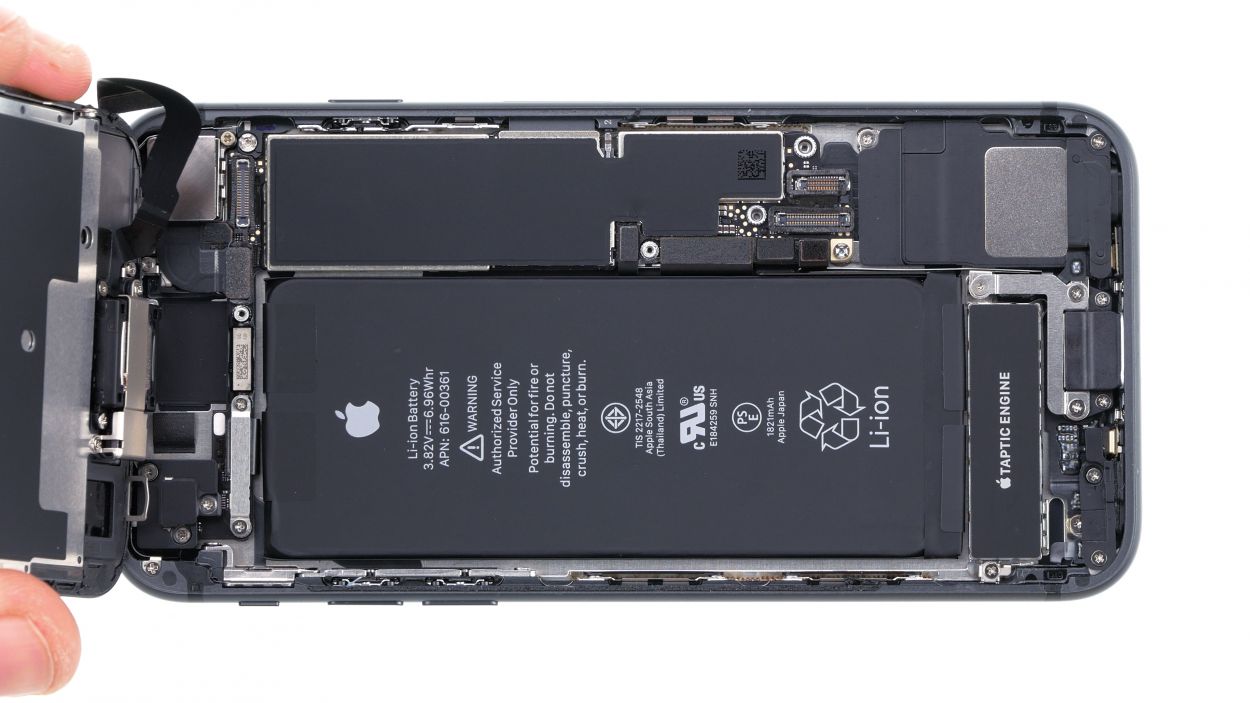
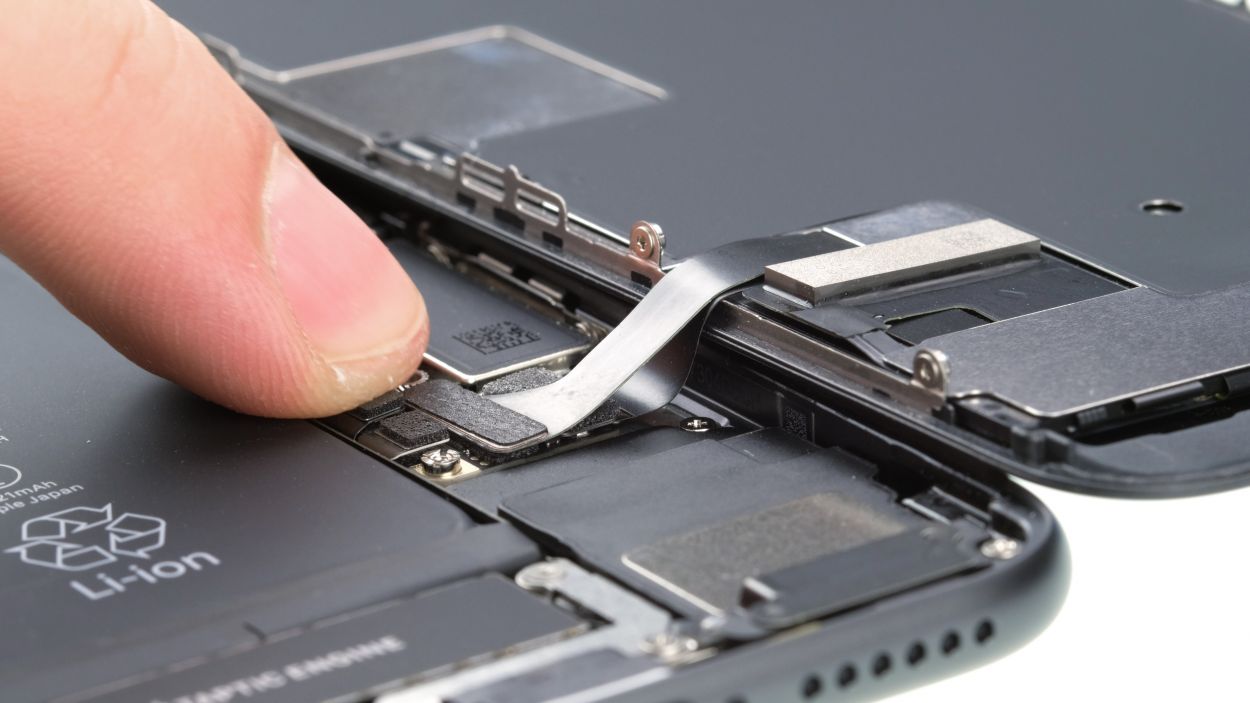
– Next up, it’s time to disconnect the battery contact. Slide a plastic spudger under the plug and gently lift it off. Remember, a plastic spudger is your best buddy for this step!
2 × 2.6 mm Phillips
2 × 1.0 mm Phillips
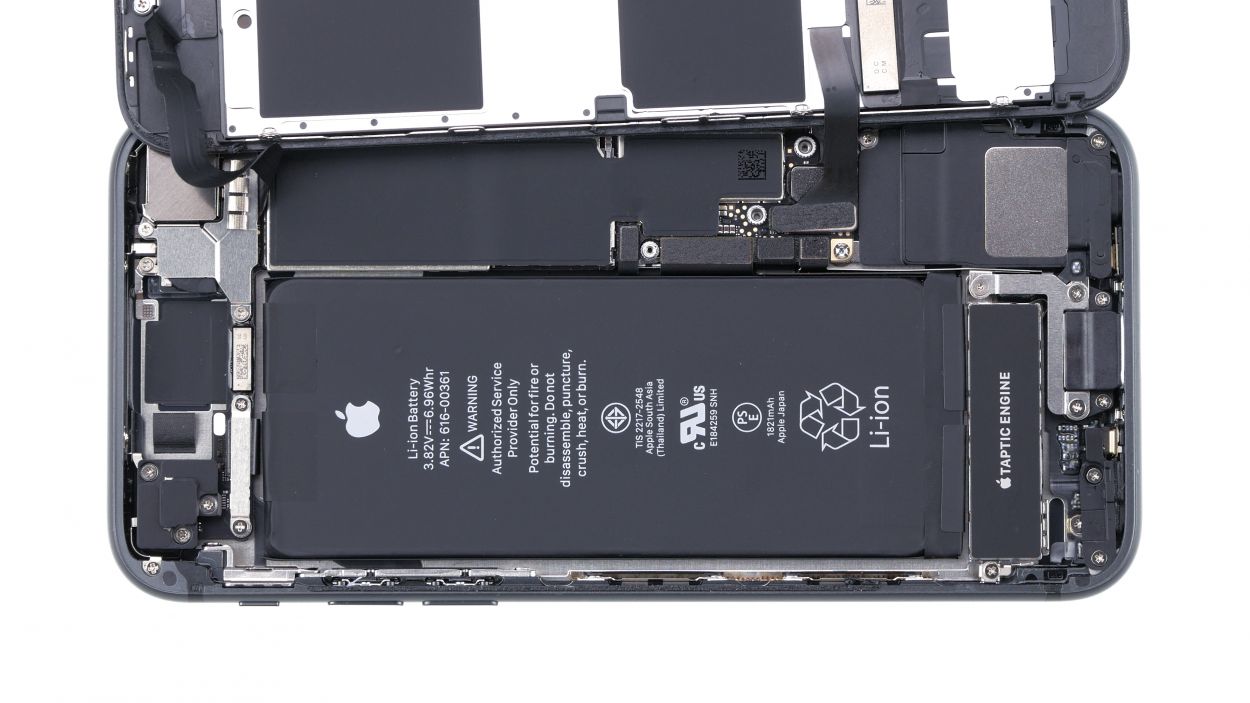
Kick off your repair journey by disconnecting the battery connector right away! This little step not only keeps you from accidentally turning on your phone during the repair, but it also helps avoid any short circuits. Safety first, and let’s keep the sparks away!
In this guide, we’re rolling with some cool pics of the iPhone 8. The battery connector on the iPhone SE (2nd generation) might have a slightly different look, but don’t worry—it’s hanging out in the same spot as always!
Step 7


– With your trusty plastic spudger in hand, gently pry off the two connectors that are linked to the display (that’s the display and the home button). You’re doing great!
Tools Used
Step 8


3 × 1.0 mm Phillips
– Grab your trusty Phillips screwdriver (PH00) and give those three little screws a gentle twist to take off the cover hiding the FaceTime connector. You’re doing awesome!
– Now, it’s time to bring in the spudger! Use it carefully to detach the FaceTime connector from the board. You’re almost there!
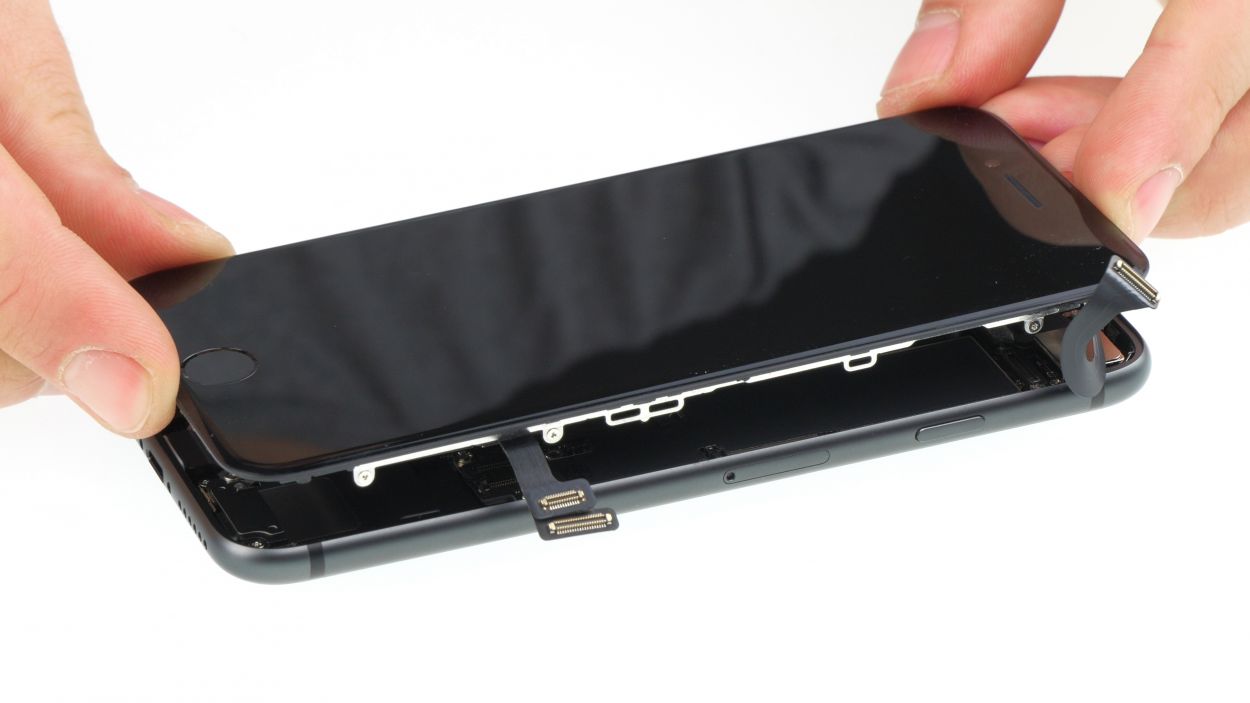
– With that done, feel free to lift the display right off. You’ve got this!
Step 9


2 × 2.5 mm Phillips
1 × 1.5 mm Phillips
1 × 2.2 mm Phillips
1 × 1.7 mm Phillips
Keep an eye on those screws—they come in different lengths! Mixing them up could lead to some display drama during assembly. Let’s keep it smooth!
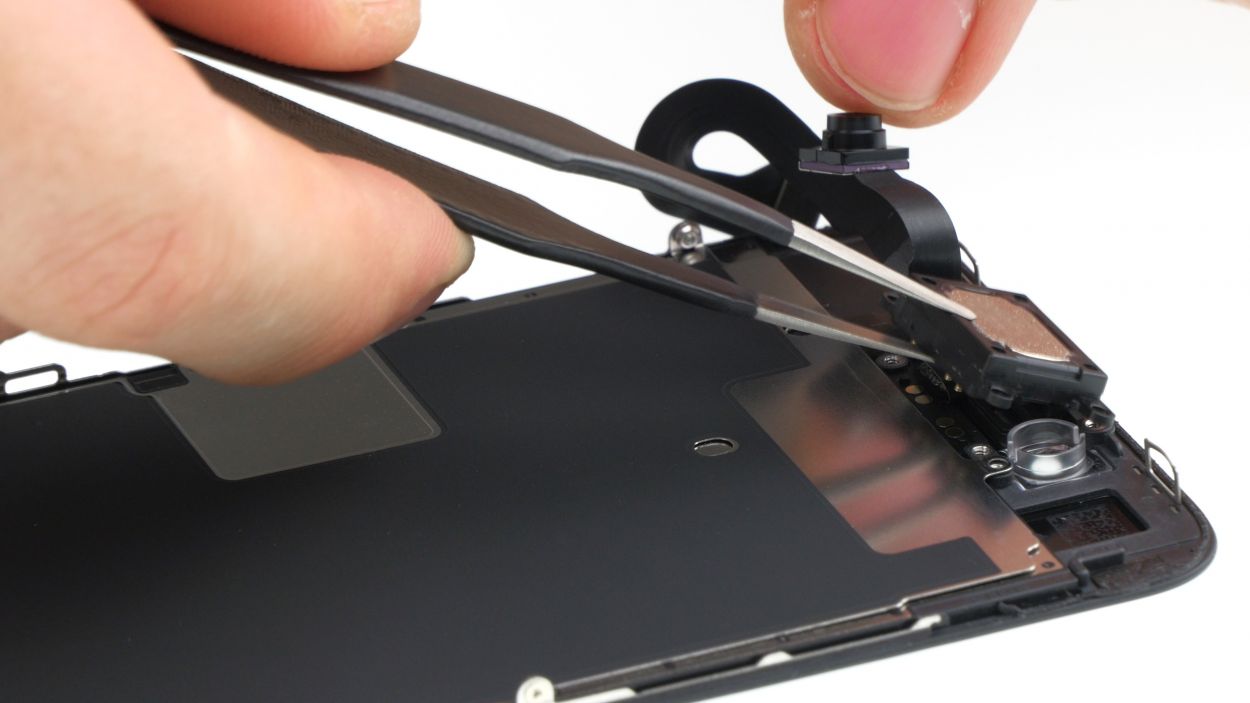
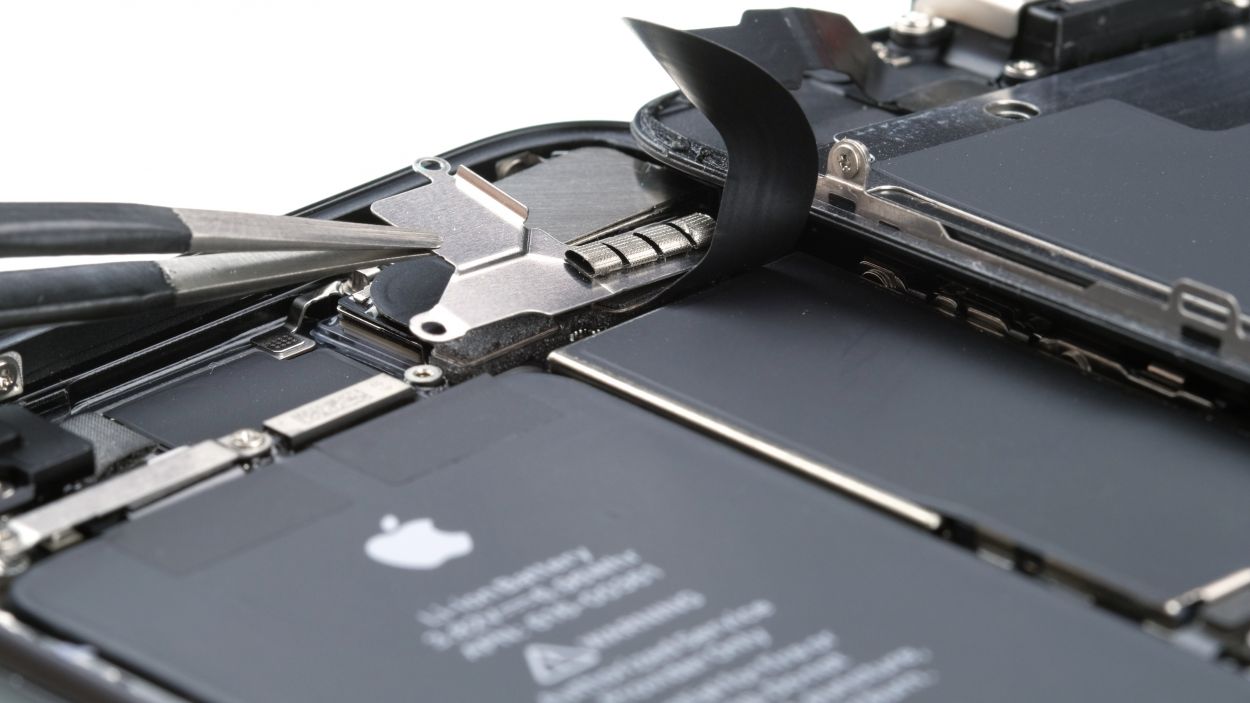
– Alright, let’s kick things off! Start by unscrewing those three Phillips screws that hold the metal cover over the earpiece. Once you’ve got them out, make sure to place all the little parts on a magnetic mat so they don’t go wandering off!
– Next up, loosen the two Phillips screws that keep the earpiece snug in the display unit.
– Now, here’s a little tip: the earpiece is hanging out under the flex cable of the front camera. To get it out, gently fold that cable to the side. You’re doing great!
Step 10


1 × 2.2 mm Phillips
1 × 1.7 mm Phillips
1 × 1.5 mm Phillips
2 × 2.5 mm Phillips
Watch out for those screws—they can be a bit tricky! If you accidentally use a screw that’s too long in the wrong spot, it might scratch the paint and show up on the front of your display. Let’s keep it looking sharp!
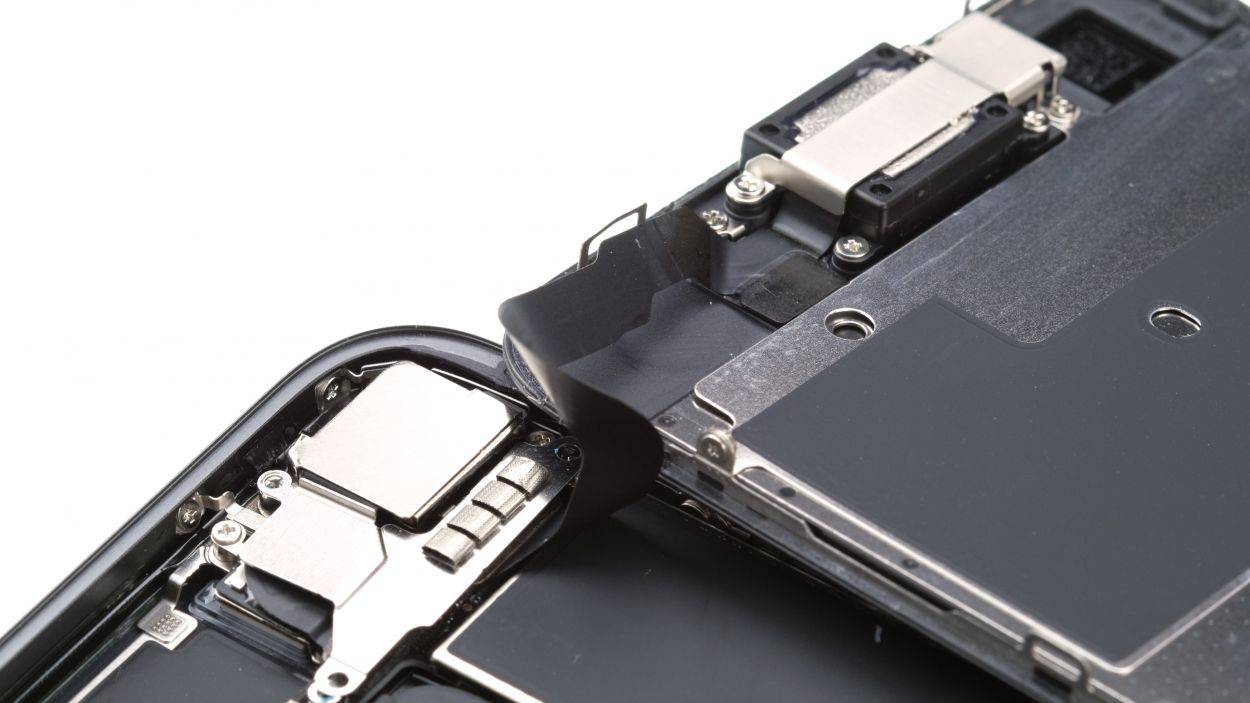
– Gently lift that FaceTime cable and tuck the earpiece back into its cozy little spot above the sensors. You’re doing awesome!
Step 11
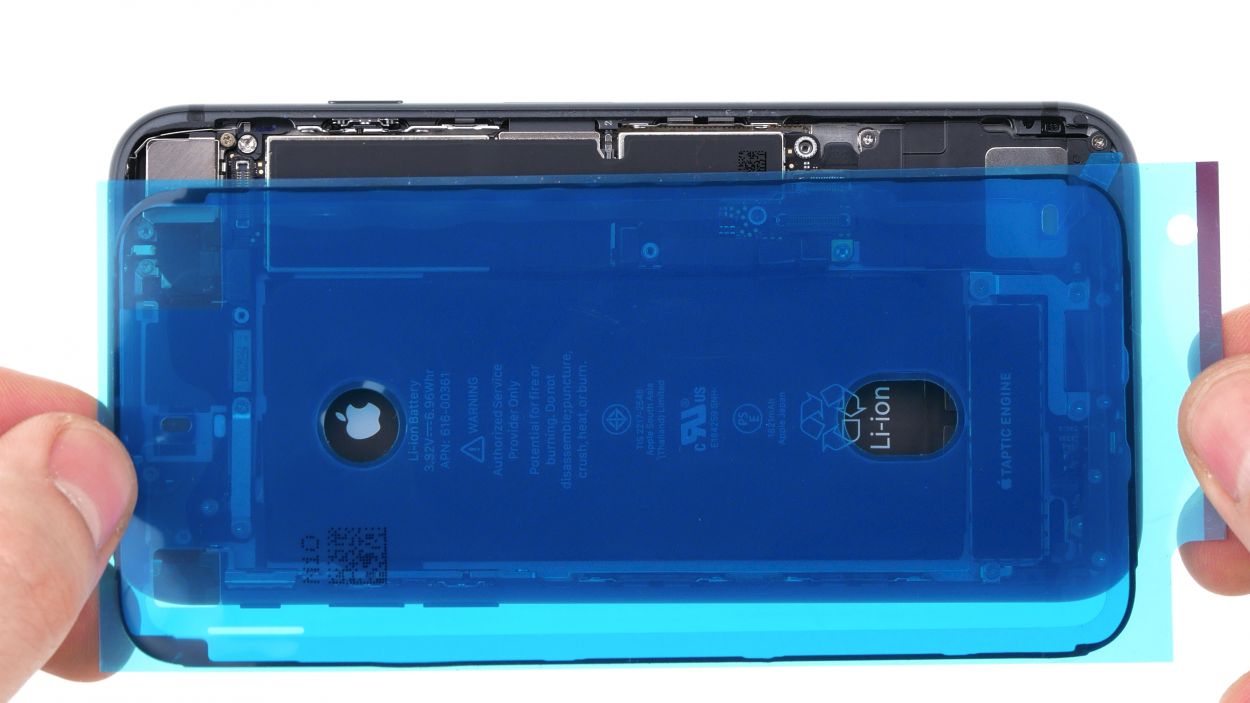
After you’ve popped on that new adhesive frame, your iPhone is ready to take on dust and splash water like a champ! Just remember, it’s not a submarine—so let’s keep it above water!
The adhesive frame has unique corners that guide you in perfectly aligning the back cover. It’s like a puzzle piece that fits just right!
– First, let’s get that metal frame and display squeaky clean by removing any leftover adhesive. This way, the new adhesive frame will fit like a glove! A pair of tweezers or a spudger will be your best pals here.
– Next up, carefully align the adhesive frame on the back cover of your iPhone SE. This will help ensure it’s sitting just right. You’ve got this!
Tools Used
Step 12
3 × 1.0 mm Phillips
– Get that display standing tall on the upper case frame and connect the FaceTime connector to the logic board. You’re doing great!
– Next, gently lay the display aside on the case frame. No rush, take your time!
– Now, let’s put the bracket plate back over the FaceTime connector and secure it with those three Phillips screws. You’re almost there!
Step 13


– Time to connect the dots! Simply attach those connectors from the home button and the display to the logic board. You’re almost there!
Step 15

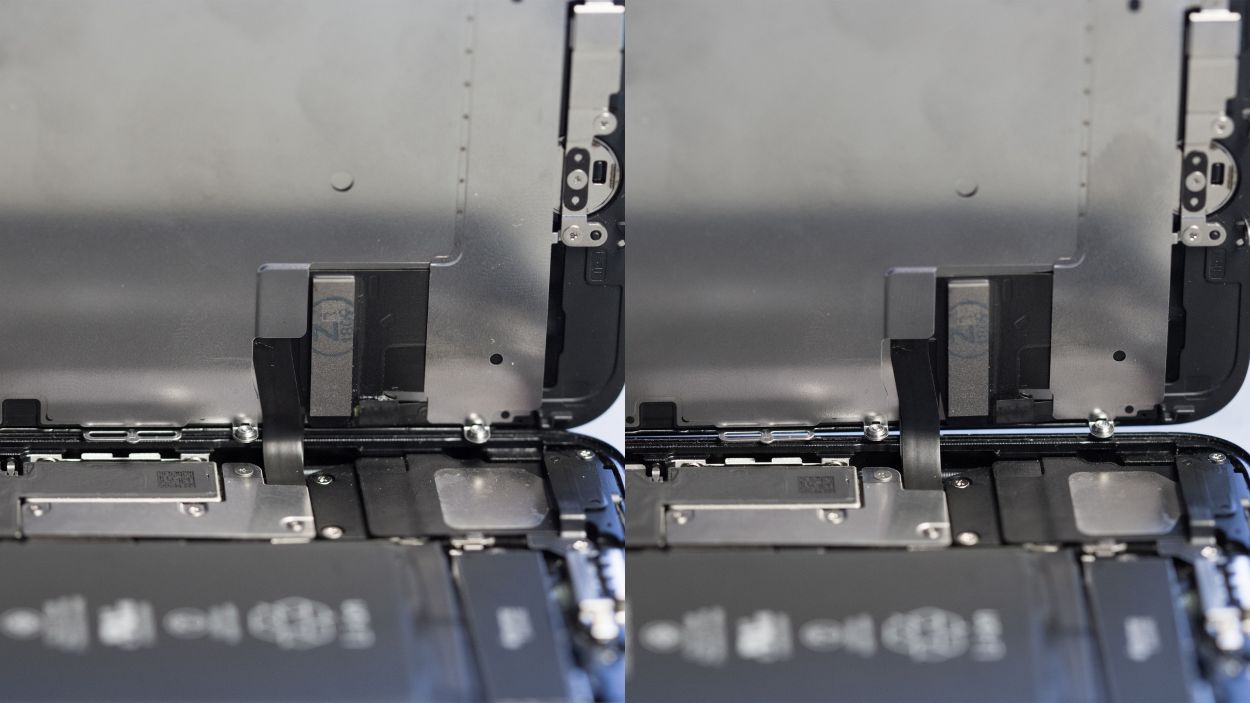
Wrong position
Right position
If that cable isn’t snug as a bug, you might end up with some funky spots on your display. So, before you seal things up, double-check that the chip on the cable is sitting pretty in the right spot. Our photo is here to guide you, so you won’t miss a beat!
Step 16

2 × 3.4 Pentalobe
– Time to secure your iPhone SE! Grab those two pentalobe screws and fasten them snugly on either side of the Lightning connector. You’re almost at the finish line!
Tools Used