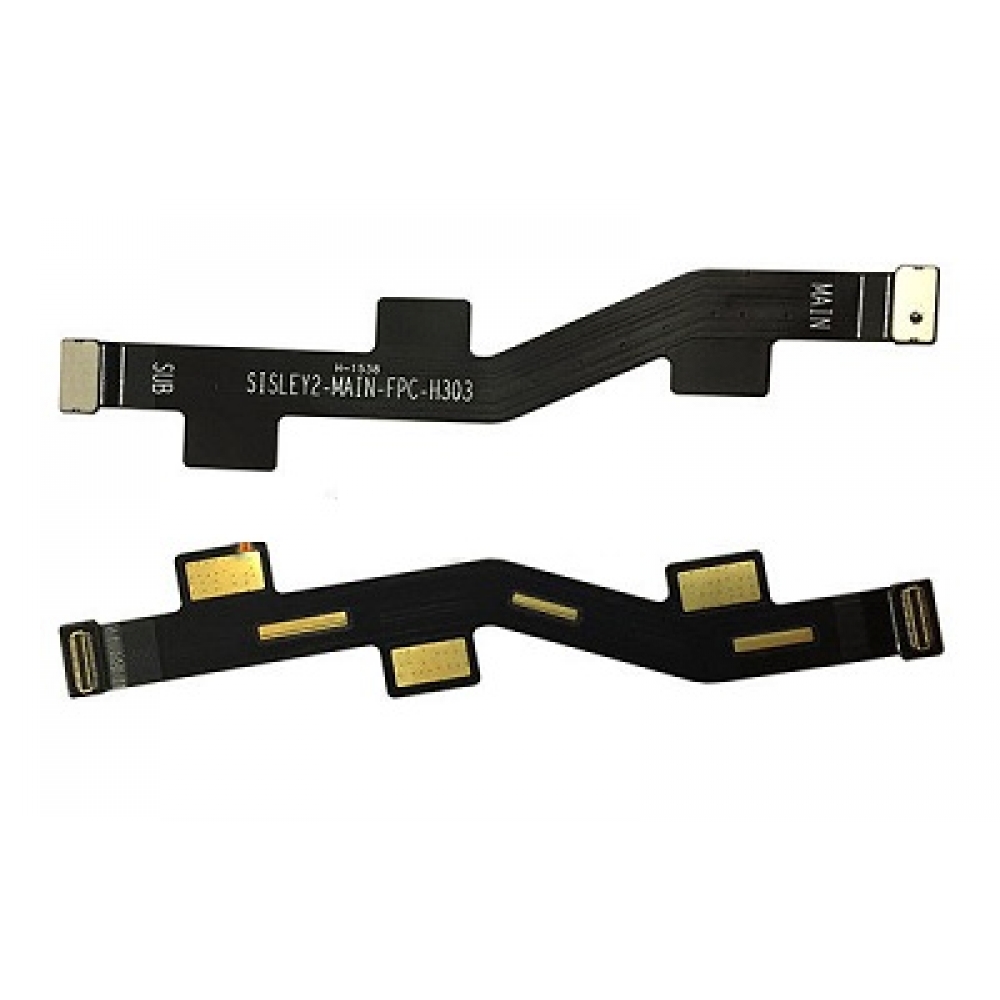
Step-by-Step Lenovo Vibe Z2 Pro Phone Screen Replacement Guide
Duration: 45 minutes
Steps: 21 Steps
Step 1
– Pop out those 4.9 mm torx head screws from the camera plate on the back of your phone
Step 2
– Grab your trusty Torx screwdriver and remove those 3.65 mm screws chilling at the bottom of your phone.
Step 3
– Ready to give your phone a little TLC? First things first, let’s pop out that SIM card tray. Just grab a handy pin (like the one you use to pop open your soda can) and gently push it into the tiny hole on the side of your phone. You’ll see the tray slide right out!
Step 5
– Gently wiggle the backplate and give it a little tug to free it from the phone. You’ve got this!
Step 6
– Carefully peel off the protective film with your hands. You’ve got this!
Step 7
Stick with the trusty black nylon spudger whenever you can—it’s your best buddy, especially when working near batteries.
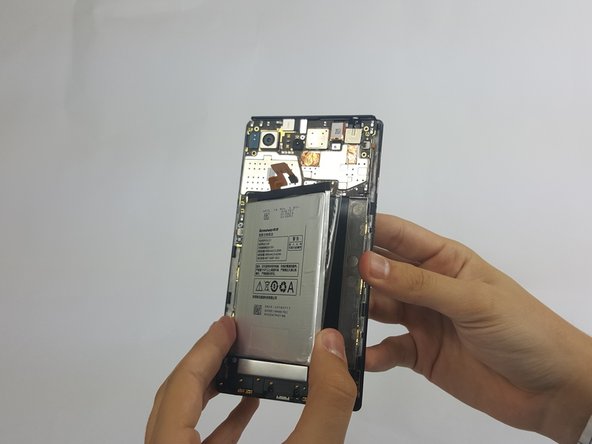
– Gently peel away any adhesive strips that are keeping the battery snug as a bug. A fingernail or spudger will do the trick nicely!
Tools Used
Step 8
– Carefully detach the orange battery ribbon cable by gently prying it up with a spudger. You’ve got this!
Tools Used
Step 10
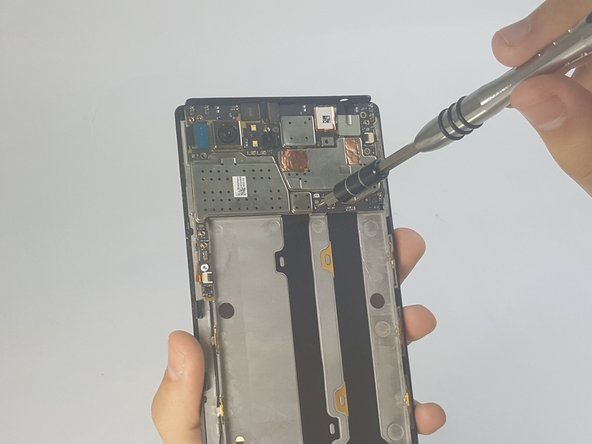
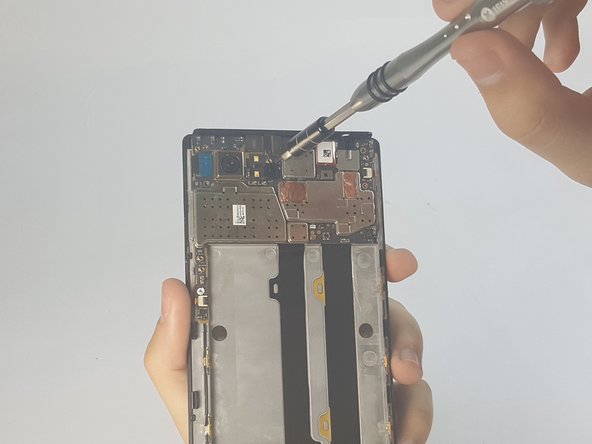
– Time to tackle those tiny 3.15mm Phillips Head #000 screws on the motherboard. Let’s get those out of the way, shall we?
Step 11
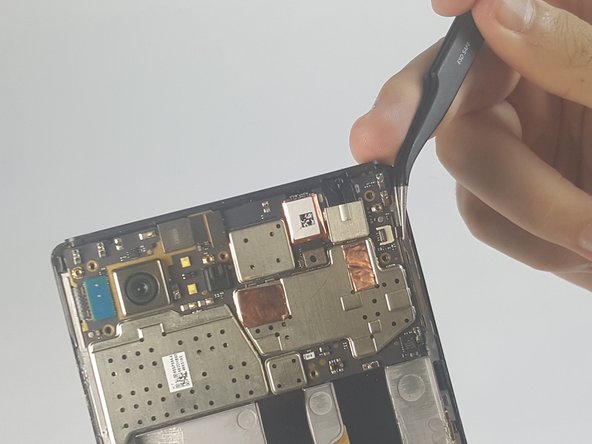
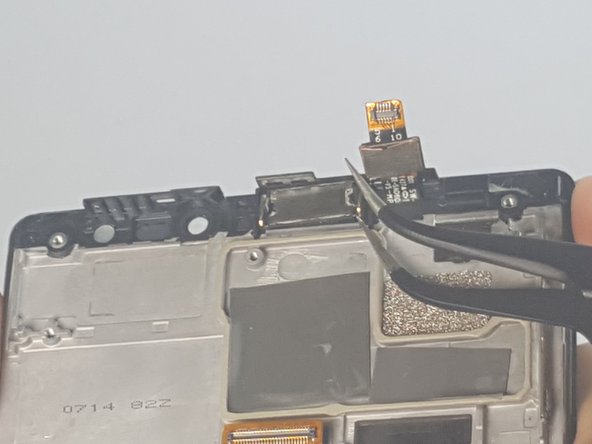
– Carefully pop open the black hinges and use tweezers to gently disconnect the ribbon cables—easy does it!
Tools Used
Step 12
– Carefully unplug that rear-camera connector like you’re delicately extracting a prized flower from a garden!
Step 14
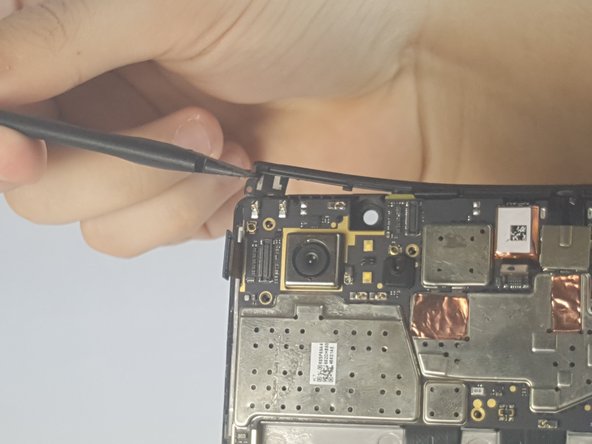
– Gently pop off the plastic brace along the top edge of the phone—easy does it!
Step 15
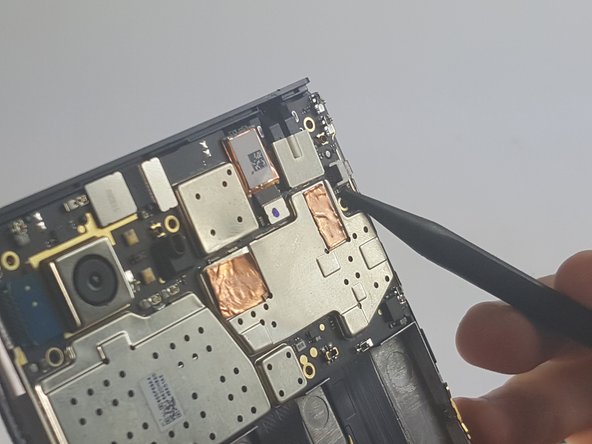
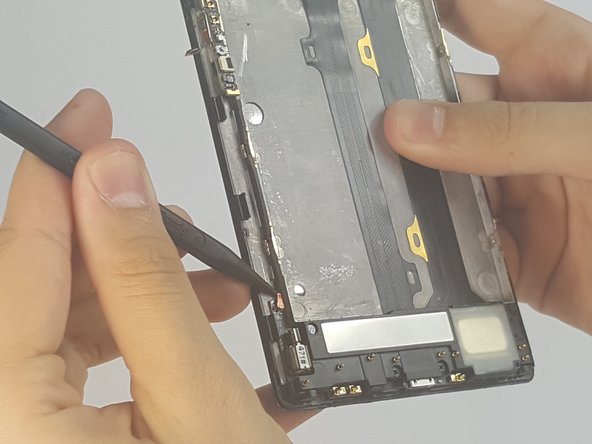
– Gently detach the antenna that’s hanging out with the bottom section of your screen plate. It’s like saying goodbye to an old friend—be kind and careful!
Step 16
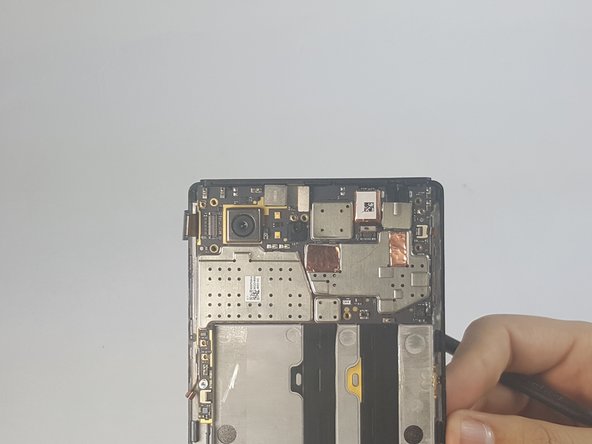
– Carefully lift the motherboard away from the frame as if you’re unveiling a secret layer of awesomeness.
– Gently wiggle the camera out from behind the motherboard like you’re helping it take center stage.
Step 17
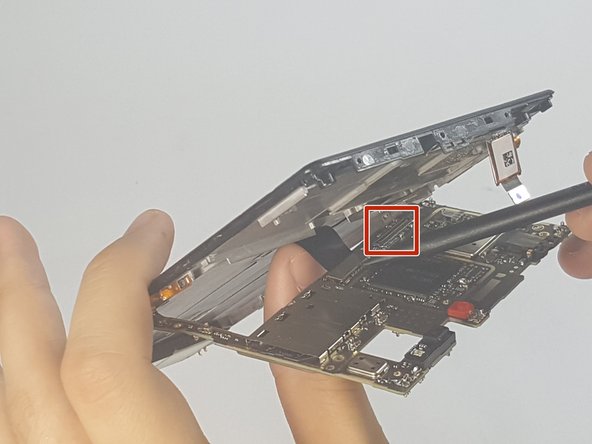
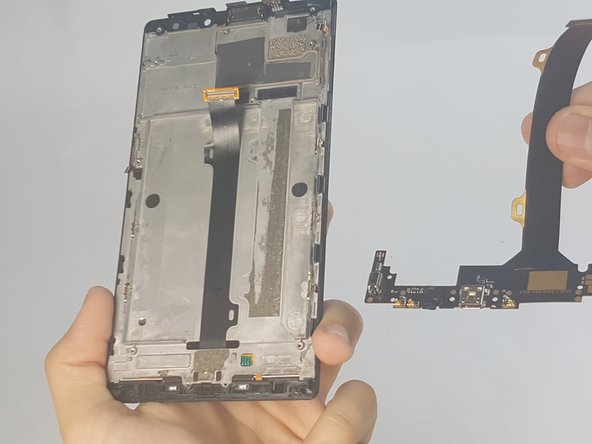
– Grab a spudger and gently disconnect the charging port assembly cable and the screen connection cable.
– Carefully take out the entire motherboard.
Tools Used
Step 19
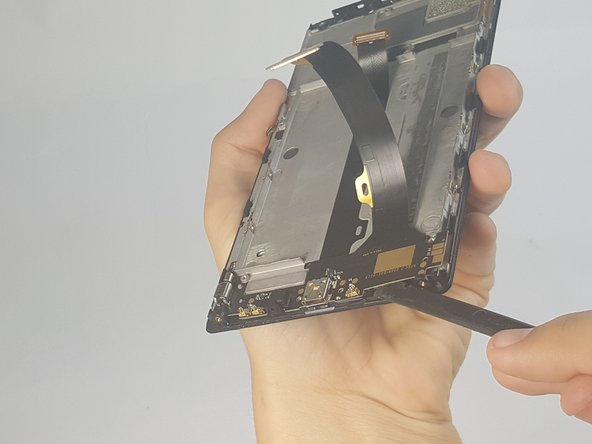
– Grab your trusty Phillips head screwdriver and unscrew those 3.6 mm screws holding the charging assembly in place. Easy peasy!
Step 21
– Now, let’s put your gadget back together by simply retracing your steps in reverse!
– If things didn’t go as planned, don’t worry about it!
– If you find yourself in a pickle, you can always schedule a repair.
Success!


