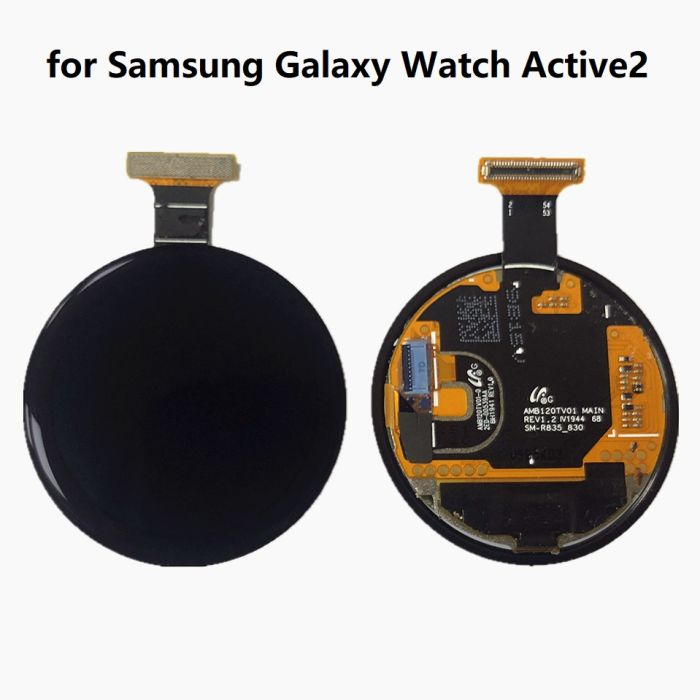
Step-by-Step Samsung Galaxy Watch Active Motherboard Replacement Guide
Duration: 45 minutes
Steps: 10 Steps
Ready to give your Samsung Galaxy Watch Active a new lease on life? This guide will walk you through swapping out a faulty motherboard. Let’s get your watch back to ticking smoothly!
Step 1


– Power down your Galaxy Watch Active by holding down the bottom button for about 3 seconds. Wait for that little buzz to know it’s working.
– When you see the ‘Power off’ button pop up, tap the middle of the screen to shut it down. You’ll feel a longer buzz, confirming it’s nap time for your watch.
Step 2

– Grab your Tri-point Y00 screwdriver and unscrew the four 4 mm-long screws holding the back of the watch in place. Easy does it!
Tools Used

Step 3


Hold your horses! Don’t take off the back cover just yet. It’s still connected to the motherboard by a sneaky little cable.
– Grab your opening tool and gently wedge it between the plastic back cover and the metal housing near the buttons.
– Carefully push the tip of the tool into the gap, and voilà – you’ll have the back cover gently separating from the housing.
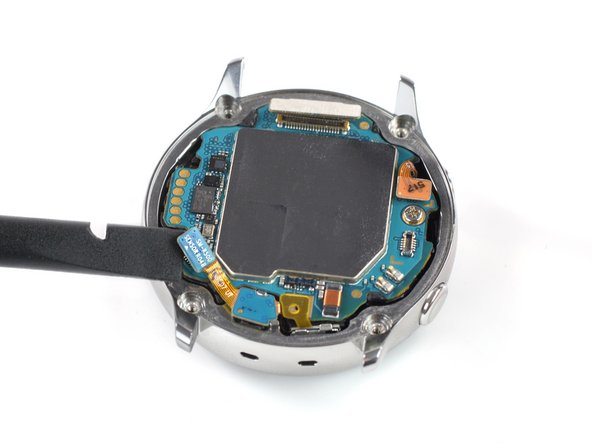
Step 4


– Gently pop off the back cover and lift it up just about 2 cm to reveal the sensor array connector hanging out near those two buttons—easy does it!
– Grab your trusty spudger and carefully unplug the sensor array from the motherboard like a pro. Take your time—you’re crushing it!
Tools Used

Step 5

– Pop off the back cover like you’re peeling open a snack—carefully and with a little excitement!


Step 7

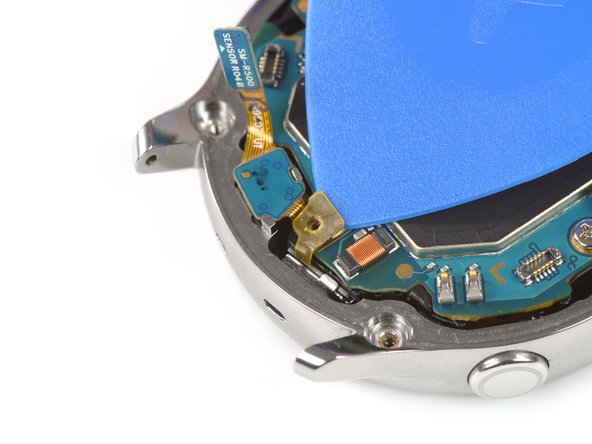
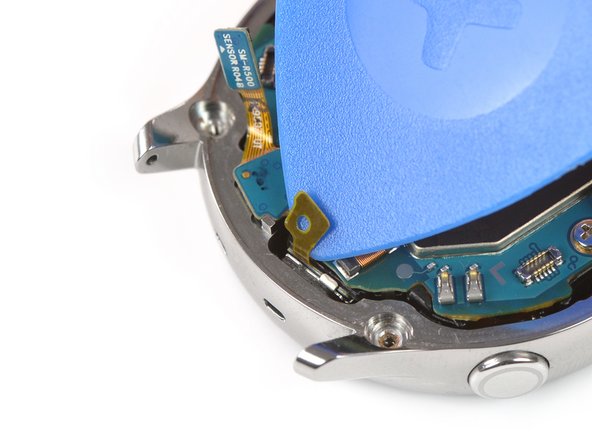
– Grab an opening pick and carefully lift the slim tape attached to the microphone array.
– When you’re putting everything back together, ensure that the tape sticks to the motherboard. A gentle press with the flat end of a spudger should do the trick.
Tools Used
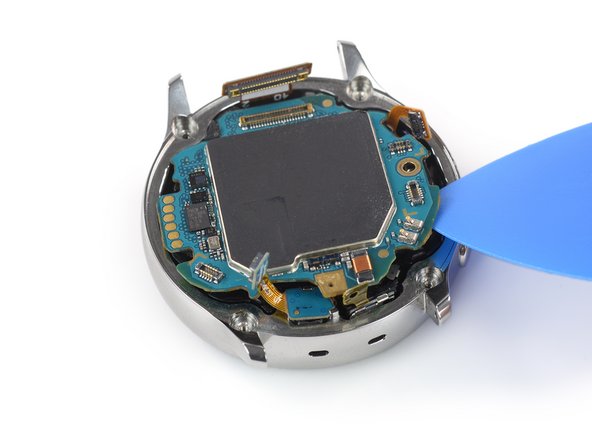
Step 8

– Grab your trusty Phillips screwdriver and deftly unscrew the 4.4 mm-long screw that’s holding the motherboard firmly in its cozy little spot.
Step 9
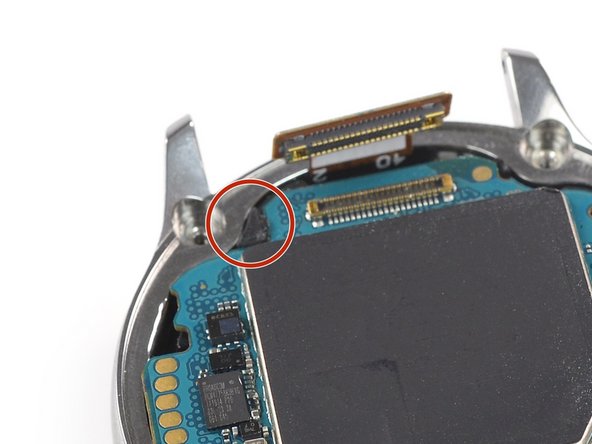

The plastic tab keeping the motherboard in place is pretty delicate—so let it slide out smoothly instead of lifting it up. Take it easy!
– Grab your trusty opening pick and gently wiggle it to release the motherboard from the core assembly. You’ve got this!
Step 10


– Before wrapping up, compare your new part with the original—double-check if there are any components to transfer or adhesive backings to peel off before installation.
– Got everything back together? Follow these steps in reverse to reassemble your device.
– Don’t let your old parts gather dust! Drop them off at an R2 or e-Stewards certified recycler to keep it eco-friendly.
– Feeling stuck? Try some basic troubleshooting, or hit up our community for help.
– Changed your mind? No worries—you can always end here and come back later.
– If things didn’t go as planned, don’t sweat it. You can always schedule a repair for extra help!
Success!