SuperSonic Matrix Mid SC-999 Headphone Jack Replacement
Duration: 45 minutes
Steps: 5 Steps
In this step, you’ll pop open the back of your device to hunt down the 3.5mm headphone jack on the motherboard. Once you’ve spotted it, you’ll carefully remove it using a soldering iron and swap in the replacement part. If you’ve got some soldering skills under your belt, this will go smoothly—if not, no worries, just take it slow and steady.
Step 1

– Slide the plastic opening tool gently between the back cover and front panel of your device.
– Listen for that satisfying snap as the cover pops free from the device’s body.
Step 2

– Gently glide that opening tool along the edge where the front panel meets the back cover, and watch as those last pesky connections give way.
– You’ll hear a satisfying little pop as the cover releases from the device’s body. Keep it up!
Step 3


– Carefully pop off the back cover of your device to reveal its inner workings. Let’s see what’s going on inside!
Step 4

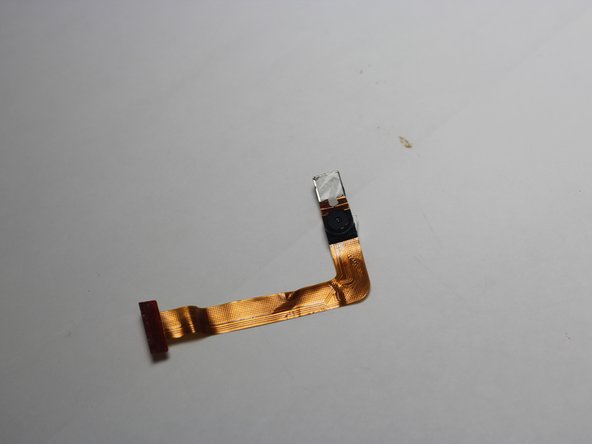
– Find the headphone jack on your device and give it a little wave!
Step 5

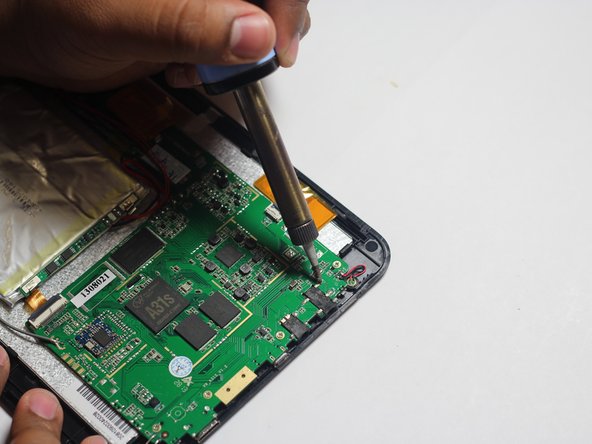
Don’t forget your safety goggles! The soldering iron can get super hot, so keep your cool and handle it carefully. Your eyes will thank you later!
– Now that you’ve conquered this repair like a pro, just follow the steps in reverse to put everything back together. If things aren’t lining up or you hit a roadblock, don’t sweat it—help is always available. schedule a repair
–
Tools Used

Success!