SuperSonic Matrix Mid SC-999 Microphone Replacement
Duration: 45 minutes
Steps: 5 Steps
Alright, let’s dive in! First up, you’ll want to pop off the back cover of your device and track down that pesky microphone. With your trusty soldering iron in hand, you’ll carefully remove the old microphone and make way for the new one. Just a heads up—having some soldering skills under your belt will definitely come in handy for this little adventure. But don’t worry, if you need help, you can always schedule a repair.
Step 1

– Slide your trusty plastic opening tool between the device’s back cover and the front panel.
– You’ll hear a delightful little snap as the cover pops away from the device’s body.
Step 2

– Gently slide the opening tool along the seam where the front panel meets the back cover to loosen the last few connections around your device.
– You’ll hear a satisfying snap as the cover comes free from the device body. Almost there!
Step 3


– Gently pop off the back cover from your device’s body to reveal the exciting inner workings inside.
Step 4

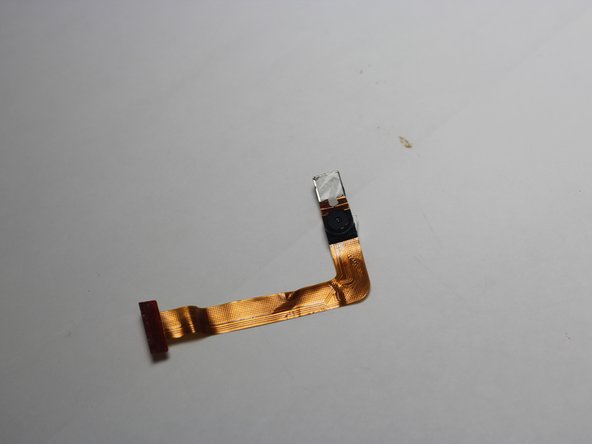
You’ll find the microphone chilling near the bottom left corner of the device—imagine the speakers are hanging out on your right side.
– Gently pop that microphone out of its cozy little home.
Step 5


Don’t forget your protective eyewear! And keep in mind, the soldering iron gets super hot – like, ‘don’t touch it’ hot.
– Now that you’ve worked your magic, it’s time to put everything back together! Just follow the steps in reverse, and your device will be back in action. If you need help, you can always schedule a repair.
–
Tools Used

Success!