Tabby Kidz Battery Replacement
Duration: 45 minutes
Steps: 7 Steps
You’re about to work with a Lithium-ion battery that packs a punch – 2700mAh and 3.7 Volts. Be careful, as this can give you an electrical shock. To get the job done, you’ll need a trusty soldering gun. Remember to handle it with care, as it gets super hot. If you’re not comfortable with this step, don’t worry, you can always schedule a repair.
Step 1


– Slide a thin metal wedge into the side of the tablet—think of it as sneaking into the VIP section.
– Now, ease that edge open with gentle but firm prying motions to pop those tabs loose around the device.
Step 2


Be super careful as you gently separate the two halves of the tablet! Using too much muscle might just end up tearing those delicate speaker wires. You’ve got this!
– After you’ve unlatched half of those tabs, give it a gentle nudge with your fingers to separate the two halves of the tablet.
– Next, carefully place the two pieces side by side, like old friends catching up.
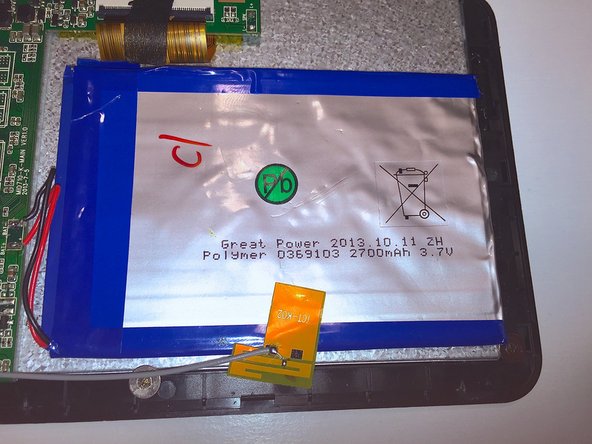
Step 3
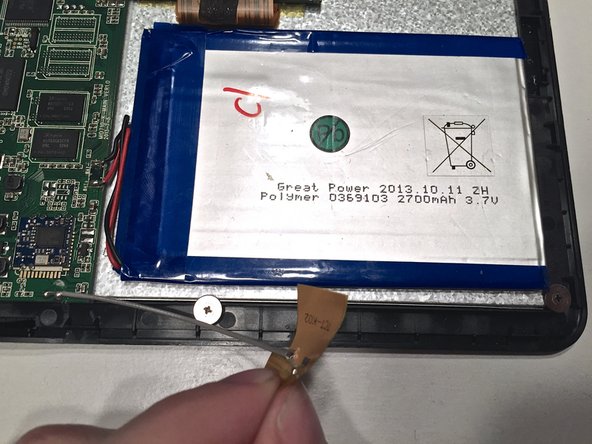

The orange end is like a sticky little tape, so just peel it off and set it aside. Easy as that!
– Look for the tiny grey wire connecting the green logic board to the battery—that’s the ground wire. Time to gently unplug it from the battery to keep things safe and sound.
Step 4

Before you dive in, grab some safety glasses! This next step can be a little tricky, with hazards like electric shocks and burns, so proceed with care. Stay safe!
– First, get your soldering gun nice and toasty. Then, carefully tap the shiny silver blobs on the ends of the wires. Once the solder melts, gently lift the wire off the green motherboard. Repeat this smooth move with the other wire.
Tools Used

Step 5

No need to fret if the battery gets a bit of a curve; it’s all part of the process!
– The old battery is stuck to the back of the screen with some adhesive double-sided tape that’s doing its best to hang on. You’ll need to gently peel the battery off the surface—grab a putty knife to sneak under there and help loosen things up.
– When you’re ready to attach the fresh battery, use new 2mm double-sided tape to secure it back onto the screen like a pro.
Step 6

– Don’t forget to recycle your old battery! Make sure to dispose of it properly – it’s an easy way to do something good for the planet.
Step 7
– Now, to put everything back together, just follow these steps in reverse. Piece by piece, you’ll have it all back to normal.
– Remember, if you run into any hiccups or need a hand, you can always schedule a repair.
Success!
